Cr.10h
aesthetics / problem solving |
--- |
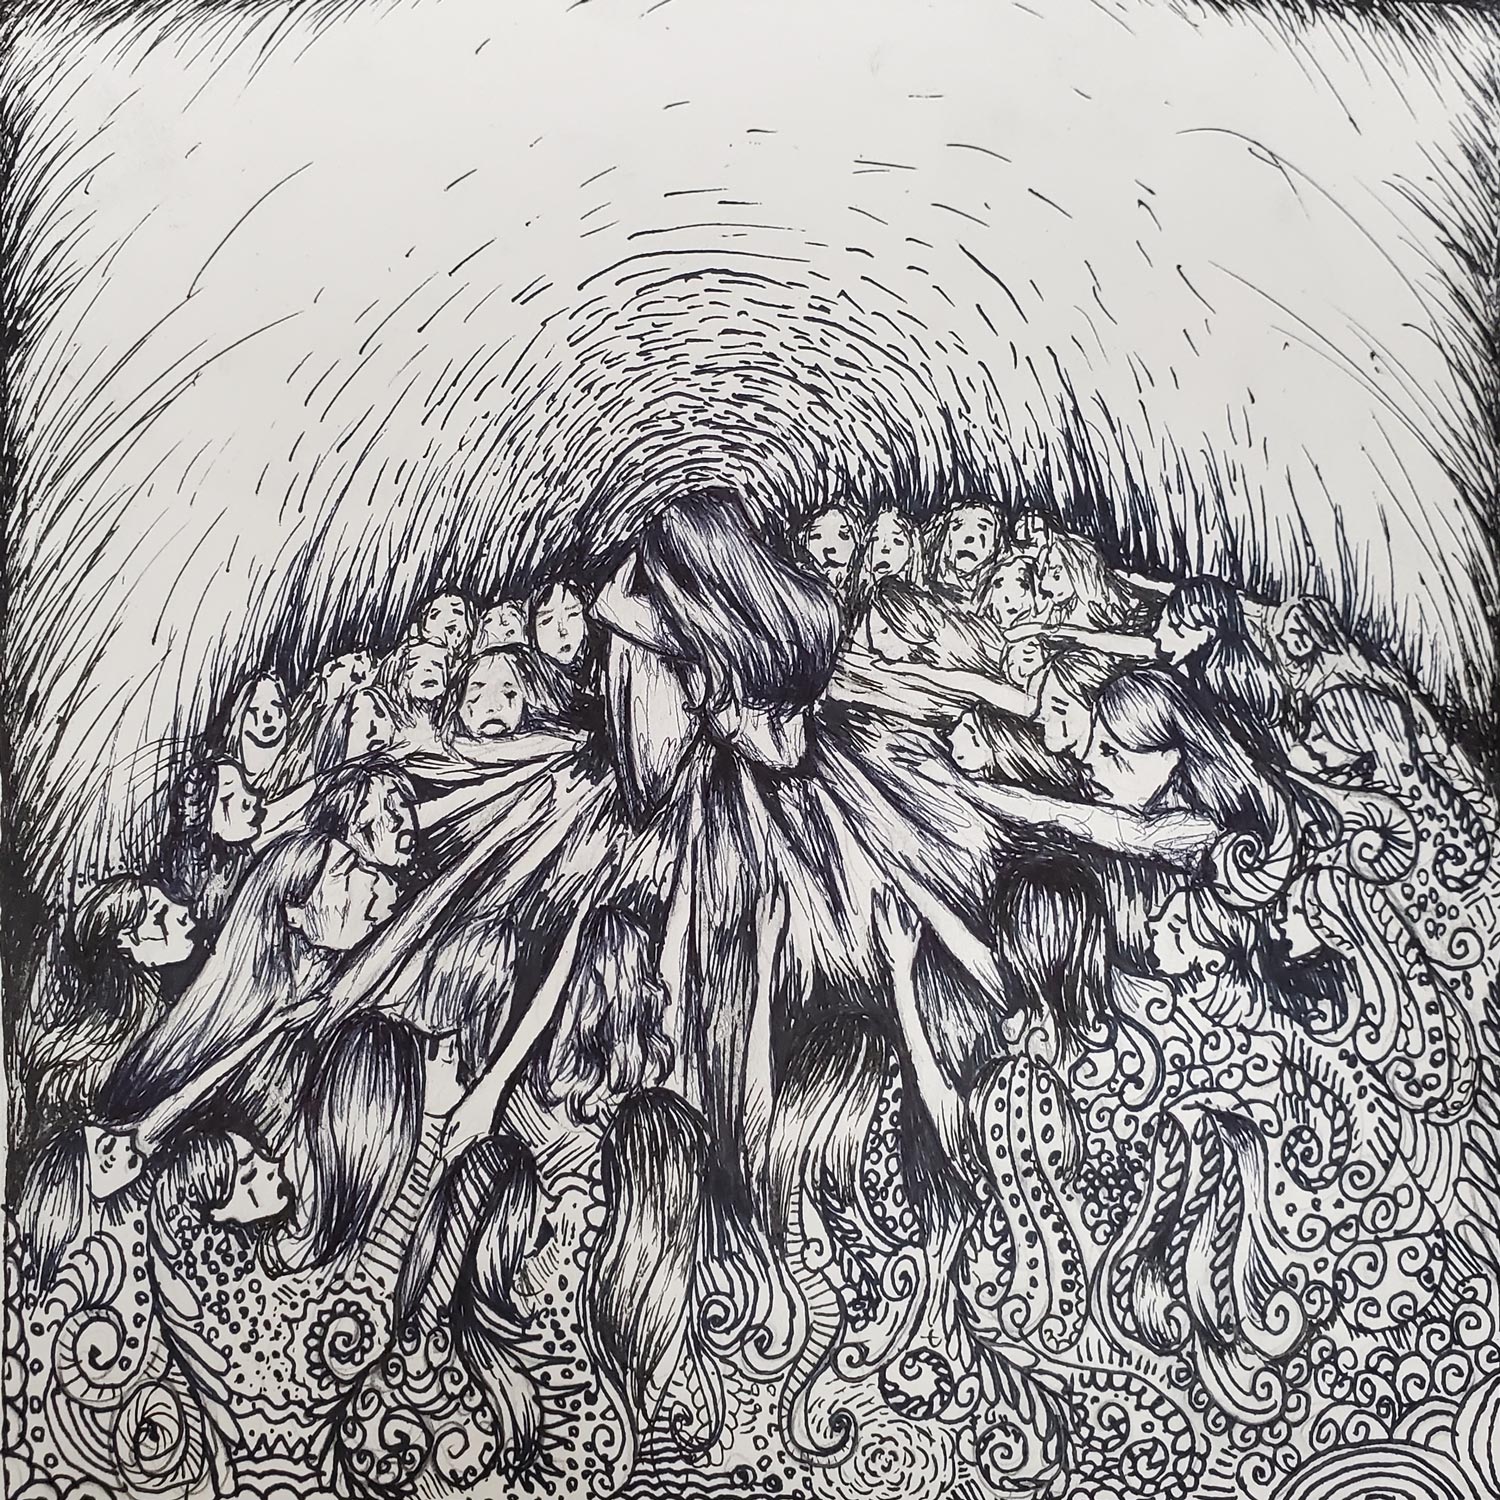
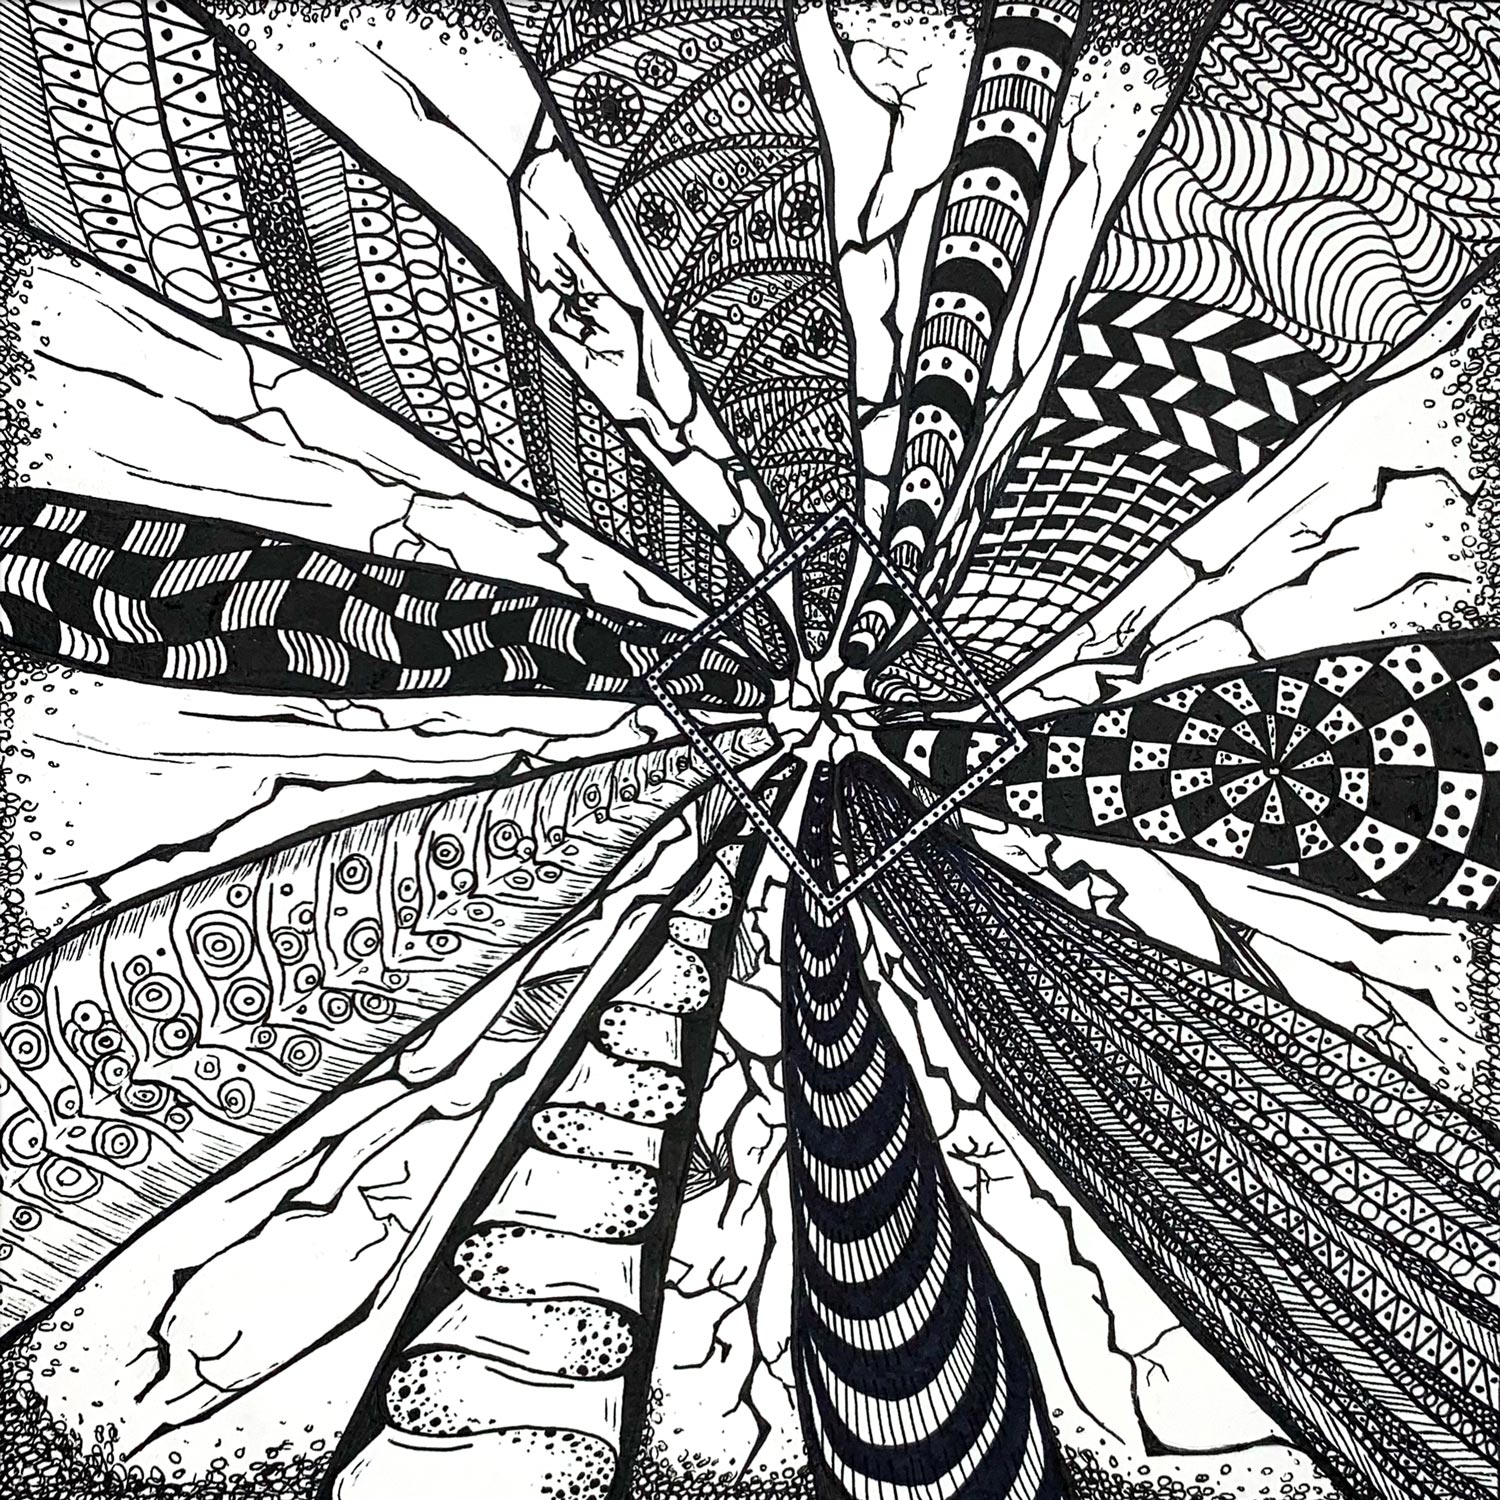
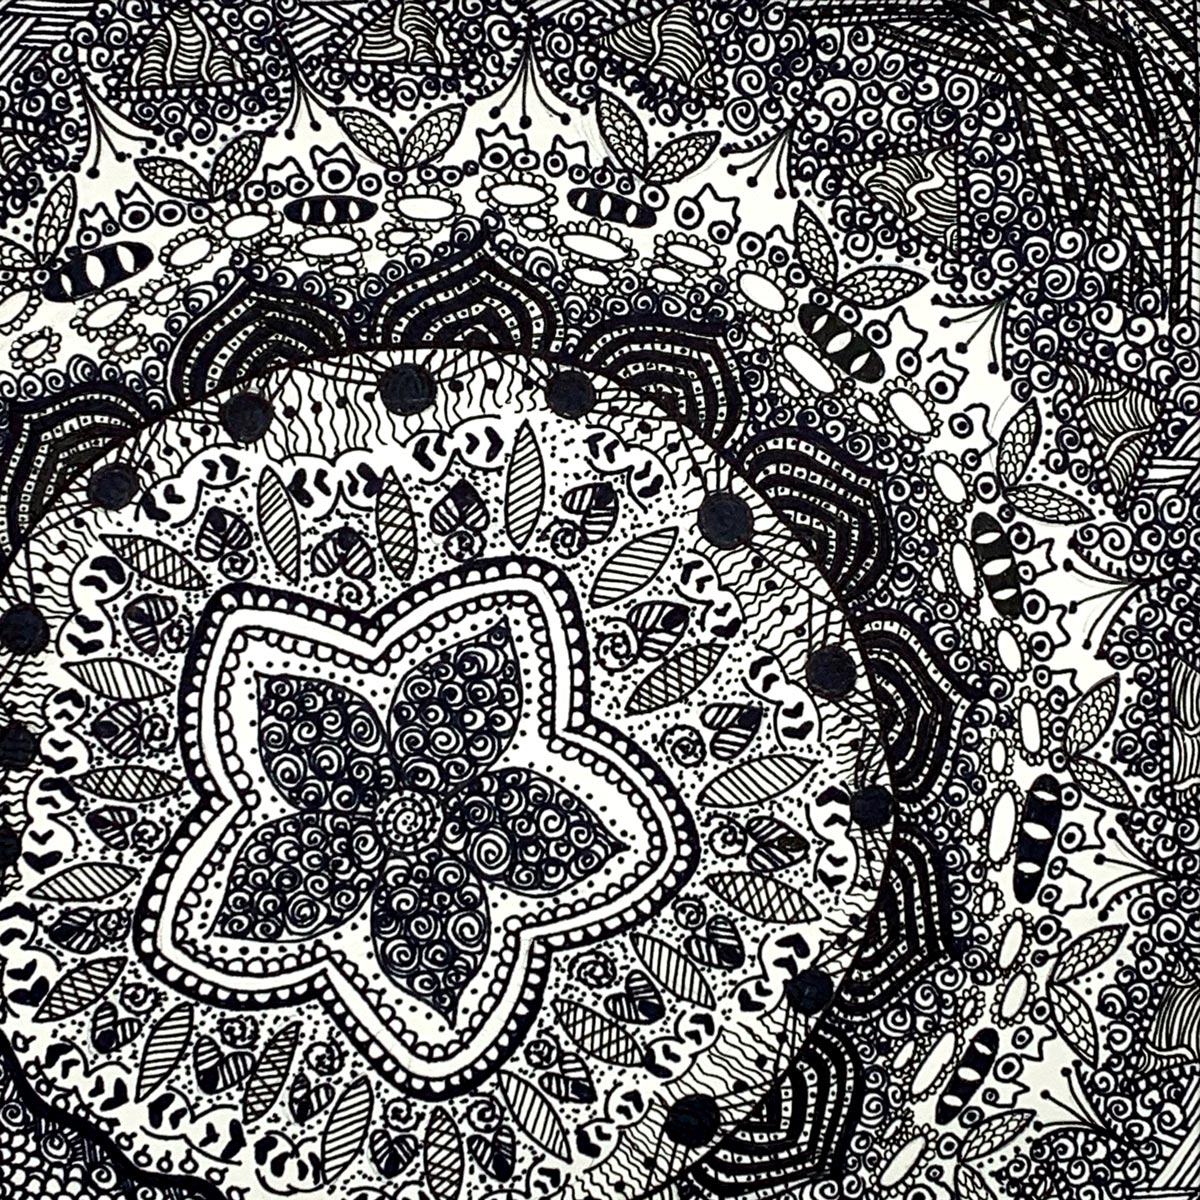
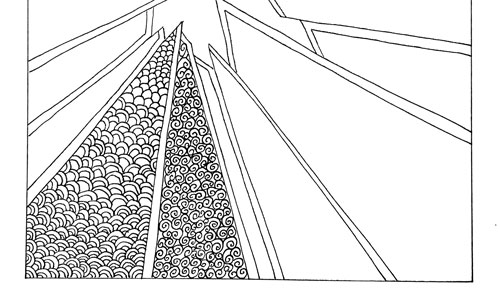
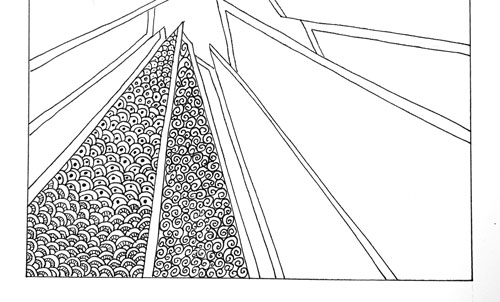
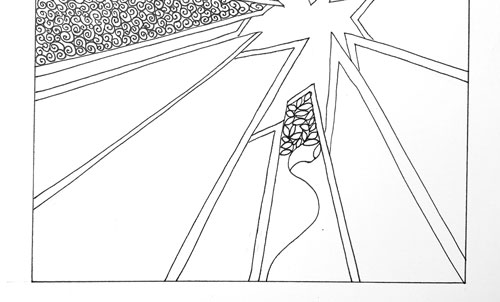
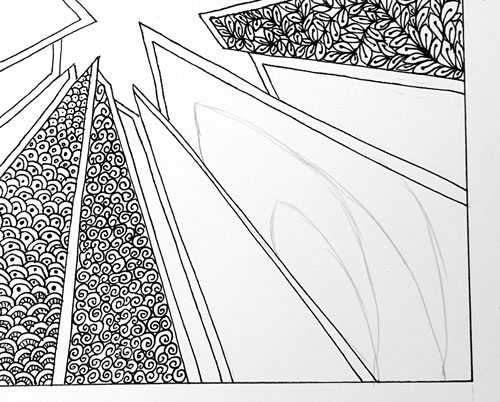
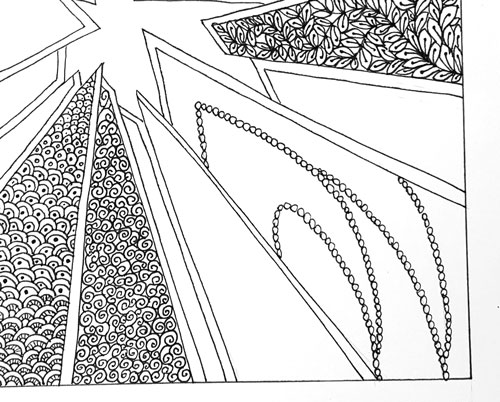
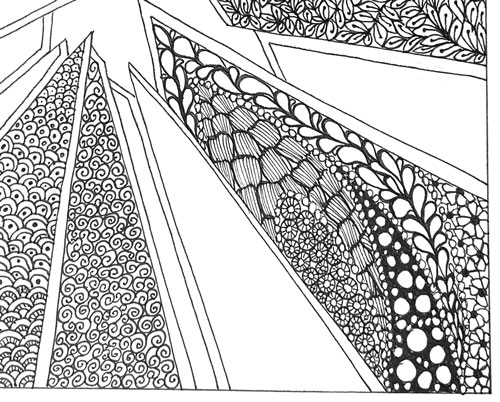
Repeated elements are used in the design. |
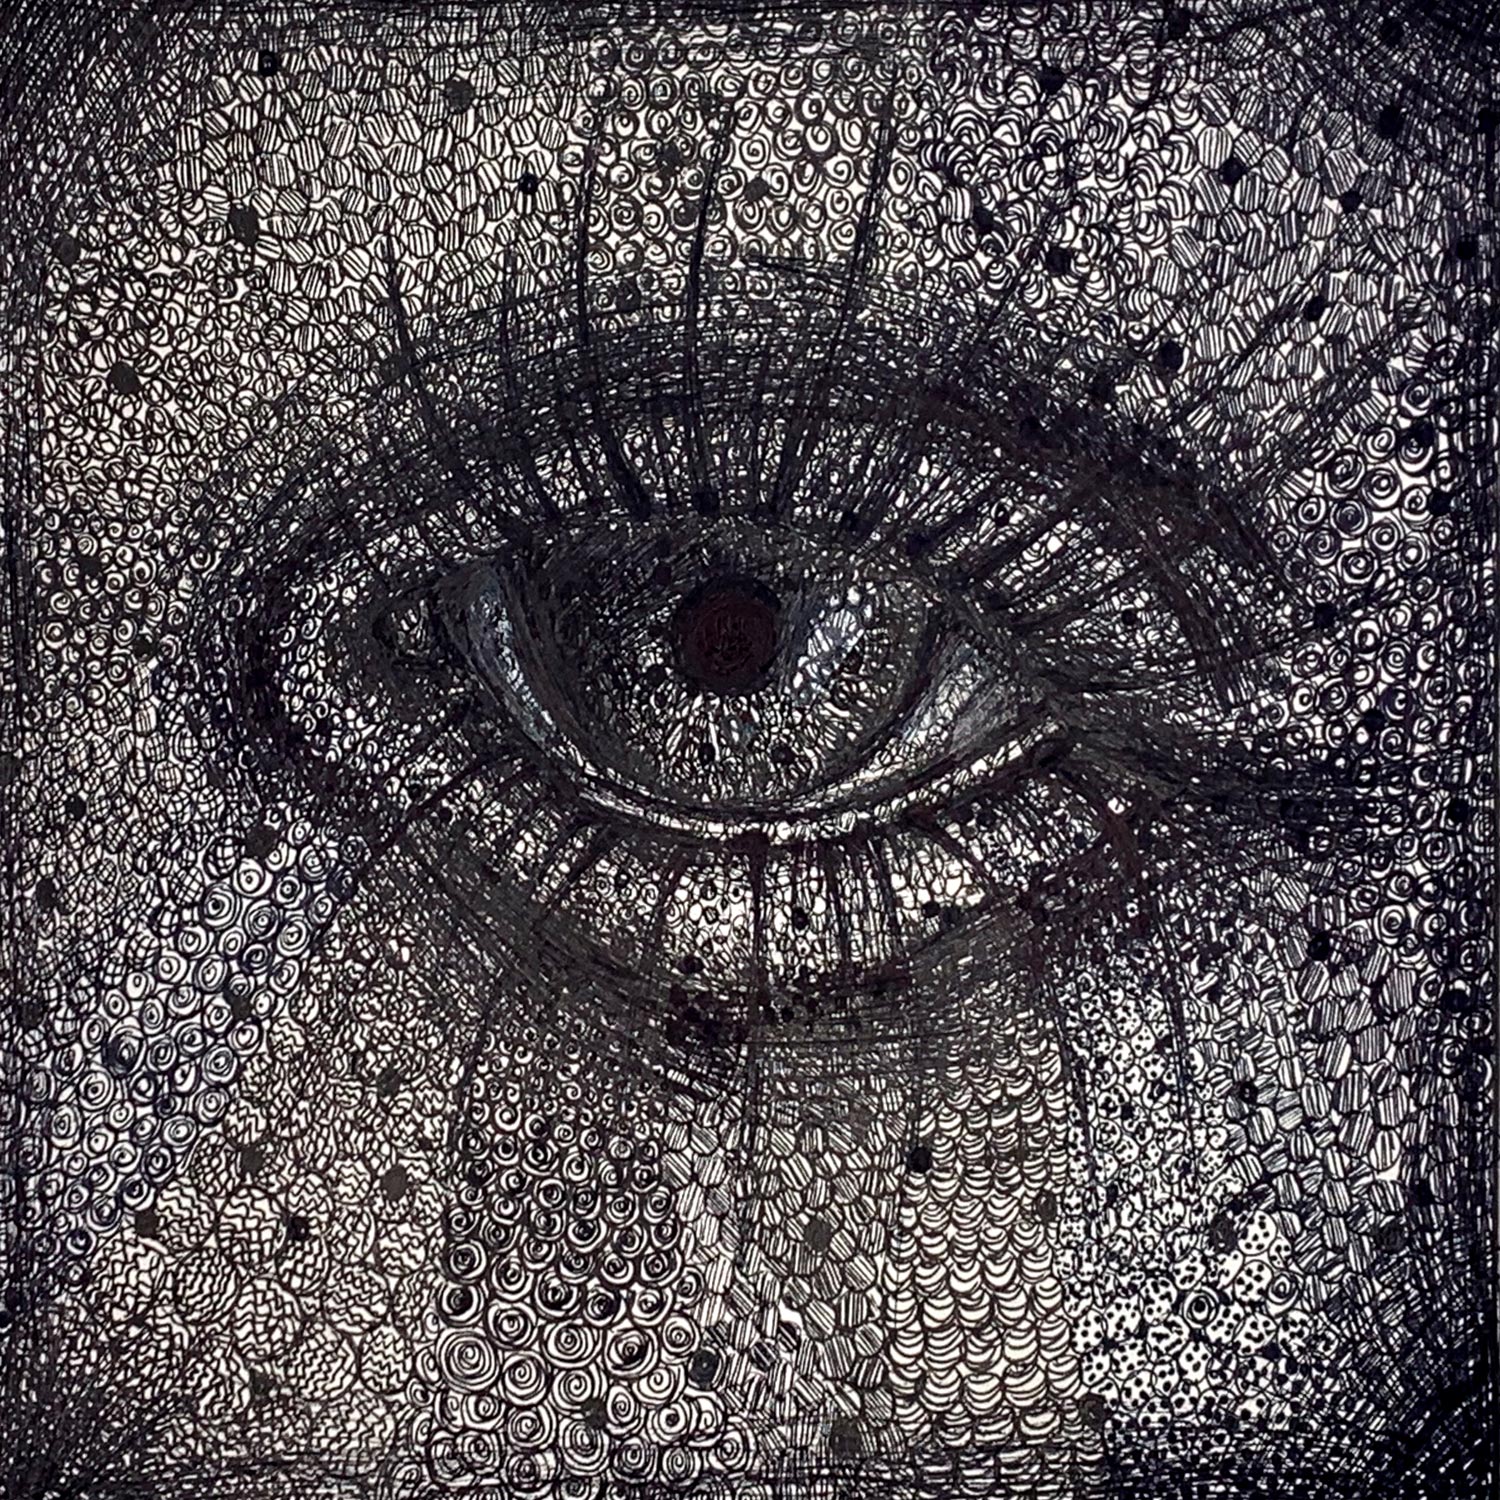
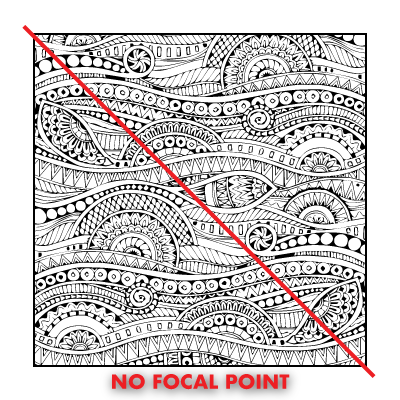
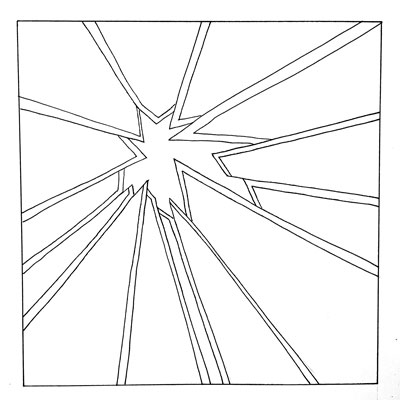
There is a focal point in the design;
Patterns cover the entire composition;
|
Design uses a variety of pattern elements, they interact and transition into each other;
Lines and designs support the focal point;
There is an obvious focal point in the design;
Patterns are dense and create a good texture coverage. |
Creative (unusual) approach to emphasizing the focal point;
Creative manipulation with pattern surface (3D effect, use of positive /negative space, implied lines, etc.) |
Cr.11
planning / experimentation |
--- |
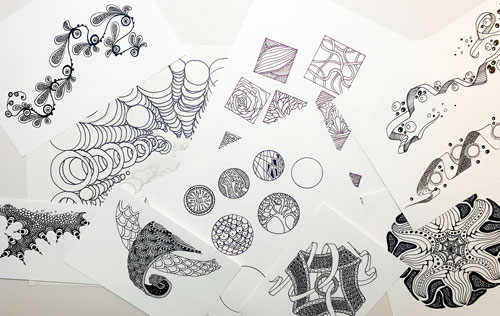
There are at least 2 different patterns used in the design. |
There are at least 5 different patterns used in the design;
Research and practice designs are integrated into the final design; |
Design is based on sketches and research;
There is at least 10 different patterns used in the design;
Designs are unique and creative. |
Artwork demonstrates an extensive research and practice;
Design utilizes emotional qualities of line as an art element;
Pattern elements are very detailed and intricate; |
Cr.12
skills |
--- |
Two types of lines are used;
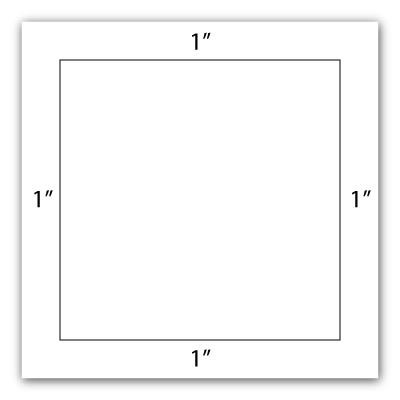
The border is outlined |
Lines are solid |
Lines are drawn according to the instructions and specific criteria: solid, uniterrupted, and smooth;
Variety of line types and styles are used;
Drawing displays effort and craftsmanship;
The borders are clean and design stays inside the outline; |
Design incorporates lines of different weight based on the need (continuous line whith changing thickness, change of weight based on details intricasy, etc);
Craftsmanship and attention to details are flawless; |