julianna kunstler logo
wrapped around

layer masks
Instagram icon

by JuliannaKunstler.com

Wrapped around. Photoshop assignment.

Create an image that shows somebody's inner side.

This can be a human or an animal. Use symbolic language to convey the message.

Contrasts work good. You can show that somebody who looks like a predator is really nice and soft inside, or a sweet looking creature is evil inside.

The technical focus of this assignment is the use of layer masks.

The design focus is to use symbols.

GALLERY

finished image
example
example
example
example
example

STEPS

layer mask step

Start with duplicating the image layer.

Remove background.

layer mask step

Keep the original layer as a backup. Turn off its visibility.

Back to the image layer.

layer mask step

Duplicate the layer again and darken the image.

Use Levels or Hue/Saturation settings. This will serve as the "inside" of your character.

layer mask step

Place the "dark" layer under your image layer.

layer mask step

Now let's get started!

Select your top layer.

Add Layer Mask to it (at the bottom of the Layers palette).

layer mask step

Select the Eraser tool.

Hardness 100%

layer mask step

Start erasing the "bands".

Make sure "Mask" thumbnail is selected.

layer mask step

Complete all parts.

layer mask step

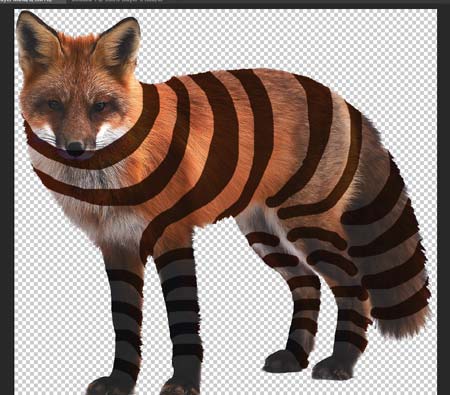
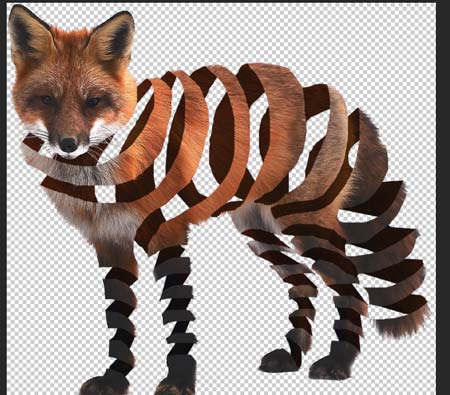
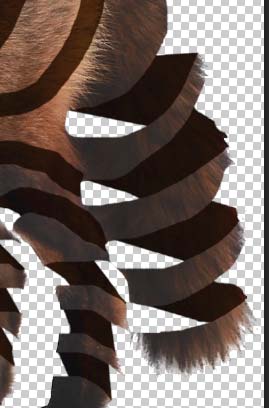
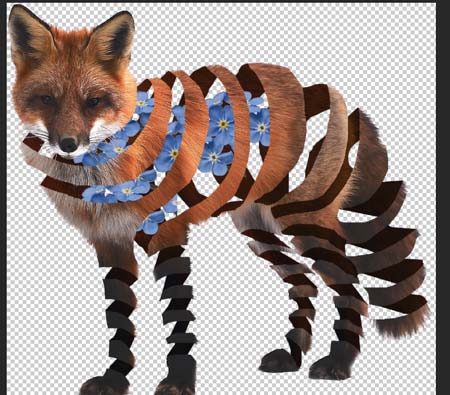
Now fix the details for each "band".

Swap the colors (set White as foreground) and continue using the Eraser tool to return parts of the image that would logically be in front (head, fur, whiskers, etc.).

layer mask step

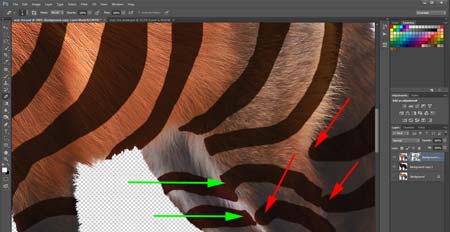
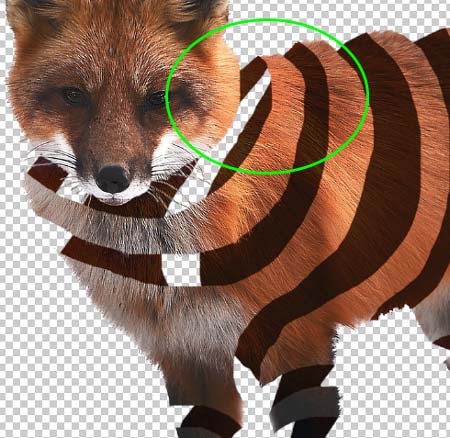
Round eraser creates round corners (red arrows).

Change the size of the Eraser to make the corners more realistic (green arrows).

layer mask step

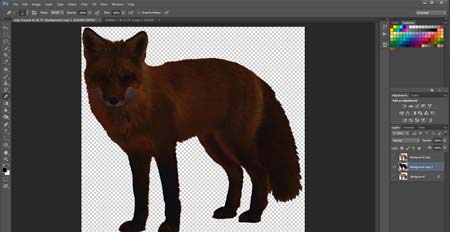
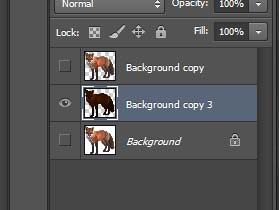
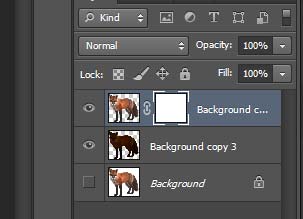
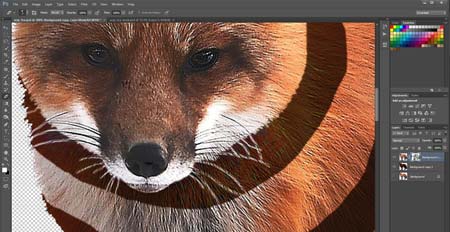
Switch to the "dark" layer.

Add Layer mask to the dark layer.

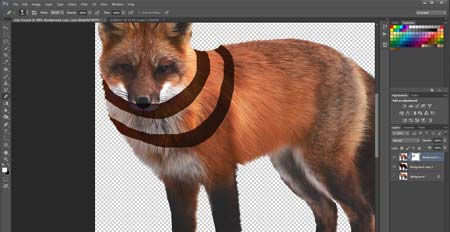
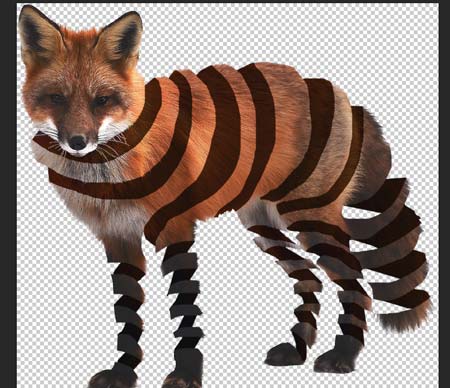
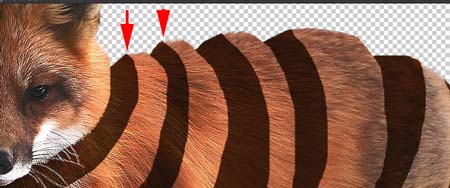
Remove parts of the image to create an illusion of spiral bands. Make sure a dark band is a continuation of a front band.

So start at a corner and erase in the opposite direction of the front band.

layer mask step

You can see how front cuts go in the opposite direction to the back.

layer mask step

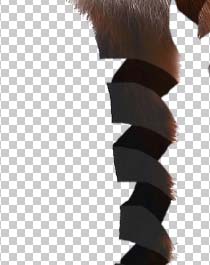
Take your time and try to picture how the band would go.

If you make a mistake - don't worry - it's easy to fix it as long as you work on the layer mask.

layer mask step
layer mask step
layer mask step
layer mask step

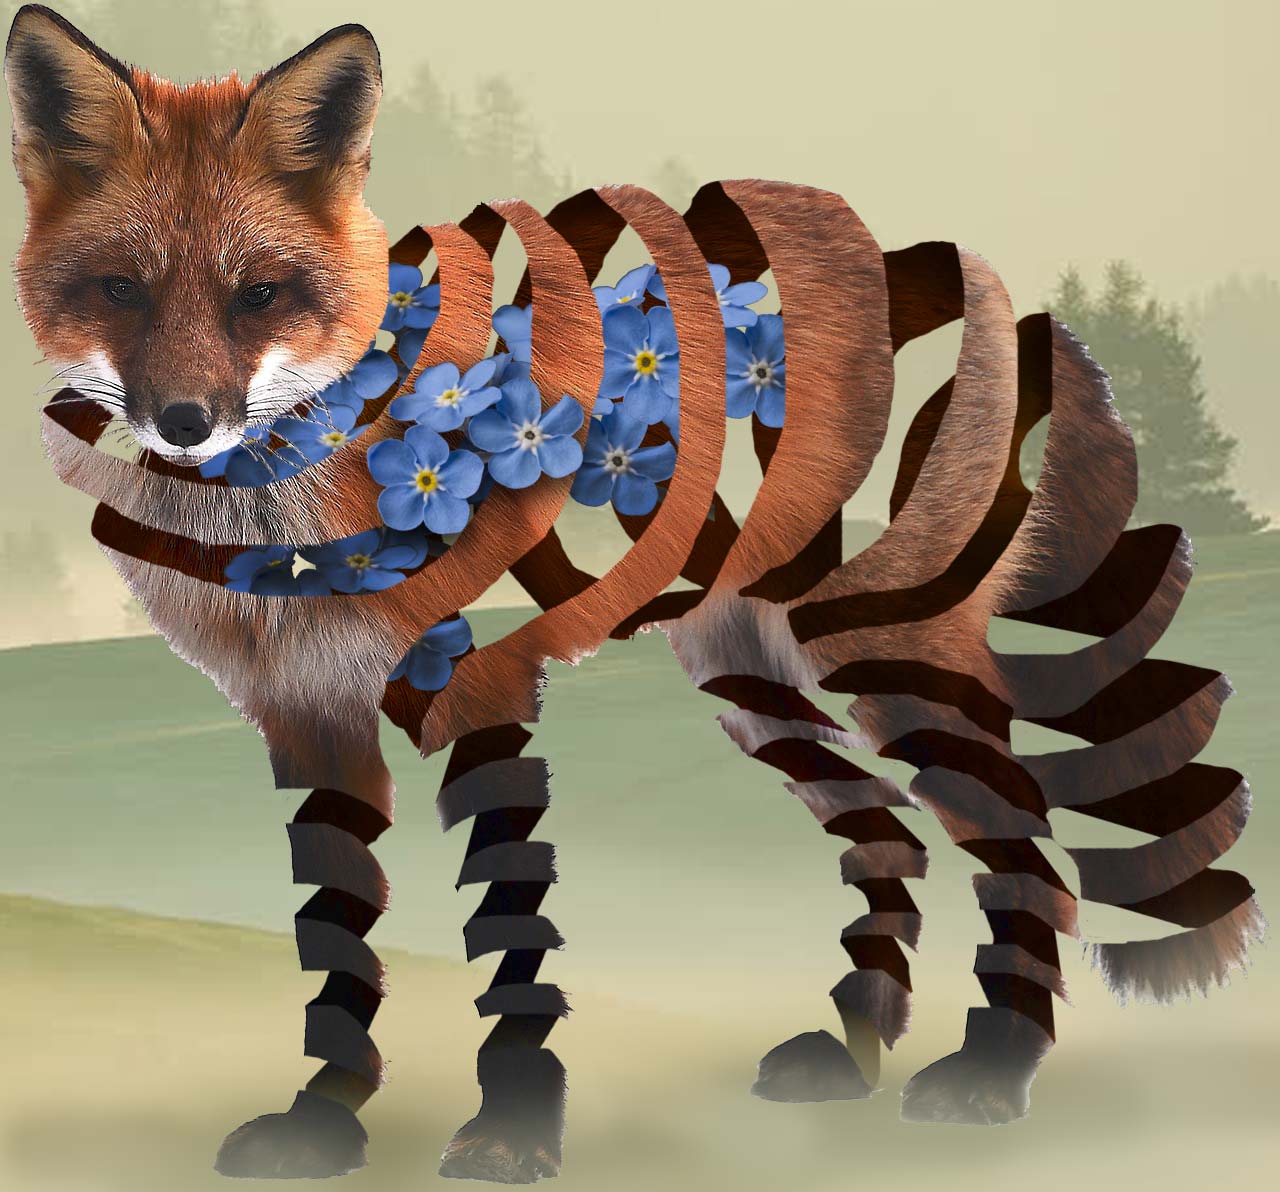
Place another image between the front and back layers.
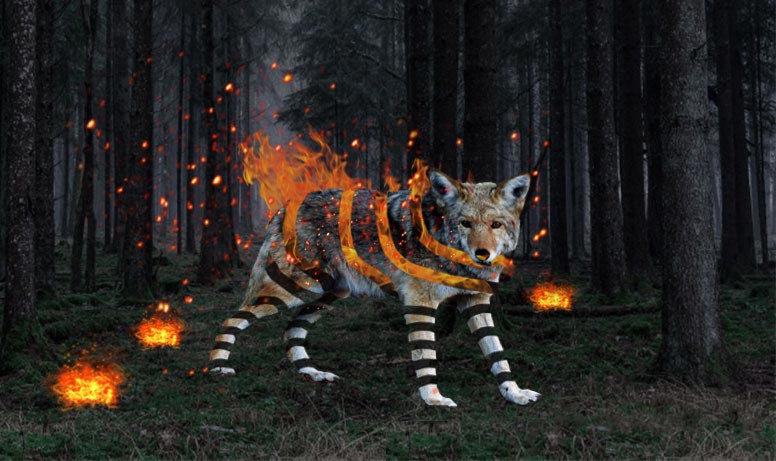
layer mask step

Add background.

layer mask step

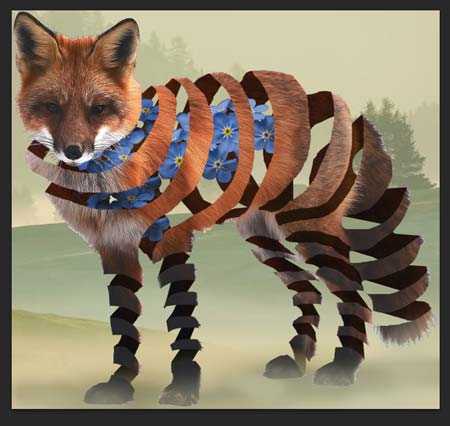
Add shadows or highlights to the "inside" image to make it look like the object is actually inside.

Add shadows or other adjustments to place your character in the environment (fog and shadow in my case).

layer mask step

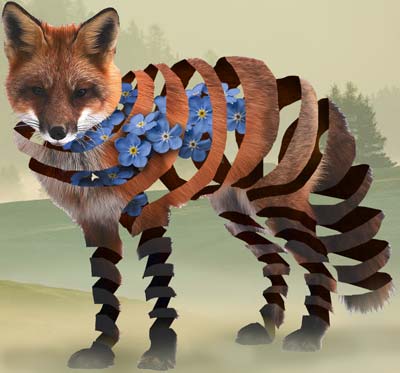
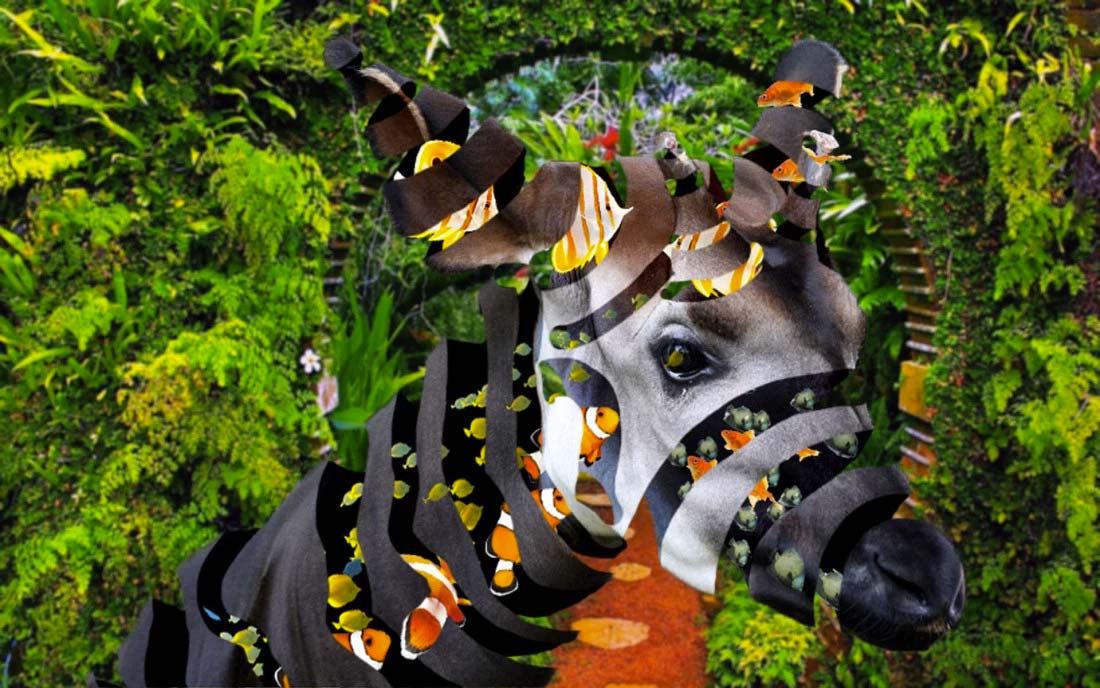
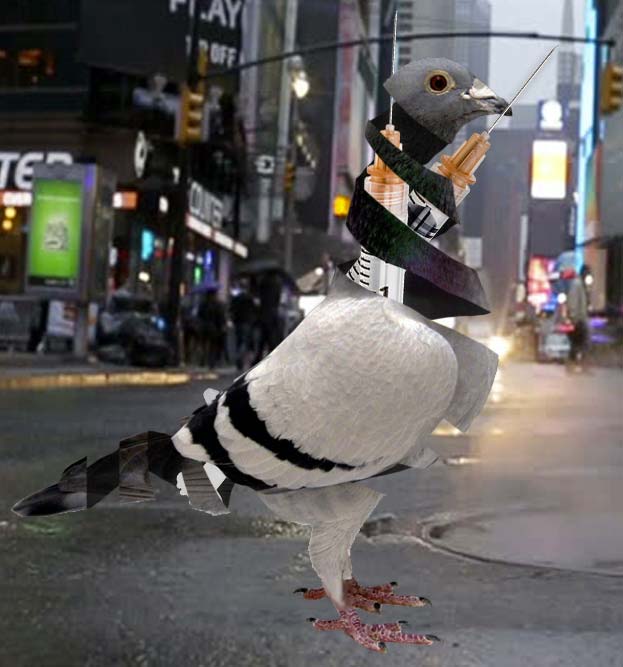
Be creative with the images!

Have inner parts go outside of the character.

Don't forget to add shadows where needed.

...