WordPress.com is a hosting platform that makes it easy for anyone to publish online. It's free.
For your safety, please, do not put any personal, private, or contact information on the web site!

by JuliannaKunstler.com
WordPress.com is a hosting platform that makes it easy for anyone to publish online. It's free.
For your safety, please, do not put any personal, private, or contact information on the web site!

Go to wordpress.com
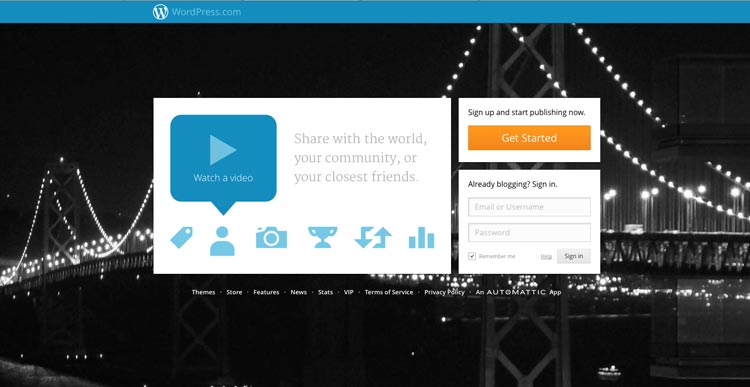
Click on Get Started button
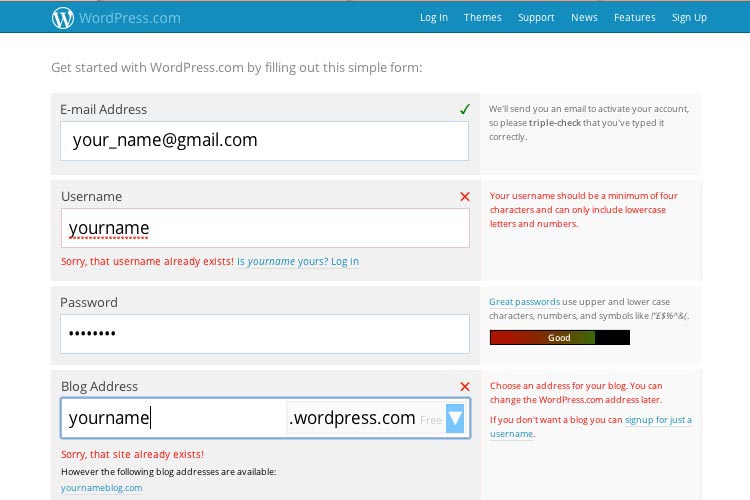
You can use your personal (or school) email address.
Create a user name. Wait a second -it will tell you if it is available.
Create password.
Create "blog address" - your domain name.
Click Create Blog at the bottom of the page:

They have a very good step-by-step tutorial:
Check your email now. Follow the directions.
Activate Blog
Plan the site!
Sketch out all pages you want to have.
Later you will make a choice of choosing pages vs. categories and posts. At this time you need to at least have a plan.
Once you created an account, it will take you to Dashboard page.
This is where the controls are.

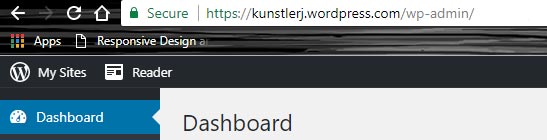
To switch to a full version of the Control Panel you will need to type the following adders in the browser:
https:// ************.wordpress.com/wp-admin/
Where ************ is your domain name.
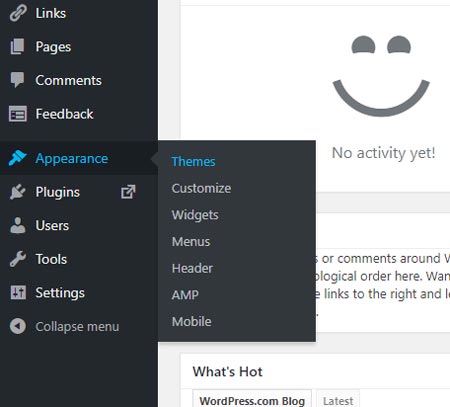
Click on Appearance > Themes on the left panel
Pick a theme that you like.
You can preview themes by clicking on "Preview" button.
When you are happy with your theme - click "Activate".
Now you can customize the settings to fit your needs.

Each template might have different editing options. Some templates are more customizable than others.
The example below has limited options, but your template might have more freedom.
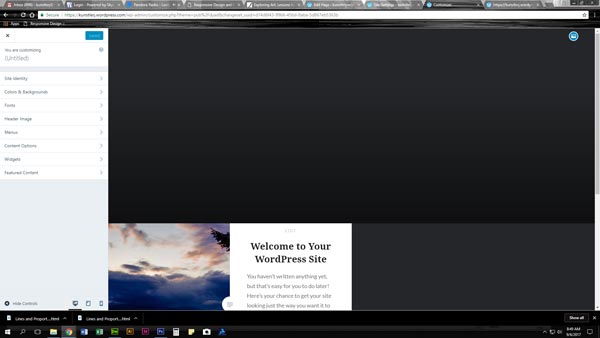
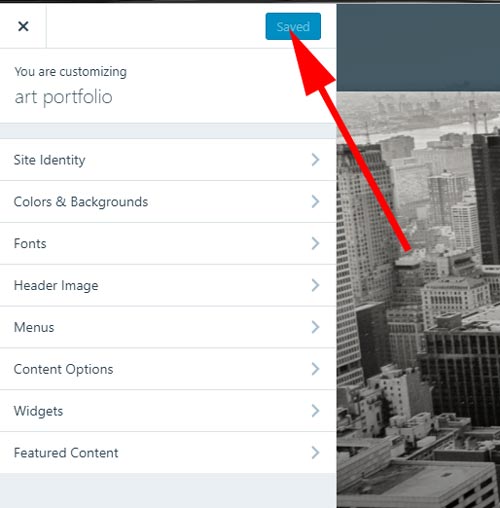
The window will show the site's preview and editing panel on the left.
Let's start from the top.
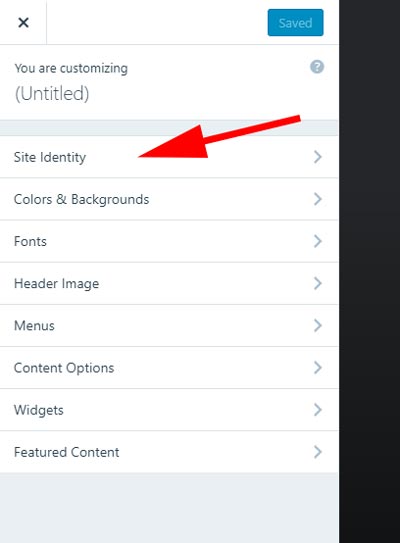
The first option is to set up your site identity.
As you make changes, they will be applied immediately to your preview
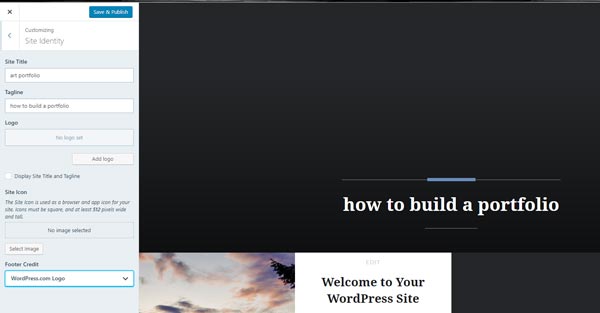
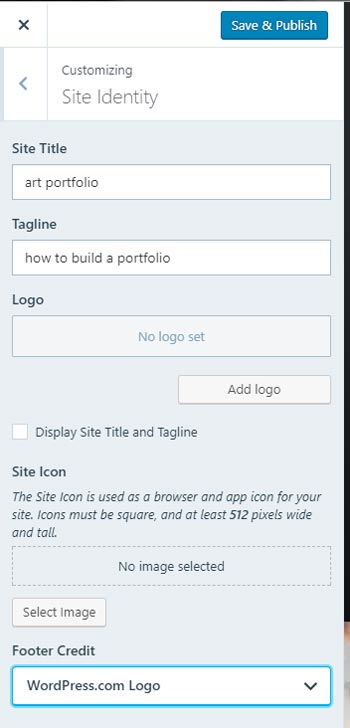
Site Title and a tagline will appear in the page's tab in the browser.
They can also appear on the page (if you choose to).
If you have a logo - you can upload it. It will appear in the top left corner (usually) and will function as a "HOME" button.
Save & Publish after you're done.
Then go back to the "customize" panel.
Choose "Colors & Backgrounds.
In this particular template there a very few options to choose from.
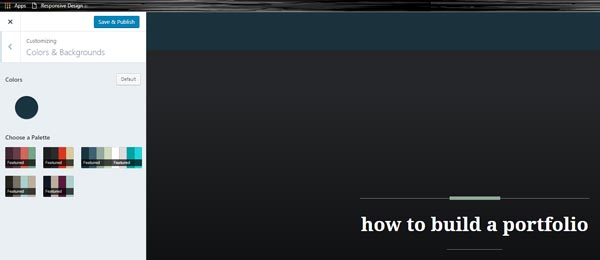
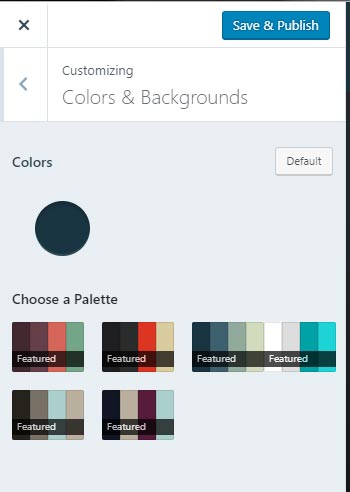
Pick a color palette (color scheme) that you like. You will see the changes in the preview window.
Save & Publish
Back to the main panel.
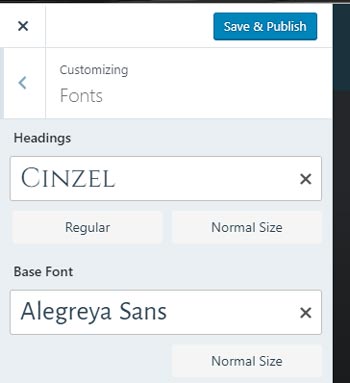
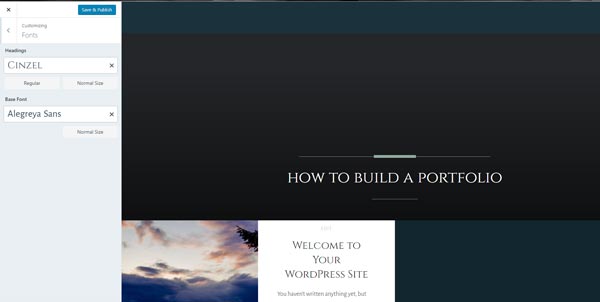
Choose Fonts button.
I have only 2 choices for this particular template. Choose the fonts wisely.
You will see the changes right away
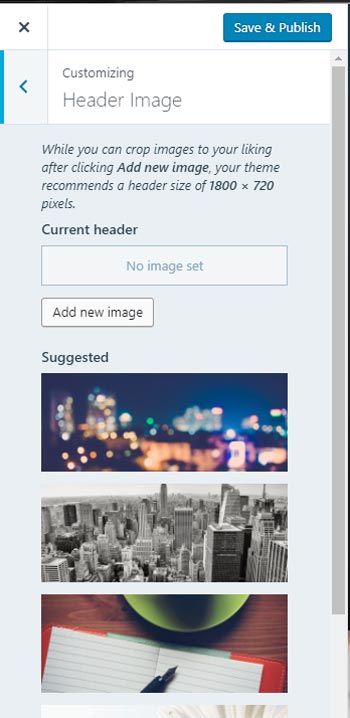
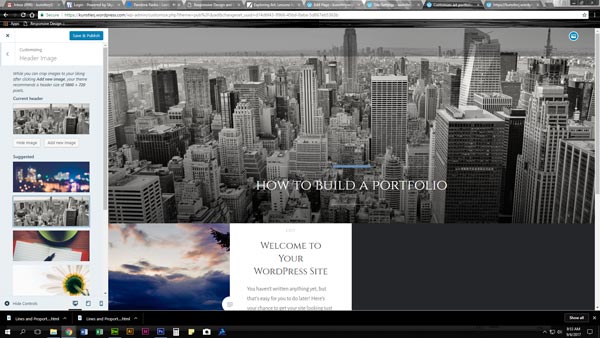
Add a Header image. It will appear at the top of your pages, behind site's title.
Click on "Add New Image" button to upload your own image.
I cheated and used one of the generic photos in this example.
Save & Publish
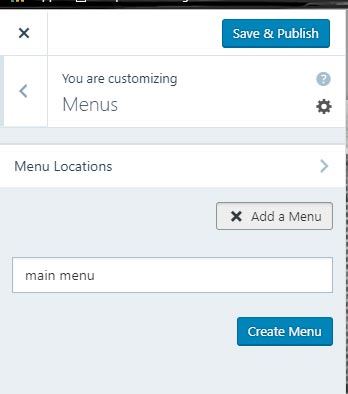
This part is very important!
If you want a menu with links to your pages and posts - don't skip this one.
Click on "Add a Menu" button.
Give your menu a name.
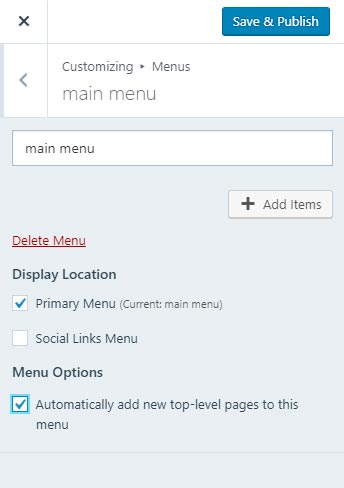
Make sure you check the Primary Menu option!
Save & Publish
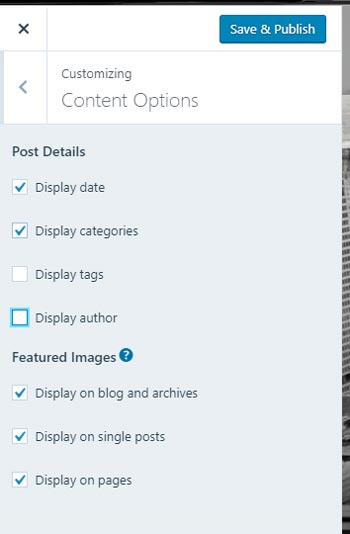
Content options you can leave as default or set to your liking
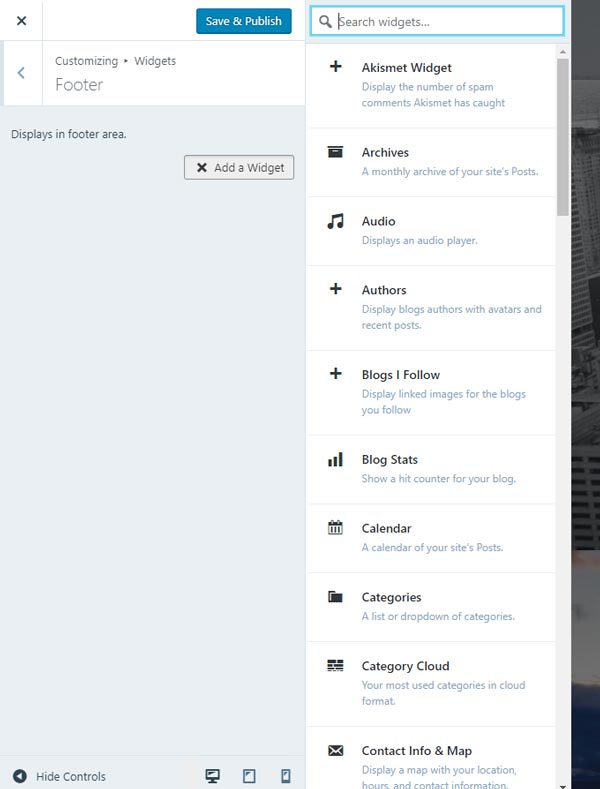
You can add Widgets to your page. There is plenty to choose from....
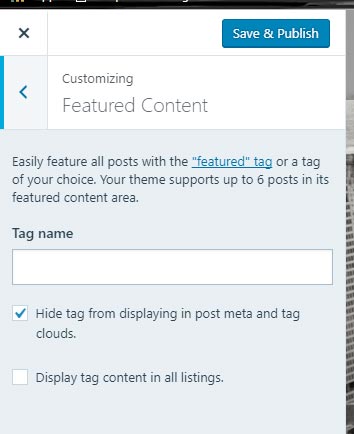
You can set up a tag for featured content. Noe required.
Save & Publish
The basic set up is done. You can always go back and change the settings or replace the template at any time. All your content will be saved.
Before adding Pages or Posts - do some planning. Remember, you had to come up with a site structure in the beginning? Now it's time to build this structure.
First, what is the difference between Page and Post?
Page is a static unit. Its content can include your about page, privacy policy, legal disclaimers, etc.
Posts will be used for majority of your site’s content. Posts are content entries listed in reverse chronological order on your blog’s home page. Post's category can act as a page (added to the main menu, for example). Post are "fluid" and can be linked to multiple pages. Posts encourage conversation. They have a built-in commenting feature that allows users to add a comment.
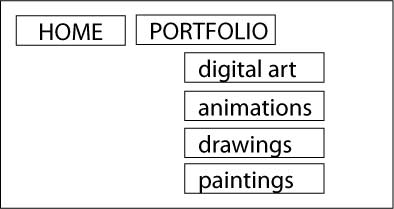
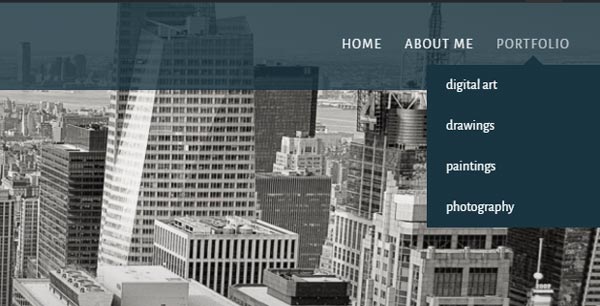
Let's say, after long hours, you came up with the following site structure. This is what your menu will look like.
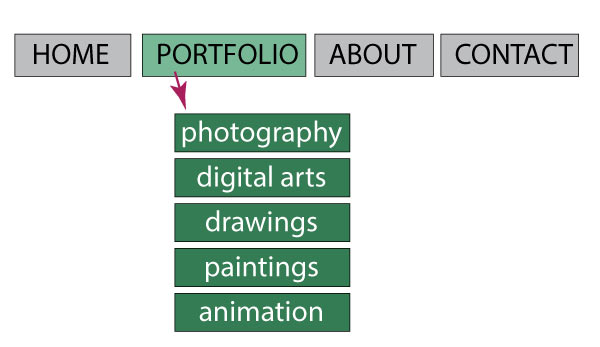
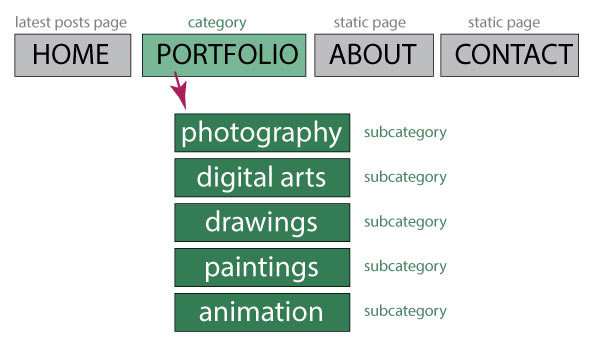
Let's break it into categories and pages.
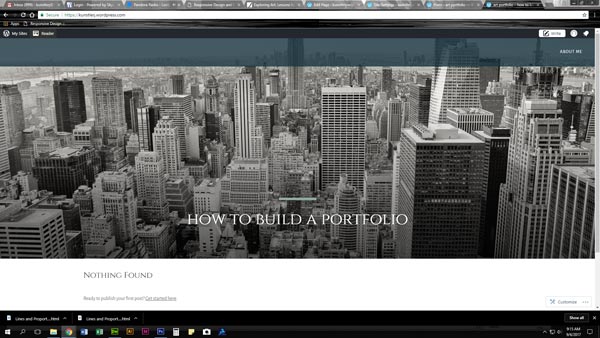
Your HOME page will be a PAGE that shows your latest posts.
Your ABOUT and CONTACT pages are regular static PAGES.
PORTFOLIO is a category that you are going to tag every time you add a post.
You will also tag SUBCATEGORIES for specific media. This way everything will stay organized.

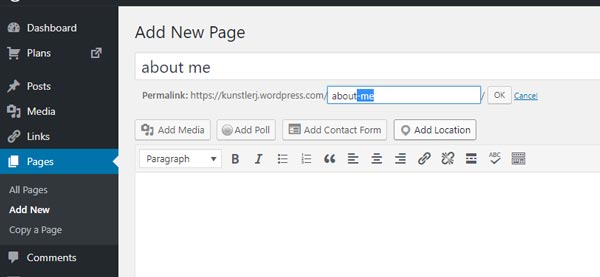
To add a PAGE - go to the Options menu and choose Add New.
Add page's title. As you type a title - WordPress will automatically create a link to the page. You can change it at this point - I like shorter links.

Then you can add a Category.
Go to Posts > Categories.
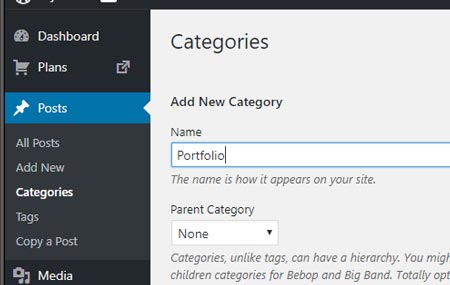
Give your category a name.
I choose PORTFOLIO
Parent category: None
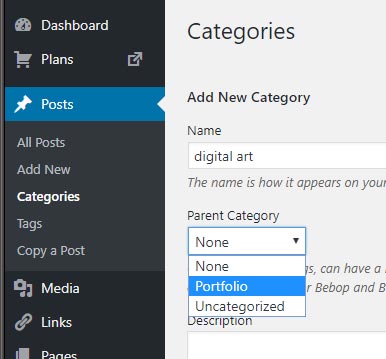
Now let's add a subcategory.
In the "Add New Category" section type in your first subcategory.
Important: for Parent Category choose "Portfolio".
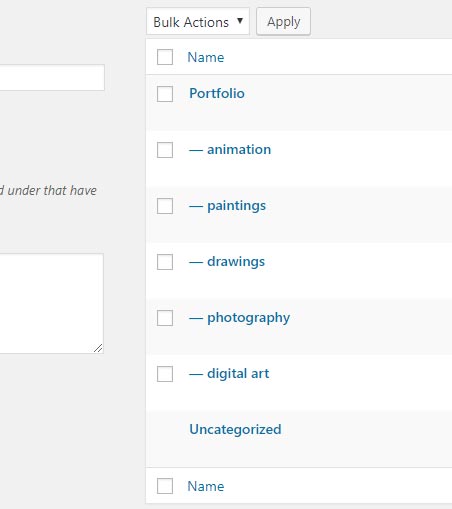
Repeat the steps for the rest of the subcategories.
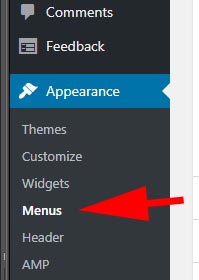
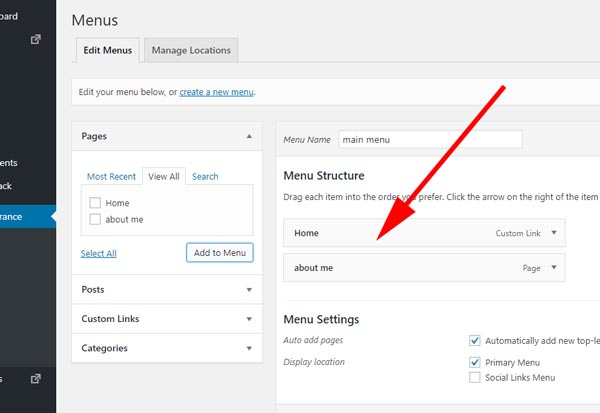
From your Appearance tab - choose "Menus".

From "Pages" options select "View All" tab.
Then check all pages that you want to show on the menu.
Click "Add to Menu".
The pages will show in the Menu Structure" section.
You can change the order of the pages by dragging them.
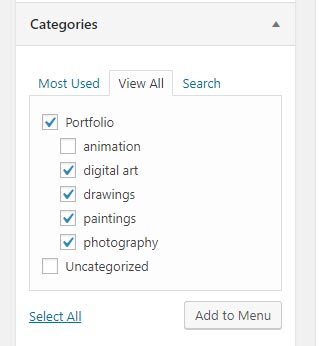
Repeat the stops with the categories and subcategories. Check the ones you want to be visible in the menu, then click "Add to Menu".
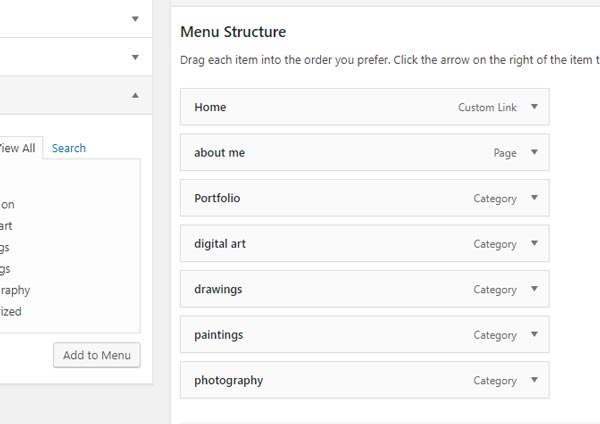
Your pages and categories will appear as one list.
To make a subcategory a sub-link" - drag it to the right.
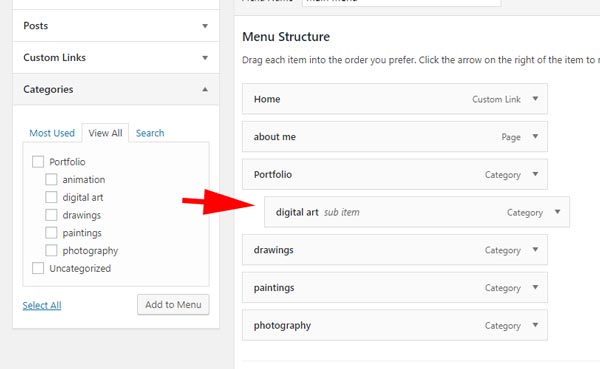
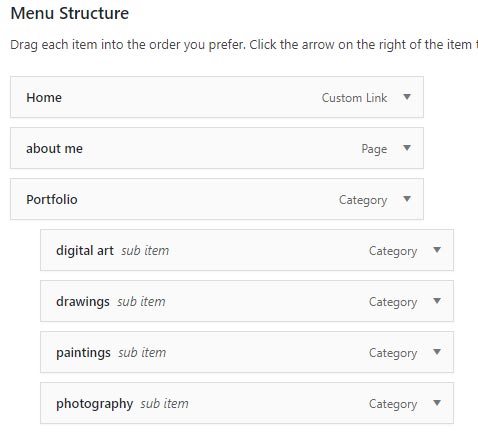
Your menu structure will look like this.
Now you can Save the Menu.

Now you are ready to add your first post.
Go to Posts > Add New
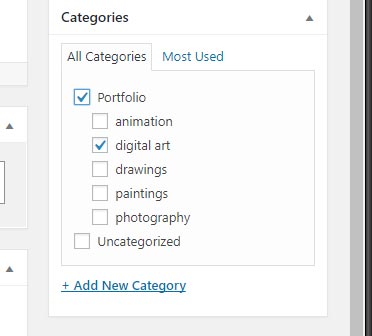
Check Portfolio category and Digital Art subcategory.
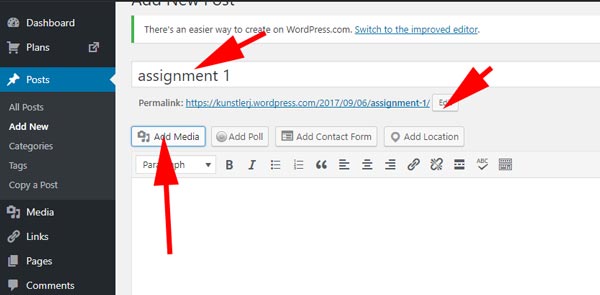
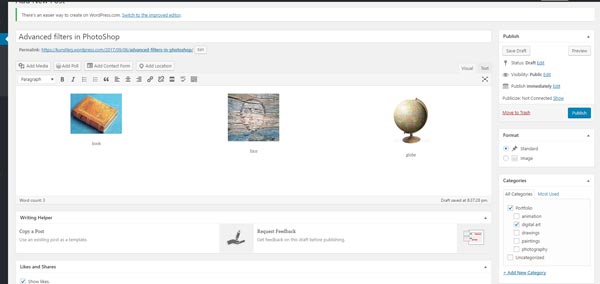
Add post's title and other information
To add an image - click on Add Media button.


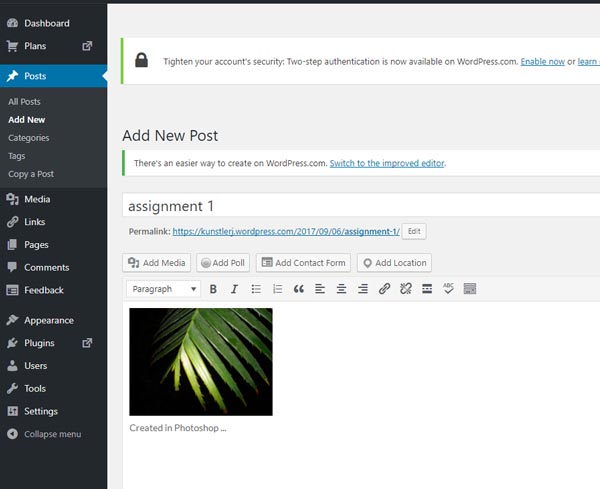
You can insert multiple images into one post.
Or you can insert an Image Gallery (see below).
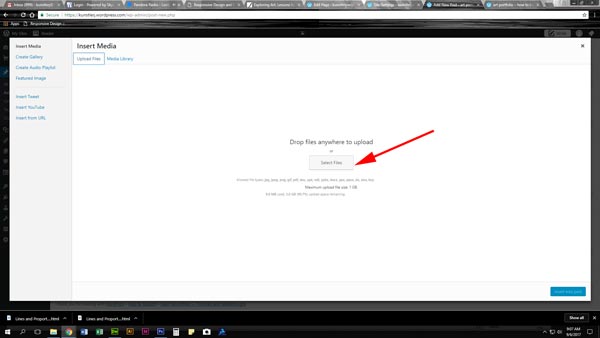
Before you create an image gallery, you need to upload the images for it.
Go to Insert Media > Upload Files.
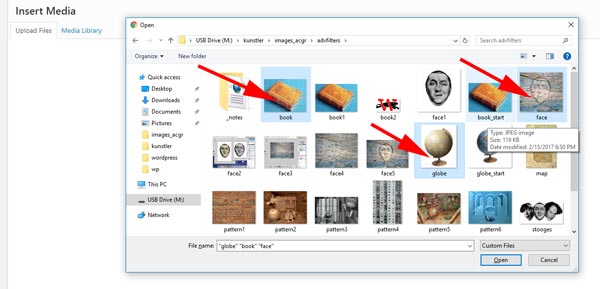
Select multiple images and upload them.

Now you can create a gallery.
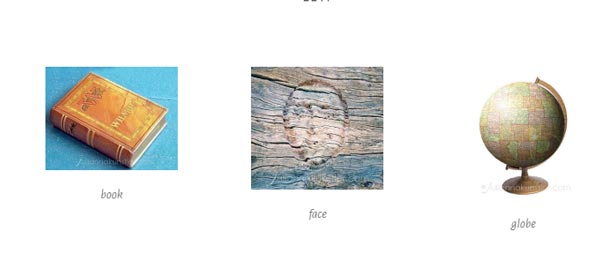
Select the images from the Media Library.
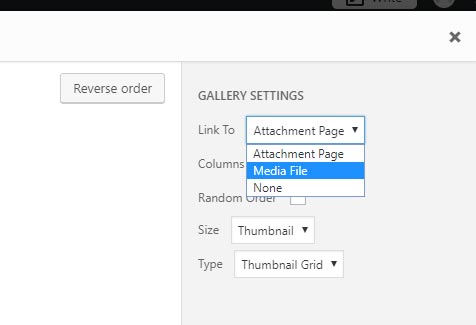
The images will show as small thumbnails.
You will need to link them to the original size image. This can be done in the gallery settings.
Choose to link to "Media File".
Then click on "Insert Gallery" button in the bottom right corner.
Once you have your gallery inserted, do not forget to check the categories for the post!
Click "Publish".
Now it is saved and is online.
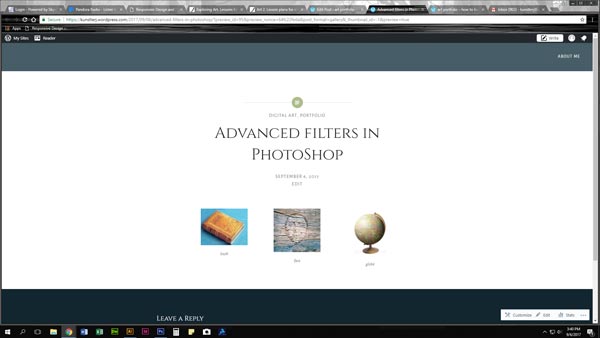
You can preview the post.
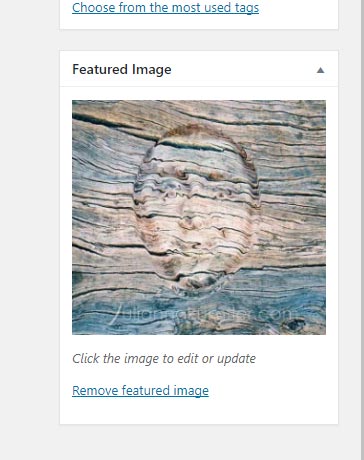
It is a good practice to add a "Featured Image" to each post.
Scroll down your post page.
Find Featured Image option on the right panel. Choose one of the images from the post.
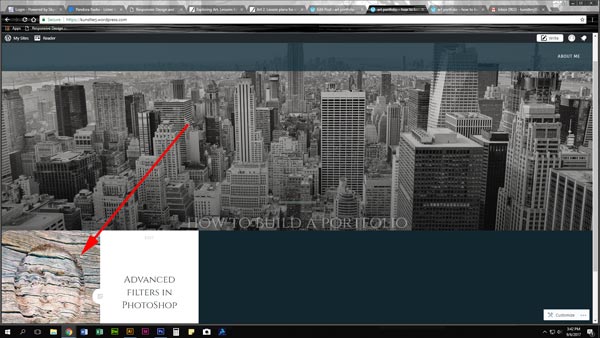
That image will appear in your post's entry.
More steps to come...