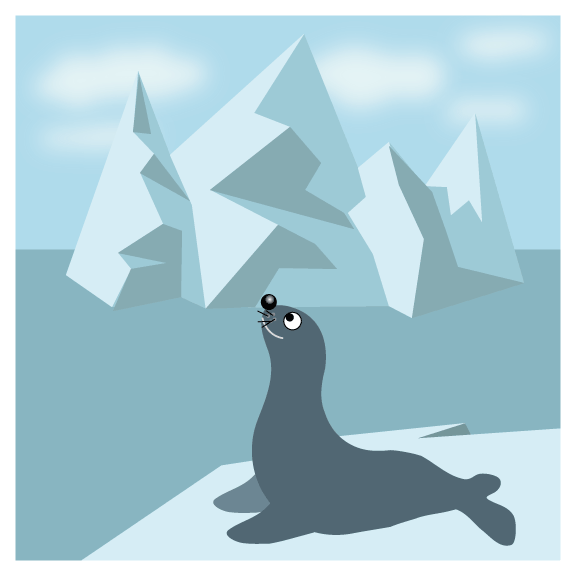
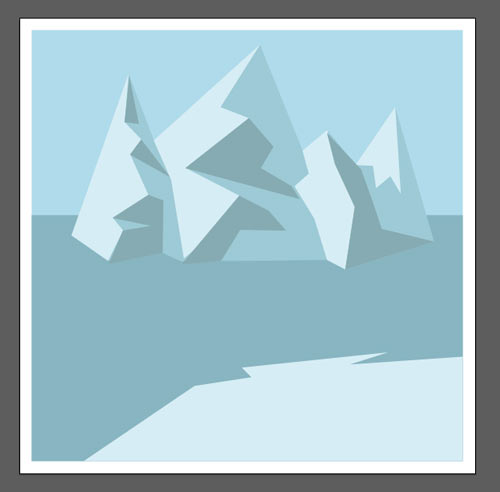
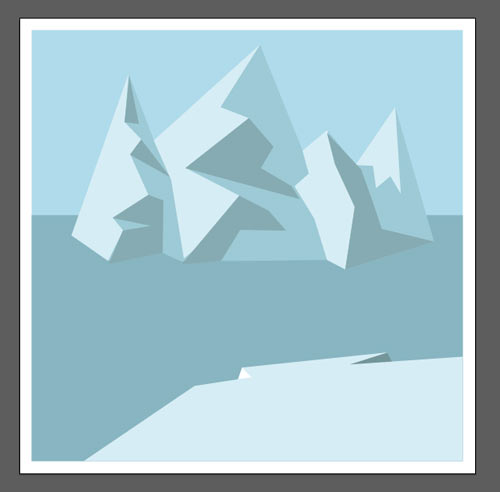
clouds
 Clouds are free-forms.
Choose Blob Brush tool.
It paints with shapes.
You can change the brush size as with any other brush - use [ and ] keys.
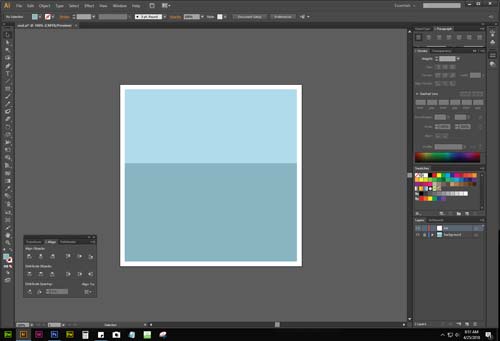
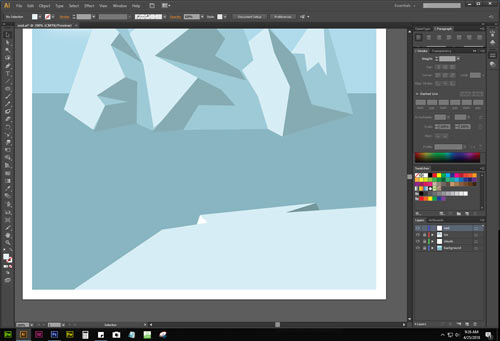
Create a new layer.
Name it "clouds".
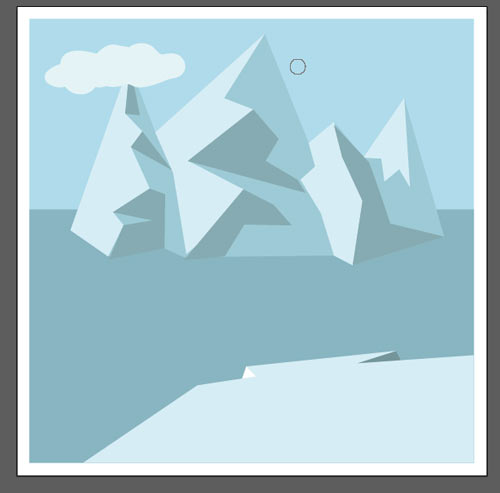
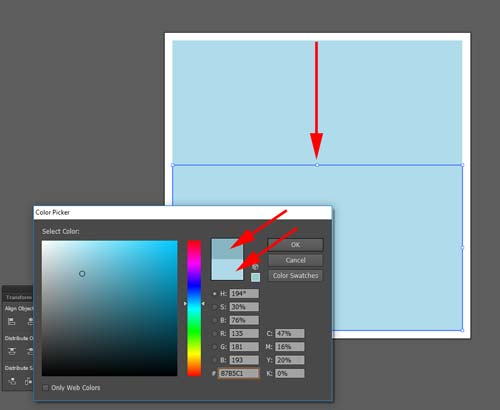
Use White or any light Blue color.
Start drawing.
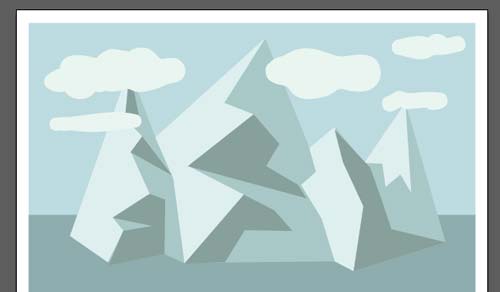
Draw as many clouds as you want.

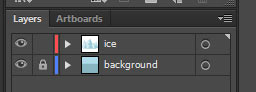
Position the clouds layer between background and ice.
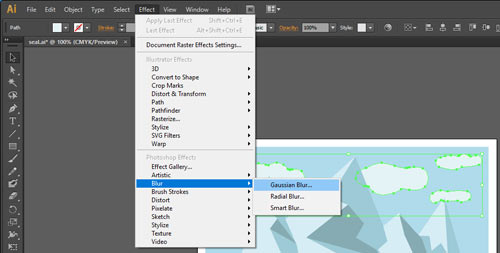
Select all clouds.
Effect > Blur > Gaussian Blur
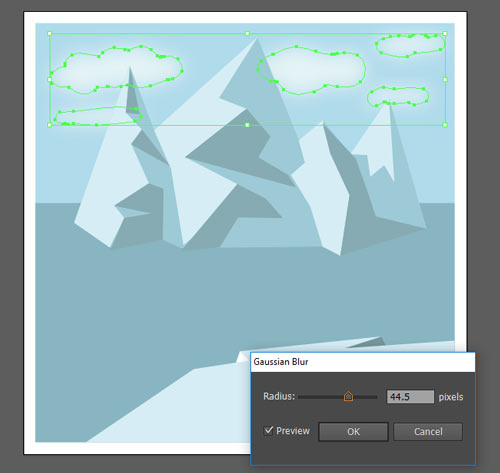
Check the Preview button.
Adjust the slider to get blur effect.
Save.
Lock the clouds layer.
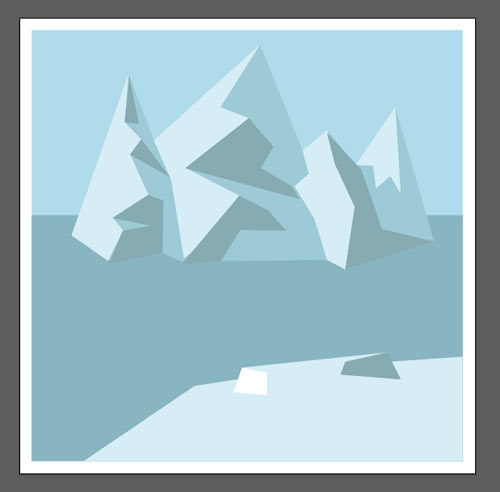
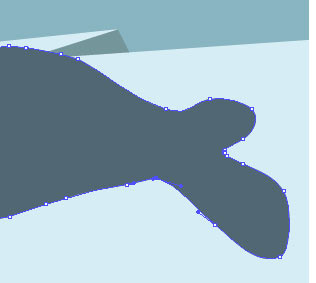
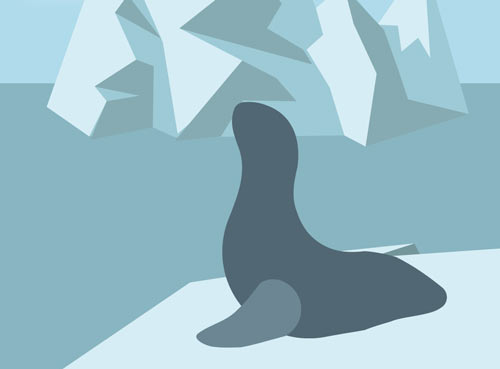
seal

Create a new layer.
Name it "seal".
Zoom in the area for the seal to enjoy :)

Select Ellipse tool.
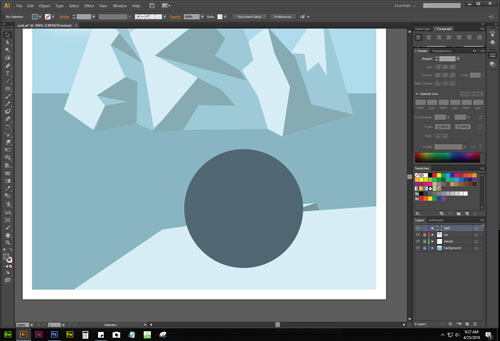
Draw a big circle.
You are going to modify it for the seal body.

Choose Warp tool.
The cursor will look like a brush tool. The size can be changed by double-clicking on the Warp tool.
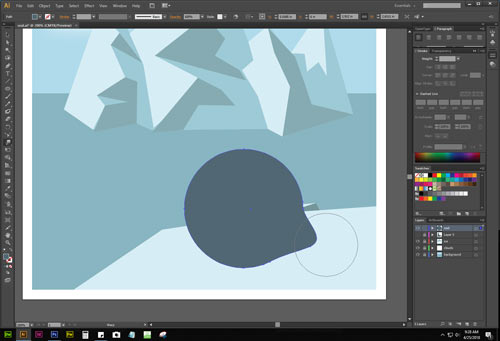
With the circle selected:
Pull one side to form the tail.
Use multiple strokes.

Push in the top part for the back.
Continue pulling and pushing to form the perfect seal.
To draw a fin - start with a circle.
Change the color to better see the process.
Pull one side with the Warp tool.

Duplicate the fin.
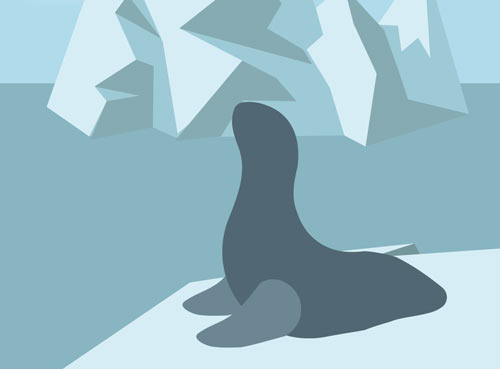
Object > Arrange > Send to back.
Change the color of the front fin to match the rest of the body.
Use Eyedropper tool.
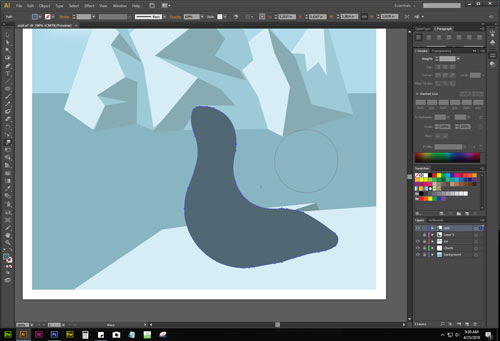
Back to Blob brush tool to paint the tail.
Paint the tail shape.
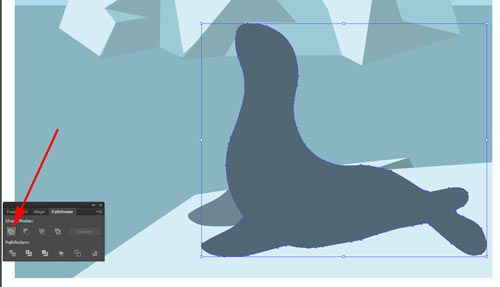
Combine body, front fin, and tail into one shape.
Use Pathfinder palette.
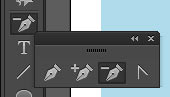
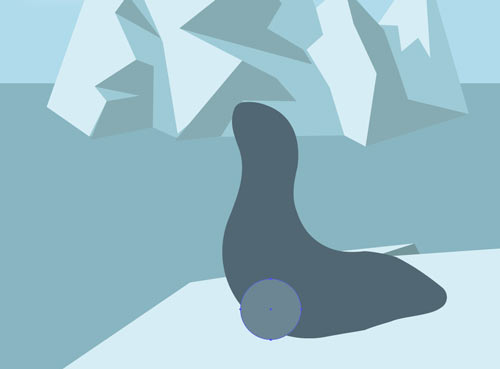
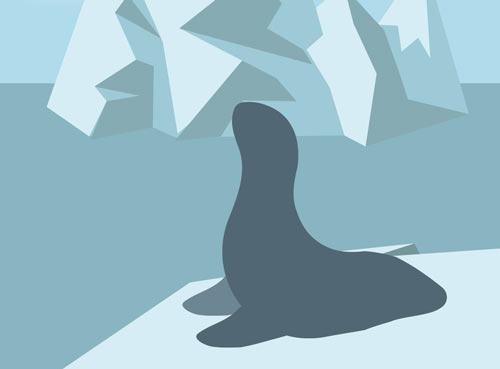
To clean up the shape and make it smoother - use Delete Anchor point tool.
Delete all unnecessary points.

Use Direct Selection tool to further modify the shape.

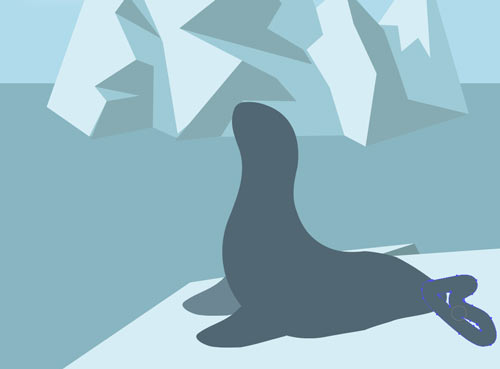
Draw a small circle for the nose.
Choose Gradient fill option in the Tool box.
Then choose Gradient tool.


Open Gradient palette.
Choose Radial gradient type.
Reposition the gradient center and modify the gradient size.
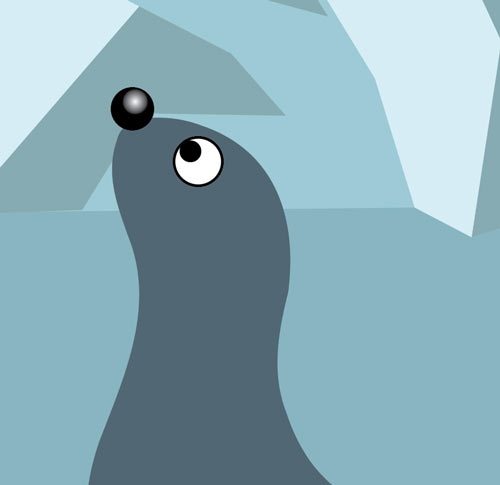
Add two more circles for the eye.
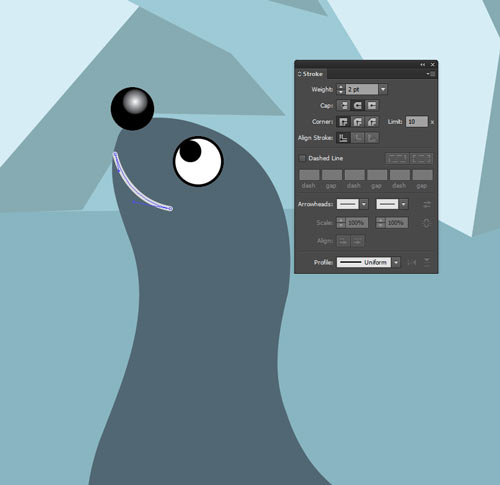
Use Pen tool to draw a small curve for the mouth.
Use Stroke palette to adjust stroke weight and ends type {Cap).
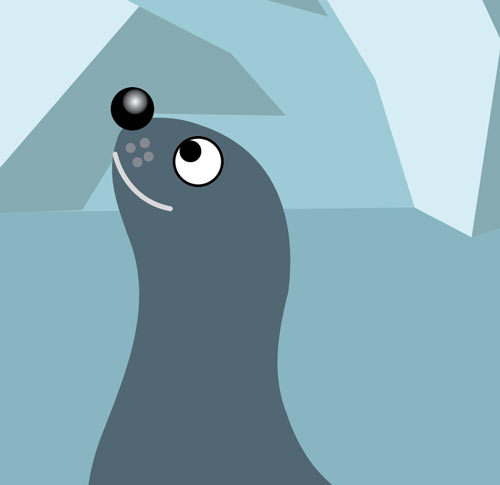
Few more details....

Use Line Segment tool to add a few strokes.
Each stroke is a separate path. Click and drag.
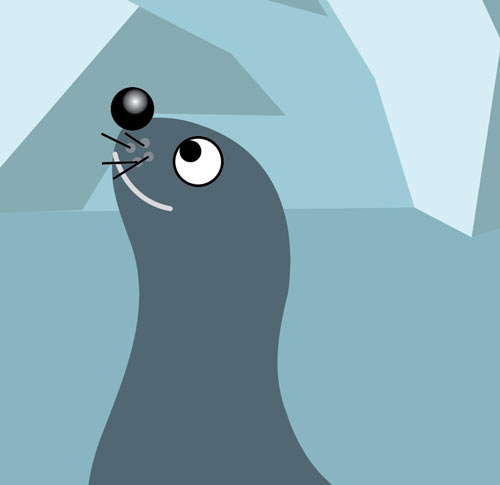
Draw the whiskers in any direction.
They can be shorter or longer than the example.
That's it!
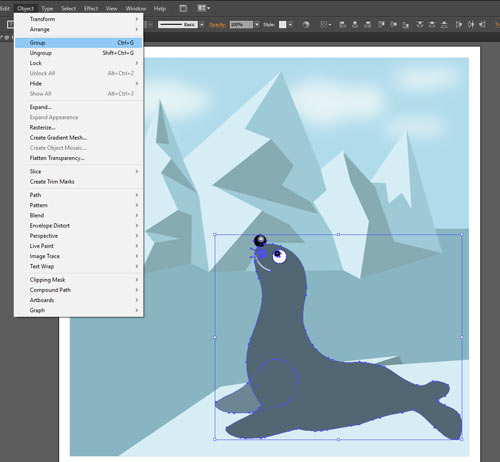
Select the seal. Group all shapes: Object > Group.
Now you can resize it and reposition if needed.
Save.
Done!