In this assignment:
- Create a walking symbol
- Animate the walking symbol
- Pause the Movie Clip symbol
- Break symbol apart
- Distribute to layers
by JuliannaKunstler.com
In this assignment:
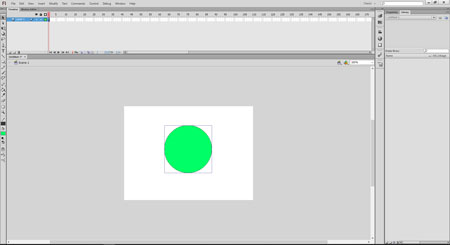
Create a new file.
Draw a simple shape.
I used "object" setting for Shape tool.
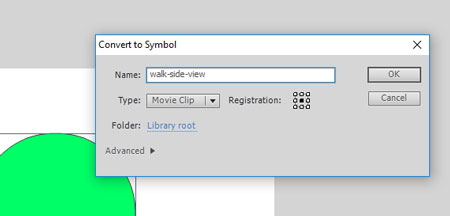
Convert the shape inti symbol (F8).
Select "Movie Clip" type.
Name it: walk-side-view.
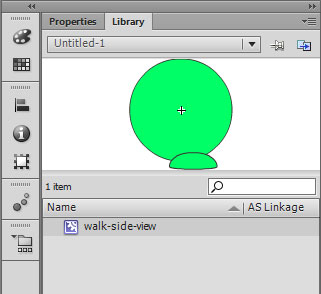
You will see your new symbol in the Library panel.
Double-click on it to open symbol's editing mode and timeline.

Note the symbol's name next to Scene 1 label.
That means you're in the symbol's timeline.
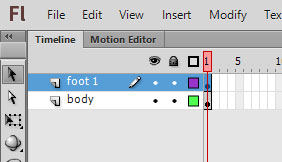
Rename the layer "body".
Then add another layer and name it "foot 1".
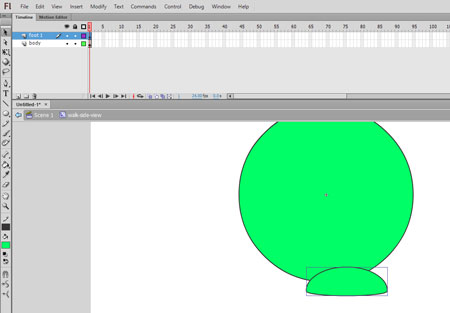
Draw a foot shape (on "foot 1" layer).
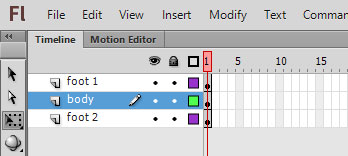
Duplicate the foot layer.
Name it "foot 2".
Place it under the body layer.

With "foot 2" layer selected, use arrow keys and move the foot as shown.
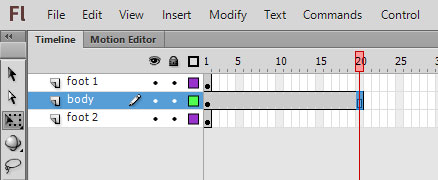
Add frames (F5) on layer "body".
Stop at f.20
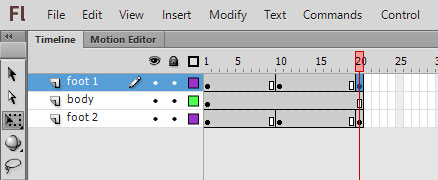
Add keyframes (F6) at f.10 and f.20 for both feet layers.
Keyframes at f.1 and f.20 will stay the same to keep the continuous movement..
The change will occur in frame 10.
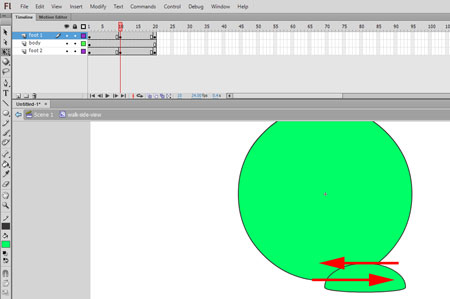
Important:
foot 1, frame 10 - move the foot to the right (use selection tool or arrow key).
foot 2, frame 10 - move the foot to the left
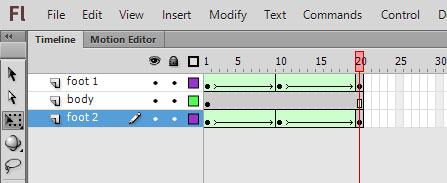
Shape tween foot 1 and 2.

Return to Stage view.
Move your symbol off stage.
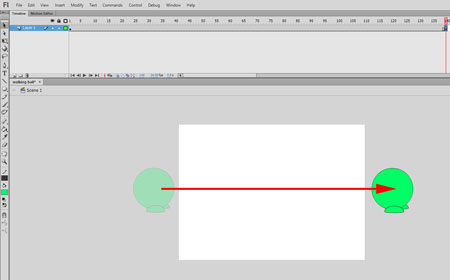
Add keyframe (F6) at frame 140 (this is just a random number).
Move the symbol off the stage as shown.
Create Classic Tween

If you did everything right, the frames will become purple and have a solid arrow going through them.

Now, let's say, you want to stop your symbol and change the direction it's going.
Click on frame 97 (or thereabouts).
Insert a keyframe there (F6).
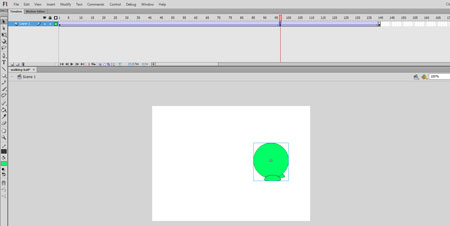
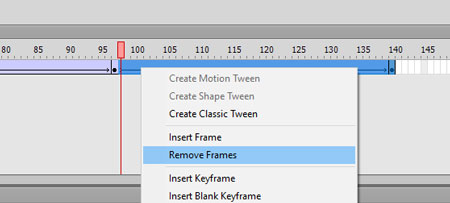
Now we are going to remove the frames we don't need:
Select the frames to the right.
Right-click on them and choose Remove Frames.

Right-click on remaining keyframe and remove the tween setting from the frame itself.
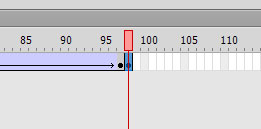
Insert a keyframe next to the last.
It duplicated the content.
We are going to change this symbol into another one that walks towards the viewer.
To change a symbol into another symbol - we need to detach all symbol's properties - or break it apart.\
With the symbol selected, go to Modify > Break Apart
Now you see all 3 shapes on the stage.
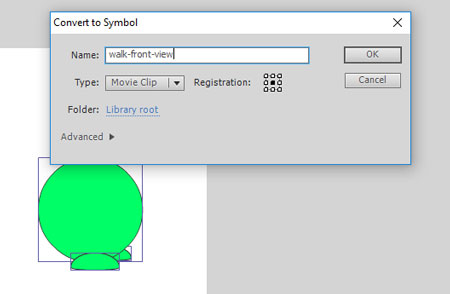
Select these shapes and convert them into another symbol (F8).
Name it "walk-front-view".
Movie Clip type.

Double-click on the symbol to open its timeline and symbol editing mode.
All three shapes are on a single layer.
We need to place each shape on a separate layer (Shape animation work only with one shape per layer).
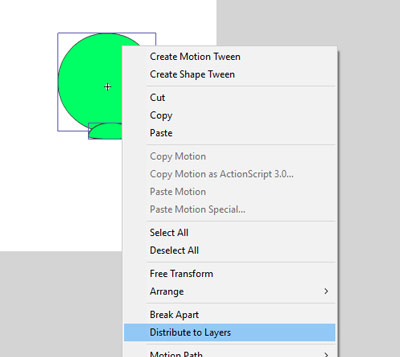
Select all shapes.
Right-click: Distribute to layers.
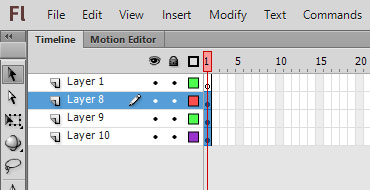
3 more layers will appear in the timeline.
The initial layer (layer 1) becomes blank.
Delete it.
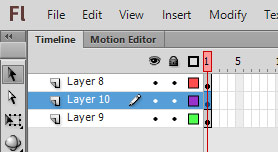
Move the bottom layer in the middle.
The bottom layer is your foot 2, that was behind the body.
Now we want both feet to be in front of the body.
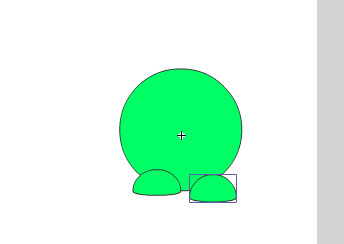
Resize the feet if needed.
Position them as shown:
foot 1 is slightly higher and foot 2 is lower.
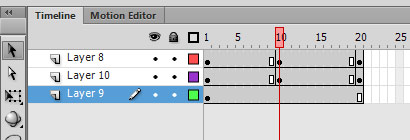
Extend the frames for the body (F5) to f.20
Keyframes at f.10 and f.20 for feet layers.
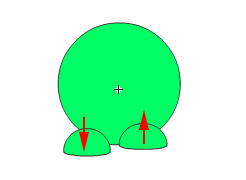
In frame 10: move foot 1 down and foot 2 up.
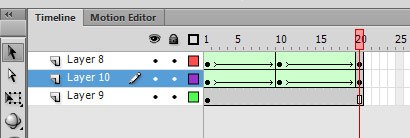
Shape-tween both foot layers.
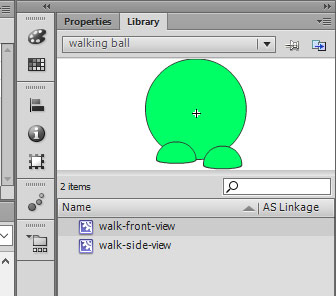
You have two symbols now in your Library.

Return to Scene view.
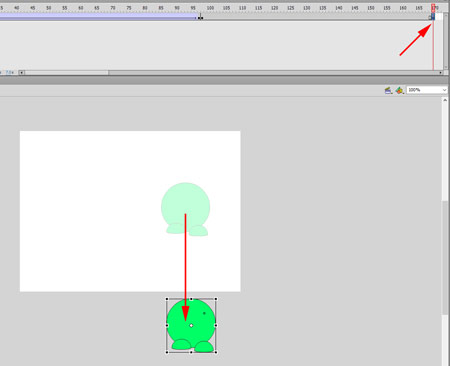
To make the symbol walk towards you:
1. add a keyframe (F6) at f.170 (random number)
2. Move the symbol down.
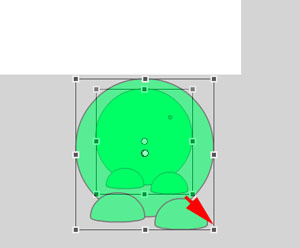
3. Make it bigger.
Create Classic Tween.


To pause the symbol before turning:
Click on f.97
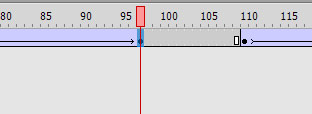
Insert frames (F5) to f.109 (or how long you want the symbol to pause.
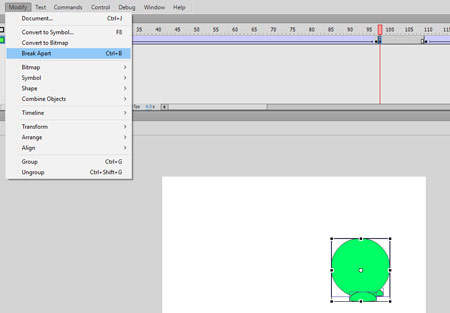
Then select the symbol and break it apart.
You need to break it apart to have the character stay still, otherwise it will keep marching.
That's it!
You are done!