Why are we doing this?
Creating a simple site is an easy way to keep all of your projects in one place.
You can share the link with your friends and family.
You can share the link and images on social media sites.
Easy access!
by JuliannaKunstler.com
Why are we doing this?
Creating a simple site is an easy way to keep all of your projects in one place.
You can share the link with your friends and family.
You can share the link and images on social media sites.
Easy access!
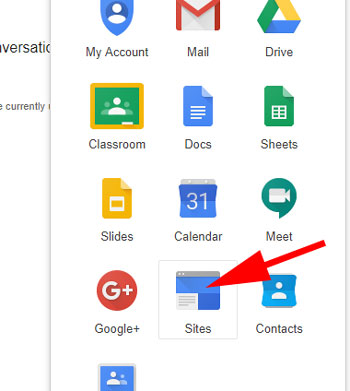
Go to the "Sites" app
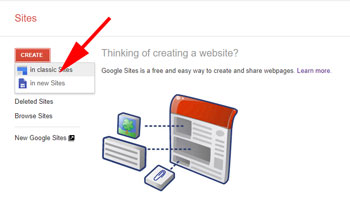
Click Create button;
Choose "classic" or "new"
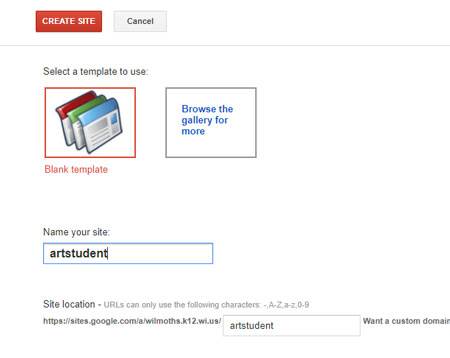
Name your site.
Give it your last name.
Click Create site
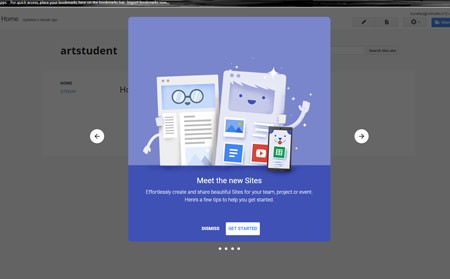
You can skip the help option or keep it.

Once the site is created - type in the title.
Place your first and last name here.
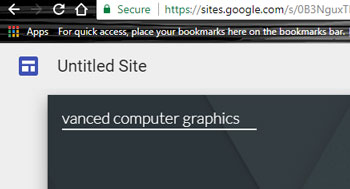
In the upper left corner add the site's name (in case you are building multiple sites for different classes).
My suggestion is to name the site by your course name (Advanced Computer Graphics, for example).
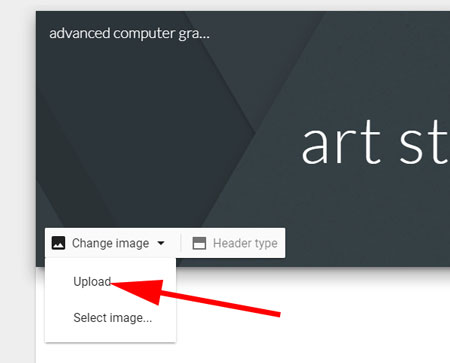
The default title image is too plain. You can replace it by uploading your own picture.
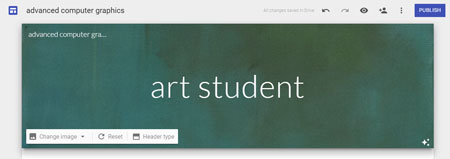
Pick something neutral for the background - you don't want it to overpower the title of the page. All text should be easy to read.
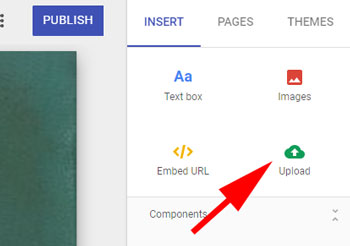
Click on Upload button to add an image of your first assignment.
(Images button is for selecting the images that are already on your Google drive).
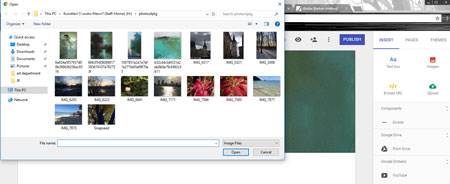
Browse to the image to upload.
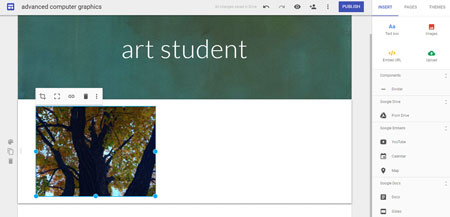
Now the image is placed.
You can resize and reposition it.
Hold SHIFT to constrain proportions as you resize.
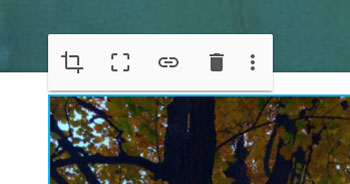
There are more options for the selected image:

At this point the site exists only in your account. To make it public you need to publish it.
Guess what?! Publish it!
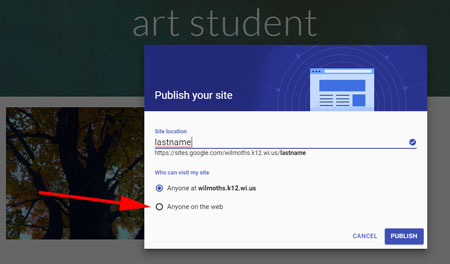
Before Google publishes the site - it gives you a choice of publishing/sharing options.
Choose "Anyone on the web" to make it accessible to your friends (if you choose to).
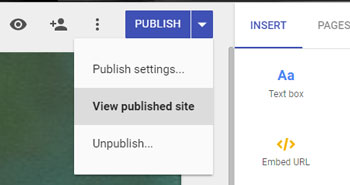 To preview the live site at any time - go to publishing options.
Remember, that the live site will not show the changes you've made unless you click PUBLISH button to apply the changes.
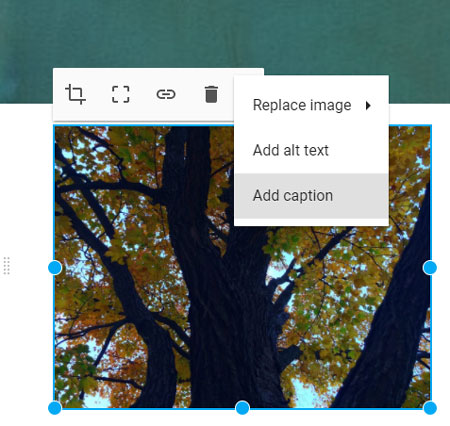
To add a title to your image - go to hidden image options and choose "Add caption".

Type the name of the assignment
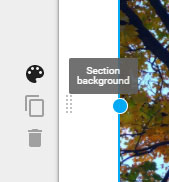
You can change the background for this particular section.
If you roll over the left Grey pane - you will see an art palette.
Click on it.
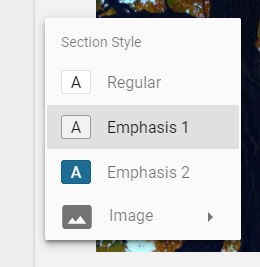
Select what kind of background you'd like for this section.
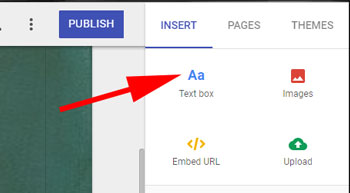
Click on Text box button
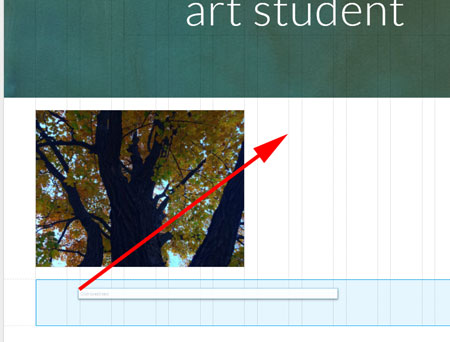
A text box will be added under your image section.
You can insert the text box into your existing section by dragging it into position.
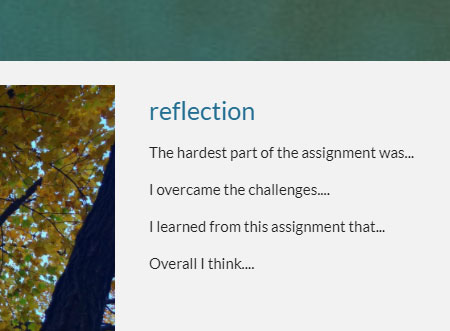
This is where you will write a small paragraph (reflection) on your completed work.
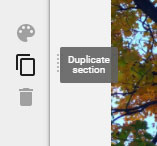
The fastest way to add a section for your new assignment/image is to duplicate your first one. This way everything will look well organized and uniform.
To duplicate the entire section - click on the second icon.
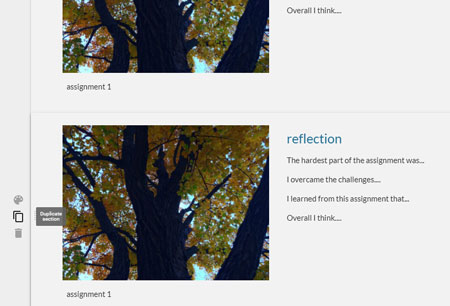
Once the section is duplicated, you can change the background color (if you wish to) and replace images and text.
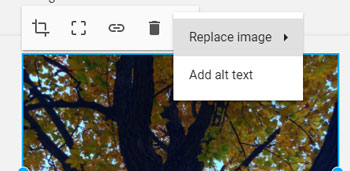
In the image options choose "Replace image" and upload a new one.
Then type a new caption and a fresh reflection paragraph.

Do not forget to click "Publish" button to apply changes.