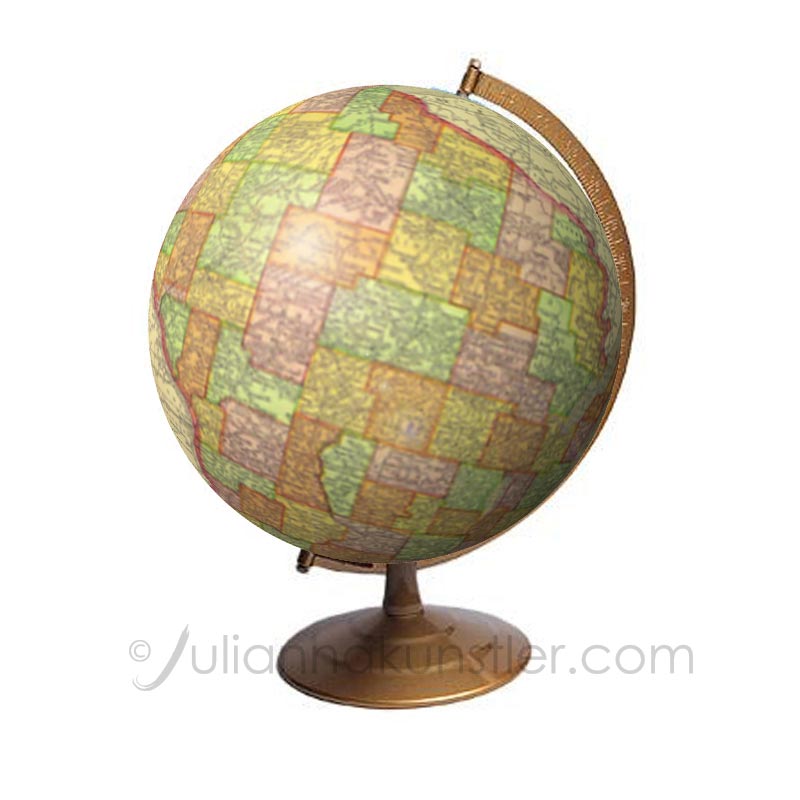
You are going to create a globe of Wisconsin.
Use Spherize filter to curve a flat image.

by JuliannaKunstler.com
You are going to create a globe of Wisconsin.
Use Spherize filter to curve a flat image.
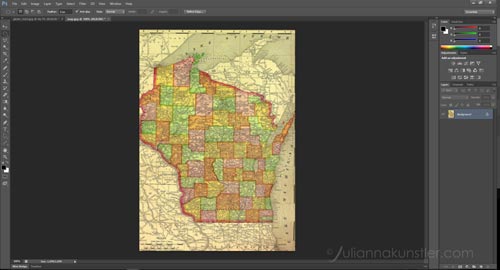
Open the map file.
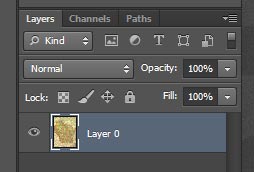
Double-click on background layer to convert it to regular layer.

Select Elliptical marquee Tool
Make a large circular selection of the map. Hold Shift for a perfect circle.
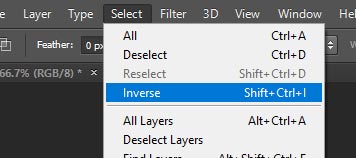
Select > Inverse to select the area outside the circle.
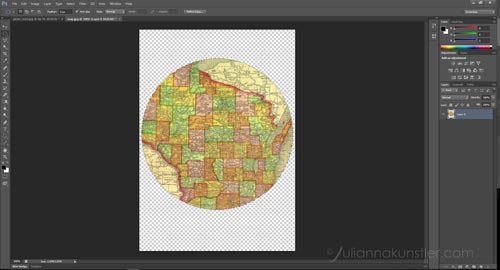
Hit Delete or Edit > Clear to remove the background.
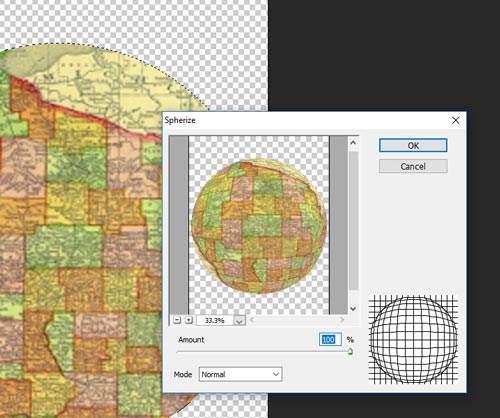
Important:
Select > Inverse again to select the area inside the circle.
Time to spherize the image:
Filter > Distort > Spherize
Use the default setting of 100%

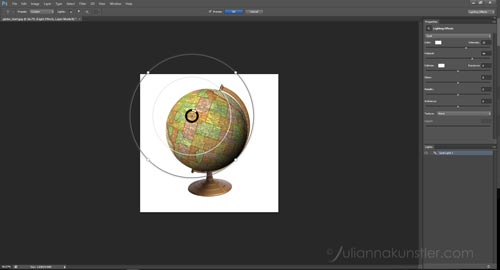
Now you can drag the map onto the globe file.
Use Move tool.
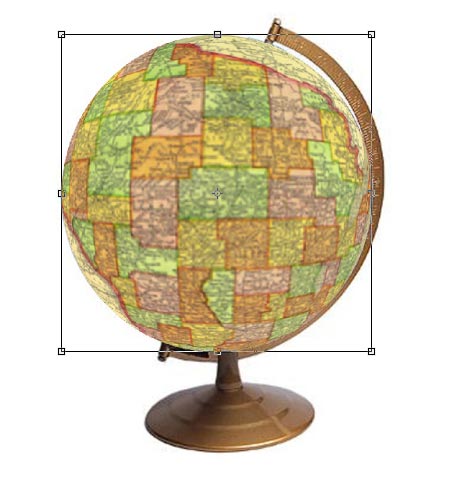
Free Transform to resize and reposition the map.
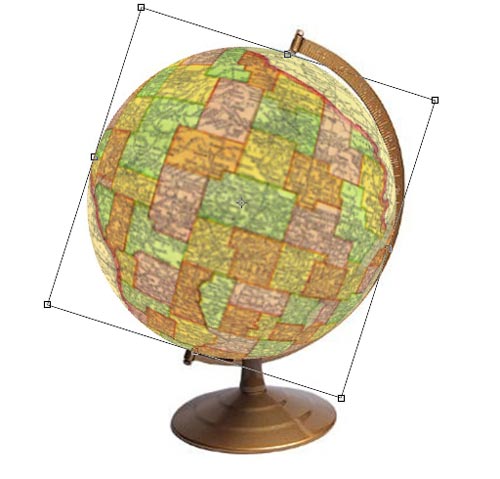
While you're at that - tilt the map to match the globe axis.
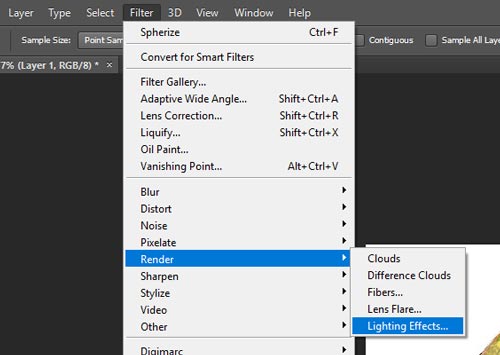
To add a shadow:
Filter > Render > Lighting Effects
Adjust the settings for the filter.
Make it look as realistic as you can.
The setting might be still too strong for the needed effect. That means you might want to fade the filter's effect after you apply it. Once you hit the OK button in the filter window, go directly to the next step>
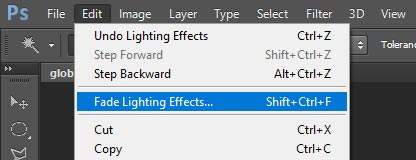
Edit > Fade ......
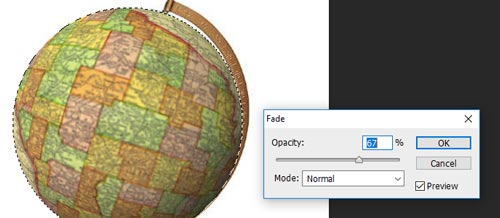
Play with the setting until you are happy with it!

To add a highlight to the globe:
Filter > Render > Lens Flare
Position it as shown.
Select brightness.

Fade the flare if needed.
Done!