Things to learn:
- Drawing shapes
- Converting anchor points
- Gradient mesh
- Saving objects as symbols
- Editing symbols
- Shape order
- Layer palette object selection
- Special effects

by JuliannaKunstler.com
Things to learn:

A mesh object is a multicolored object on which colors can flow in different directions and transition smoothly from one point to another.
At the intersection of two mesh lines is a special kind of anchor point called a mesh point. Mesh points appear as diamonds and have all of the same properties as anchor points but with the added capability of accepting color.
More information here.
Create a New file in Adobe Illustrator. Artboard size is 8" x 8".
Set General Units to inches in Preferences (Edit / Illustrator > Preferences > Units)
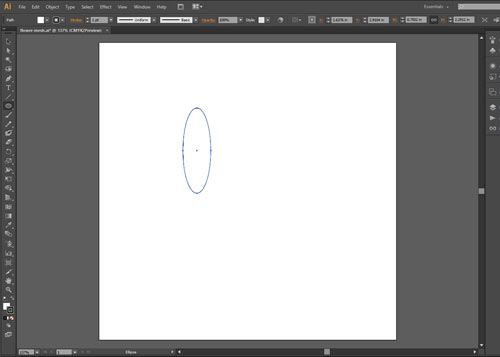
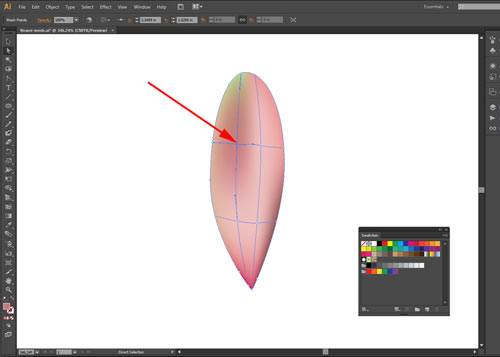
Choose Ellipse tool from the Tool box.
Draw an oval as shown.
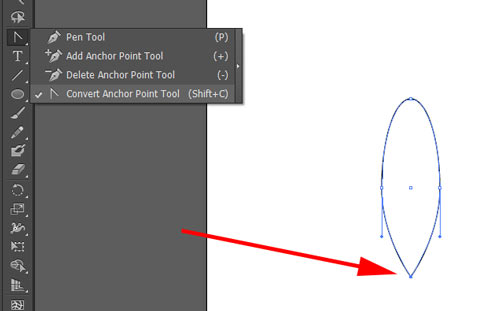
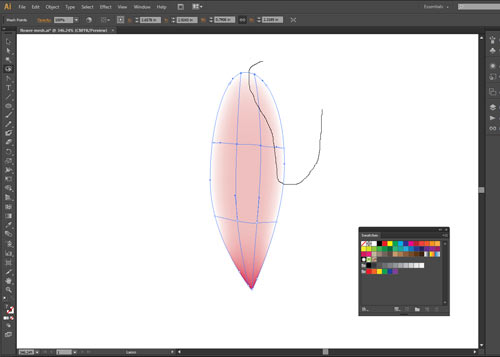
Click on the bottom anchor point with Convert AP tool.
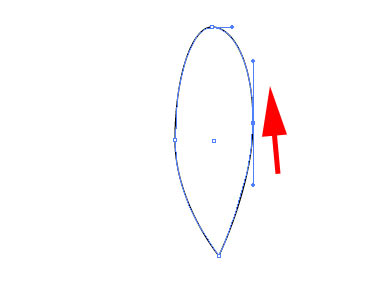
Drag the AP handles to make the shape less symmetrical and "perfect".
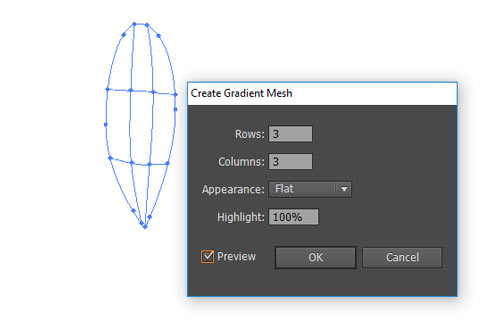
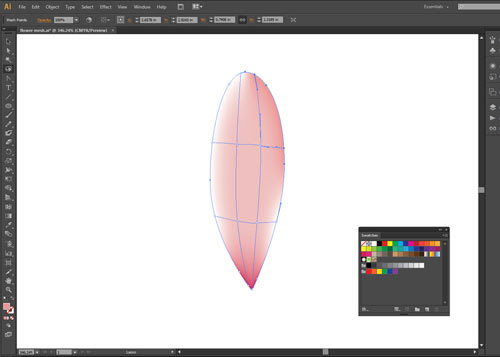
Object > Create Gradient Mesh
Gradient Mesh is a form of a color grid applied to a shape.
This grid has color anchor points (mesh points) at grid-lines (mesh lines) intersections.
The colors transition smoothly within the grid cell.
They can be moved around, added, deleted, and edited.
Default color is White when you convert a shape into Mesh object.

Choose Direct Selection tool
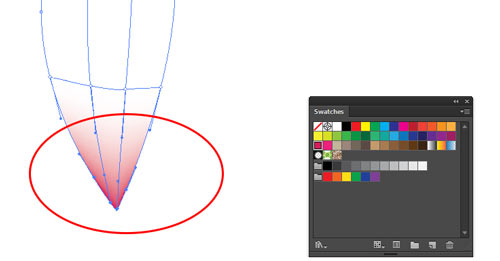
Drag to select the bottom part of the petal.
Apply a color to the selected point(s).
use Swatches palette or Color Picker.

Select the 4 middle mesh points (Use Direct Selection tool and hold Shift).
Use a lighter color.
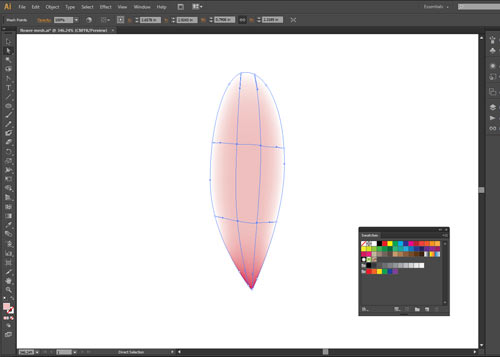
This is what it should look.

To select multiple points around the edges - choose Lasso tool.
Select points as shown.
Apply darker shade

Select points as shown.

Apply even darker shade.
Select points as shown.

Apply a mid-value color.
In this example its a version of orange.
Select points as shown.

Apply another color.
In my case it's yellow-green.
Choose Direct Selection tool.
Select an inside mesh point.
Apply a darker shade to the point.
You can move the mesh point to make the dark area wider.

Move another mesh point down as shown.
This will make room for the shadow to spread further down.

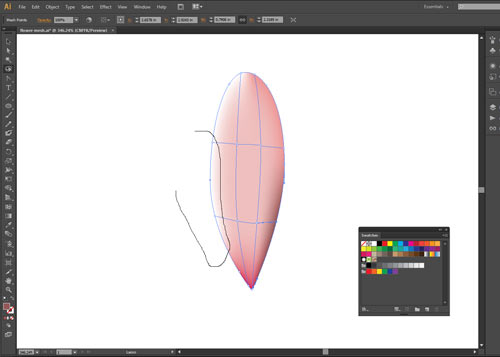
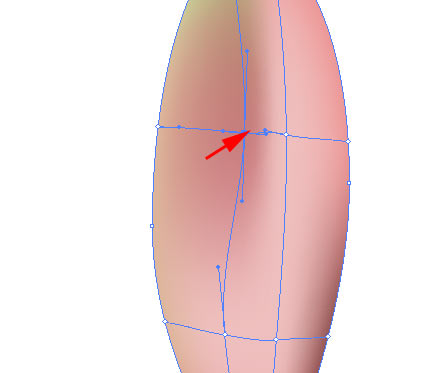
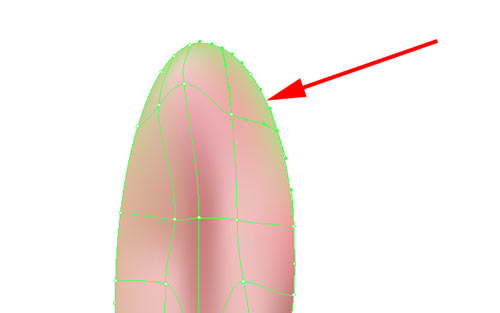
Select Gradient Mesh tool.

Click on the vertical mesh line with Gradient Mesh tool.
This will create a new mesh point on the existing line and will add an additional horizontal line.

If you click in the empty area - a new set of mesh lines (horizontal & vertical) will be added.


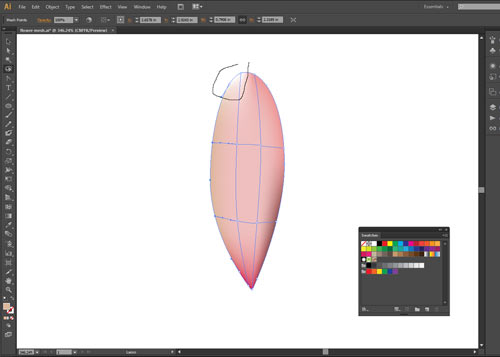
Modify mesh points as shown.
File > Save

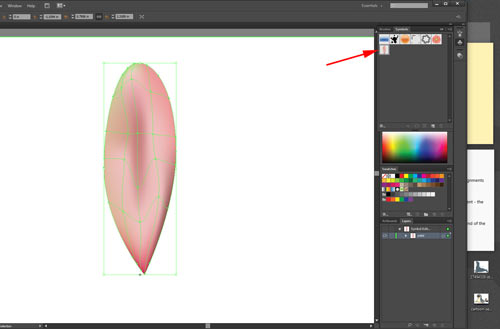
Select the petal.
Convert it into symbol: drag it onto the symbol palette or click on New Symbol button at the bottom of the palette.
Name it "petal".
Mark the Registration point as bottom-center.
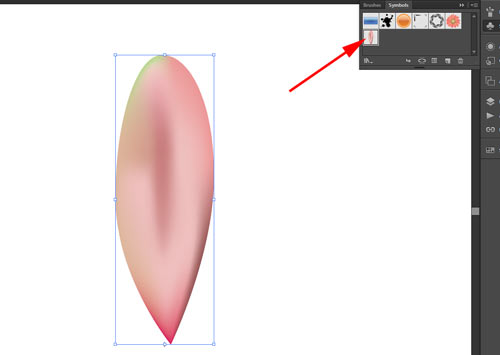
A new symbol will be created in the Symbols palette.
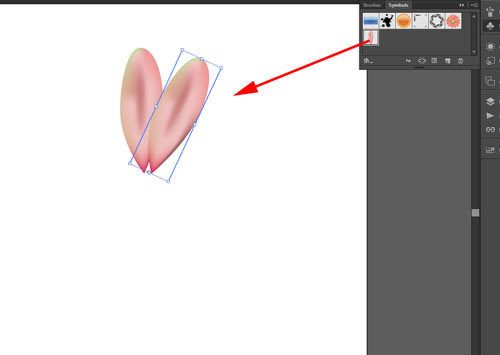
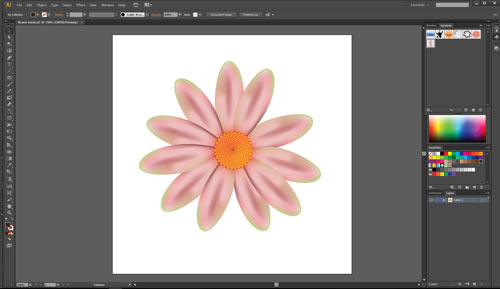
Drag an instance of the symbol onto the artboard and rotate it.
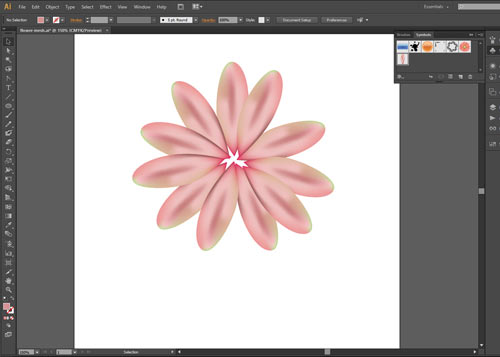
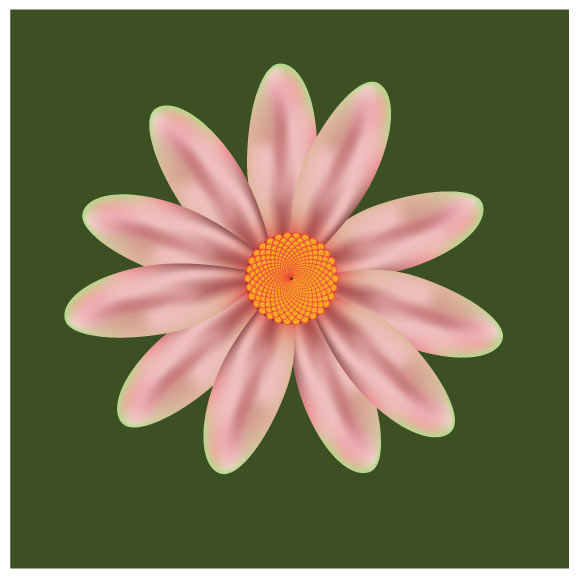
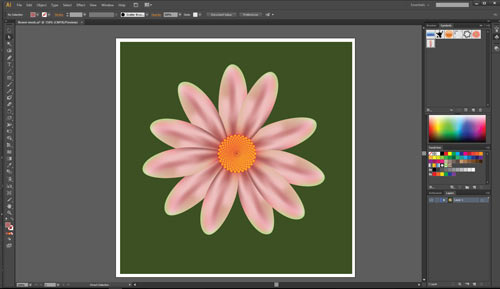
Complete the flower.
Choose Ellipse tool
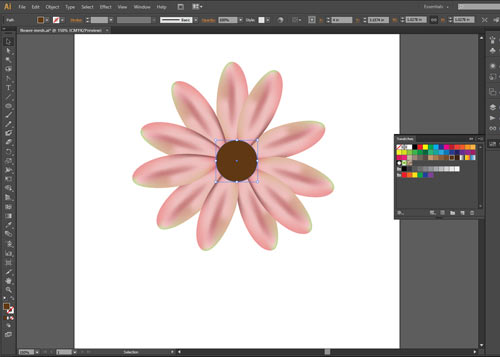
Draw a circle.
Pick a dark color for the fill.
No stroke.
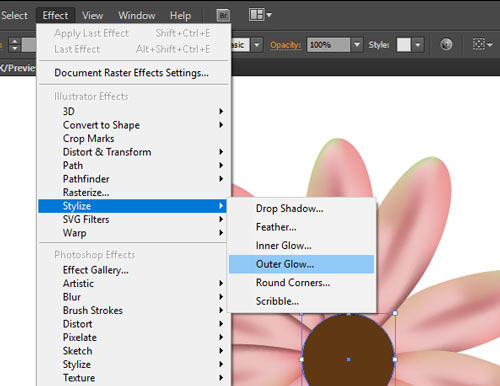
Apply a glow effect around the circle.
Effect > Stylize > Outer Glow

Click on preview button.
Choose color and mode.
Adjust the settings for a visible result.

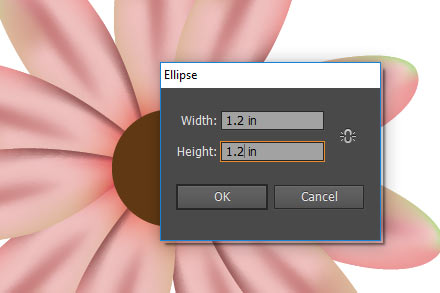
Click on the art board with Ellipse tool.
Set the dimensions as shown.
Colors: black fill, no stroke
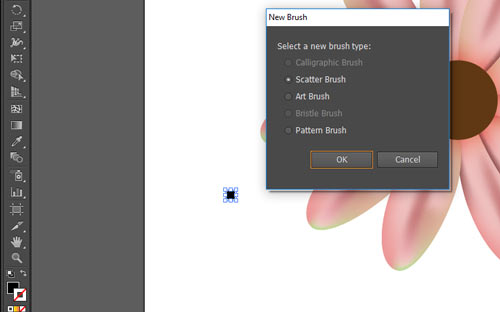
With the circle selected - click on New Brush button in the Brushes palette.
Use the settings shown.
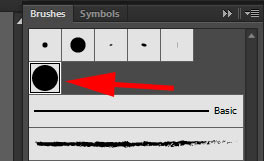
New brush thumbnail will appear in the palette.
It is important that you follow the settings shown to get the result we need.
If you choose your own dimensions - you'll have to adjust the rest of the settings.
Start with drawing a circle.
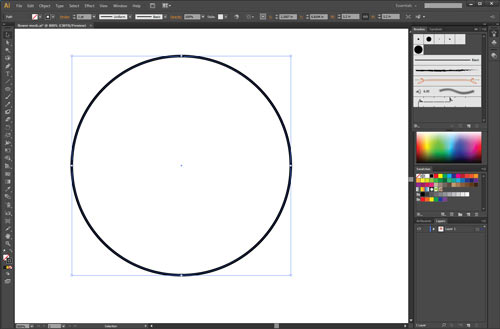
No fill color.
Black stroke.
Stroke size: 1 pt.

Apply your new brush stroke to the circle.
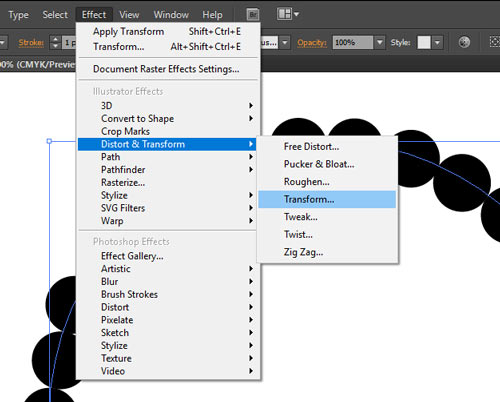
Now we are going to create multiple copies of that circle that gradually get smaller.
Effect > Distort & Transform > Transform.
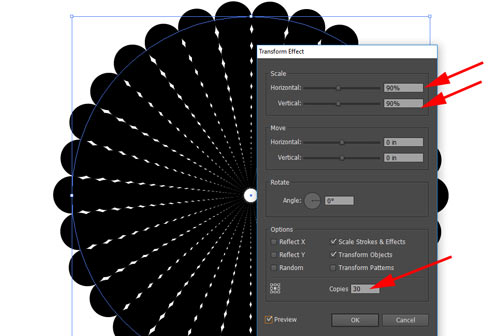
Set the number of the copies you want (30).
Each copy will be scaled down 90%
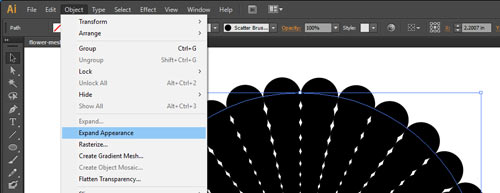
Now we convert the circles with custom brush stroke to groups of circles.
Object > Expand Appearance
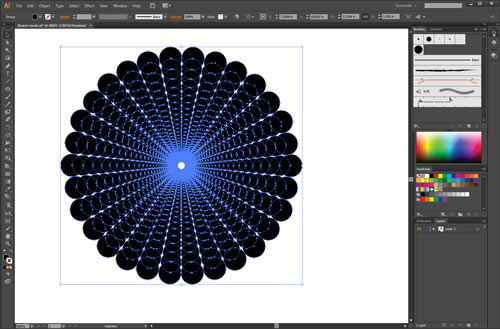
This is what it should look like.
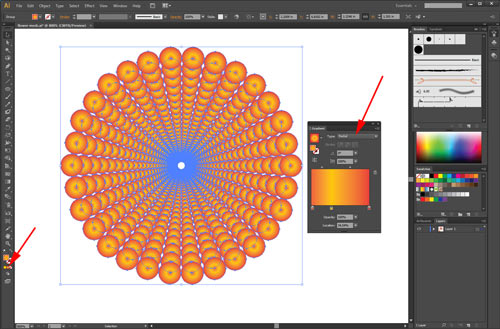
Change the fill option for the circles.
Choose Radial Gradient.
Set the colors in the Gradient palette.

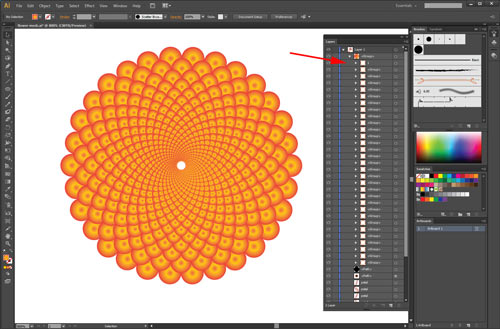
Open Layers palette.
Double-click on Layer 1.
Open the group that you have for the flower center.
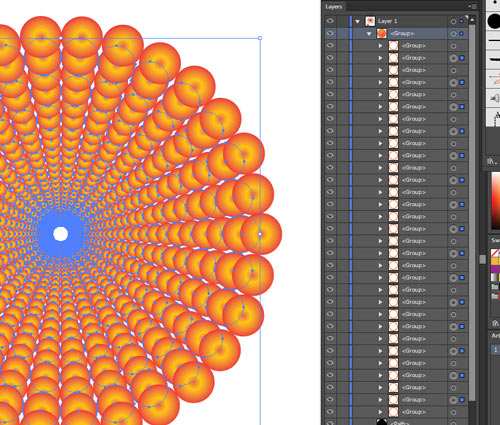
Select every other one of the ring groups by clicking on the circle icon on the right side of the group sub-layer.
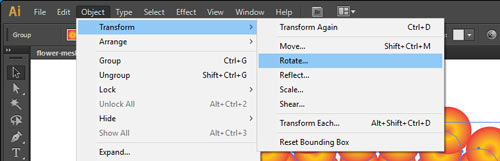
Object > Transform > Rotate
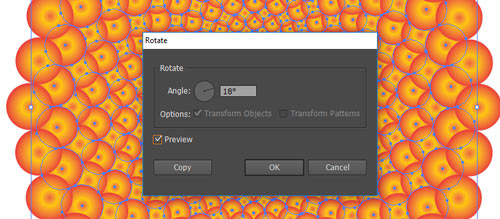
Rotate at 18 degrees.
Click on Preview to make sure it looks right.
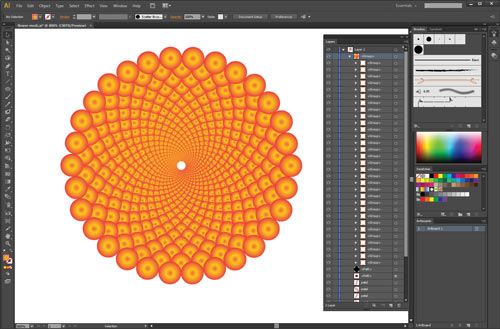
This is how it should look now.
Next step is to change the order of the circle groups:
The outer circles will be placed in the back, and the center ones will be moved forward.

Select the very last circle group and rename it "1".
It will become our top group.
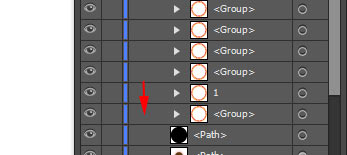
Drag the group above "1" to the bottom of the stack.
Continue dragging each group that is directly above "1" to the bottom of the stack.
Eventually you will end up with "1" being at the top.
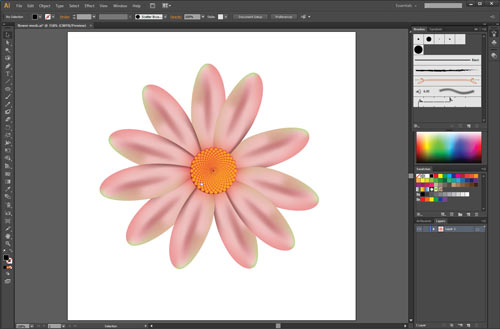
Position the flower center in the middle of the flower.
Resize if necessary.
File > Save
You can edit symbols by double-clicking in a thumbnail in Symbols palette.
Select a few mesh points with Direct Selection tool.
Adjust the color.
Double-click on the artboard outside the symbol to exit Symbol Editing Mode.
You can also click on the arrow at the top left corner of your image window.
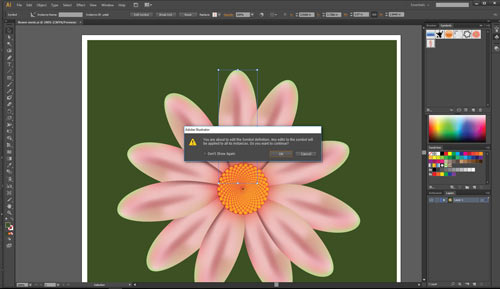
You can also enter Symbol Editing mode by double-clicking on the symbol's instance.
In this case - double-click on a petal.
Click OK to continue.
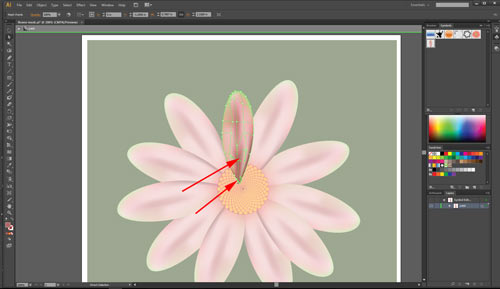
Add more dramatic shadows to the petal.
Exit Editing mode.
The changes will be applied to all instances (all petals).
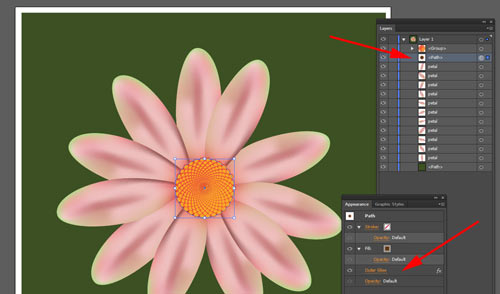
If you need to adjust a setting for any of the shapes - you can select the shape from Layers palette. All properties and effects are stored in Appearance palette.