julianna kunstler logo
Adobe Flash

animation
Instagram icon

by JuliannaKunstler.com

Intro to Adobe Flash and basic animation using keyframes and tweening. Lesson plan.

To build an application in Flash, you create vector graphics and design elements with the drawing tools and import additional media elements such as audio, video, and images into your document.

Next, you use the Timeline and the Stage to position the elements and define how and when they appear.

Using Adobe ActionScript (a scripting language) you create functions to specify how the objects in the application behave.

The format in which you edit Flash documents has the file extension FLA.

The format in which you export Flash documents for viewing in the Flash player has the file extension SWF.

The format that lets multiple people work on separate parts of the Flash file, and that works with Adobe programs such as After Effects, has the file extension XFL.

animation examples

Flash basics:

new flash file

Open Adobe Flash application.

In the dialog box, choose a New project - ActionScript 3.0 file type

flash

You can choose a workspace that suits your needs or create your own.

change view

Choose between Essentials and Classic.

I prefer Classic workspace.

Below are the 5 major components of Flash workspace.

adobe flash interface
  • The Stage is like the canvas that defines the visible area during playback.
  • The Timeline controls the timing that specifies when elements in the movie appear on the Stage. Layers control the order of the graphics.
  • The Tools panel contains the tools used to select objects on the Stage, create text elements, and draw vector graphics.
  • The Property inspector displays contextual information about the attributes of any selected object; you can edit these options to adjust an object's settings.
  • The Library panel contains media elements and symbols that are stored for a project.
toolbar

First, take a look at the Toolbar.

You can resize the panel - make it wider or thinner.

Most of the tools are self-explanatory. They are exactly what you think they are.

selection tools

selection tools

Flash graphics are vector graphics. Keep this in mind. That’s why we have two selection tools.

Main Selection tool (black) – you’ll use the most. It will allow you to select, move, and edit your artwork.

Subselection tool (white) – allows you to modify paths and anchor points (like in Illustrator)

Free Transform - resize and rotate. There is a Gradient Transform tool in the group.

3-D tools

Lasso tool - free-hand selection

drawing tools

drawing tools

Pen tool – is exactly what it is.

Text tool. Take a guess…

Line tool will create straight lines. Dahhh….

Shape tools… Any idea what they allow you to draw?

Pencil tool. You are going to use it a lot. It draws outlines. Never use it to coloring inside shapes. Use Brush tool for creating fills. That’s what it’s there for. Pencil is for lines.

Brush tool. Draws fills. That is any mark you make with brush will be recognized as a shape, not line…

Deco tool - adds some decor to your shapes.

other tools

flash tools

Bone tool inserts virtual bones (armature) in the drawings that will allow you to rotate these bones and so to rotate the drawing that they are bound to. This tool is perfect for animating characters with legs and arms but it can also be used to animate various other things.

Paint Bucket adds a fill or changes color of the fill. Stroke color will not be affected. Ink Bottle will add a stroke if you don’t have a stroke around your shape. It will also can be used to change color or width of a stroke. It will not change the fill. For fill use Paint Bucket.

Eyedropper. Use it to copy fill or stroke attributes (color, width, style, etc) from one object to another.

Eraser. You’d never guessed….

Hand and Zoom tools - all shortcuts are the same as in other Adobe applications.

flash tools

The rest of the Toolbar is self-explanatory.

Stroke color, Fill color, Default colors.

flash toolsbar

Options: Snap to objects, straighten and smoothing paths.

shape tools

Tools with a tiny black arrow at the bottom right corner can be expanded for more tools. Click and hold to see those tool options.

That’s it. These are all the tools. Easy. Right?

Timeline

timeline flash

Look at the Timeline. You can organize and control the content of a movie over time.

Timeline has layers. They work the same way as in Illustrator or Photoshop.

Each layer has its own frames that will control what you see on stage at any point in time.

Frames: Like films, Flash movies divide lengths of time into frames, which are organized on the timeline.

Keyframes: Frames that define a change in what is displayed in a movie or include frame actions to modify a movie. When you open a new blank movie document, it contains one layer with one blank keyframe.

STEPS

layers

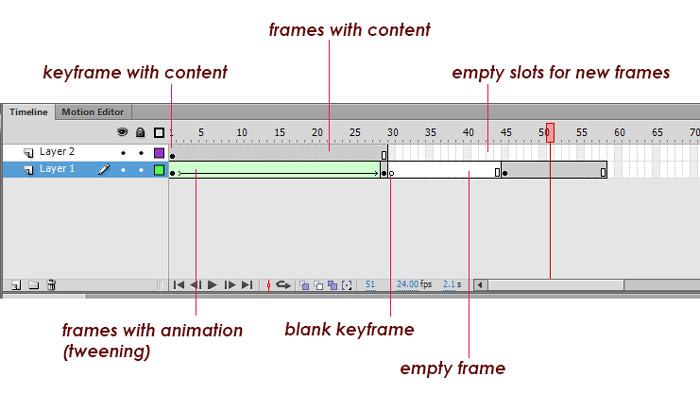
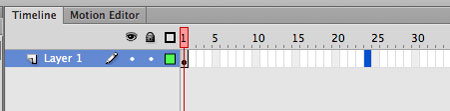
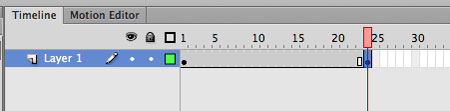
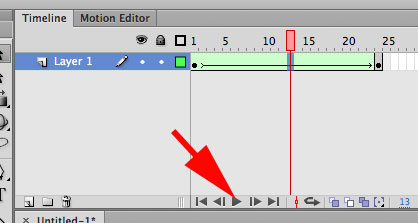
When you create a new project (or a new layer) that has nothing on the stage yet - the first keyframe is blank.

oval tool

Let’s start drawing.
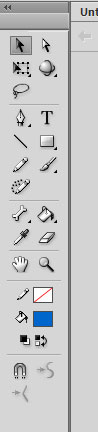
Select Oval tool.

properties

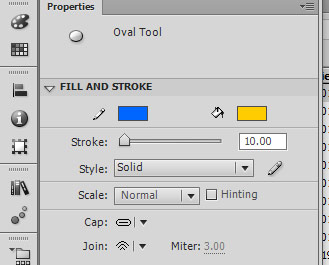
Set some properties for your first object:

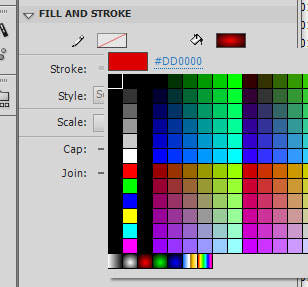
In Properties panel - pick colors for the stroke and for fill. Choose thicker stroke weight (at least 10) for easier editing.
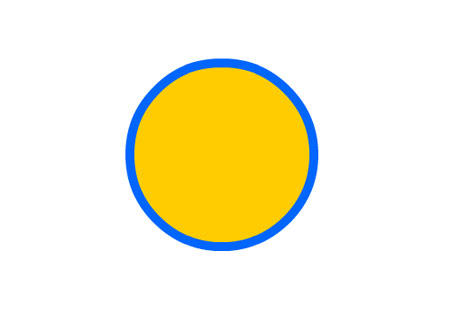
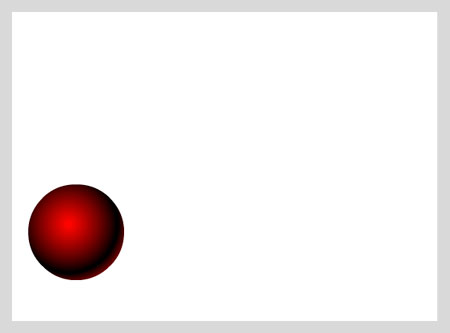
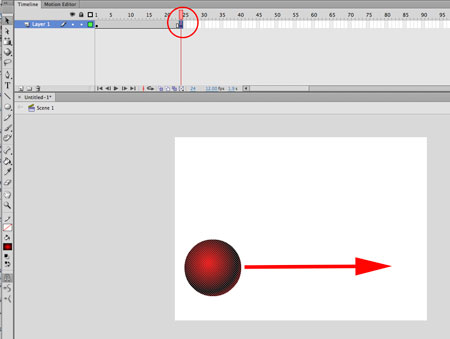
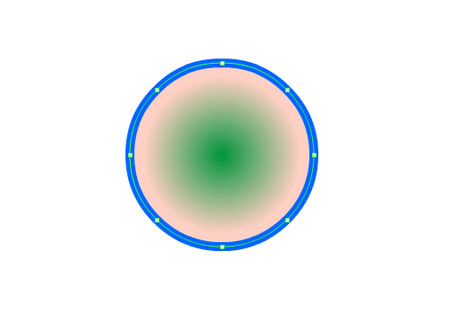
circle

Draw a circle.

For a perfect circle or square – hold SHIFT.

To draw from the center – hold Alt.

keyframe

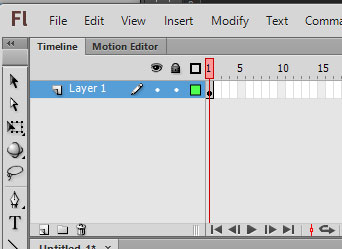
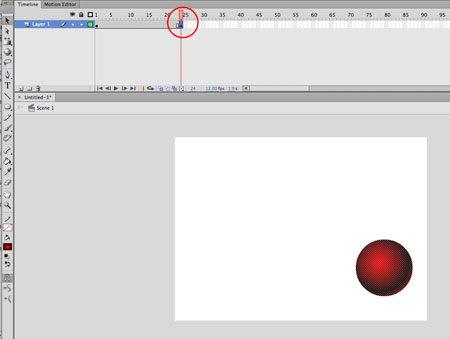
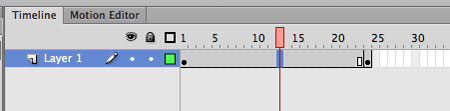
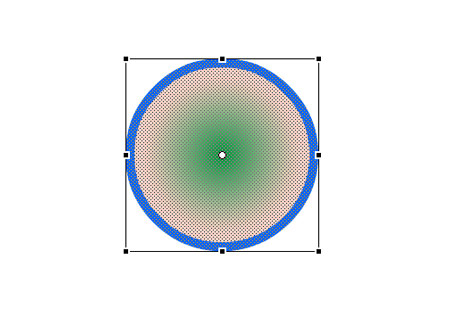
Now that your layer has content – the keyframe changed its appearance - it is solid grey with black dot.

selection

Click once inside the circle using Selection tool.

selection tool

The fill will turn into mesh. That shows that the fill is selected.

flash shapes

You can now edit the fill (just the fill alone) - move it, resize, etc.

To deselect - click outside the shape.

select stroke

If you move the cursor close over the outline and click once - you will select just the stroke.

You will see that stroke turned into mesh.
move stroke

Now you can edit and transform just the outline.

select fill

If you double-click on a shape - it will select the entire shape - both fill and stroke.

properties

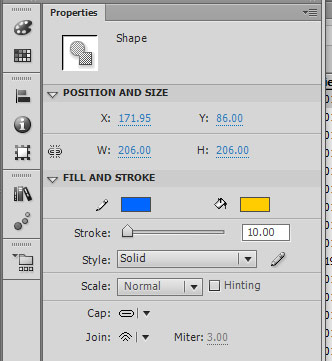
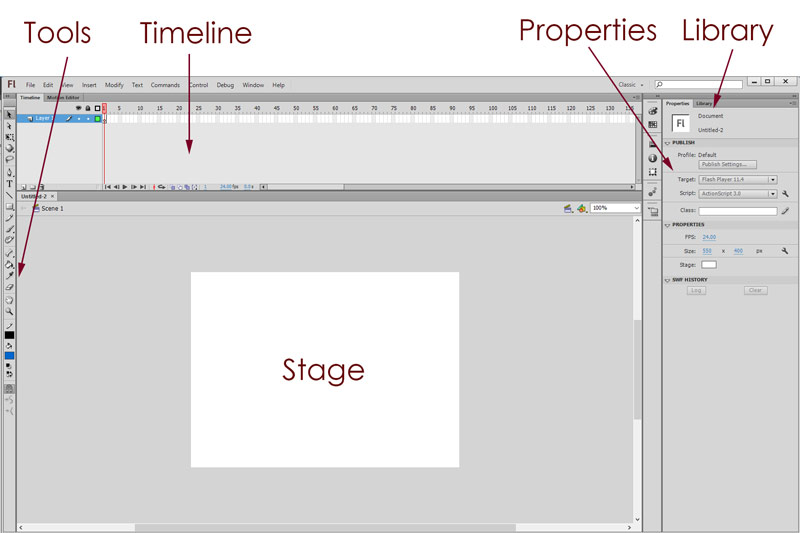
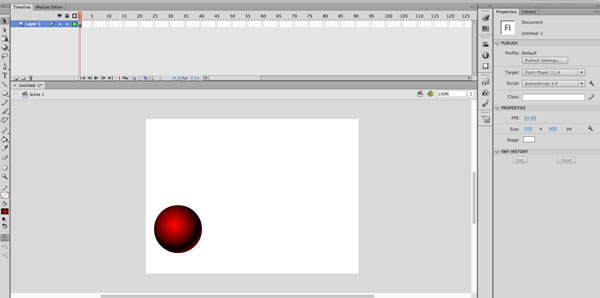
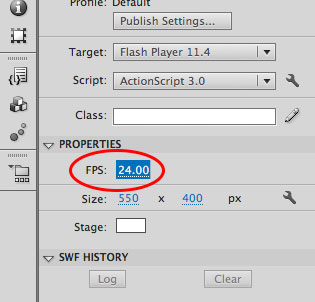
Properties panel is like your Options palette. It changes as you select different tools or shapes and shows all the options available for this particular object.

Right now, if you still have your circle selected – you’ll see options for this shape:

position on the stage, dimensions, colors for fill and stroke, style of stroke, etc…

color

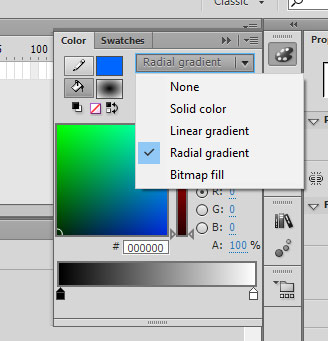
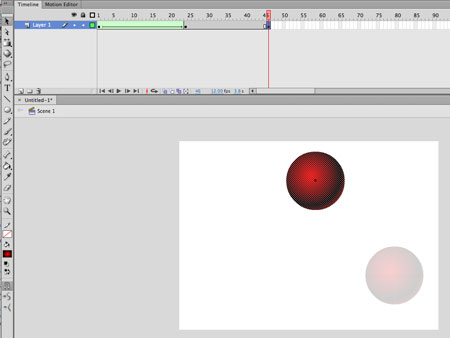
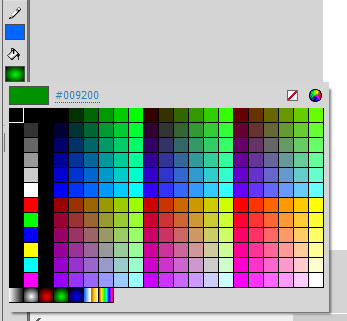
If you open Color panel - you can change color and type of fill and stroke.

gradient

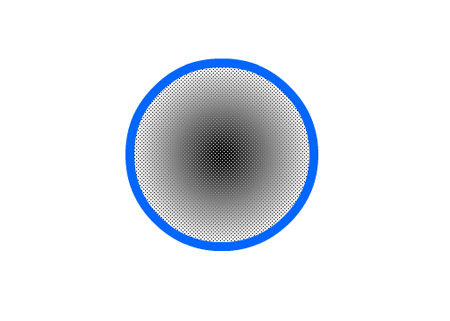
Default gradient is Black to White.

gradient

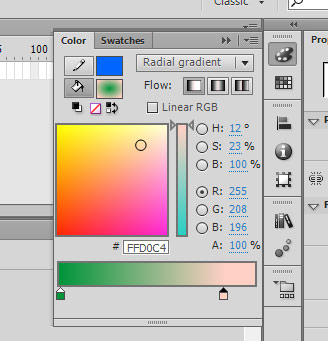
You can modify the gradient by changing colors, adding more colors, or adjusting distance between color sliders.

To change one of the gradient colors - click on a slider and choose from the color picker above.

To add a color - click on the gradient scale.

color swatches

You can also change color settings in Properties panel.

olor swatches

... or in the Tools panel.

edit shape

All graphics in Flash are vector based.

That means that all shapes are paths with anchor points.

If you use Subselection tool and click on a path - you will see the shape structure.

subselection tool
edit path

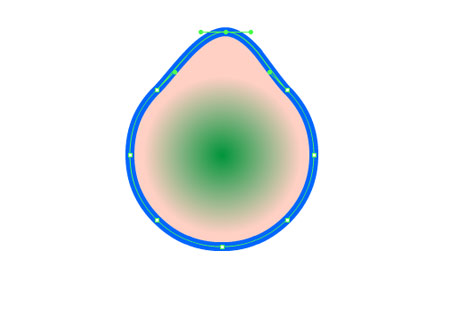
You can select anchor points and modify paths with Subselection tool.

transform shape

Use Free Transform tool to resize and rotate.

transform
transform gradient

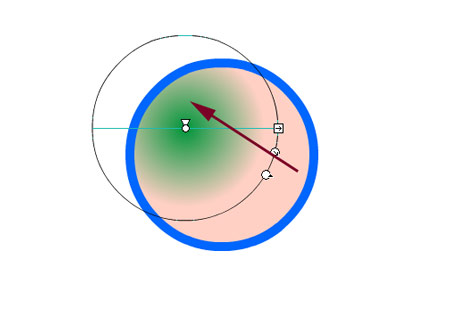
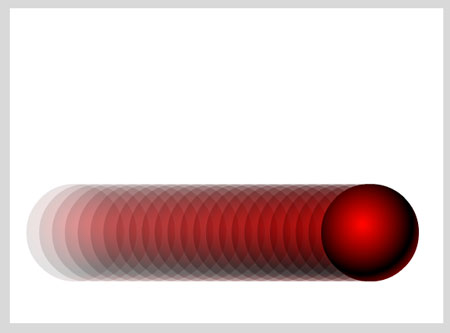
Edit the gradient using Gradient Transform tool.

Try it! You can change the position of a highlight, intensity, etc...

gradient
lasso selection

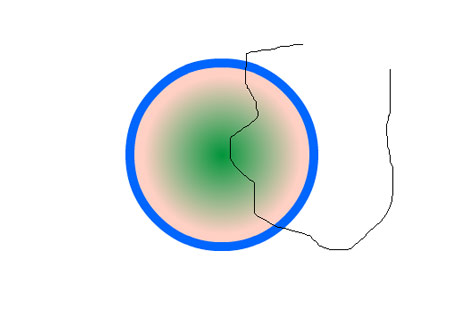
Use Lasso tool is you want to select and modify a part of an object.

Just free-hand outline the area you want to select.

lasso tool
move selection

Now you can edit this selection.

shapes

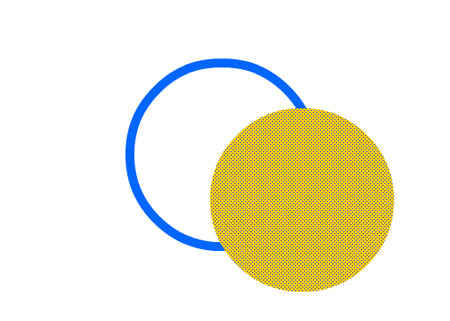
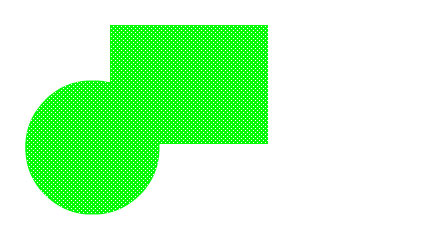
If at that time you decide to add another shape.....

overlap shapes

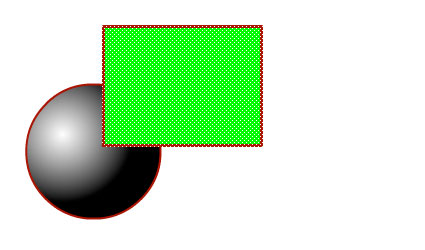
...be aware that if two shapes overlap on the same layer – the top object will overpower the bottom one.

While the new shape is still selected, you can move it around, overlap the previous shape, etc…

overlap shapes

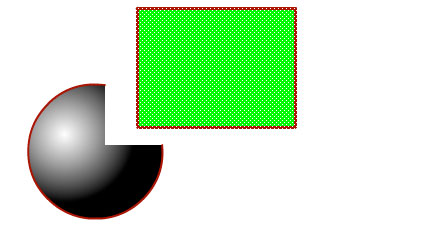
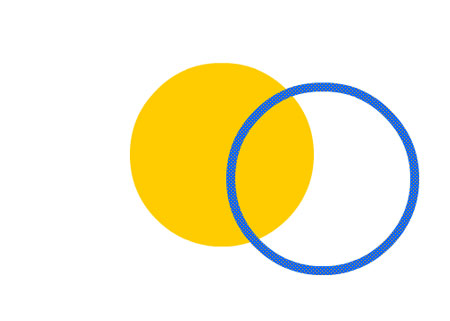
But once you deselect it – everything that get to be overlapped by this new shape will be gone.

shapes

This is a good thing and a bad thing.

The only bad thing is that you need to be aware of it and use a different layer or use other techniques (we’ll talk about them later).

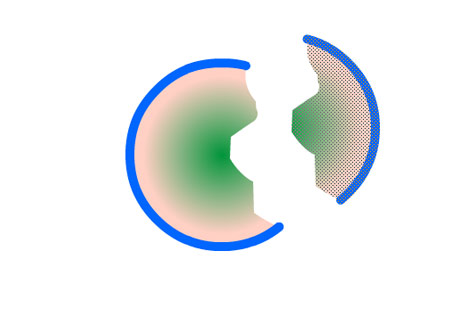
The good thing is that you can use top shapes to cut out holes or parts out of other shapes or add to shapes

combine shapes

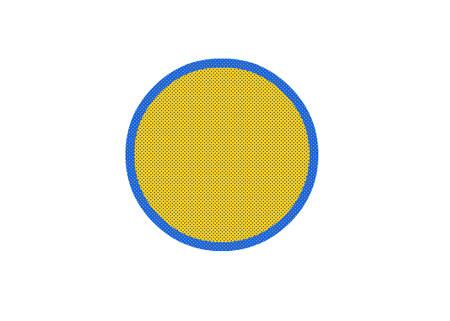
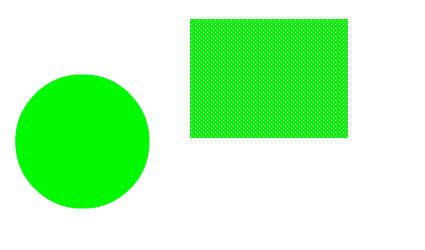
Like in this case...

If two shapes have the same color, you can create complex shapes by combining them.
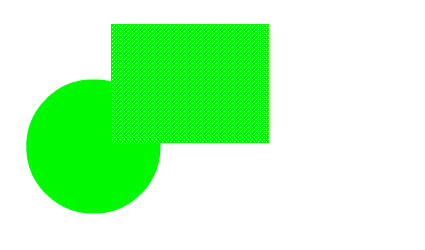
combine shapes

See?

Now it reads it as a single shape..

animation steps

draw shape

Delete the stroke to make your circle look like a ball.

Let’s make it go from one side of the stage to another.

animation

Select the ball.

Move it to the bottom left area of the stage.

animation planning


Let's make the ball move to the right.

frame rate

How fast do you want the circle to move?

How long would it take to cross the stage? 1 second… 2 seconds….? It’s up to you.

Note:

Frame rate is how many frames do you see within 1 second. Standard professional frame rate is 24 frames per second.

frame rate property

Higher frame rate increases the quality and smoothness of an animation, but creates a large file size an can slow down the animation.

For our purpose, we can change it to 12 FPS.

I want my circle to make its move in two seconds. I know the frame rate is 24 frames per second.

That means it would take 24 frames to have a 2-second move.

Right?

timeline

Go to the Timeline and click on frame 24.

key frames

Then press F6 on your keyboard.

This command will copy the existing keyframe to frame 24.

Now you have two keyframes.

keyframes

Keyframes are frames where changes occur or the start and the end points. Keyframes are marked with a dot in the timeline.

First keyframe is your starting point. In your case it’s the left side of the stage.

Last keyframe is your destination point. In your case it’s the right side of the stage.

In other words: two keyframes are start and finish.

All frames in between - is where Flash generates the gradual changes based on your frame rate.

basic animationmove object

While still at frame 24, select the circle and move it to the right side of the stage.

You just specified the final position of your circle.

Your first keyframe still has the ball in the initial position - on the left.

Now what happens in the frames between the two keyframes? Nothing so far… These frames just hold the information from your start keyframe. What we want them to hold is transition between start and finish.

tweening

In other words – the actual step-by-step ( or frame-by-frame movement).

Like in traditional animation, where each following frame was slightly different to show your character’s move.

You see, in Flash you don’t have to do it manually. It can be done automatically.

All you need is to specify the Start position and the End position. Which are our keyframes.

tweening
tweening

Go to the Timeline and click anywhere between the two keyframes.

shape tween

Then right-click and choose Create Shape Tween.

Shape tweens work best with simple shapes.

shape tween

If you did everything right – the “in-between” frames will turn green and a solid-line arrow will go from one keyframe to another.

play movie

Click Play button to preview your animation!

Or press ENTER on the keyboard.

animation

If you want - you can add more moves to the ball: just add more keyframes, change position of the ball and tween...

timeline

Your steps are:

1. Hit F6 to add a keyframe.

2. Move the ball to a different position.

3. Shape Tween by right-clicking between two keyframes.

animation

You can continue to repeat the steps to make that ball bounce.

animation

Your timeline should look something like this.

Go to Control > Test Movie. Preview your animation. Let me know that you’re done.

Save the .swf file to your h drive.

This is the type of a file you can share, email, upload to your website, etc...

Congratulations! You are done!!

...