Open the folder where you keep your files for this class.
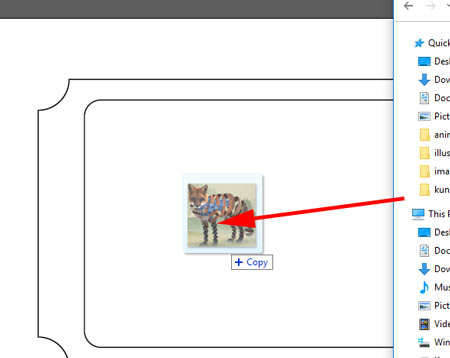
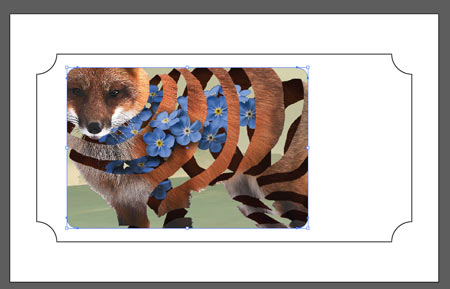
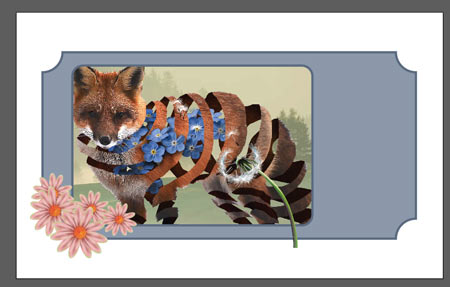
Drag your Photoshop (or JPG) file onto the artboard.
Resize the image.
This image is now linked to your original file. If you do any changes to the original file - it will be reflected here.
If you remove the original file from the folder (or rename it) - it will not show here (the link would be broken).
But!!!!
The Illustrator file is smaller this way.
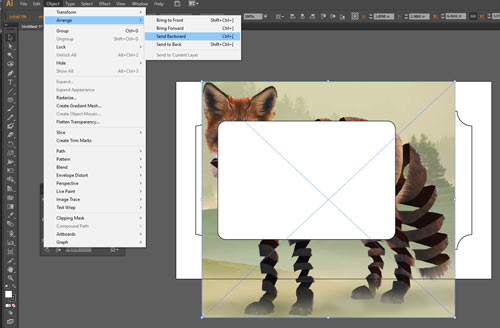
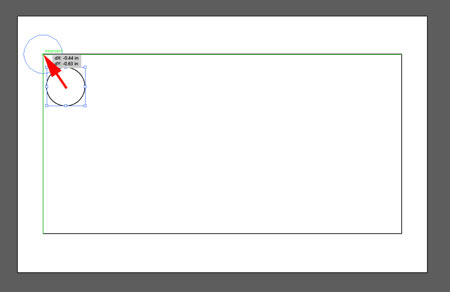
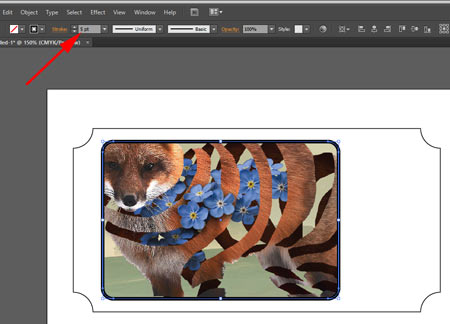
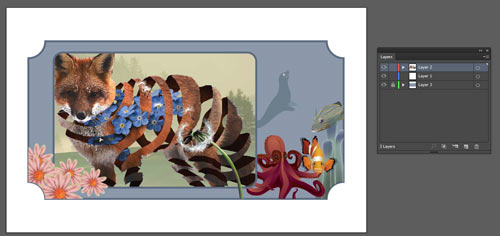
With the image selected:
Object > Arrange > Send Backward
That will place it behind the rectangle.

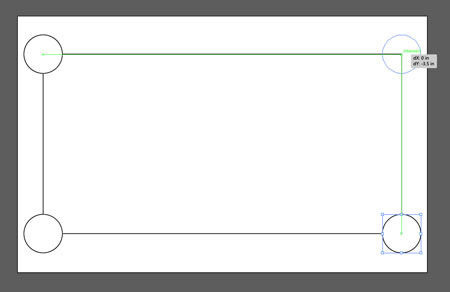
You are going to use the rectangle as a clipping object.
But first: Copy the rectangle.
Now select both - the image and the rectangle.
Object > Clipping Mask > Make
This will hide the parts of the image that are outside the clipping rectangle.
Rectangle's appearance qualities as a shape (stroke and fill color) are gone now.
That's why we copied the rectangle before we applied the clipping mask action.
Edit > Paste in Front (Command/Ctrl F)
Set fill to "no fill"
Set stroke to a thicker one.
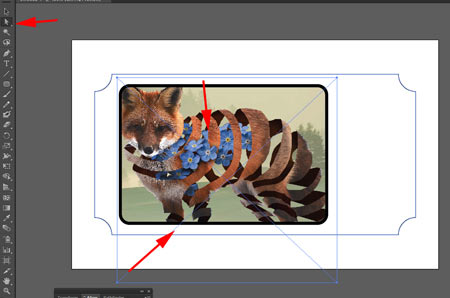
You can select the image and move it and resize.
Use Direct Selection tool to click on it.
Position it to your liking. Direct Selection tool allows you to edit just the image (or just the clipping object) without moving or resizing the whole group.
Now the fun part.
Unlock the background layer.
Pick a color for fill and stroke. Decide on stroke weight.
Stroke weight and color should be consistent for background and rectangle border.
Start adding your vector images to the artboard.
Place them as you like.
Have some of them in front of the image....
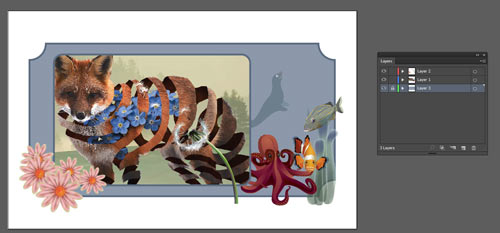
And some of them can be behind the image.
Use Object > Arrange > .... commands to place your images in the order you want.
Have some of vector images go off the ticket background.
Next step will be to crop them to fit inside the outline.
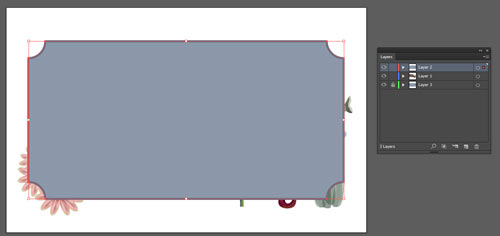
Copy background shape.
Lock background layer.
Select everything on your main layer.
Edit > Paste in Front (Command/Ctrl F)
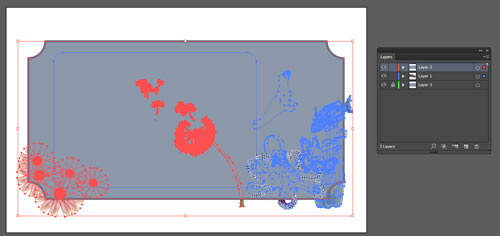
Select everything in this layer.
Object > Clipping Mask > Make
Lock the layer.
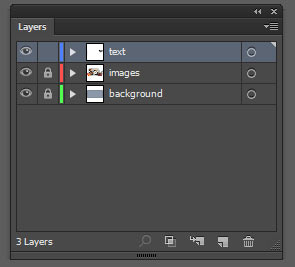
Add a blank layer for the text.
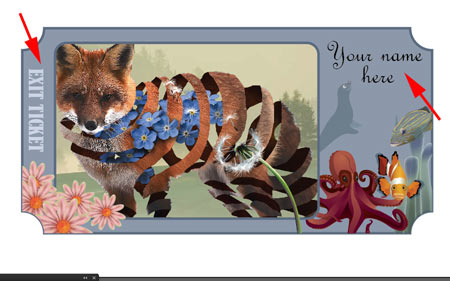
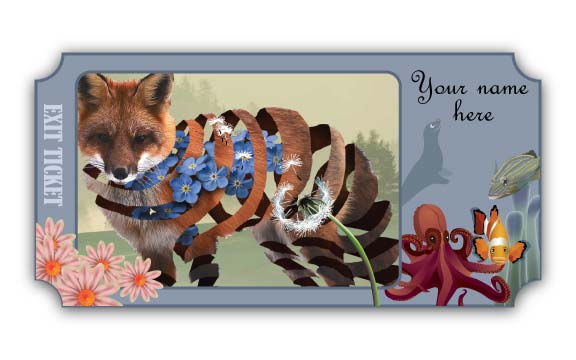
Add the words: EXIT TICKET
and
write your name.
Experiment with fonts and colors.
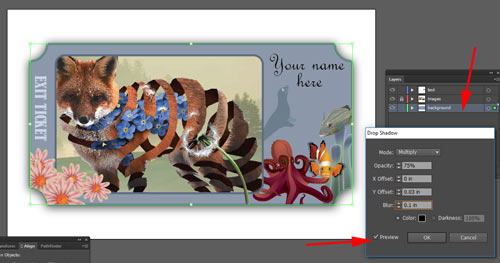
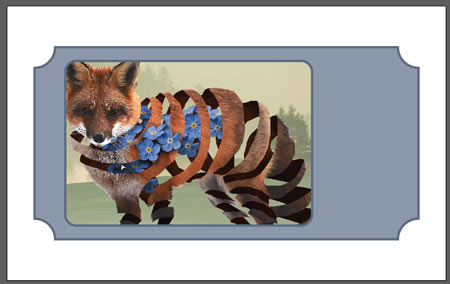
Unlock the background shape and select it.
Apply a Drop Shadow effect to it.
Effect > Stylize > Drop Shadow
Check Preview button.
Experiment with the settings.
Save.
File > Save for Web
Save it as PNG or JPG file.
Email it to me.
Congratulations !
You are done!.