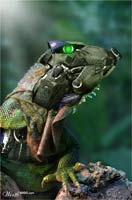
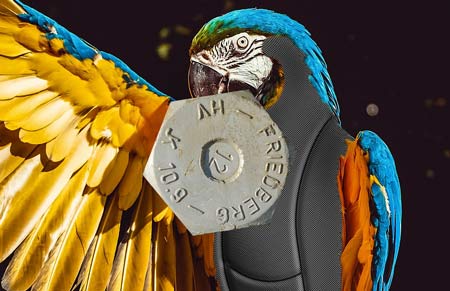
carbon textures skin
Start with creating a displacement map.
Think of it like taking a piece of cloth and wrapping it around and object.
The cloth being the texture/pattern (carbon fiber) and the object being the map (the animal). We are going to take a carbon fiber pattern and wrap it around the body.
You need to experiment with your settings in this section
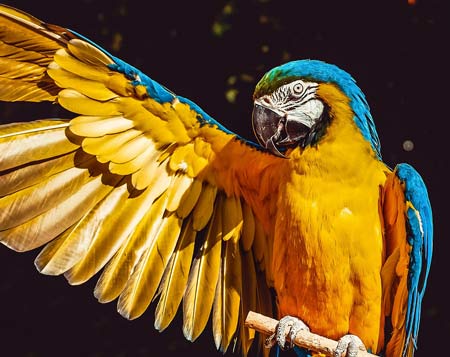
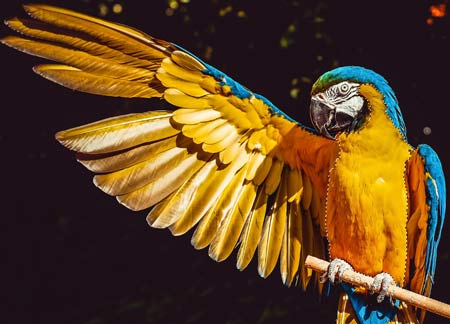
Find a picture of an animal. Make sure it's a good quality!!!.
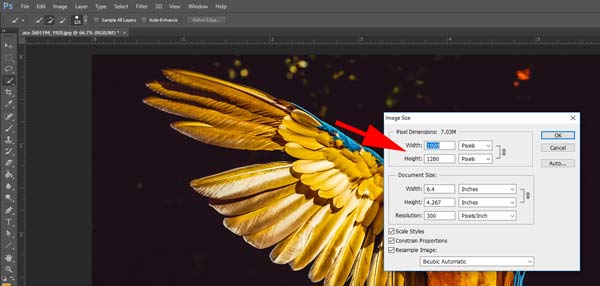
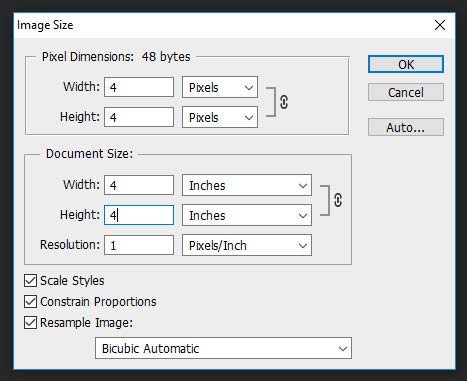
Image > Image size ..... write down the exact dimensions.
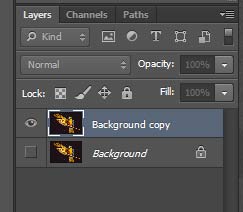
Duplicate the background layer (just in case).
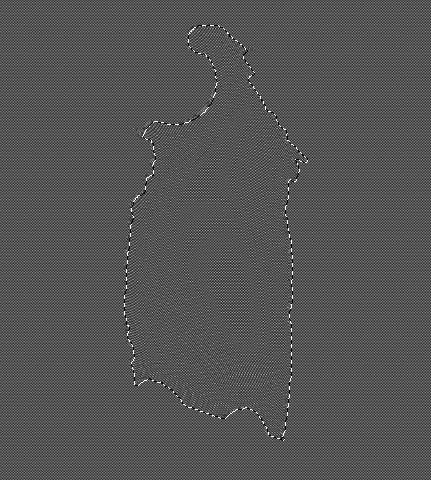
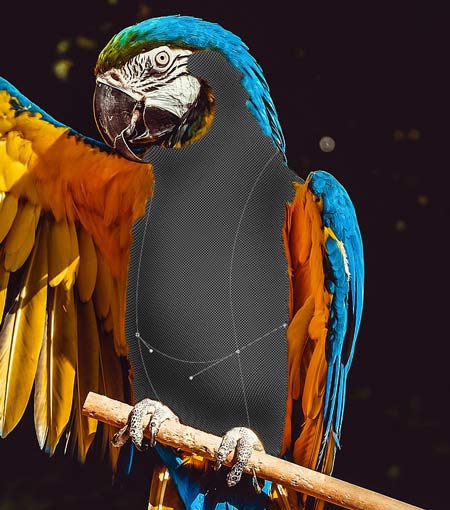
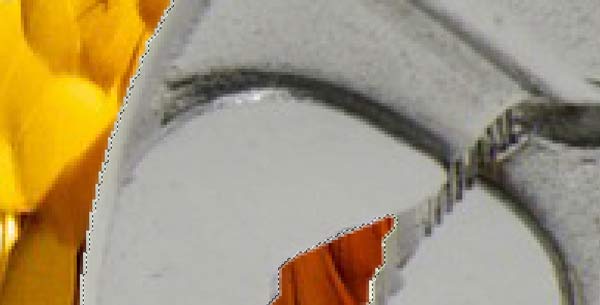
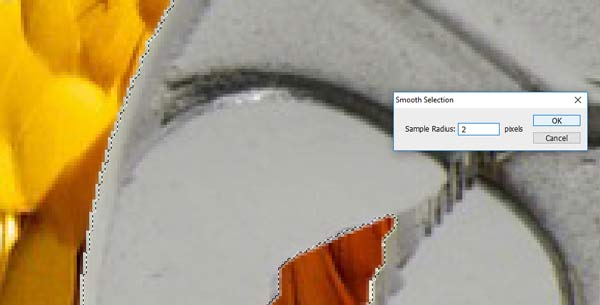
Select (mask out) the animal body or a body part. Be sure to subtract the eyes and nose from the selection…
Copy the selection.
Save the selection: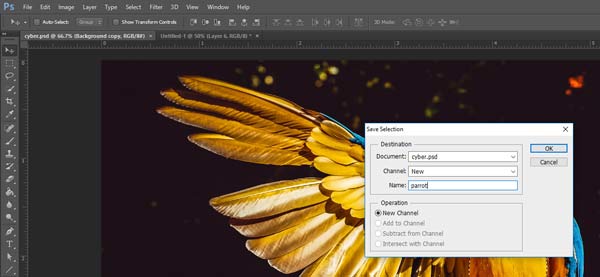
Select > save Selection
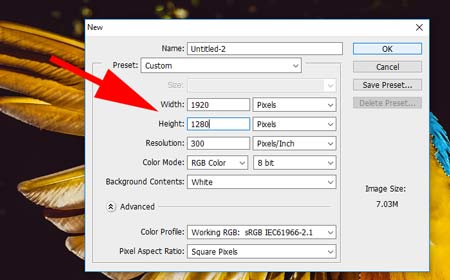
Create a New document with exactly the same dimensions and resolution.
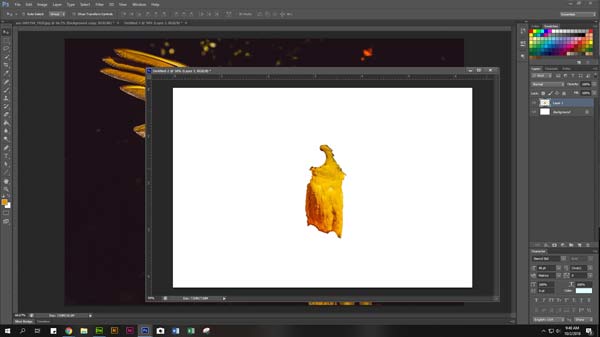
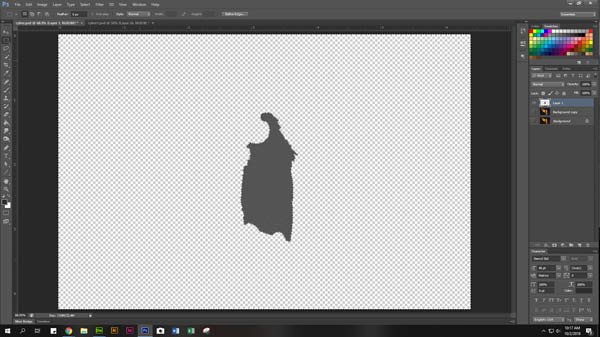
Paste the selection into the new file.
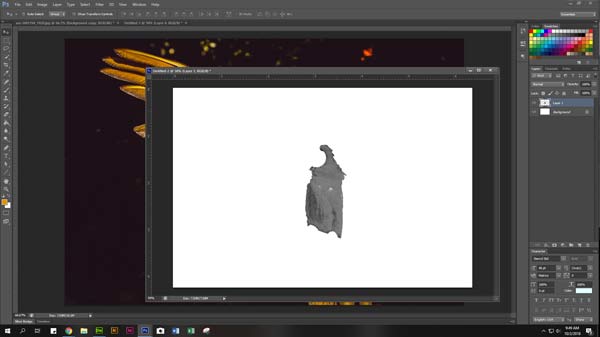
Desaturate the animal (Image > Adjustments > Desaturate)
Save as: desaturated.psd
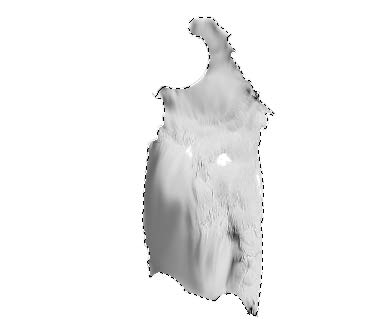
We now have the start of our displacement map.
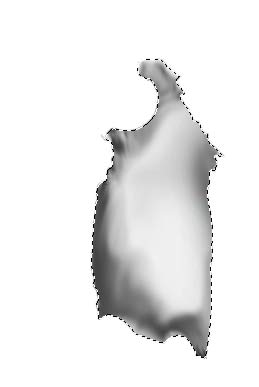
Now imagine animal is a marble statue.
It will have no spots, feathers, or fur, just the contour with light and dark shades.
This is what we need. So in order to do this we need to get rid of the texture.

Increase the contrast to a maximum
Image > Adjustments > Levels
File > Save
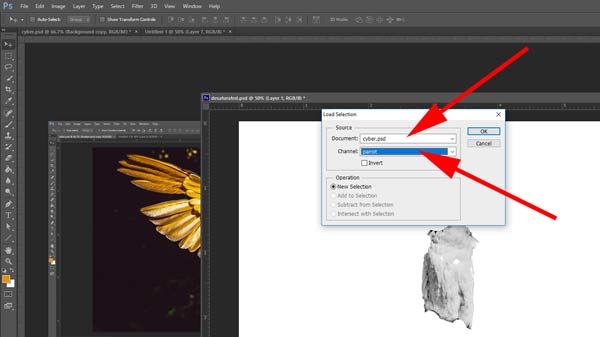
Load the selection from your main file:
Select > Load Selection
Document - choose your main file
Channel - choose the selection that you have previously saved

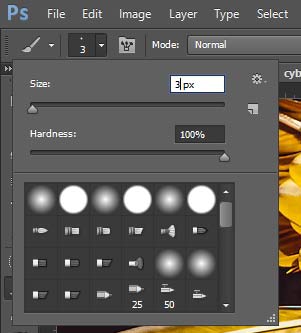
Use Smudge tool at 75% strength blend your lights and darks.….

Try imagining where light and shadows will fall.
Your selection now looks like a smeared painting...
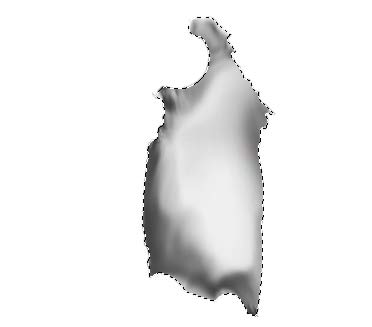
Use Burn tool to emphasize the shadows if the selection is not contrasted enough.
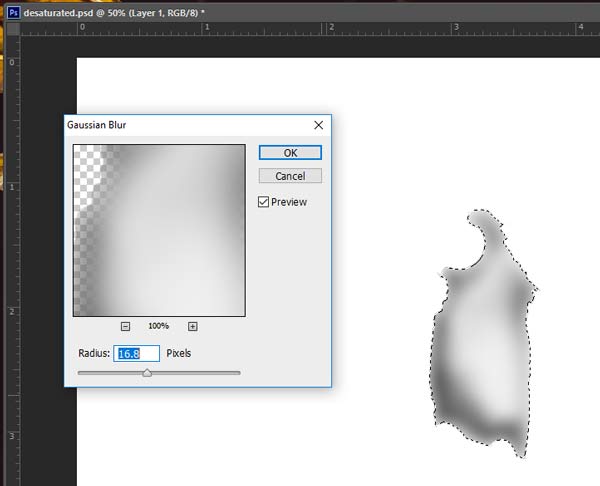
COOL! But it needs to be smooth.
Go to your Gaussian blur and set it high till the image looks smooth (mine was almost 17 pixels).
And there you have it.
We now have our Displacement map…
Save as: displacement map.psd

You should have 3 files in your folder (including the main one).
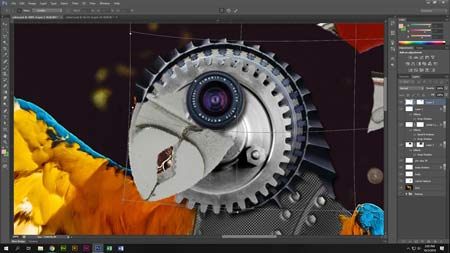
We are to create the carbon fiber texture using the displacement map.
To create a new texture - start with a new document
Step 1.
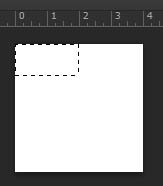
Using Rectangular Marquee tool:
Select the first 2 pixels (selection lines will snap to the pixel grid).
Step 2.
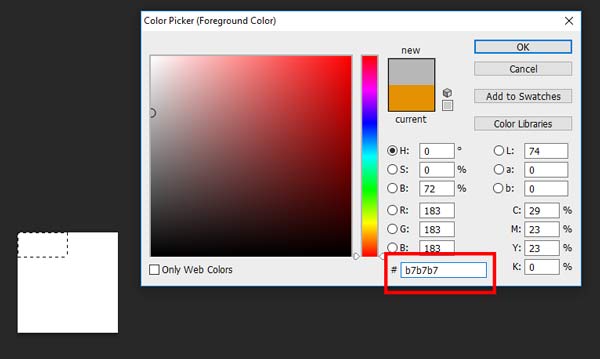
Fill it in with the color: B7B7B7
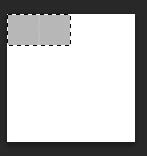
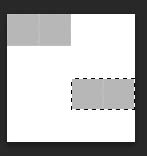 Move the selection as shown and fill it in with the same color.

The next 2 sets of pixels are filled in with color: 131313
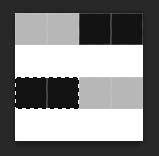

Continue filling in the pixel sets.
There are two of each color.
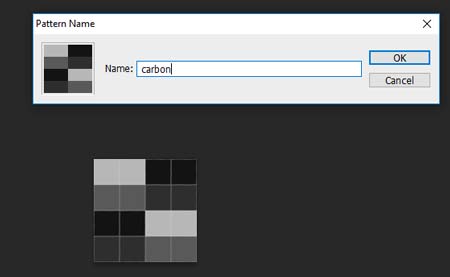
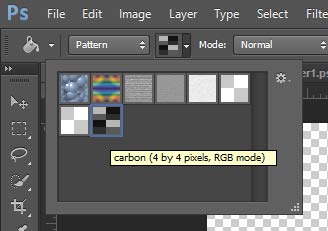
Now that is done we can define the pattern.
Go to Edit > Define pattern.
Name as you wish then hit OK.
You can save it and close now.

Step 3.
Back to your main file.
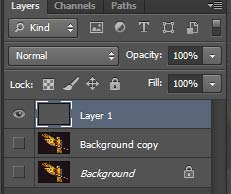
Create a new layer.
Now using the “paint bucket tool” set on pattern - choose the carbon fiber pattern/texture.
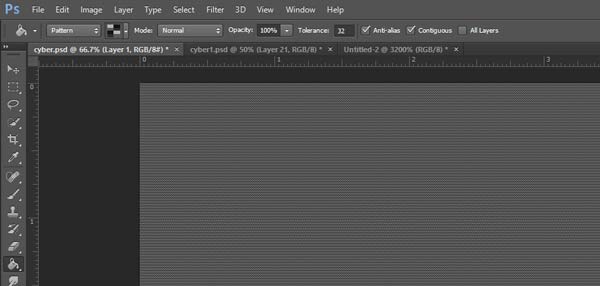
Fill the whole picture to create a carbon fiber “wall”.
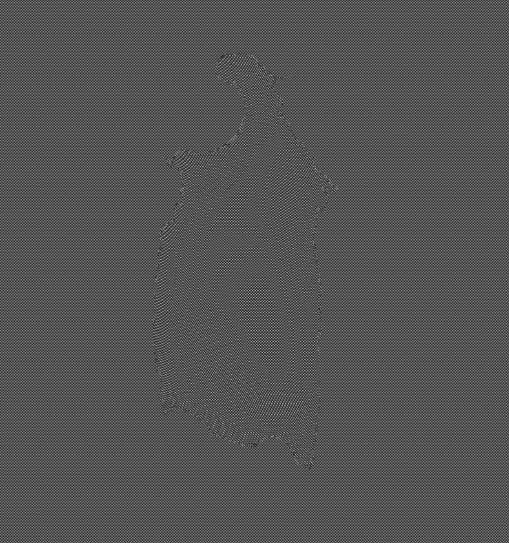
Now click Filter/Distort/Displace.
I used the default settings here, but experiment with them so you can see what they do. It will ask you to choose a displacement map.
This will be the displacement map.psd file we created earlier.
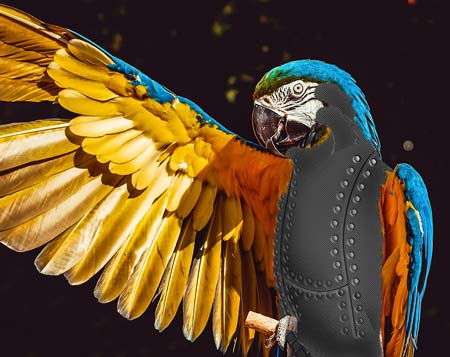
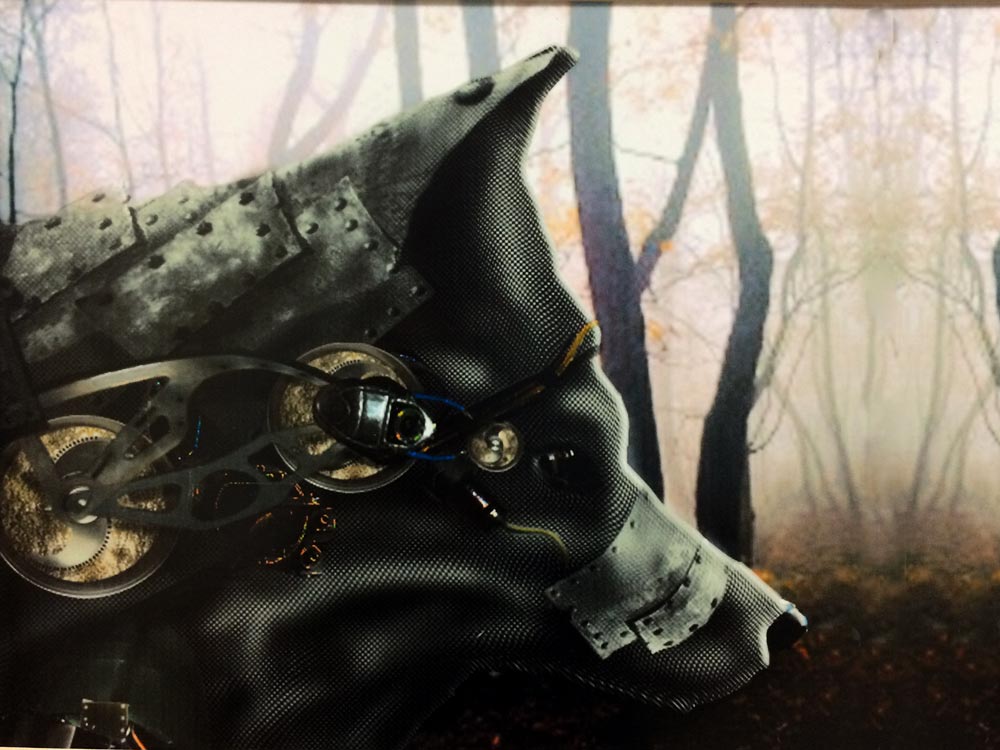
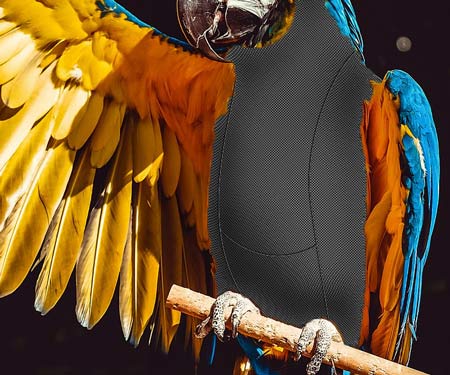
Your carbon fiber texture should have distorted slightly and reveal your animal part contours (its very subtle).
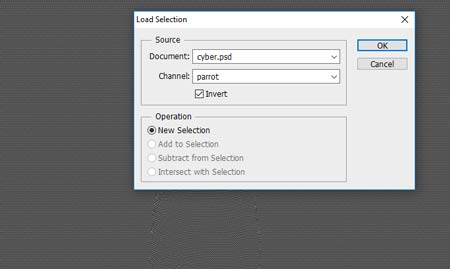
Load the selection onto the carbon texture layer.
Select > Load selection
Reposition it if needed to match the displaced image.
(use any selection tool)
To remove the pattern outside the selection:
Select > Inverse
Edit > Clear (or Delete key).
Deselect
Save.

Align the carbon shape with the animal.
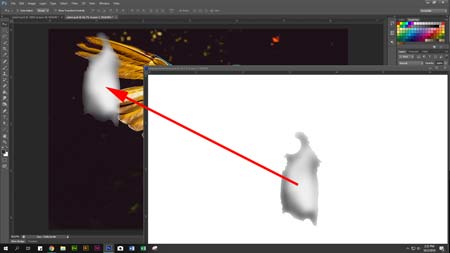
Open Displacement-Map file and drag it onto the main file.
Position it over the animal and align.

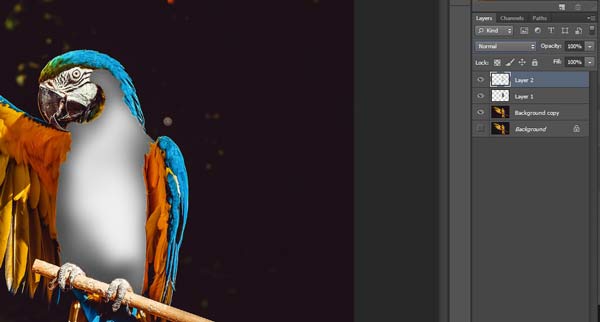
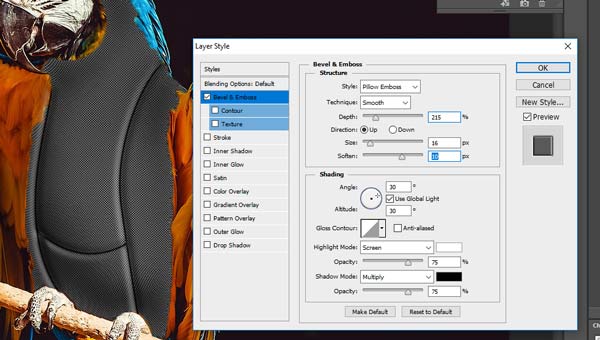
Change the blending mode to add dimension to the texture.
I used Multiply mode.


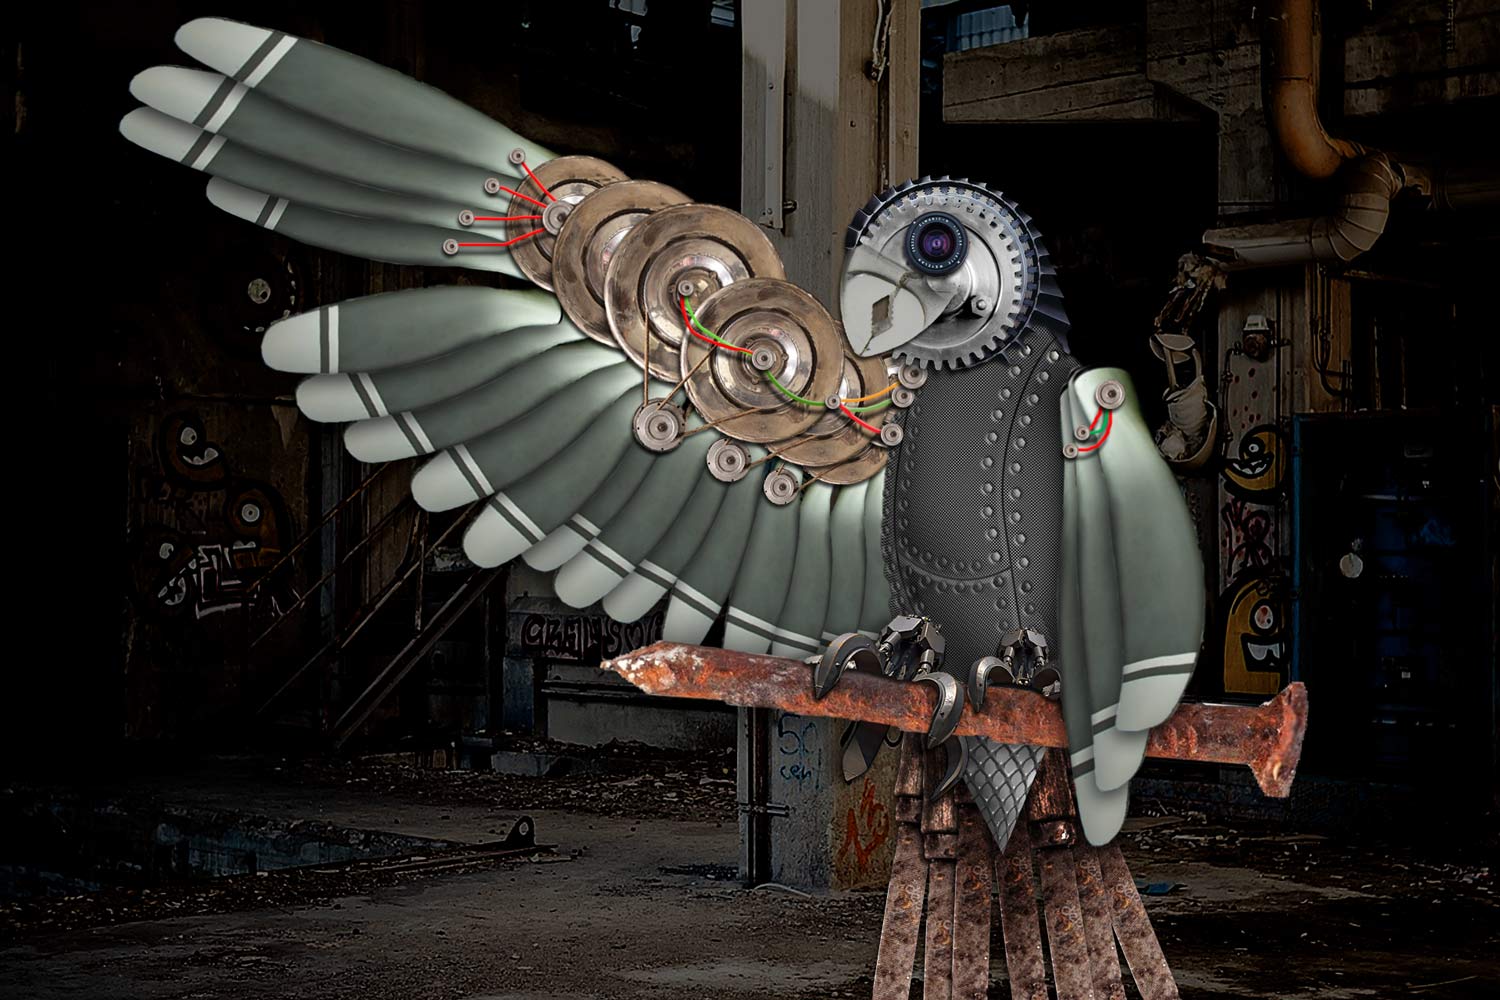


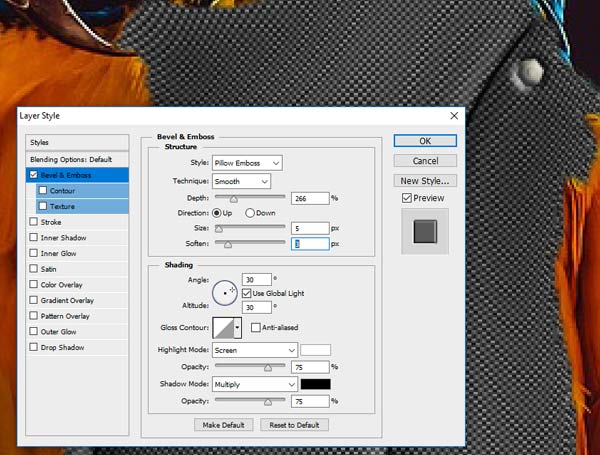
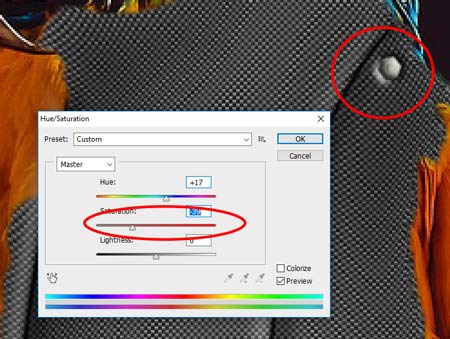

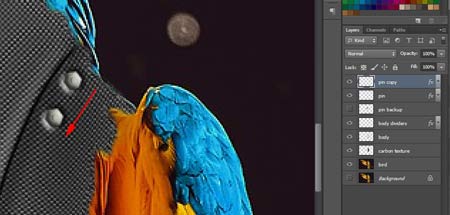


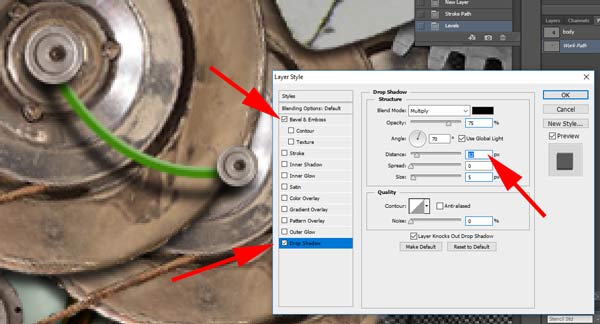
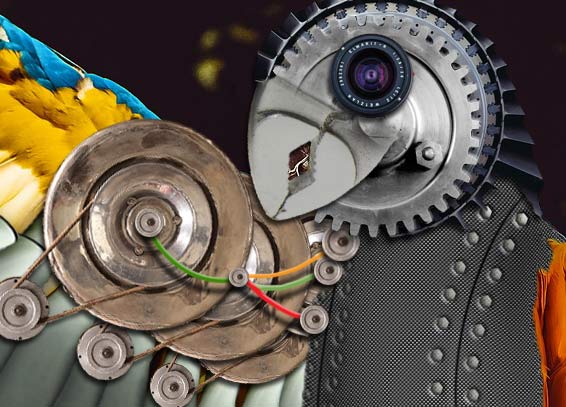
 There are few ways to add wires to the project.