by JuliannaKunstler.com
STEPS
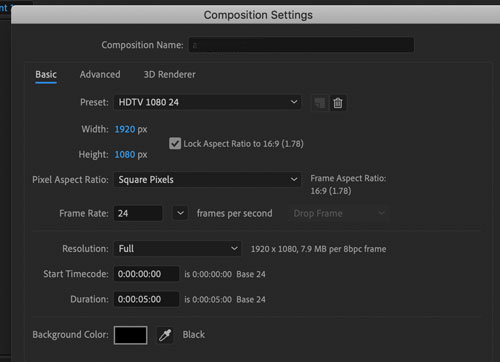
New composition.
Your standard settings.
Duration: 5 seconds.
Name: Cube
side 1
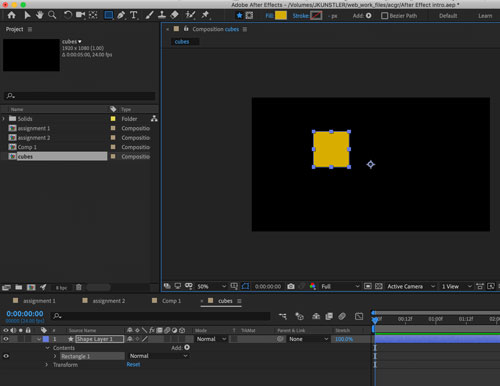
Add a Shape layer.
Draw a square.
Pick any solid color fill.

Rename the layer "Square 1"
Close Contents menu.
Open Transform menu.
Take a closer look at the Transform options.

Each option has only X and Y values available - makes it a 2D environment.
Anchor point can move horizontally (X) and vertically (Y)
Shape can move only X or Y
Scaling object: width and height
Rotation around the Anchor point within a 2D plain.
3-D layers
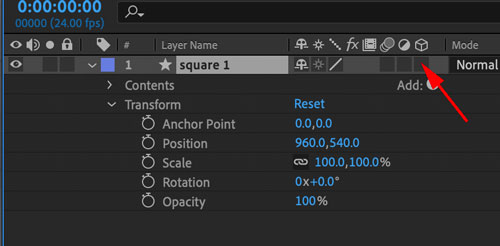
To convert a layer into a 3D layer to add the Z coordinate to the Transform options - click on the box below the "cube" symbol.

You will see extra options in your transform menu.
Anchor point, Position, and Scale: you have X, Y, and Z coordinates
You also will have Orientation settings available.
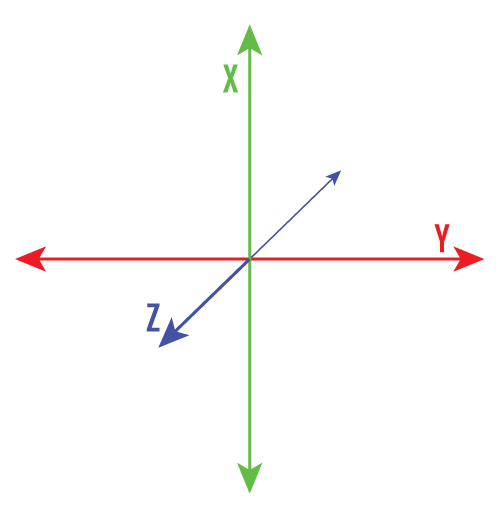
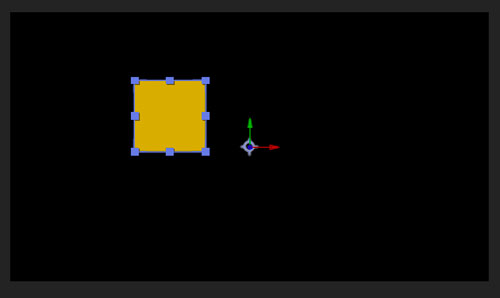
Once the layer is set to 3D - 3 arrows (coordinates) will appear at the Anchor point.

Use Anchor tool and move the Anchor point to the bottom right corner of the square.
(Hold Ctrl/Command to snap to the corner).

Look at your added Position Z setting.

Place the cursor over it and drag right increasing the value.
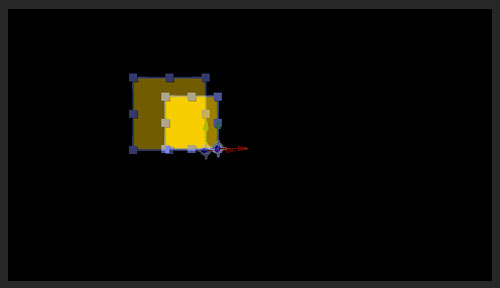
The square will appear smaller.
The square itself stays the same, you are just adding distance to it and it looks as it gets smaller.

Drag the value left to decrease the value.
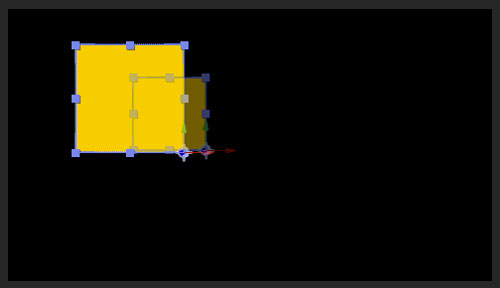
The square will appear to be closer.
Back to its "0" value.
side 2

Duplicate the layer:
Select the Layer, Copy, Paste.
The name of the layer will automatically change the number for "square 2".

It looks like nothing changed.
But there are two squares here.

Open Transform menu for square 2.
In Orientation setting change Z value to 90.
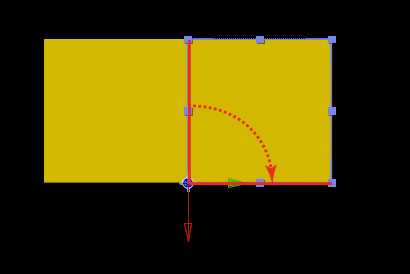
Square 2 will turn 90 degrees around its Anchor point.
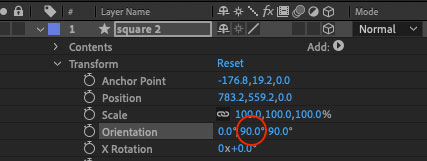
Change Y value to 90.
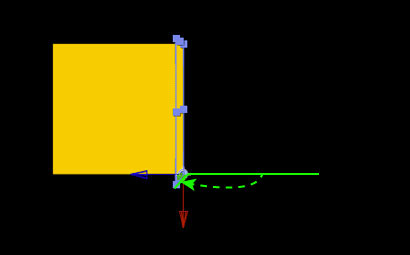
The square will turn toward you.
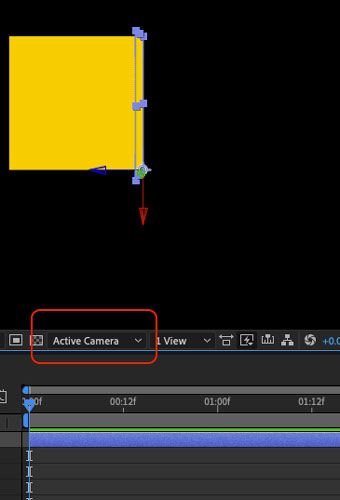
You can view your composition from different angles.
By default the view option is set to Active Camera.
You can change it.
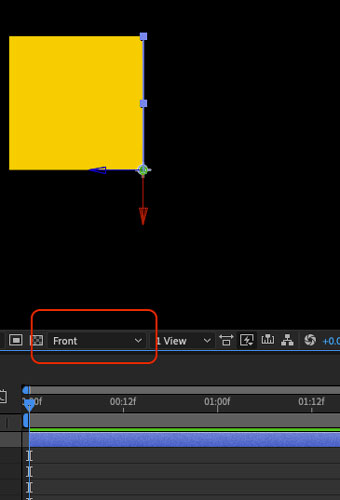
Try Front view.
It might match with your Active Camera view.
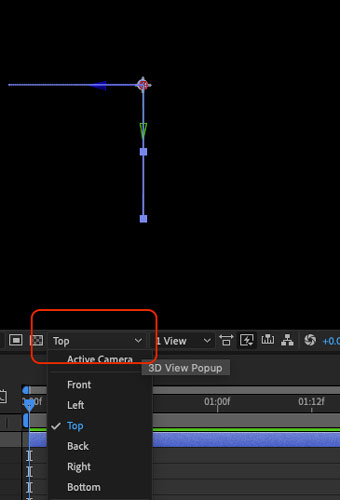
Choose Top.
You well see the two squares is if you are looking at them from above.
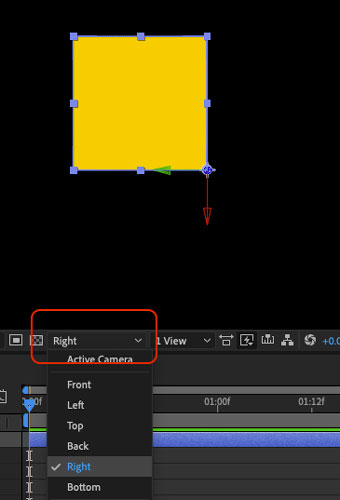
Change to Right.
Now you see your 2nd square.
CAMERAS

Add a camera you your composition.
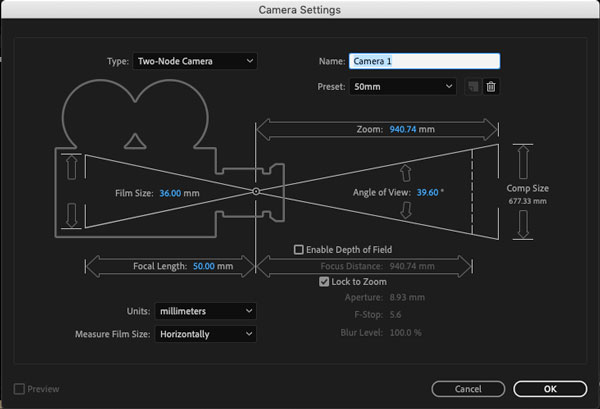
In the Camera Settings window - if you know how to use standard camera settings - you can apply this knowledge here. Otherwise stay with presets.
Type:
Two-Node Camera - you can move the camera and the point of interest.
One-Node Camera can control only the camera move, but not where it is pointing.
(To adjust these settings later - Layer > Camera Settings)

Focal length is the distance between the lens and the film (or sensor).
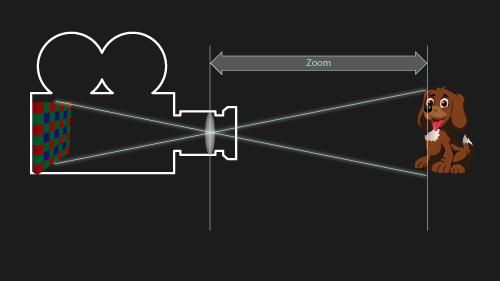
Zoom is the distance between the lens and the object.
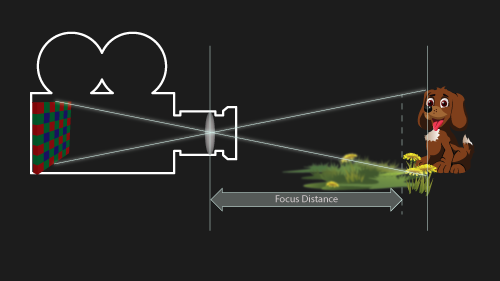
Focus distance is the length to the area that will be "in focus".
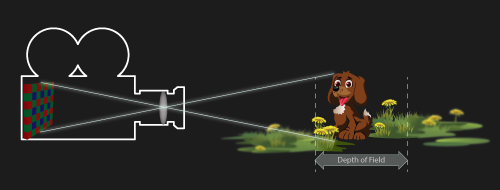

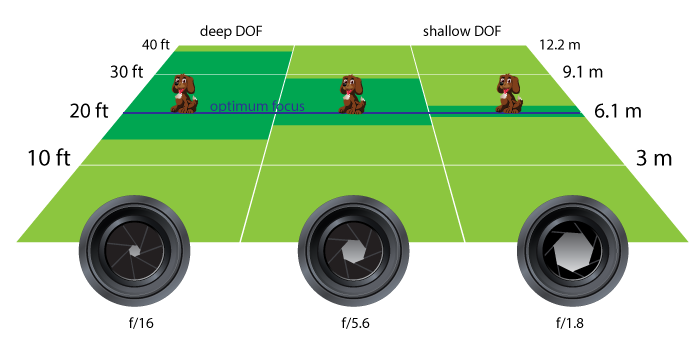
Depth of Field is the length of the area that is in focus.

You can see your camera as a layer in the Timeline.
It has pink timeline bar.
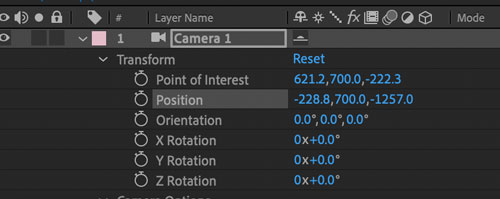
In Camera's Transform menu:
You can change values for camera position.
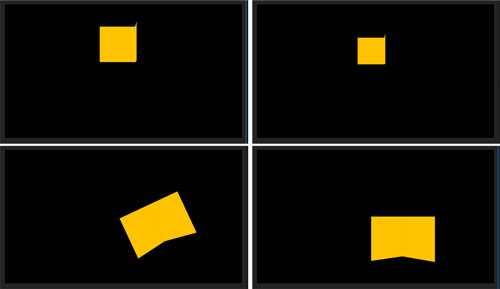
As you change the position of the camera, you will see your two squares at different angles.

Camera is positioned in front of the composition and the focus is in the center of the composition.
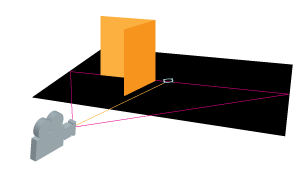
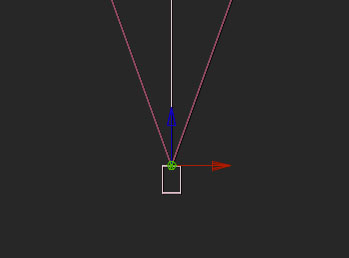
Camera can change its position in all 3 coordinates.
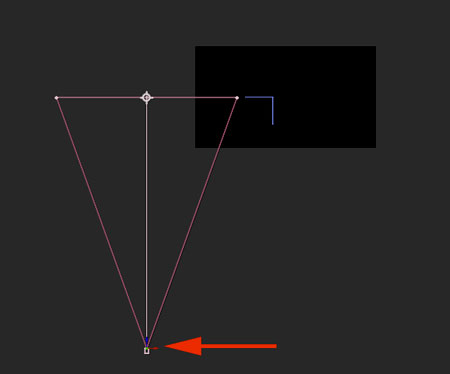
The camera is shifted left.
The focus is off composition.
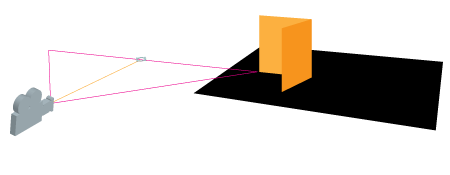

The camera is moved towards the composition.
And it totally misses the important stuff!!!!
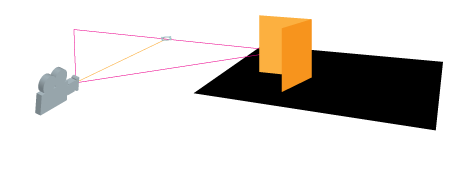
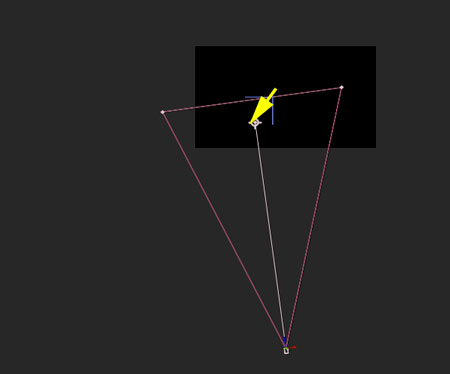
You can grab the focus point and place it where you want it to be.
The camera will follow you.
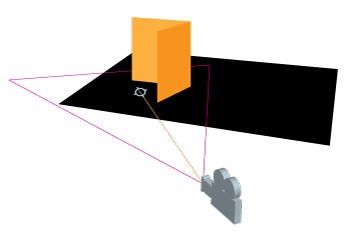

To view both the composition and the camera position - open both views at the bottom of the Composition panel.
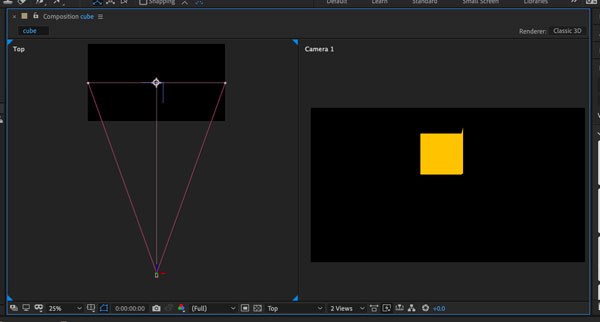
You can select each window and choose what view point you would like to apply to it. You can see the selected window by the four blue corners.
I chose Top view for the Camera and Camera 1 view for the composition.
Experiment with camera settings.
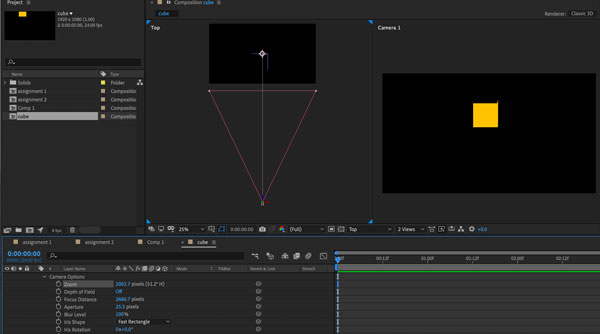
Change the Zoom distance.

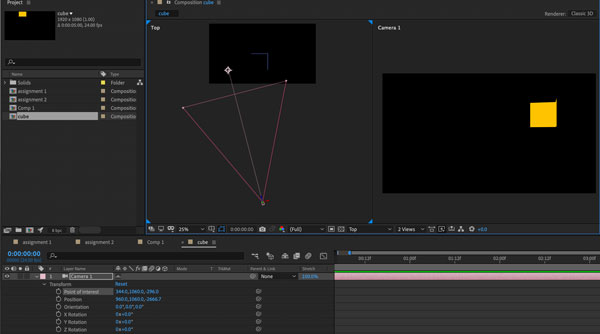
Shift the Point of Interest.
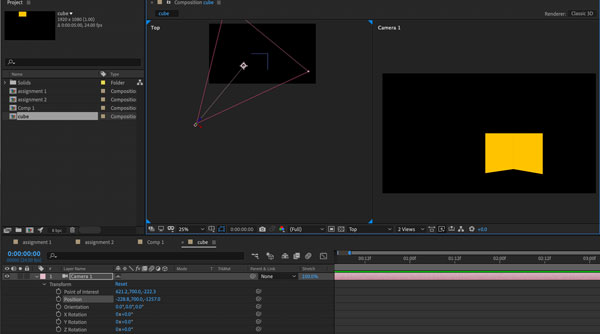
Experiment with the position of the camera.
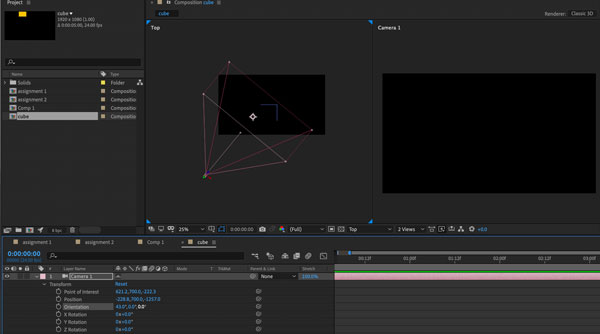
You can change the orientation of the camera in all 3 directions.
Here is X value.
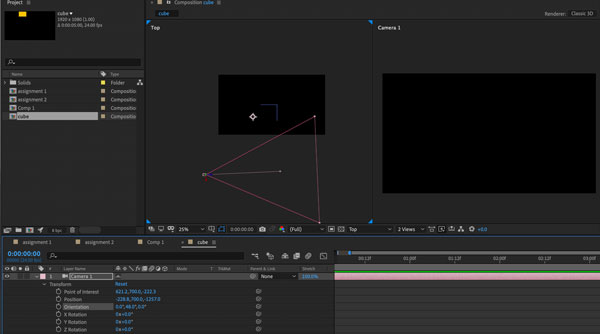
Changing Y value for camera orientation.
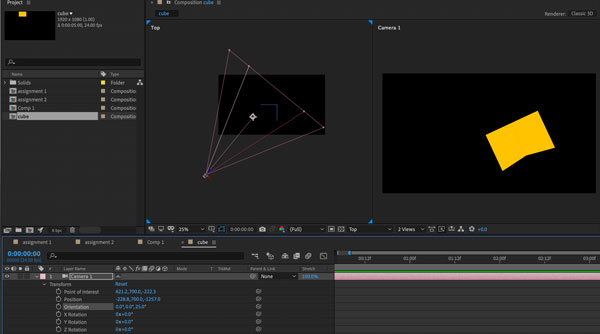
Z value changed.
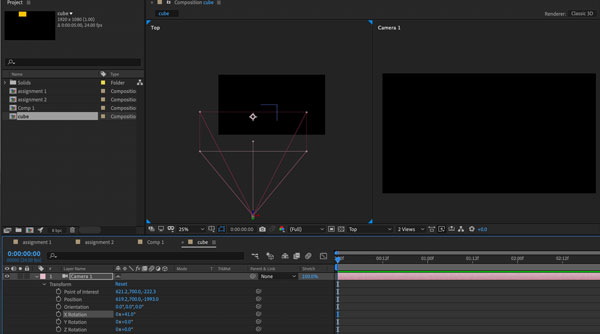
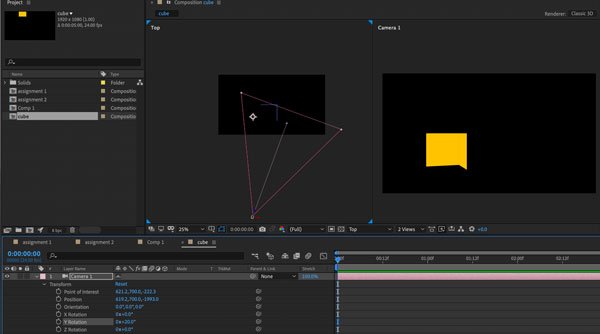
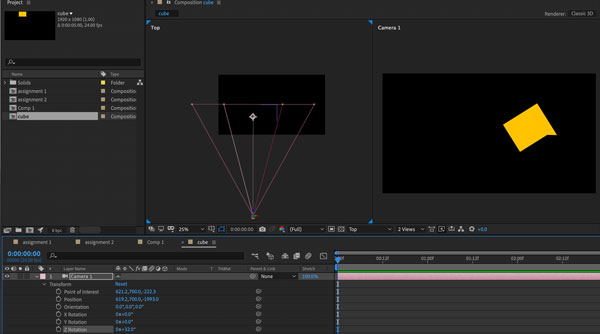
You can also rotate your camera in all 3 directions.
X axis
Y axis
Z axis
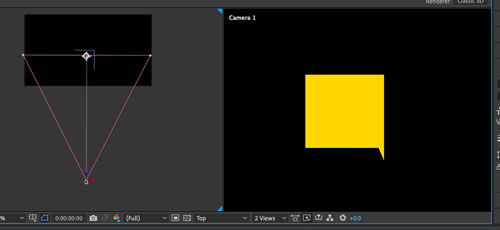
Return to the initial view.
Null Layer control

To have a better control of the camera, we are adding a Null object. It's a layer without any objects in it.

We are going to use its controls though to control the Camera. (For example - if we want to animate a camera to move around the object).
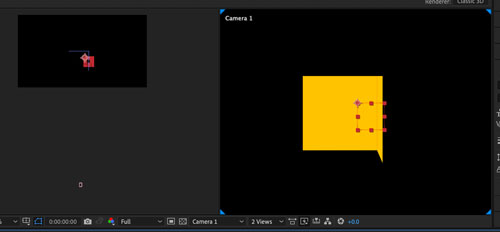
The Null object is placed in the center of the screen, but you can move it.

Cameras do not interact well with non-3D layers. So convert the Null object into 3D layer. Then rename it to "tripod" or "camera control", etc.

Parent Camera 1 to tripod layer.

Now it shows in Camera's settings.
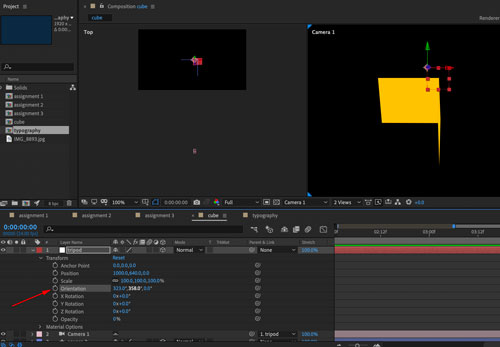
You can now control your camera through the tripod layer.
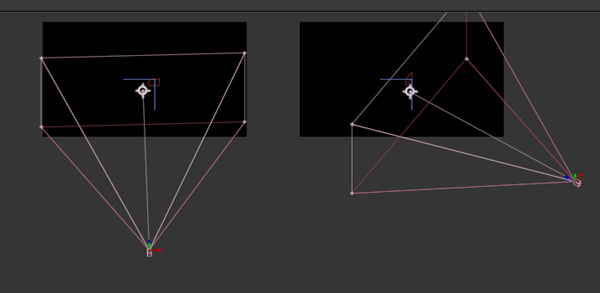
side 3

Duplicate Square 2 layer.
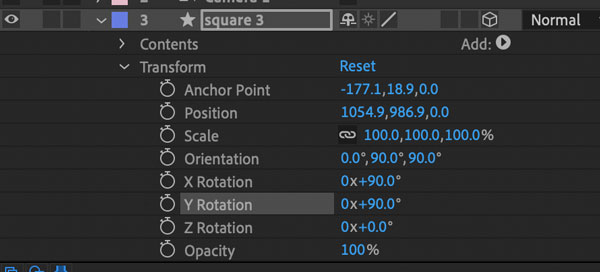
Change Y rotation to 90.

You have now three sides done.
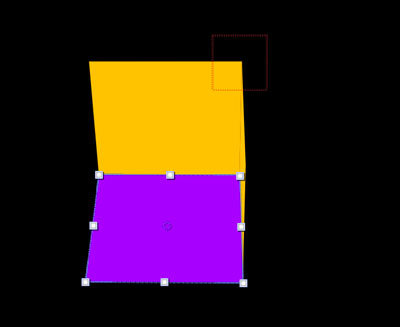
Change the fill color for square 3.
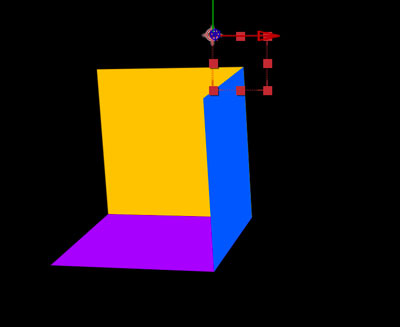
Change Square 2 color as well.
You might want to rotate the cube for better view.
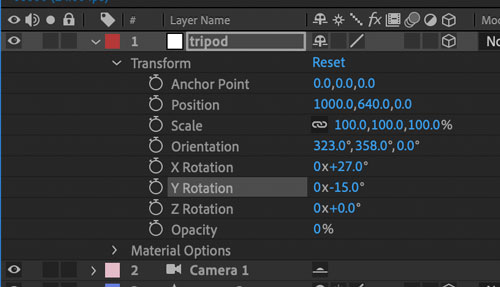
Use tripod layer rotation to better view all sides.
side 4

Now, that we have the 3 sides - we need to copy them one-by-one to complete the cube.
So copy Square 3 and paste.
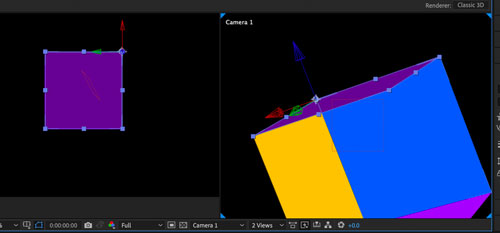
Move it to the opposite side of the cube.
Use appropriate axis and the square will resize and reshape accordingly.
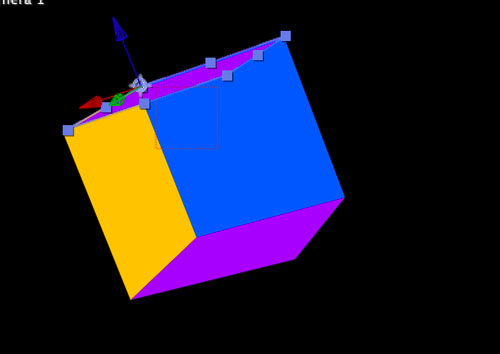
Adjust the square to align with the corners.
side 5
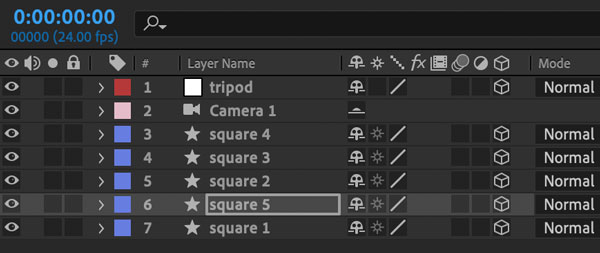
Copy square 1 and paste (as square 5).
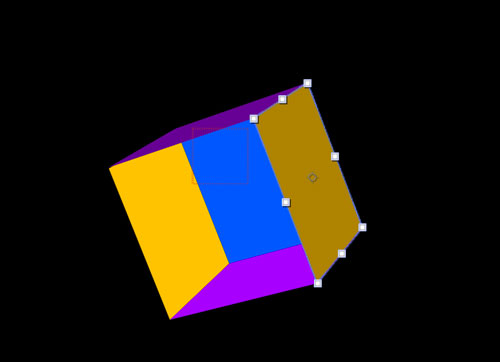
Reposition square 5.
You can change a color (I changed it to a darker shade)
side 6
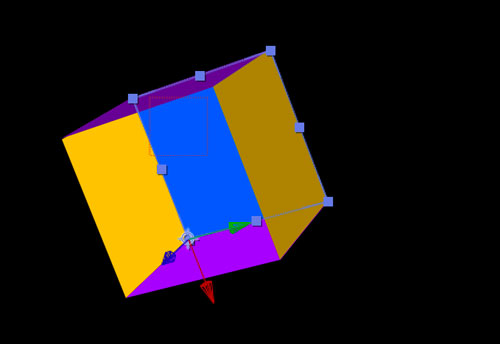
Copy square 2
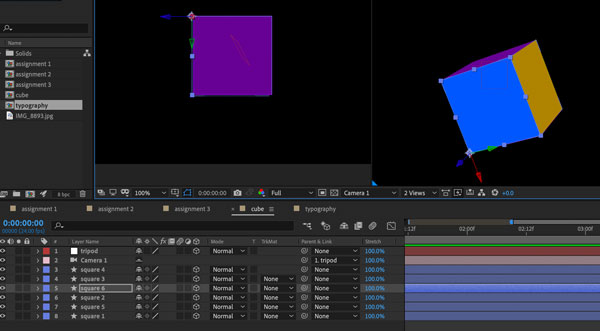
Paste the square as square 6.
You can change the fill color.

Rotate the cube to adjust the corners.
Double-check all sides.

Again, use tripod rotation settings for rotation.
Control the cube as one object
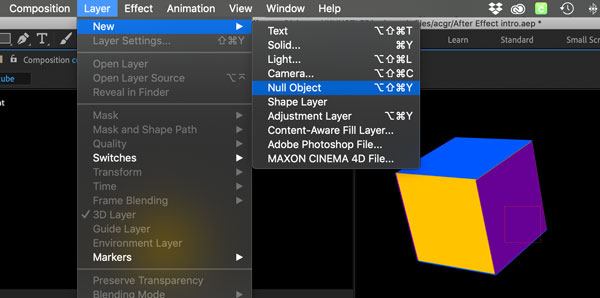
Create a new Null object above the squares.

Make it a 3D layer.
Name it "cube control" by its purpose.
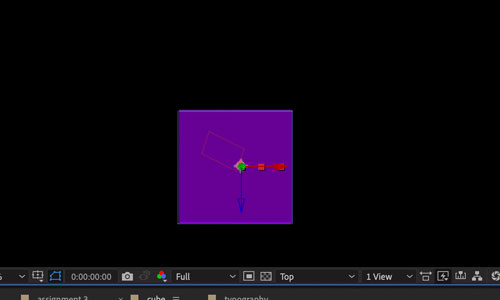
Move the Null object in the center of the cube.
Switch to Full screen
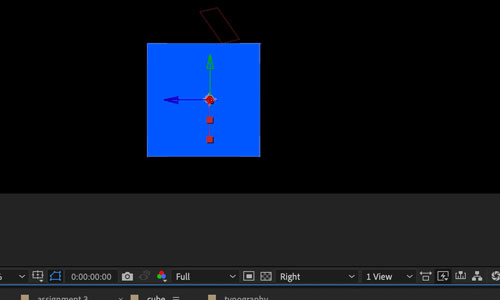
Use different view modes (top, front, right, etc.) and place Null object's Anchor point in the center.

Parent all six squares to the cube control.
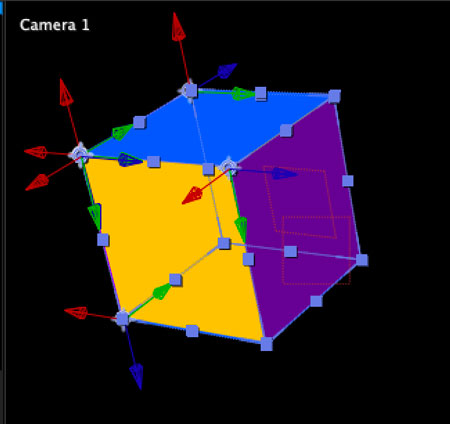
Now "cube control" layer will control and animate all six shapes as one object.
cube animation

Open Transform options for "cube control" layer.
Choose rotation axis you want to use first. I used Y.
Place a keyframe.

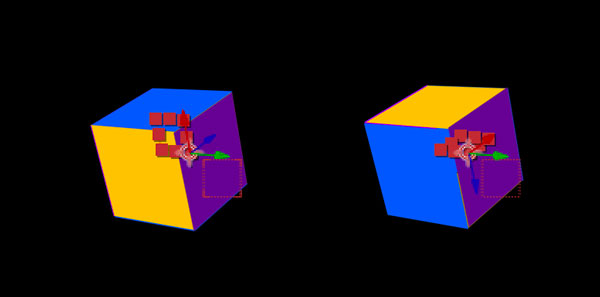
Add more rotation options using other axises as well.
You can move the cube too - just animate the position of the cube. Make sure what axis you use.
