
by JuliannaKunstler.com
STEPS

Create a new composition: animation
5 sec.
Choose a background color.
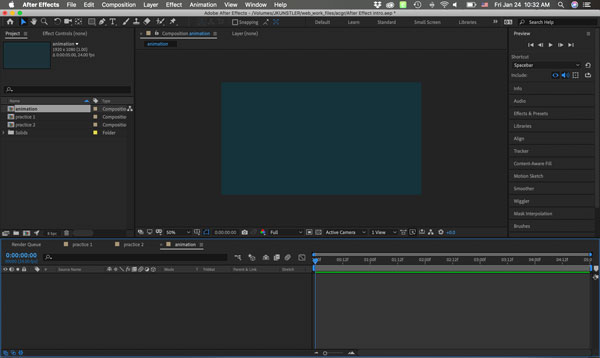
The new composition will be added to your project panel.
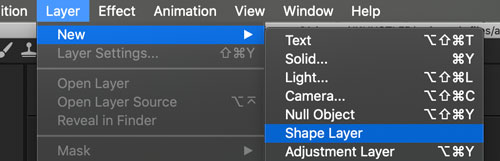
Create a new Shape layer.

The new shape layer will appear in the Timeline panel.
To draw a shape on this particular layer, it needs to be selected.
So make sure it is.
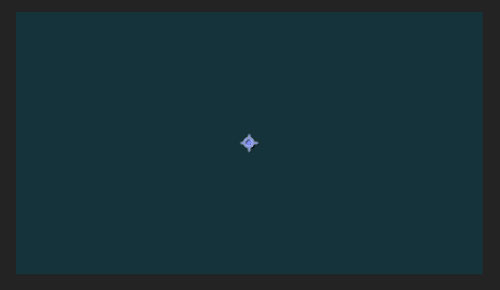

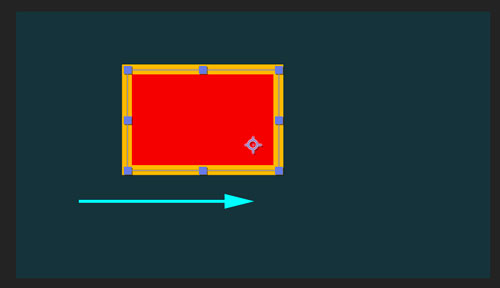
When a layer is selected - you will see the Anchor point in the center.
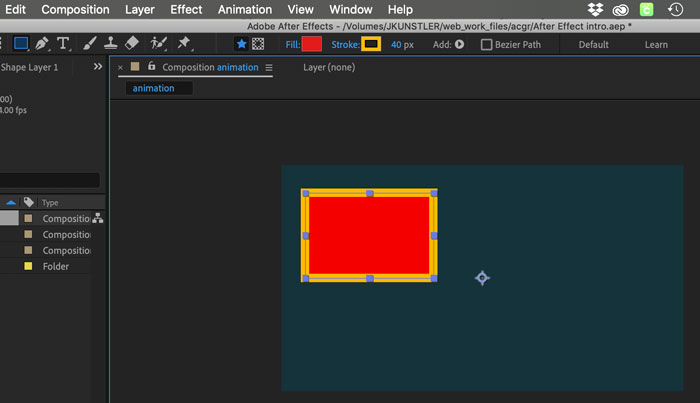
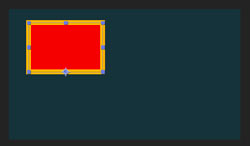
Use a Rectangle shape tool and draw a rectangle. Choose fill and stroke properties as you wish.
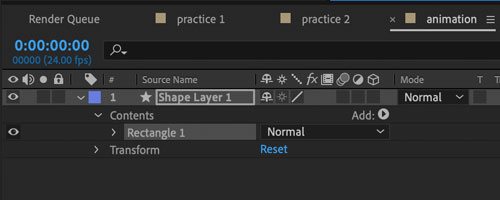
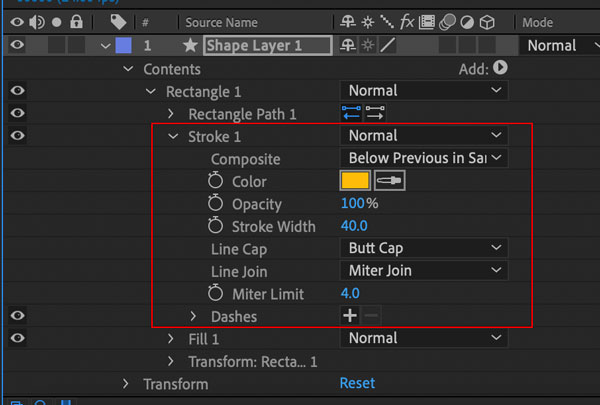
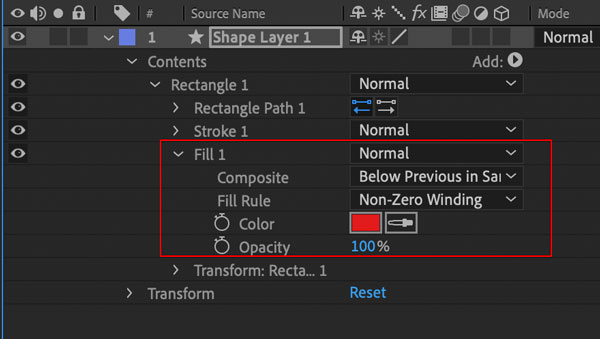
Open the Contents properties of the Layer.
Then expand the Rectangle 1 properties.
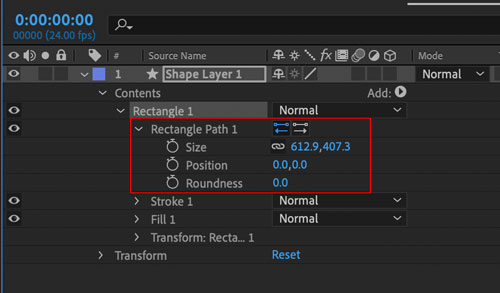
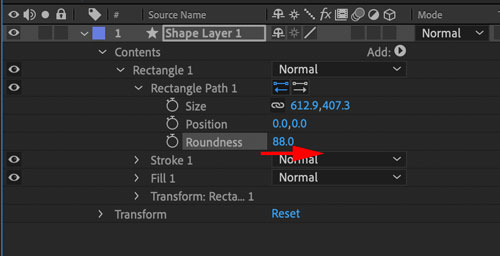
Open Rectangle Path 1 properties.
This option can modify the shape and its position.

All three properties can be animated. They have a Stopwatch icon next to them.
position

Changing the position of the shape will change the distance of the shape from the Anchor point.
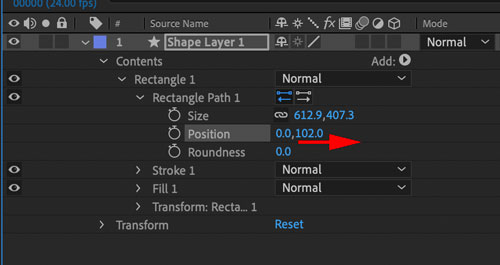
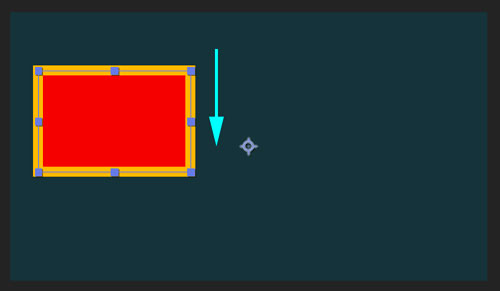
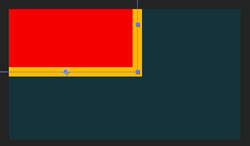
By increasing the right value - the shape will move down.
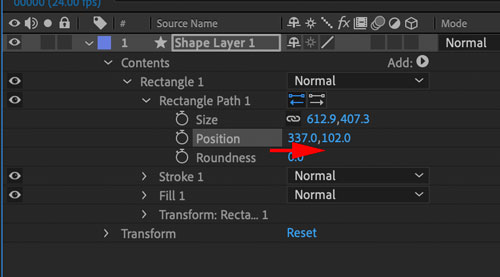
By increasing the left value - the shape will move to the right.
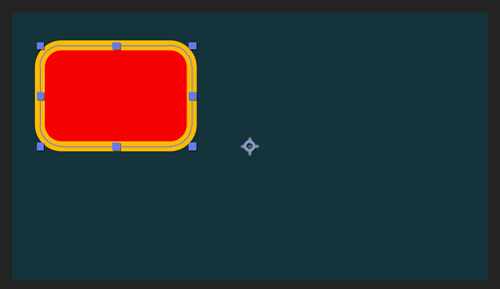
corners
stroke variables
fill variables
transform rectangle
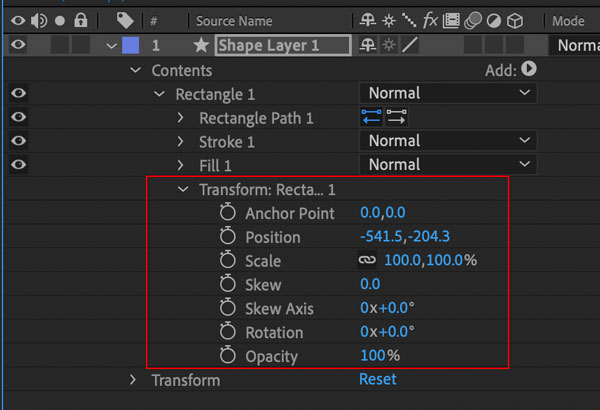
Use these settings if you have multiple shapes on the layer and you want to animate just this one.
transform layer content

Use the Transform settings for animating the layer.
Anchor point
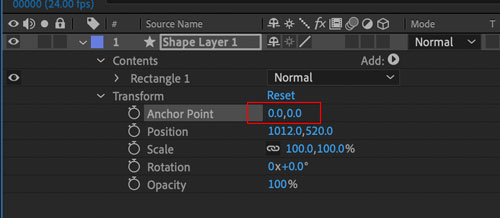
Having Anchor Point settings at 0.0,0.0 will place the shape to its original distance from the Anchor point.
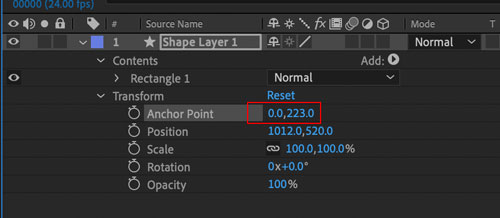
Changing the right setting....
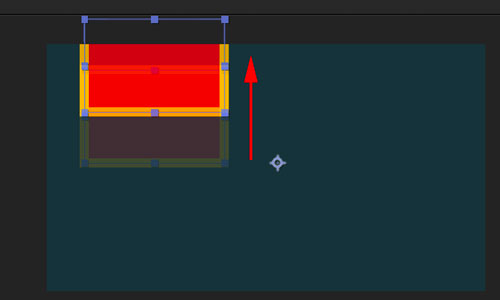
... will move the shape vertically.
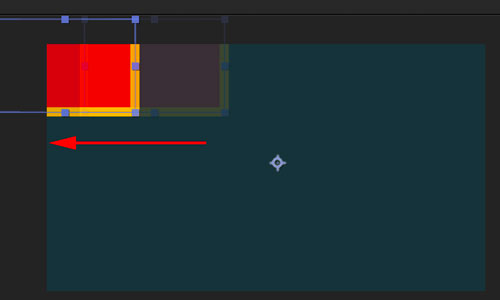
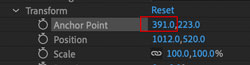
To move the shape sideways - change the left setting.
Moving
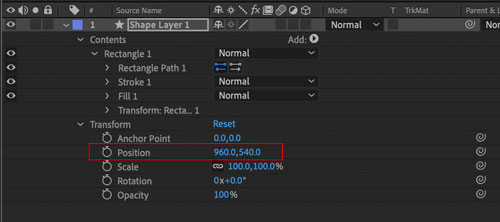
Take a look at the Position setting:
it shows the position of the Anchor Point in the composition.

If you set the position to 0.0 , 0.0...
... the Anchor point will be placed in the upper left corner.
Two ways to adjust an anchor point
#1:


Changing Transform Anchor Point variables in Layer's settings will move the shape in regards to the Anchor Point.
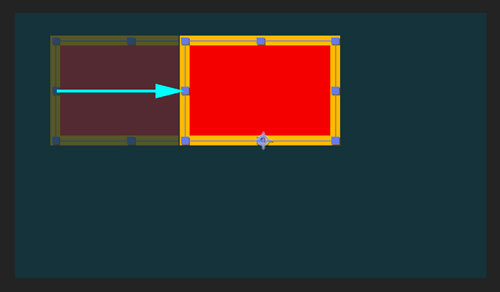
The Anchor Point itself will stay in place.
Use this method if your Anchor point is set at the exact location where you want it to be.
#2:

Use Anchor Point tool to reposition the anchor point itself.
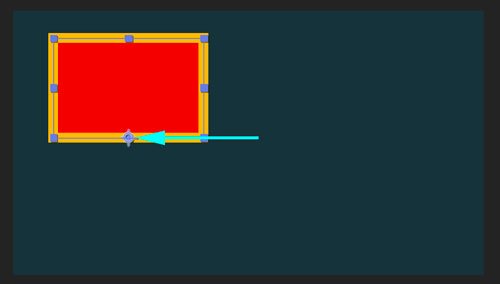
The shape will stay in place, but the anchor point will be moved.
Use this method if you have the shape at the exact location.
To have the Anchor Point "snap" to the center of the shape, corners or shape's points - hold Ctrl / Command key as you drag the anchor point with the Pan Behind tool.
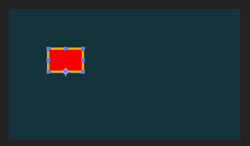
scaling
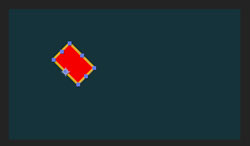
rotating
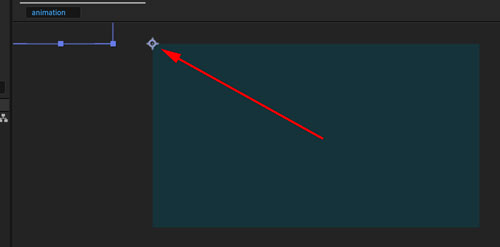
Animation
To animate an object we need to have start and end points in time. These points are called keyframes.
Think of it as your daily agenda: let's say you have a Computer Graphics class from 11:40 to 12:25.
So your first keyframe will be at frame, labeled with 11:40. Your next keyframe will be the frame 12:25.
Time between these keyframes is where fun happens! :)
If you decide to have your object move - you will need to apply changes to the Position values.
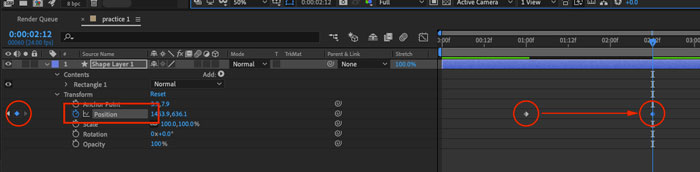
To add a keyframe - click on the "Stopwatch" button next to the property you want to change.
The button will change color to show animation of the Position property.

You can add or remove keyframes by clicking on keyframe indicator.

If the keyframe indicator is blue - there is a keyframe at the current frame.
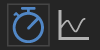
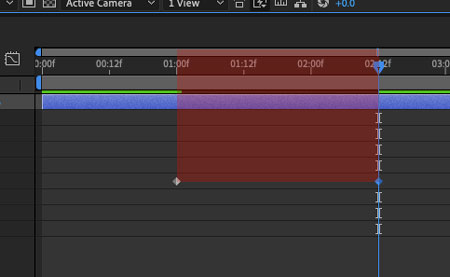
Composition Panel shows the path of object's movement

If you drag the time indicator - you will see the object move.
Animation happens between the two keyframes.
You can add and remove keyframes between the initial keyframes.

Bring out Preview Panel to control the animation.