- Importing images
- masks
- track matte animation
Let's compare different types of masking - layer mask and track matte
by JuliannaKunstler.com
Let's compare different types of masking - layer mask and track matte

Create a new project in AfterEffects.
New composition: 4 sec.
It is easy to import images, sounds, and other media files into your project.
File > Import
(You can also drag an image onto the screen)
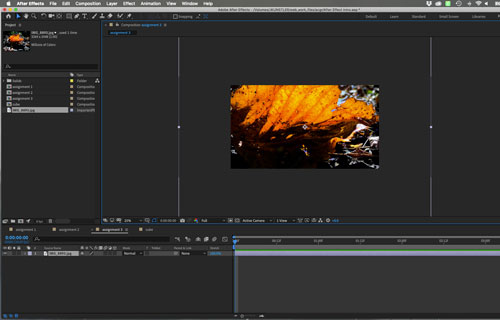
Once an image in imported, you will see it on the composition screen.
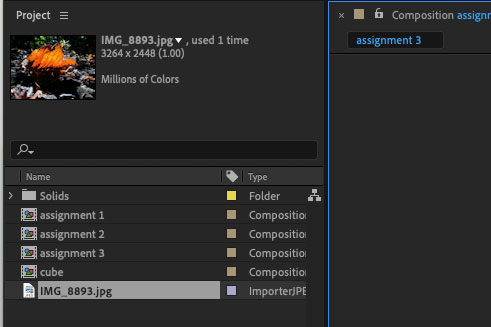
The image file will show in the Project panel.

The image will be placed in your timeline for the full duration of the composition.

Mask is an area (shape) that reveals the content of a layer.
To add a mask - have your layer selected in the timeline and start drawing a shape.
This can be a primitive (circle, square, rectangle, etc) or a free form, drawn with Pen tool.
Once the shape is closed - it becomes mask.

Mask attributes will appear in the timeline for that layer.
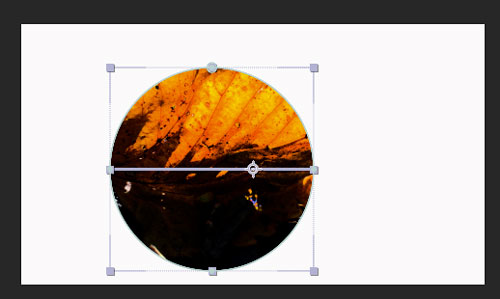
You can reposition the Anchor point as you would for a shape.
This is how we can animate mask properties:

Path - you can change the appearance of the mask by selecting one of the options for path shape.
Place a keyframe at 0
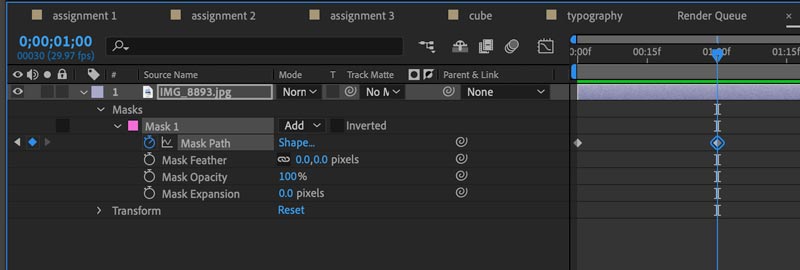
Place another keyframe at 1 sec. mark
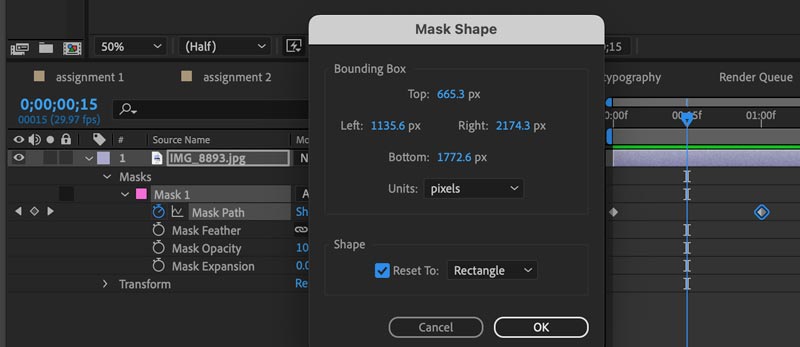
Place the time indicator at 1/2 sec. mark (00:15f)
Click on "shape" setting and change it to Rectangle. This will automatically place a keyframe in the timeline.
Preview the animation.

Continue animation:
Place a keyframe for Mask Feathering at 1 sec mark.
Then place another at 2 sec. mark.

Plave the time indicator between the two keyframes.
Change the feathering setting to create a fading effect.
Preview the animation

Place two keyframes for Mask Opacity: at 2 sec. and 3 sec. marks.

Place the time indicator between the keyframes.
Change Mask Opacity to a lower number.
Preview the animation.

Place two keyframes for Mask Expansion at 3 sec and 4 sec. marks.

Place the time indicator at 03:10f.
Expand Mask to a higher value to reveal the image outside the mask path.

Place the time indicator at 03:20f mark.
Change Mask Expansion setting to a negative value to shrink the image display.
Preview the animation.
When you animate an image (or a layrer) with a mask - the image moves with the mask.
Let's try!
Extend the animation.
Composition > Composition Settings
Change the duration to 5 sec.
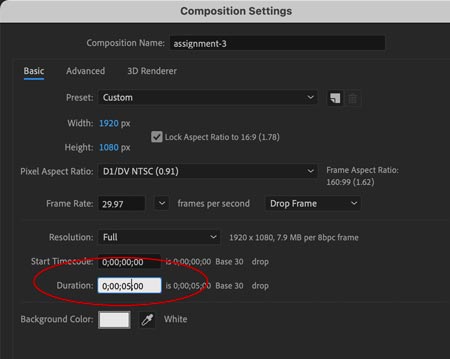

Stretch the image to 5 sec. mark.
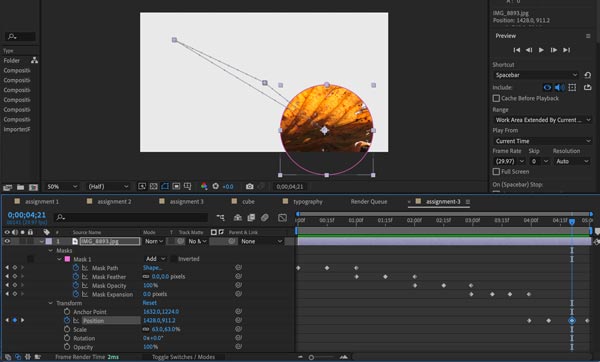
Place the time indicator to 4 sec. mark.
Add a keyframe for the Position setting.
Add another keyframe at 5 sec. mark.
Add a few keyframes in between and move the shape .
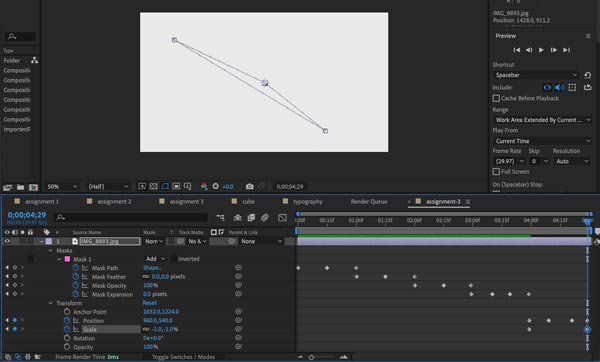
Next - let's make the shape disappear.
Place a keyframes at 4 sec. mark for Scale option - it is set at 100% by dedault.
Them move the time indicator to 5 sec. mark and change Scale to 0%.
You are done!!!
Try the following:

If you choose the Inverted mask option - the reveal area will become the entire layer, except for the inside of the mask shape.
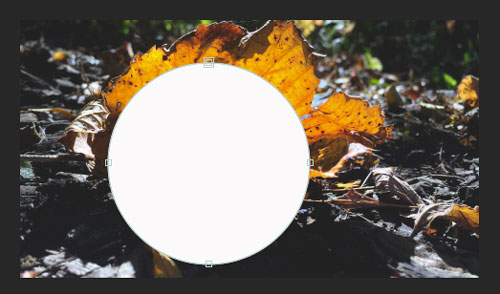
Something like this.
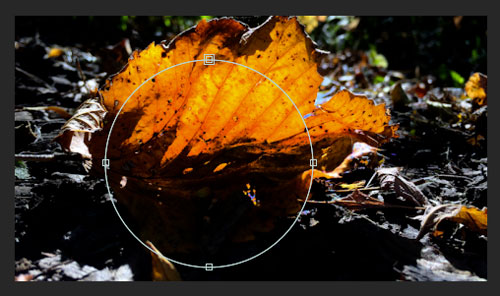
Occasionally, you would need to draw or modify the mask shape while being able to see the entire layer (image).
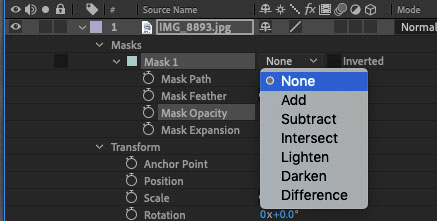
You can do so by changing the mask mode to None.
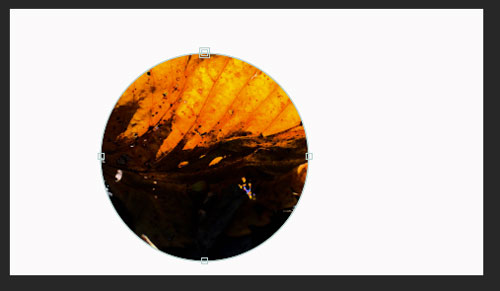
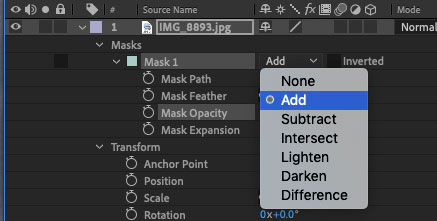
You can restore the mask mode to the default by choosing Add option.
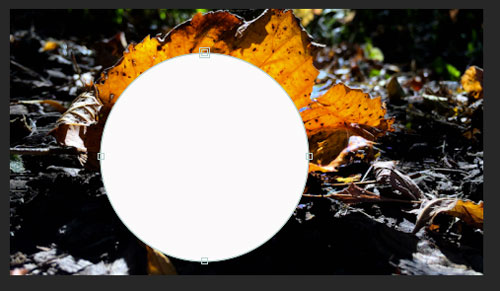
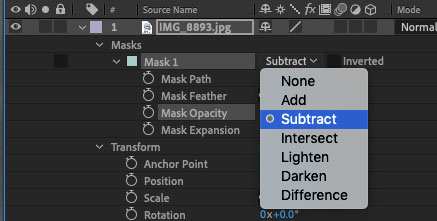
You can invert the mask by choosing Subtract mode.
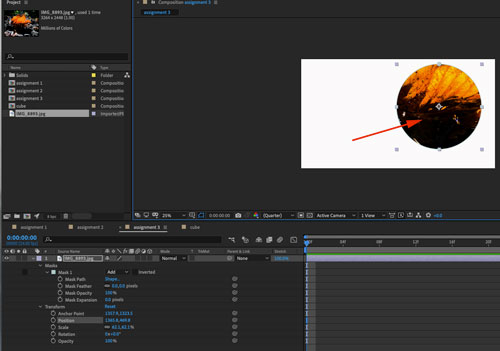
Image layer has standard Transform options.
You can resize, move change opacity, etc.
Both image and the mask shape will be affected by these transformations.
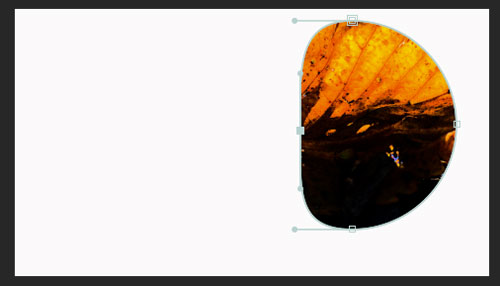
You can use Pen tool and edit mask shape by repositioning the points and direction lines.
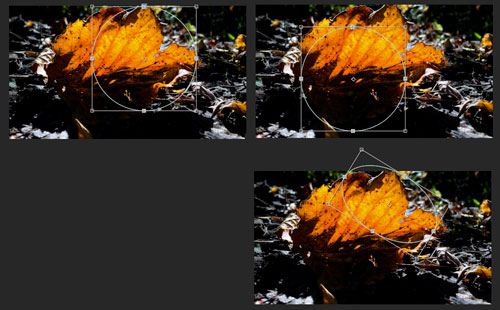
To reposition the mask shape on the layer:
Because mask always moves with the image, you cannot animate the mask position alone.
Instead, use Track Matte.
Create a new composition.
Add the same image.

Create a new shape layer directly above the image.
Draw a shape on that layer.
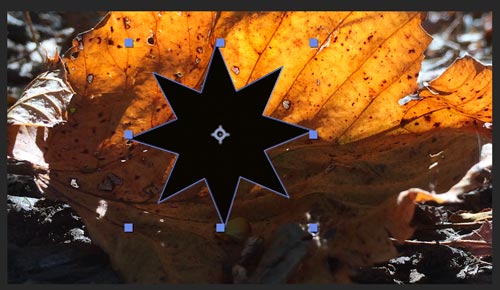
Make sure the fill color of the shape is BLACK!!!.
We are going to use this shape similar to mask shape.

Rename the layers.

Return to the image layer.
In the timeline: find Track Matte menu and choose Alfa Matte "the name of the layer with the shape".
(If you do not see the Track Matte option: right-click on the grey bar and choose Columns > Mode)
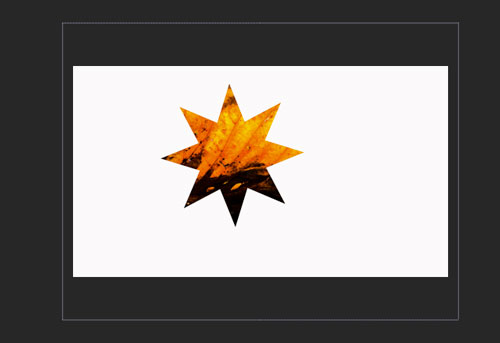
You will get a result, similar to mask.

The shape layer visibility will be turned off, and Alpha option is applied to image layer.

The cool thing about Track Matte - is that it is a separate shape layer with all its attributes.
That means you can animate the shape independently from the image.
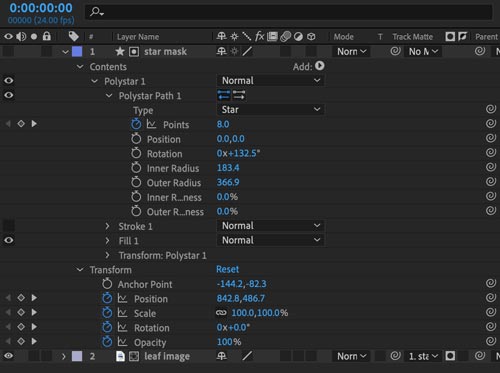
All other Transform and Content options are also available for that shape.
Try animating:
These are the basics for masking in After Effects!
Now you know!!!