
Bouncing ball
Adobe After Effects
by JuliannaKunstler.com
STEPS
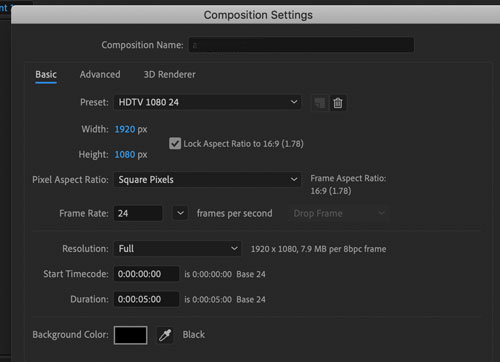
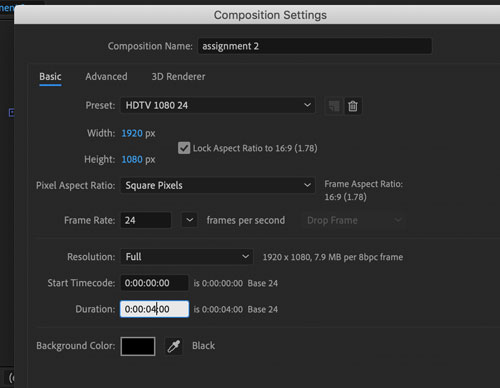
New composition.
Your standard settings.
Duration: 5 seconds.
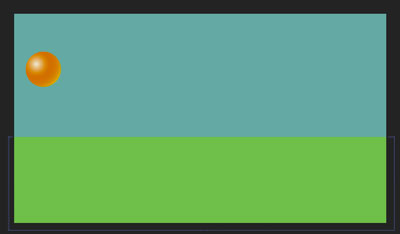
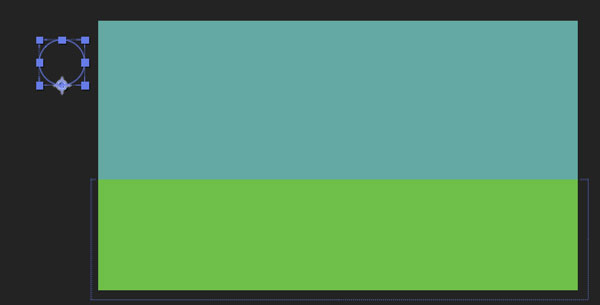
Sky
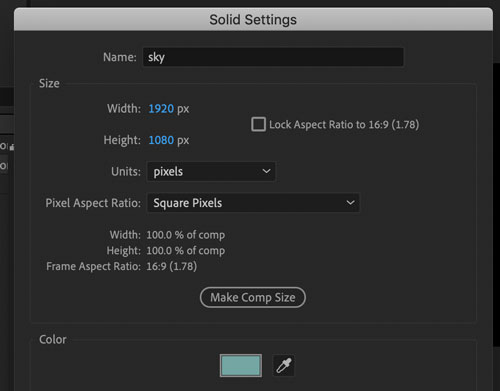
New Solid Layer.
Color: blue or.... anything else....
Name the layer: sky.
ground
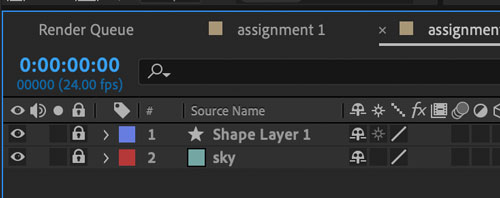
Lock "sky layer.
New Shape layer for ground.
Draw a rectangle. Choose any color.
Lock the "ground" layer.
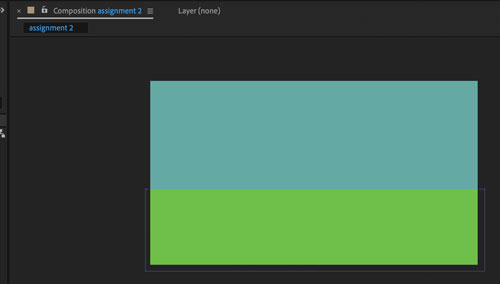
Our setting is ready.
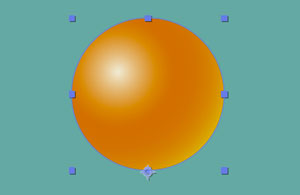
ball
Select Ellipse tool.
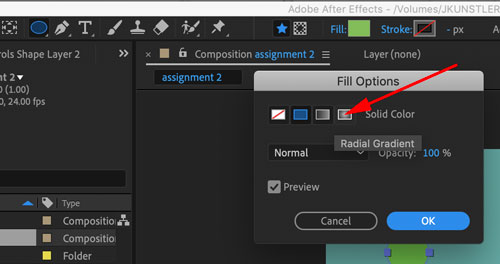
Open Fill options for the circle.
Choose Radial Gradient.
With both layers locked, start drawing a circle (hold SHIFT).
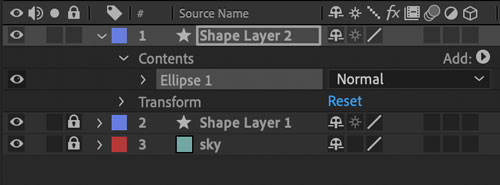
A new Shape Layer will be automatically created in your timeline.
Open settings for:
Contents
Ellipse 1
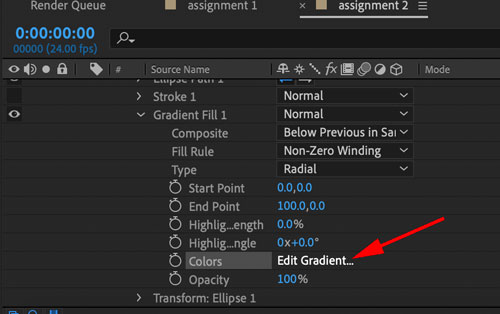
In Gradient Fill options:
Click on Edit Gradient
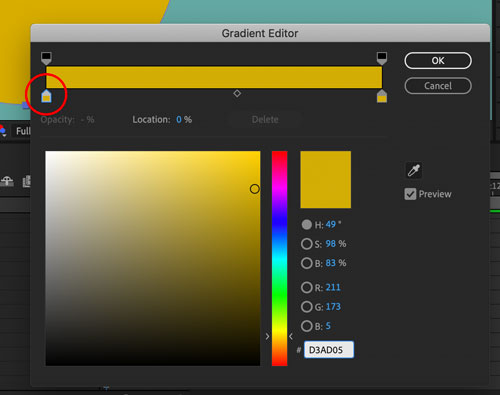
Click to select the first Color Stop.
This is going to be your highlight - it appears in the center of the radial gradient.
Select a light color.
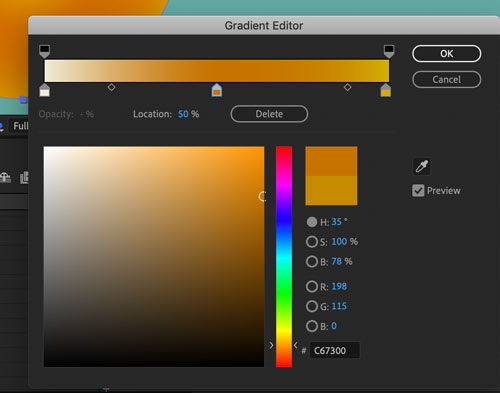
Add a color stop to the gradient.
This should be the darkest color of the three.

Adjust the color stops and Color Midpoints if needed.
Click OK.

Now you can use Gradient Controllers to adjust the gradient Start and End points.
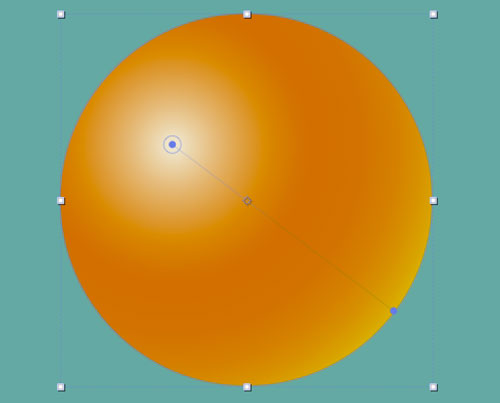
Reposition the points as shown to make it look as a sphere.
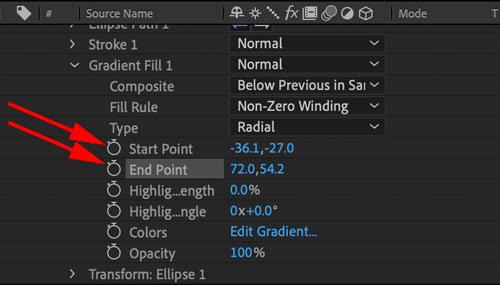
These changes will be reflected in yout timeline.
Please note, that your values will be different from the ones in this photo.
IMPORTANT!!!

Move the Anchor Point to the bottom of the ball.
Use Anchor point Tool.
Hold Ctrl/Command
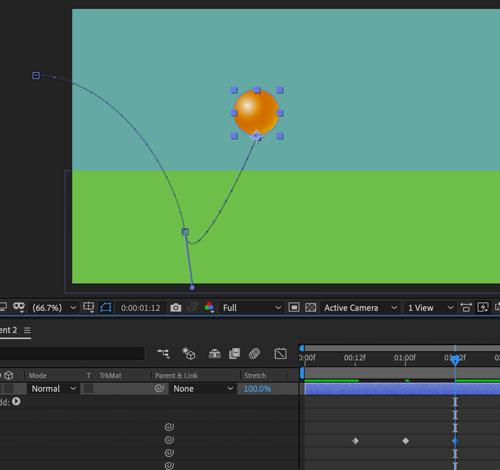
Animation
Move the ball off the screen.

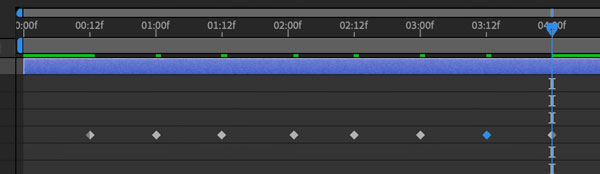
Place Time Indicator to 1/2 second frame mark (00:12f)
Place a keyframe for Position to start the moving path.

Move to 1 sec. mark.
Move the ball down.
That completes the first leg of the bouncing path.
Move time indicator to 01:12 mark (1 1/2 sec.)
Move the ball up.

Create a corner point for the path.
Adjust the curve.
The 2nd leg should be lower than the first one.
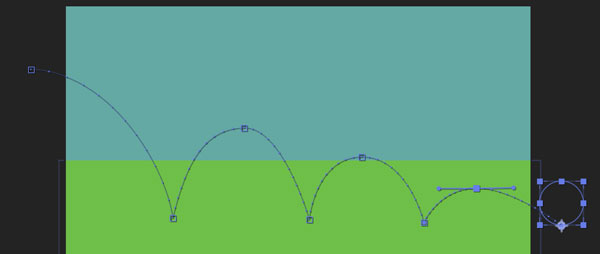
Continue with the bouncing path as shown every half a second.
Until you reach a 4 sec. mark.
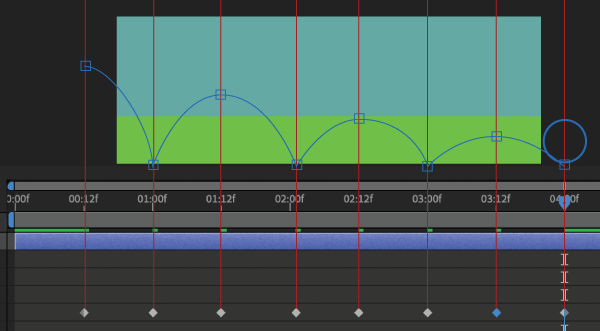
Double-check the moving pattern in the timeline.
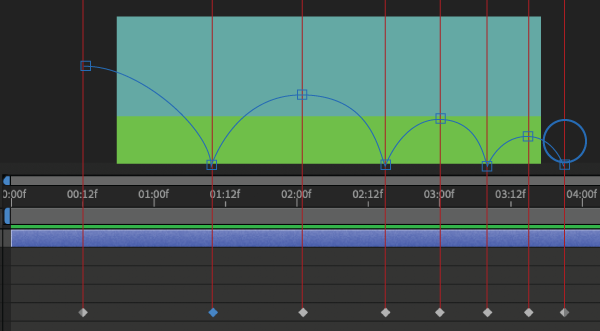
Now we need to adjust time as it takes less time for the ball to bounce as it dies out.
You can manually move the keyframes positioning them closer and closer together. The last keyframe can be moved left just a few frames before the 04:00 mark.
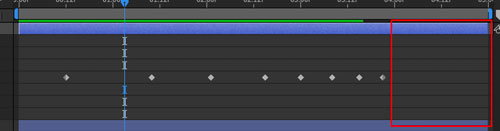
We can remove the last second of the timeline now.
In the Menu bar:
Composition > Composition Settings
Change the duration to 4 seconds,
Ground impact
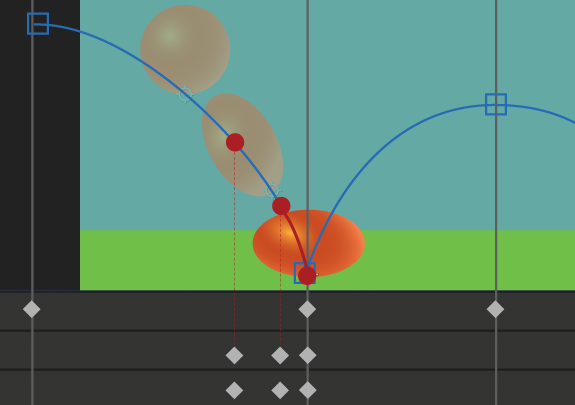
If we want to create a realistic illusion of a bouncing ball - we need to add some modifications to the ball shape during the ground impact.
Look at the image to see how the shape should change.
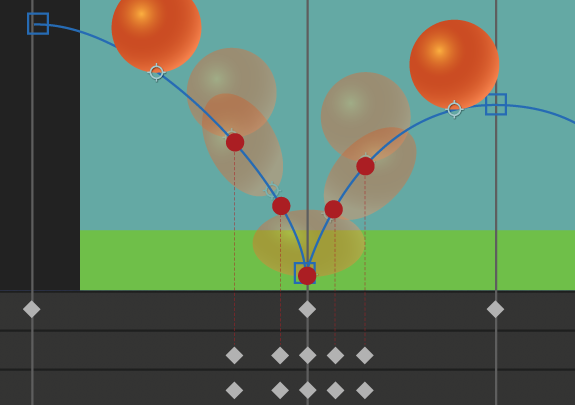
Starts with a simple round shape ball. As it gets closer to the ground - it speeds up and gravity pulls the bottom part down, making an oval shape that is tilted in the direction of the fall. The ball starts leveling up and squishing into a horizontal ovalю Then it bounces back in a reverse manner.
Here is a step-by-step guide:
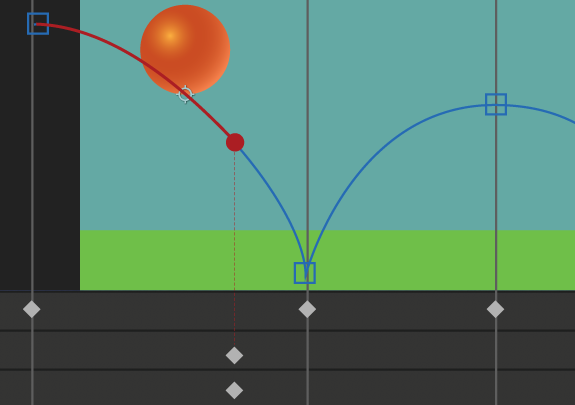
Before the beginning of the animation and the 1st keyframes for Scale and Rotation the ball is just round.
In the timeline:
Scale: 100%,100%;
Rotation: 0
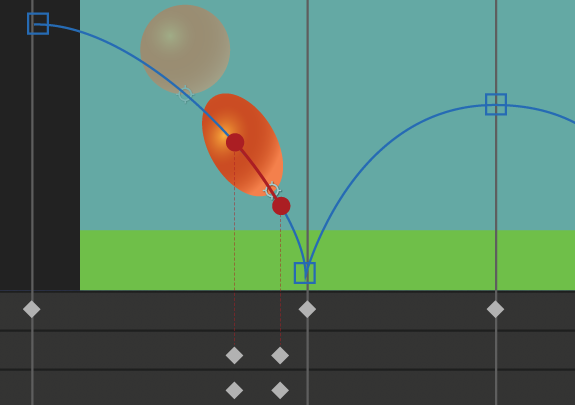
Between the 1 and 2 keyframes the ball stretches and tilts.
In the timeline:
Scale: 75, 125
Rotation: -22
At 3rd keyframe - ground impact - matches with the Position keyframe.
In the timeline:
Scale:125, 75
Rotation: 0
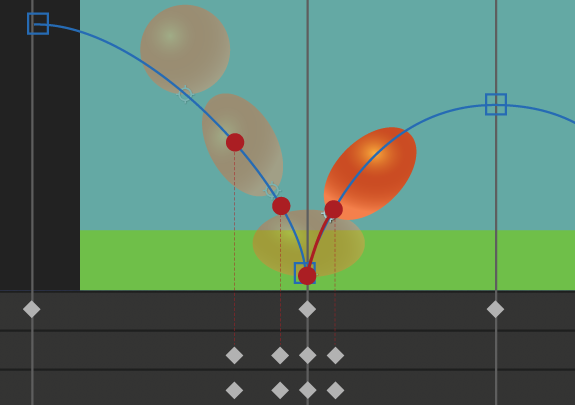
Starting the second leg.
In the timeline for the 4th keyframe:
Scale: 75%, 125%
Rotation: +24
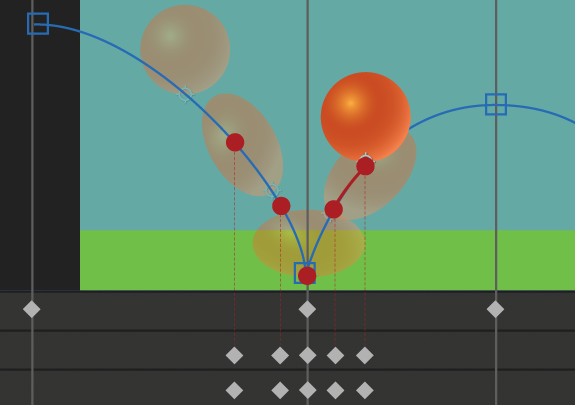
In the timeline for the 5th keyframe (back to circle):
Scale: 100%, 100%
Rotation: 0
The ball continues its path to the other side of the curve.

Repeat the same animation pattern for the rest of the legs.
Feel free to make adjustments to rotation if it works better for you.

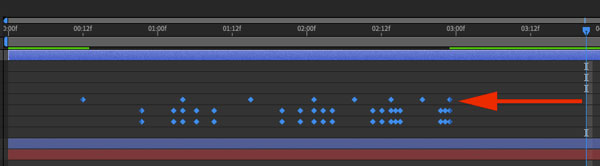
You will end up with keyframe groups.
The keyframes get closer as the ball bounces faster.
To speed up or slow down the animation (or a part of it) - select the keyframes.
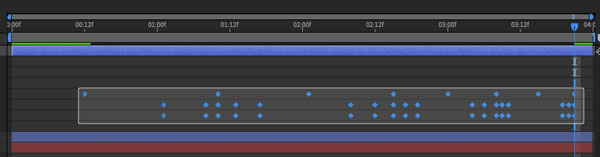
Alt/Option drag one of the end key-frames. It will condence or expand the keyframes uniformly.
Preview the animation.
Save.
Render a video.
Done!
...