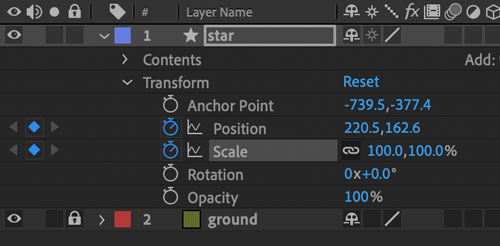
Stay on the same frame.
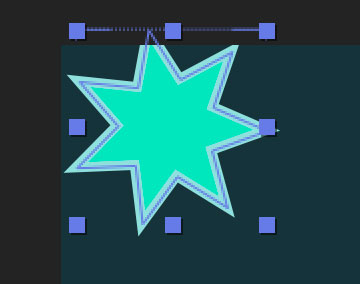
Change Scale property to 0.

A keyframe will be generated for this frame for Scale property.
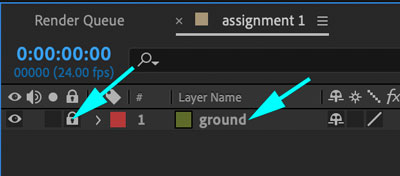
Lock the layer.
circle
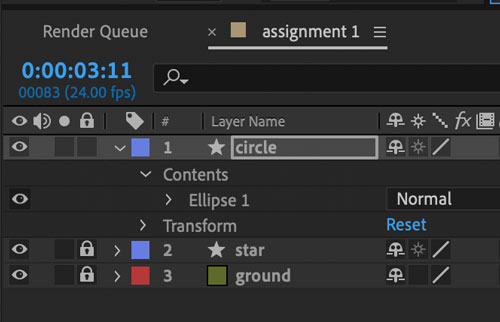
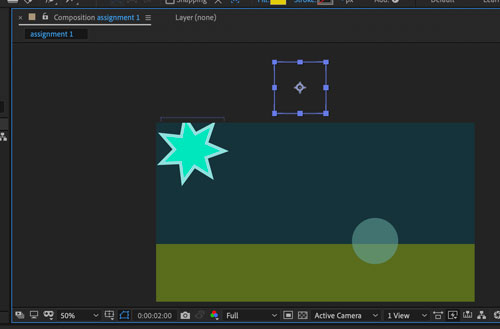
Create a new Shape layer.
Rename it "circle".
At this point you can hide the "star" layer.
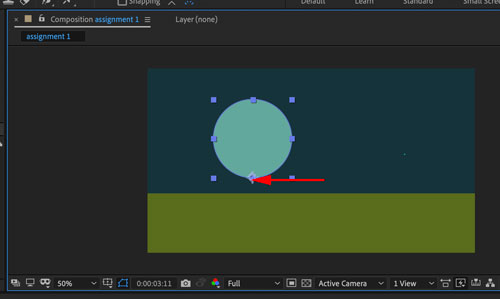
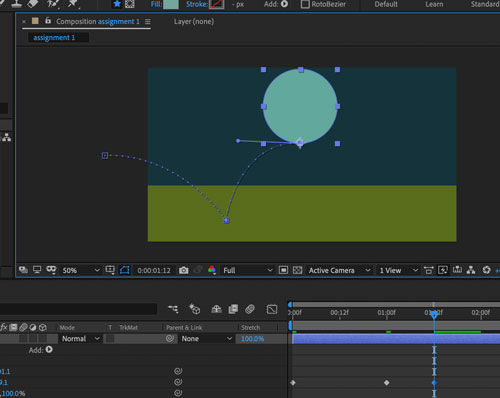
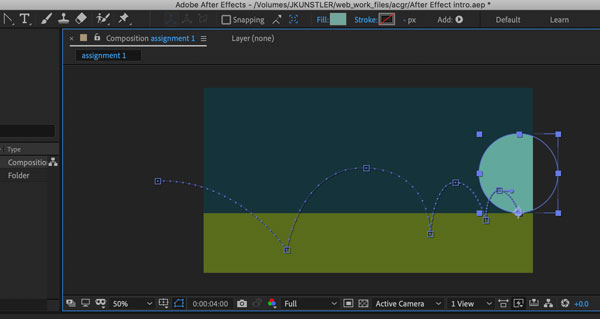
Draw a circle on the "circle" layer.
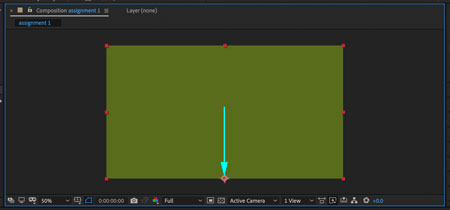
Move the Anchor point to the bottom of the circle (hold Ctrl/Command).
Choose colors for fill/stroke.

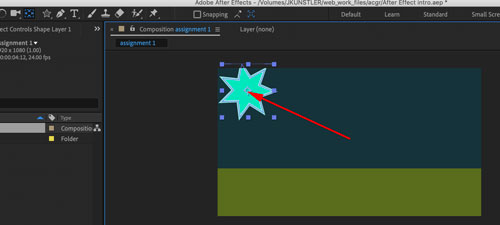
Move the circle off the screen.
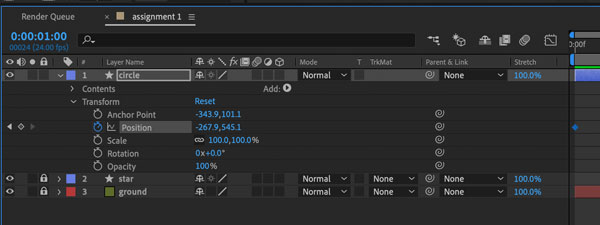
In the Layer Transform menu:
Click on the stopwatch of Position property to place the first keyframe.

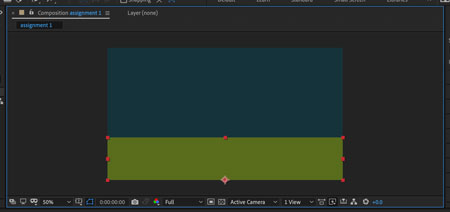
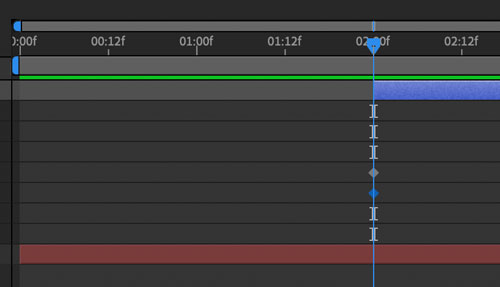
Move the Time Indicator to 1 sec. mark.

Move the circle down.
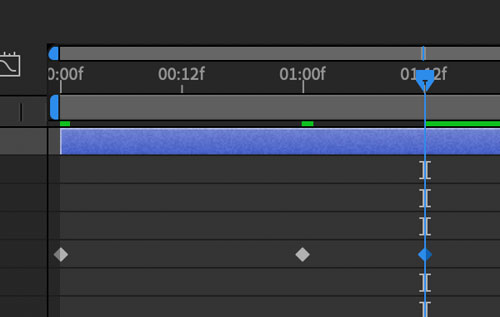
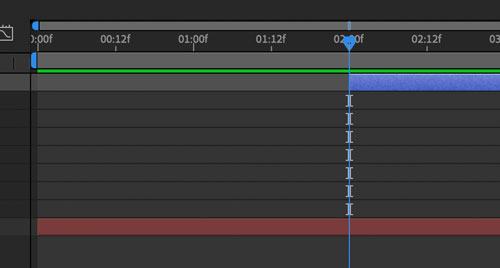
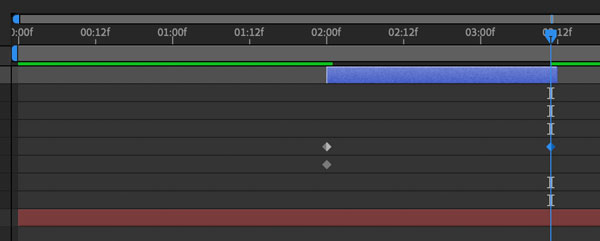
Move the Time indicator to 01:12f mark.
Move the circle up, but not as high as the starting point.
You should see 3 keyframes in your timeline.
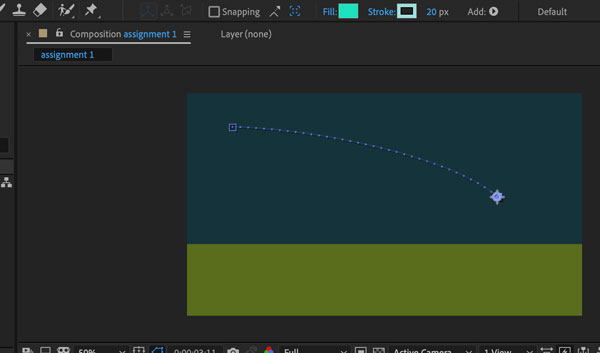
If your moving path does not look like this - you need to create a corner point for the bottom point.
creating corner points
There are two ways to create a corner point in After Effects.
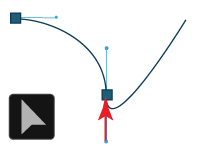 1. Using Selection tool - move the second direction line into the point.
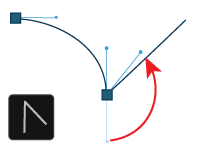 2. Using Convert Vertex tool (in Pen group) drag the direction line to start a new curve direction.
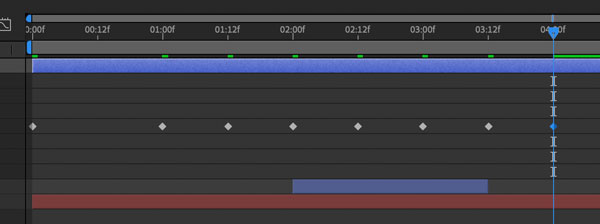
Continue moving the ball and adding keyframes at
to convert a point

Use Convert Vertex tool
and drag to the direction you want your curve to go.
Create a path all the way to the right side of the horizon line.

Return to the beginning of the layer animation.
Create a keyframe for scaling transformation.

Move the time indicator to the end of the animation.
Scale the circle down to 20% or less.

Back to the start of the animation.
Place a keyframe for Opacity transformation.
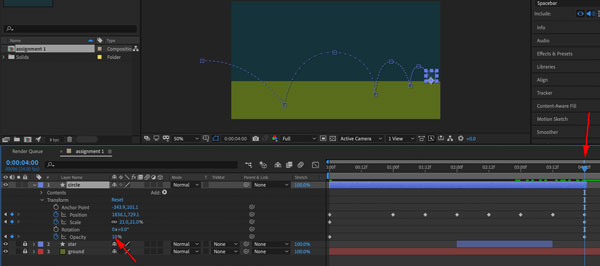
At the end of the animation: opacity 0%.
Save.
Preview.
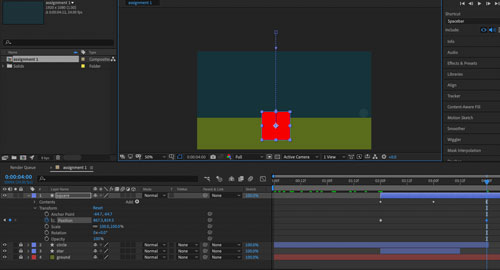
square

New shape layer.
Start animation at second 2.
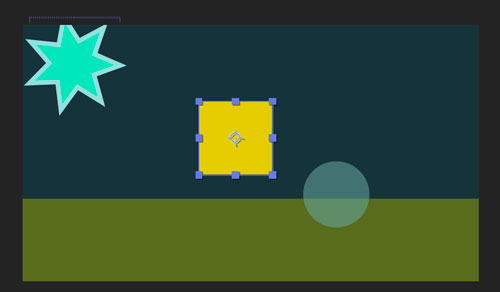
Draw a square.

In the timeline:
Contents > Rectangle 1 > Fill
Insert a keyframe at second 2.
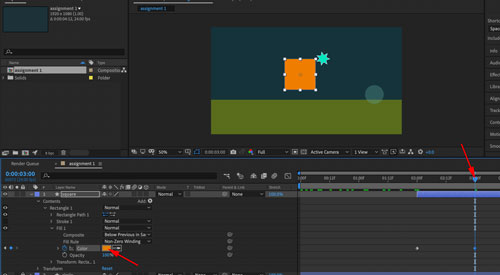
At second 3 - change the fill color.
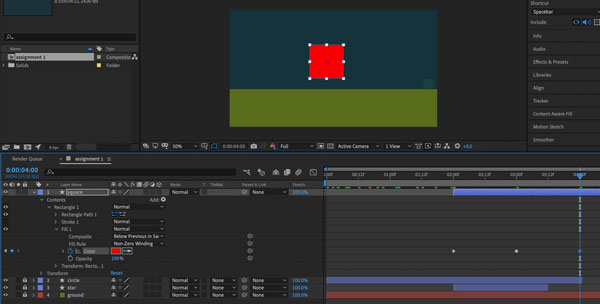
Change the color again at frame 4.

And one more time at the end of the animation.
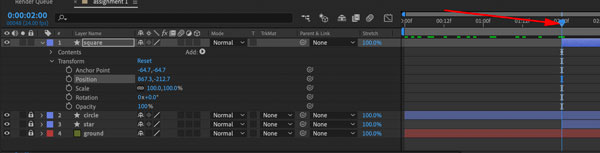
Now let's animate the position of the square.
Back to frame 2. Insert keyframe.
Move the square up, above the composition.
At frame 4 - move it down.
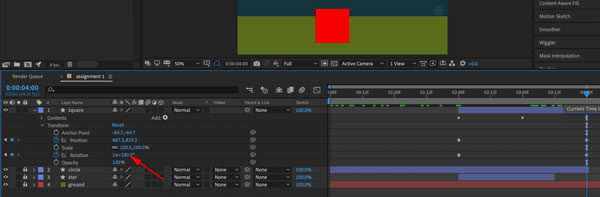
Add rotation transformation between frames 2 and 4.
Preview.
Save.
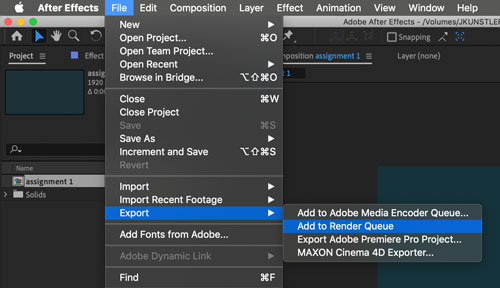
Now it's time to save the video.
File > Export > Add to Render Queue.

At the Render panel:
Check the composition to export.
Choose the destination.
Hit Render button.