Learning objectives:
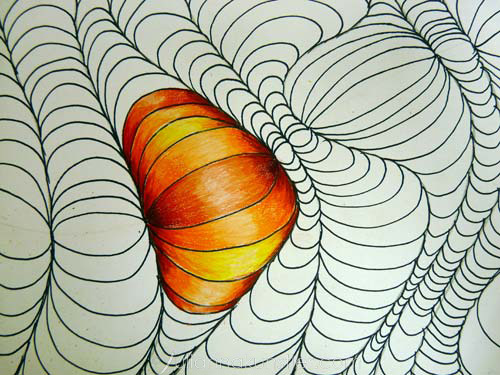
- Repetition & pattern
- Use values to create depth
- Manipulate lines to create an illusion of depth
- Colored pencils shading technique
- Color schemes

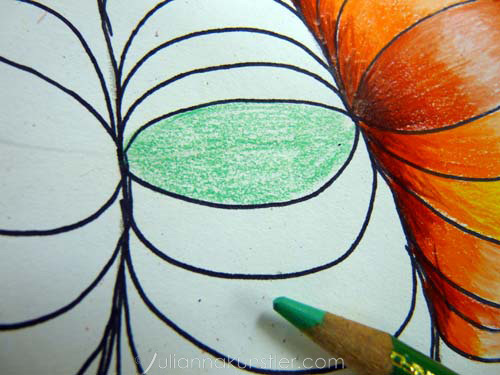
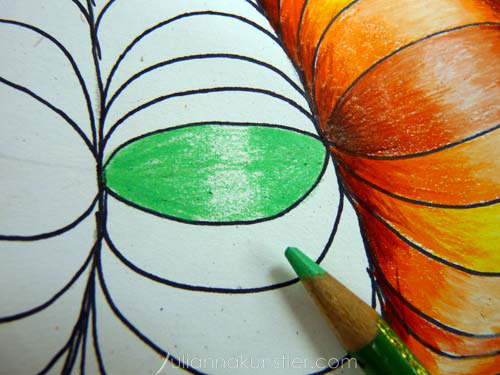
Color is a very expressive Element of art. You are going to use colors of your choice to achieve your goal.
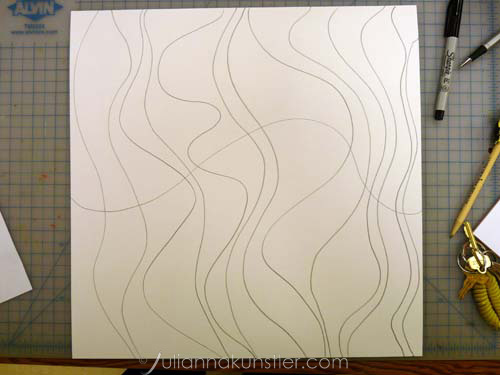
There are 2 steps to create this project:
- draw the design
- follow the coloring technique to make the design colorful, unique, and three-dimensional