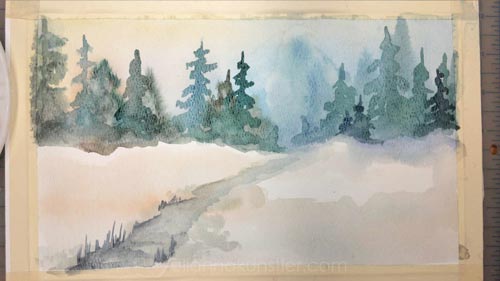
Your landscape should include:
- sky - use multi-color wash
- ground - use multi-color wash
- trees - use wet-on-wet and wet-on-dry techniques
- foreground - use wet-on-dry and dry-brush techniques to add details and textures.
Your steps:
- sky
- background trees (while the sky is still wet)
- ground
- lift color (if needed) in the trees
- foreground details (when the first wash is dry)
- next layer of the trees (when the previous layer is dry)
- more trees
- foreground details and textures
step 1 - sky: multi-color wash
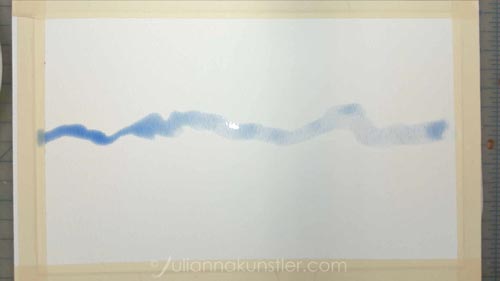
With a color wash: draw a line (horizon) across the paper.
Use 3-5 color washes to paint the sky.
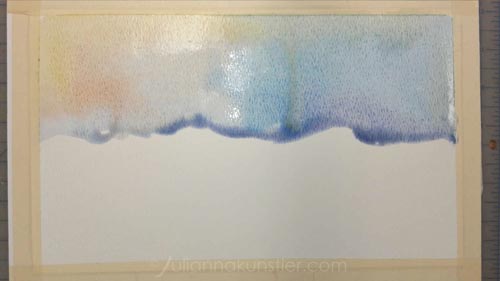
Have the washes blend.
If there are areas that get too much color/water - use a damp brush with paper towel to lift the wash.
The next step should be done while the background is still wet.
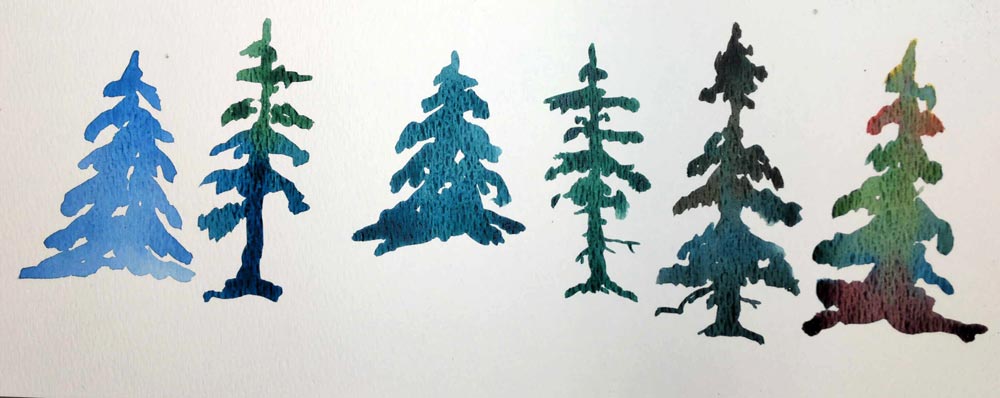
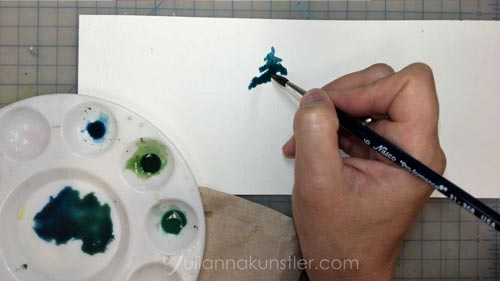
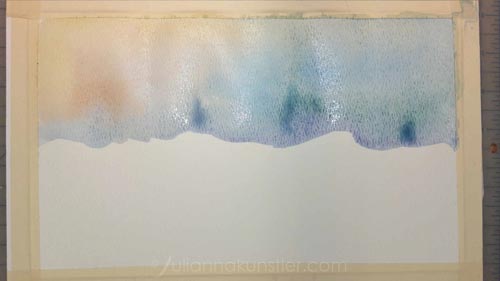
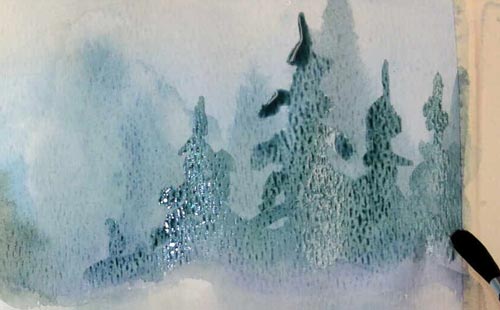
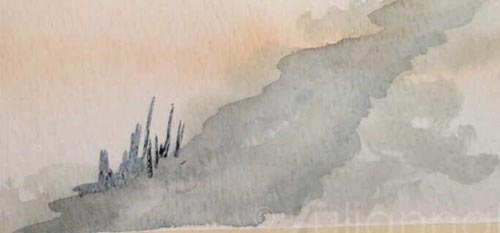
step 2 - background tree silhouettes: Wet-on-wet
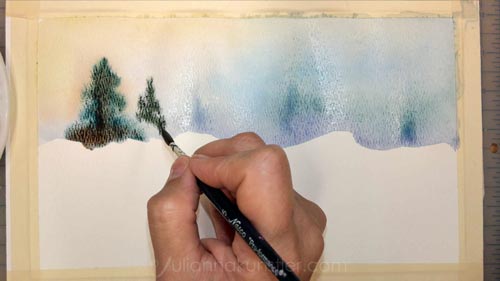
Prepare a few dark (intense) color washes.
Green, brown, dark blue.
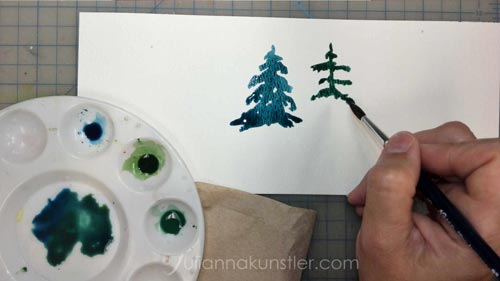
Start drawing tree silhouettes. Have the trees overlap.
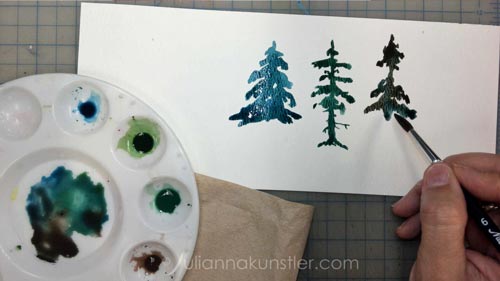
Place trees at random order. Make them different sizes and colors.
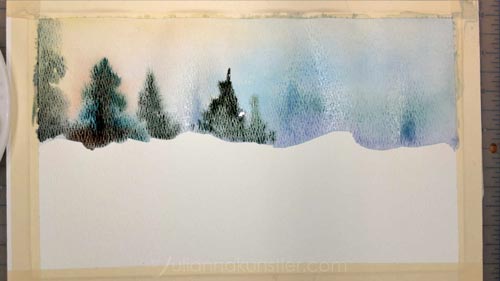
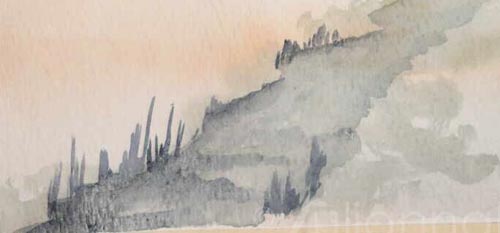
Add more tree silhouettes with lighter washes.
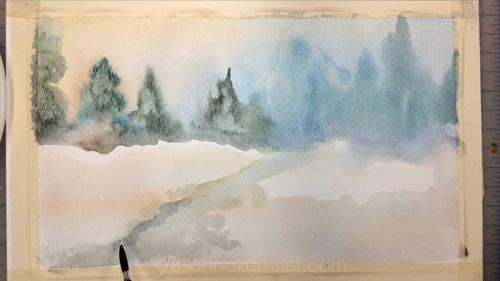
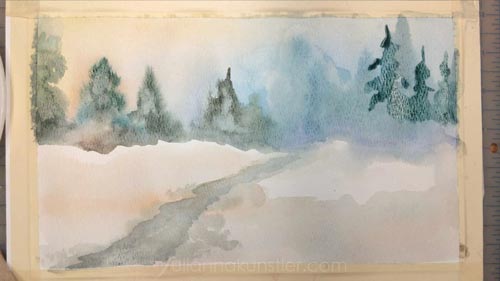
step 3 - ground: multi-color wash
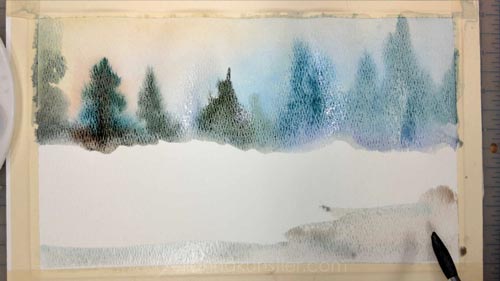
Add some colors to the foreground.
Use light colors and watered-down washes. Use more than one color.
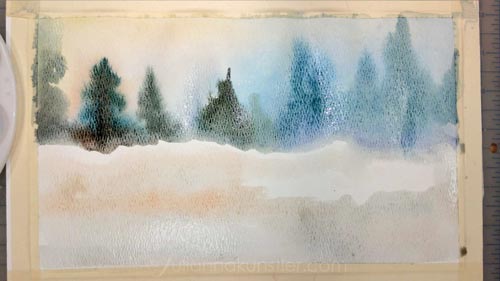
White areas should stay unpainted.
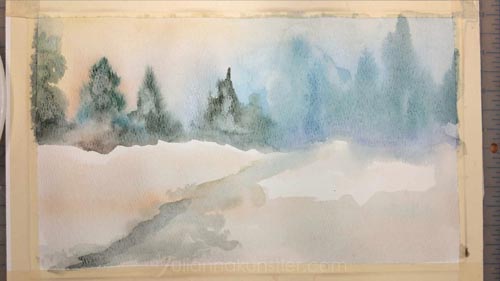
step 4 (optional) - light areas: lift color
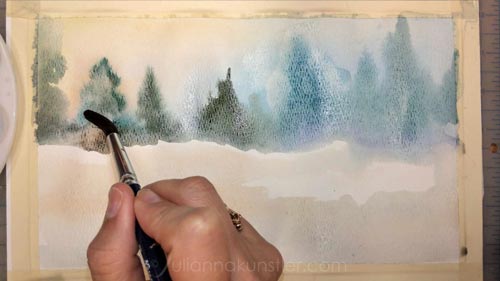
To lighten dark areas - use a damp clean brush and paper towel .
Lift the paint off the paper.
Rinse and dry the brush after each lift.
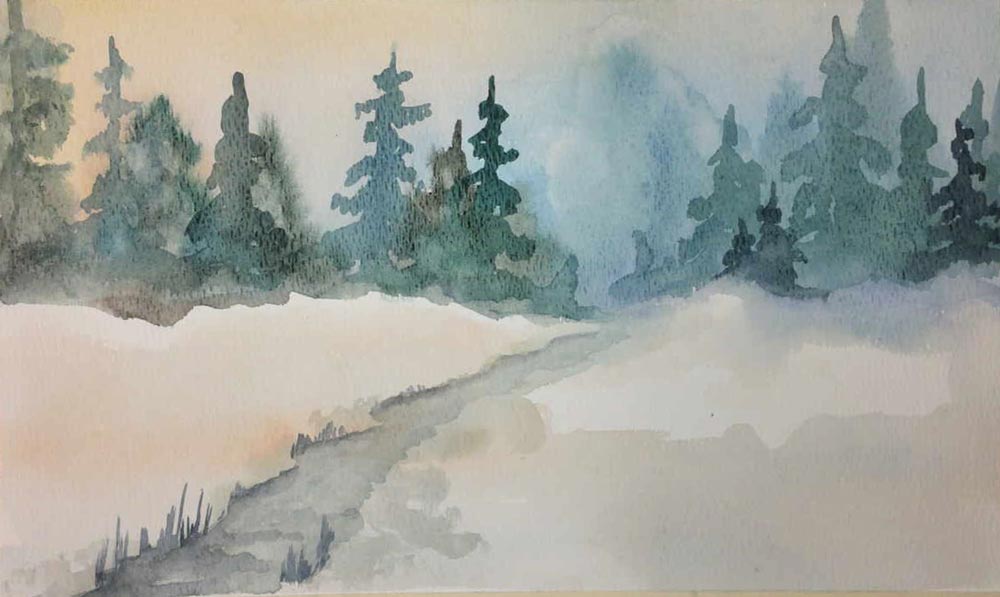
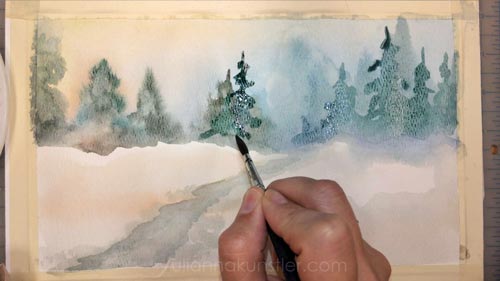
step 5 - foreground details: brush drawing and dry-brush
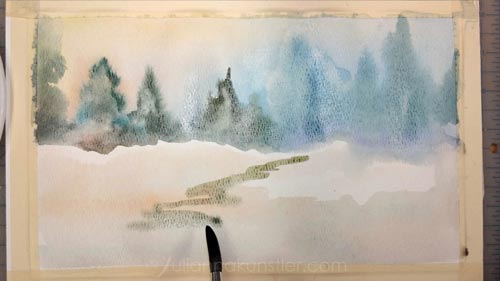
Sketch the creek over the painted ground wash.
Spread the initial stroke and add some texture in the foreground.
This texture technique is called "dry brush". We'll discuss it later.
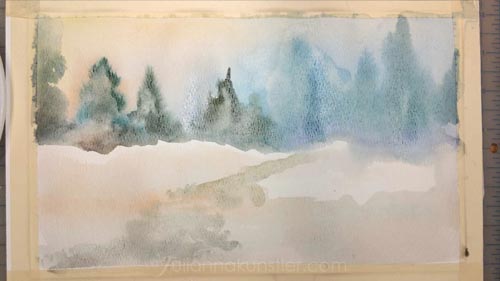
Add another layer of the wash to emphasize the creek's shadow.
Fade it towards the center of the creek.
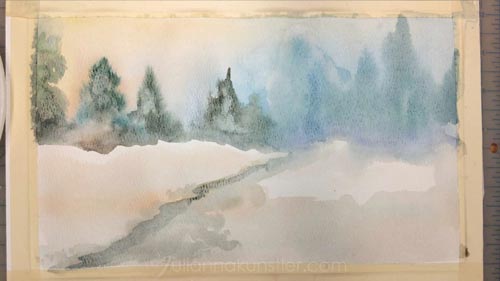
Extend the shadow line.

Fade the stroke on one side, leaving the contrast where the shadow goes.

Define the other side of the creek.
Fade one side.
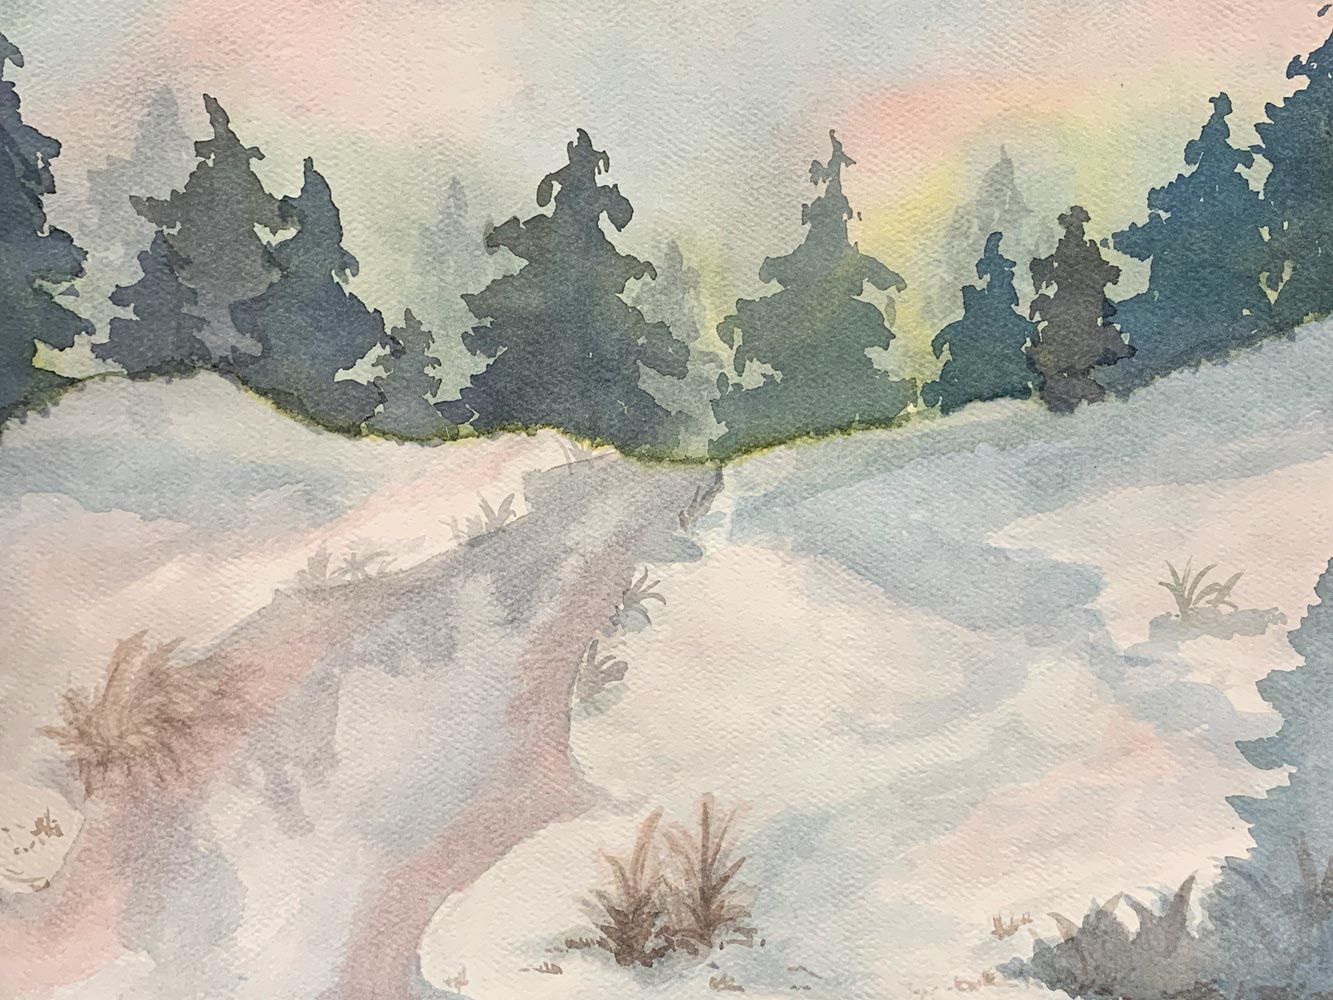
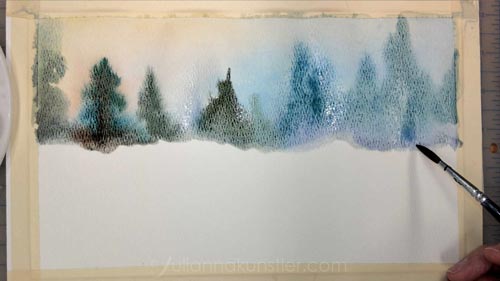
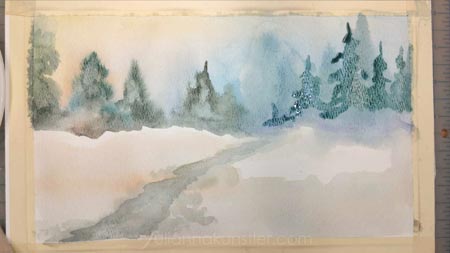
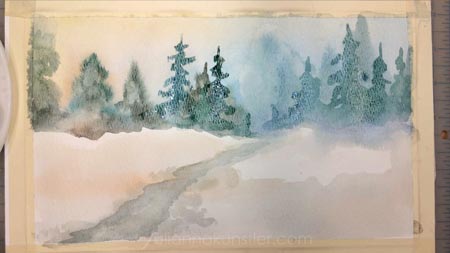
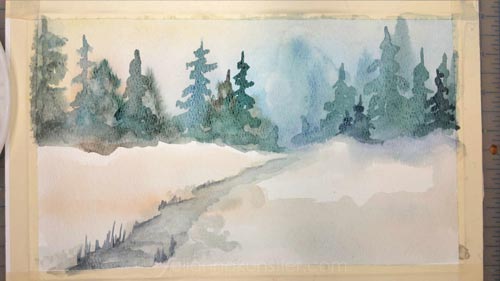
step 6 - background tree silhouettes: Wet-on-dry
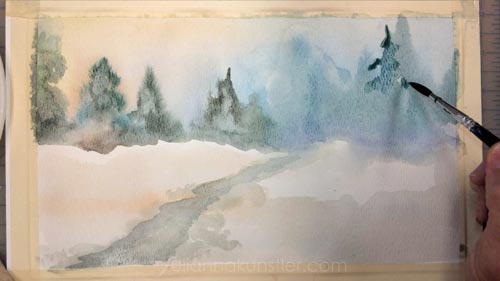
Once the background is dry, start adding more tree silhouettes.
The wash should be more concentrated.
Use one or multiple-color washes.
Paint trees of different sizes, space them or overlap, etc.
Let the right group of trees dry.
You can fade the bottom of the trees line to soften the contrast.
Continue adding trees to the left side of the landscape.
You can lift some color or soften the bottom part of the trees.
Let the trees dry.
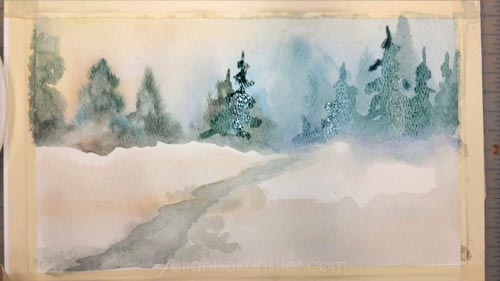
step 7 - more trees: layering
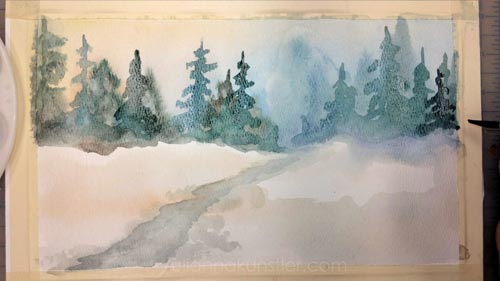
Add the next layer of the trees
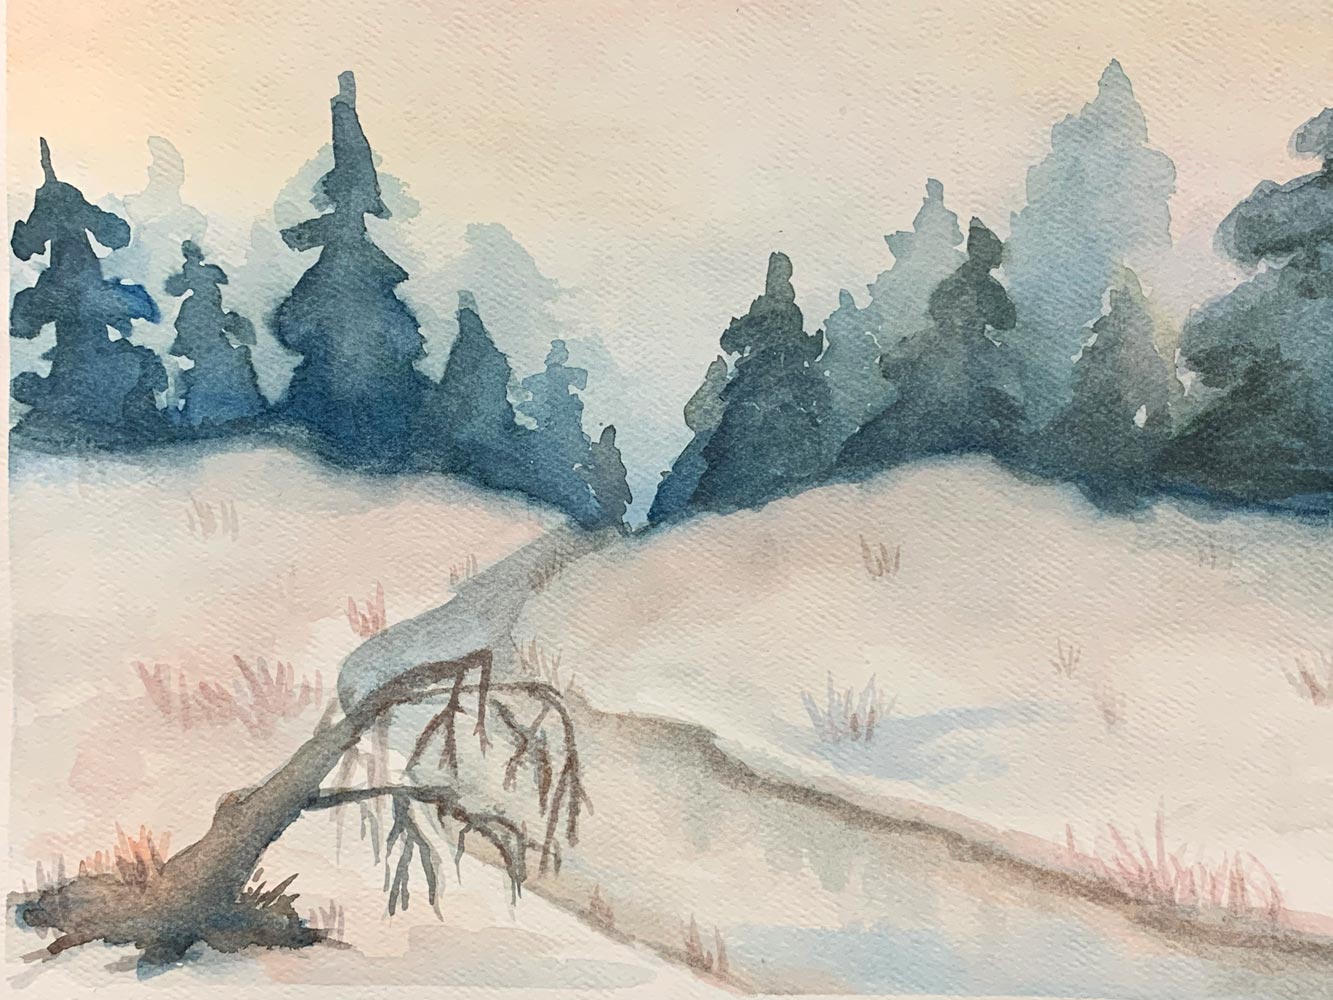
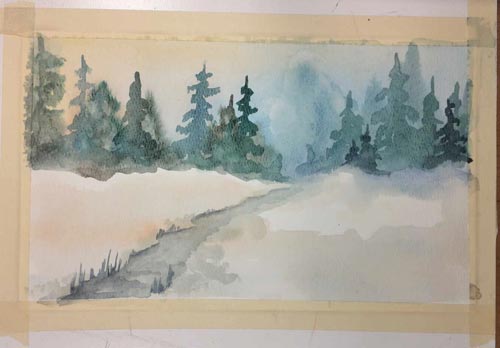
step 8 - foreground details and textures: Dry-brush
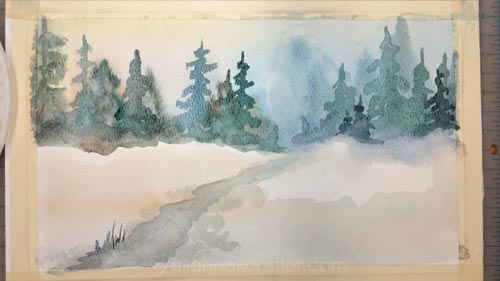
Dry brush technique is not really "dry".
You cannot paint watercolors without water. You just don't load the brush with a wash.
The technique is good for adding texture to the painting.
See the rough shapes on both sides of the creek? That's the dry-brush technique.
You can use a side of a brush or a "fan" brush for paint application.
Add more details to the background.\
Emphasize some shadows and areas of contrast.
Extend the details - add more dry grass and shadows into the mid-ground area.
Now use the same steps and techniques and paint a landscape of your choice.
You can use a photograph for reference if you want to.
Experiment with colors.
You need to use:
- Multi-color washes
- Wet-on-wet technique
- Wet-on-dry technique
- Dry brush for texture
- Detail brush-point painting