julianna kunstler logo
Still life study drawing

how to
Instagram icon
 

by JuliannaKunstler.com

GALLERY

STEPS

After choosing a spot to draw - observe the objects.

Which is the tallest (biggest) one?

Which is the closest/furthest one?

Lightest/darkest?

How should you position the paper (portrait/landscape)?

Make a small rough sketch in the corner of your paper. Start with a rectangle to represent the paper dimentions.

Sketch out objects by comparing their proportions to each other. This will help you to start drawing your still-life with a correct placement.


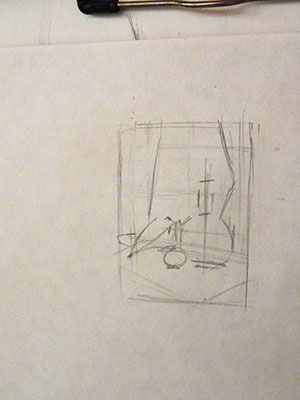
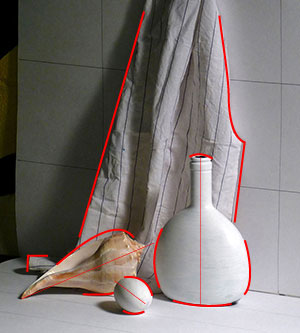
Directions! Very important!

You can, actually, have the entire drawing done with direction lines.

Direction lines show the main position of the object in space. Sometime this would be an axis (for rotation forms) or a line between the furthest points.

Take your pencil and align it with the object. Squint your eye a little - you do not need to see details - just the overall position of the form.

Check the axis

Move the pencil to your drawing holding it exactly at the same angle and draw the direction lines.

Mark the dimencions of all major forms.

Add elipces to all round and rotation forms

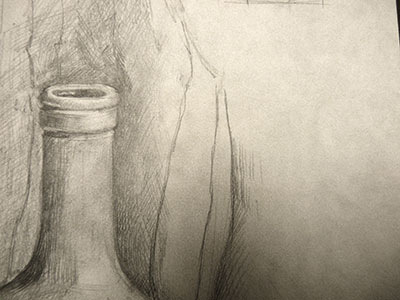
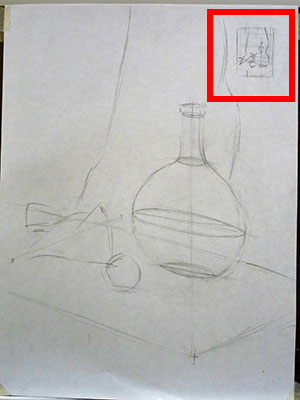
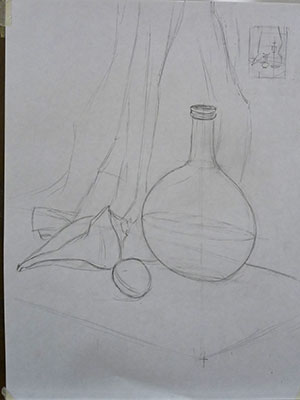
Each complex form is made out of simple forms. You need to train yourself to see them.
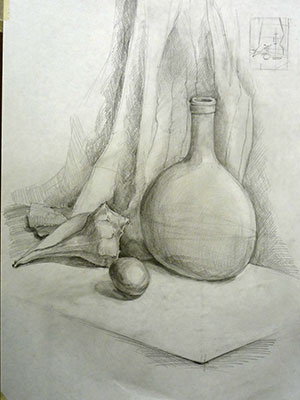
Now, that you placed each object in a correct place - time to take a look at the forms more closely.

That means adding details and refining the outlines.


.
final drawing:

Requirements:

1. Form construction (vertical/horizontal axis, proportions, ovals, etc.)

2. Placement of objects relatively each other

3. value shading (variety of values 5+, chiaroscuro pattern, shadows and form modeling, value comparison, etc.)

4. Details

5. NO OUTLINES

6. NO FLAT SHADING