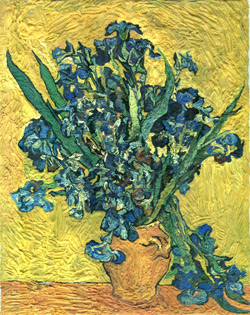
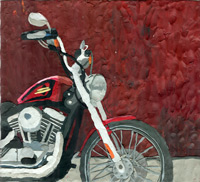
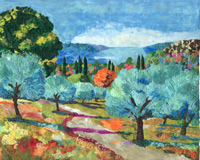
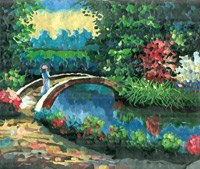
by JuliannaKunstler.com
GALLERY
STEPS
Objectives: Students learn about different artists. Students will learn to work with polymer clay. Students will apply their knowledge of Color Theory to work with mediums other than paint. Students will create an art work using polymer clay as "painting" media.
Essential questions:
1. What are the steps you take to work with polymer clay?
2. Why do you need to warm up the clay?
3. How do you mix and apply colors?
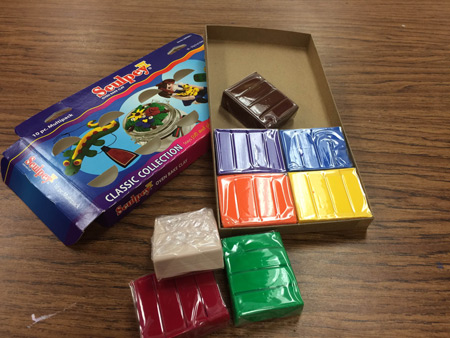
Polymer clay is a sculptable material based on the polymer polyvinyl chloride (PVC). It usually contains no clay minerals, and is only called "clay" because its texture and working properties resemble those of mineral clay. |
 |
| Traditional polymer clay hardens by curing at temperatures created in a typical home oven, generally at 265 to 275 °F (129 to 135 °C), for 15 minutes per 1/4" (6 mm) of thickness, and does not shrink or change texture during the process. When properly conditioned and cured, most clays create items that will not break if dropped or normally stressed. | 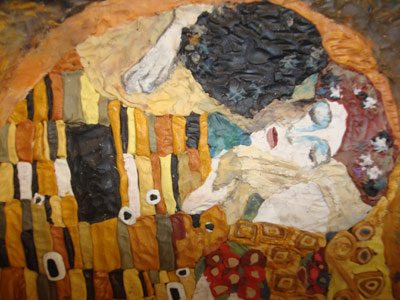 |
Preparing an image in Photoshop:
Find and save a photograph (full color). Drag a selection to select the part of the photograph that you like. Cropping is a great way to create an interest in a composition. Go to Image > Crop Then Image > Image Size File> Print |
step 1
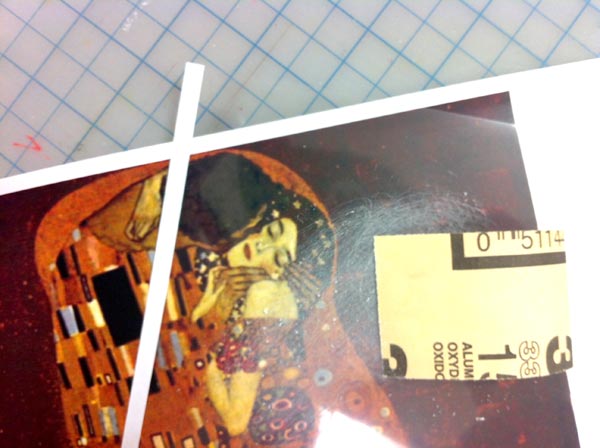
Place a transparency sheet over the printout. If you are using a regular copy machine transparency - sand one side, if you are using an inject printer transparency - one side should be already rougher. Place the rough side up. Tape it so it does not move as you work on it. (I recommend 2 printouts - one is used for taping to the transparency, the other one - use as reference while working on the artwork.) |
 |
step 2
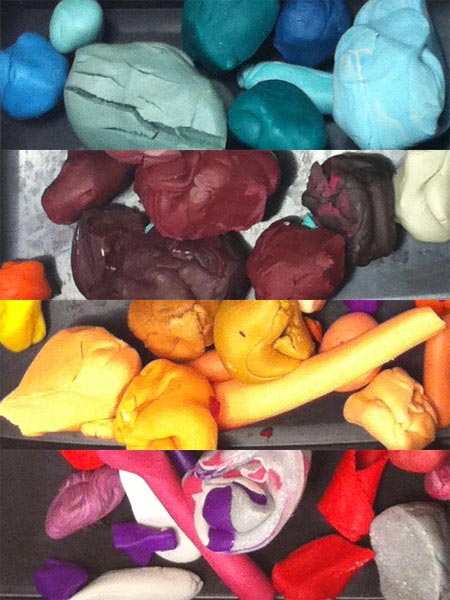 |
Select small pieces of clay as you would select paint colors. Warm up the clay pieces and and mix them to achieve the right shade. Work the clay pieces to make them more pliable - this also will condition the clay. You can pre-make different shades of the colors that you are going to use. |
step 3
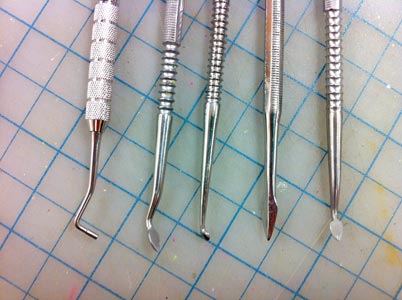
| Apply the clay to the transparency with a tool. (about 1-2 mm thick). Press small clay pieces down. The first few pieces will be stubborn, but once you have a few of them - the rest will stick just fine. Here are the tools to use: |
||||||
|
||||||
Work with one shape at a time.
Make sure you cover it with a solid layer of clay, but be careful of making it too thick. Add texture to mimic the paint.
|
step 4
Bake at 250°F for 10 minutes. After it cools down - spray it with a clear finish varnish (optional) and frame it. |
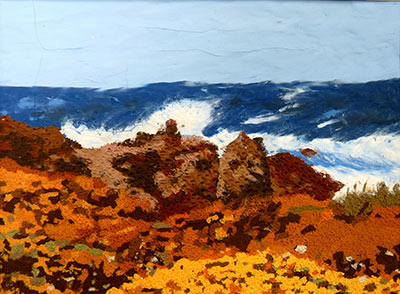
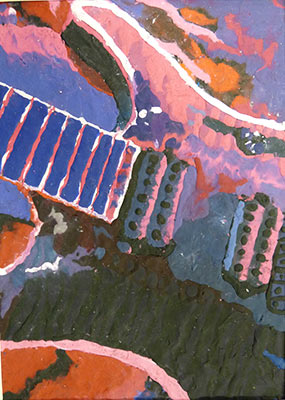
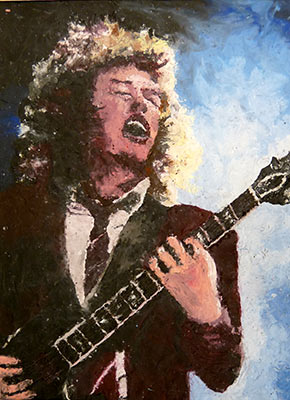
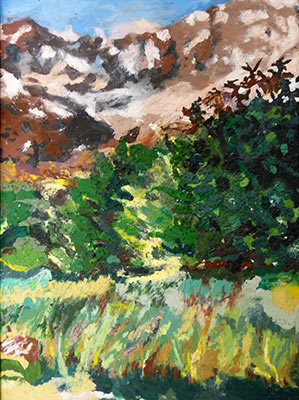
MORE STUDENTS' WORK
 |
 |
 |
 |
 |
 |
 |
 |
Grading:
- complexity and aesthetic qualities of a chosen image
- color and value variations (all colors are mixed)
- preciseness of the colors
- craftsmanship

