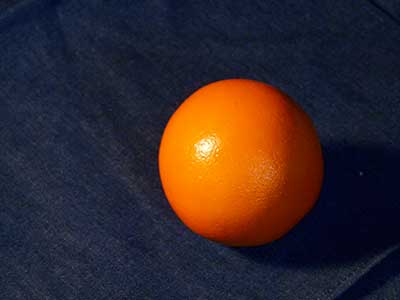
Place a simple round object over a contrasted background.
Establish a light source.
Prepare 10 canvas boards or sheets of canvas paper.
by JuliannaKunstler.com

Place a simple round object over a contrasted background.
Establish a light source.
Prepare 10 canvas boards or sheets of canvas paper.
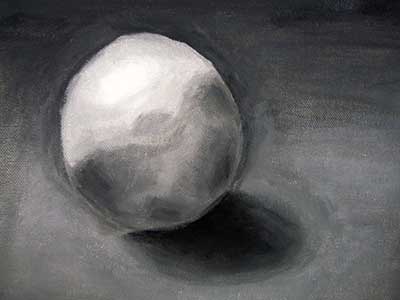
grisaille
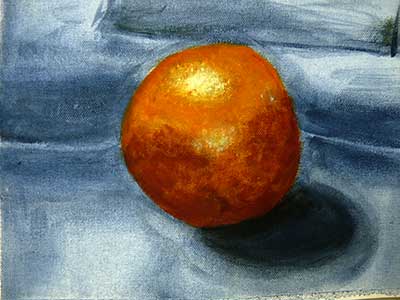
toned canvas
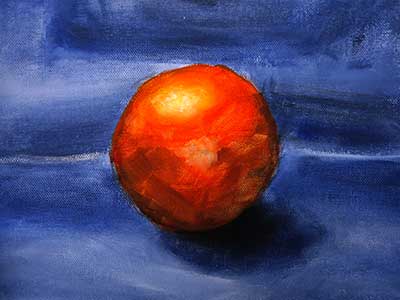
white canvas
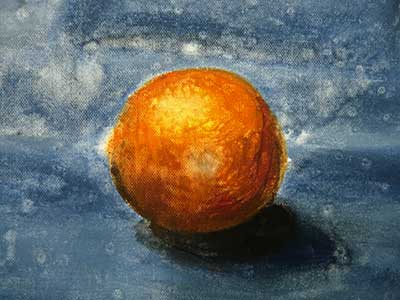
alla prima
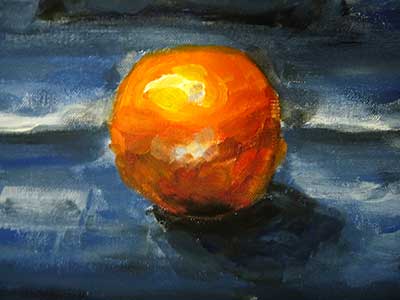
distinct strokes
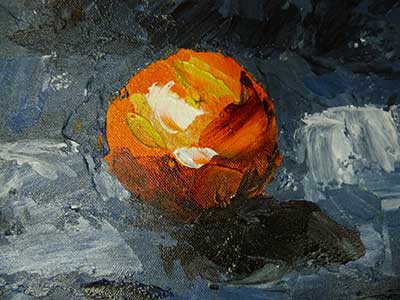
impasto
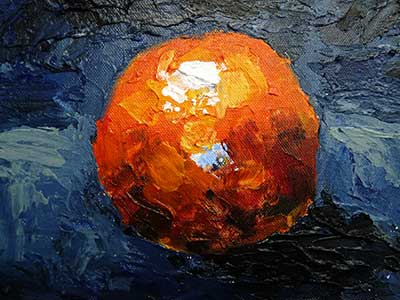
mixed

Think of a good composition for your object on the canvas. Usually you leave more space from a light source side.
Lightly outline the object, its shadows and highlights, cast shadows.
Painting in black-and-white is almost like shading a drawing. Compare values, look for darkest and lightest areas. Remember the chiaroscuro pattern!
Mix a background value and paint it around the object. We need this value as a reference for painting the object later.
Note that the background value also vary depending on its position to the light source (ex. Vertical planes vs. horizontal and angled).
Paint the darkest shadows next. That is usually the cast shadow of an object.
Next paint the shaded areas of the object. They are usually lighter than the cast shadow.
Paint object values. Don’t make them too light – place a piece of white paper next to the object and see how dark or light the object is. Add highlights.
Define values throughout the painting.
Add details and textures.
Grisaille (from French: gris - grey, [ɡri.zai]) is a term for painting executed entirely in monochromatic color scheme, usually in shades of grey or brown

Prepare your canvas – paint it loosely with the background dominant color. Let it dry.
Sketch the object with a pencil
What colored canvas does is it makes it easier to choose colors and values for the object, establish tonal mood, ads color interest. Now start with “underpainting” – apply major tonal values to the canvas:
Use one dark color and paint loosely all shadows
Use one light color and paint all light areas
Now add colors to the painting (both object and background). Choose variety of colors to add interest, remember of the reflected light and colors.
Add reflections and highlights
Add details and textures.

Sketch the object
Paint loosely the background’s color in mid-tone
Paint the object in its middle value
Paint the dark the drop shadows
Paint all object’s shadows
Paint object’s lights and highlights
Paint background
Add details and shadows.

Use a small round brush with a mid-value color and sketch the composition and object’s outlines.
Spray canvas with water
Start painting the background’s mid values, leaving out the shadows and highlights, spraying water as needed to keep the canvas moist.
Add tonal variations with darker or lighter values – apply them next to the wet mid-values, don’t overlap them.
Then let the colors blend together by gently stroking one color into the other. Use a wide flat brush.
Paint the object the same way. If the colors don’t blend – spray more water.
Wet-on-wet,or alla prima (Italian, meaning at first attempt), is a painting technique, used mostly in oil painting, in which layers of wet paint are applied to previous layers of wet paint. This technique requires a fast way of working, because the work has to be finished before the first layers have dried.
The painting should be done within one sitting. Acrylic paint does dry fast, so make sure you add a drying retarder into your paint and have a water spray bottle ready.

Start with a white or colored canvas (your choice)
Sketch out the object
Mix a few shades and tones of the background colors and start applying the brush strokes without blending the paint on canvas. Mix all necessary colors on a palette, then just “place” the paint with a brush, leaving a distinct stroke.
Mix a separate color for a “gradation” of colors to create an illusion of blending them
This technique is using a wet paint over a dry surface. So wait for one layer of paint to dry before applying more strokes to the area, otherwise you’ll lose the brush stroke effect.
Follow the same steps for painting the object. Each color change (stroke) should have a hard edge and a specific, distinct color change.
Using the primary colors:
Lay down one light color for the object
Lay down one light-value color for the background
When the layer is dry, add additional layers and start “building” a form.
In the areas that are the lightest or have a highlight – wipe off paint with a q-tip or a paper towel
Variations of a color create interest in a painting and add depth. Here is how you can differentiate the colors:
A glaze is a transparent layer of paint, applied over a dry layer of paint. To make acrylics transparent – add water, like in a watercolor wash. By applying layers of different colors – you will optically mix colors. (You can also use this technique over a part of a painting or over the entire painting to create a dominant hue, just like placing a color filter over a picture)
Please note that dark colors are hard to glaze over, so begin with light values and work toward shades.

Sketch out your object
Mix the variations of the object’s colors with the gel medium.
Apply major colors with a palette knife. Fill in the entire shape.
We start with painting the object color first because we use a palette knife as painting tool. It is easier to define the edges of objects from the outside than inside of an object, also, applying dark color over light is easier.
With a palette knife you can “place” paint on canvas (like using a Distinct brush stroke technique) or mix paint with the existing colors while they are wet for better blending. You can also add texture effects with a palette knife.
Mix background color paint with the gel medium and start applying it with large strokes, add color variations as you do it. Start painting around the object first.
Continue painting adding color variations and details. Use a smaller size palette knife for that.
Gel medium adds texture to acrylics, making brush strokes 3-D. It does not affect the color as it dries clear. Gel medium gives your acrylic painting an illusion of an oil painting.
Use a palette knife for this study (even though it works as well with brushes). Remember to wipe off paint to keep the knife clean when switching the colors.
Start with applying a light-value color for background and a dark-value for the object. Let them dry.
Place a thick layer of paint for the object – mid-values and lights over the entire object. Wipe out or/and scratch a portion of the paint to reveal the darker value beneath the fresh layer.
Place darker values over the background, wipe out and/or scratch the light areas and highlights.
Sgraffito is a paint removal (scratching) technique. Anything can be used to scratch off wet paint: palette knife, brush handle, finger, credit card, etc... The technique works better when a thick layer is applied over a dry layer of contrasted color. Using this technique over a similar color can create interesting texture effects.
Wipe-out technique is commonly used for correcting painting mistakes, but can also be used to add dimension to the colors. Use wet cloth to wash off the paint, use a dry cloth to remove just the top layer of paint and reveal the layer under. You can also use a brush (wet or dry) to wipe off paint.
Apply the first layer of paint for background and the object. Let it dry.
Use any of the scumbling methods to complete the painting.
Scumbling is a technique of applying a loose thin layer of a lighter semi-opaque color (dry) over a dry opaque layer of a darker color, leaving some of the under-layer visible to create an optical mixing of colors. Scumbling also creates interesting surface textures and can be used to modify a color of an area (cooling a color down or warming it up).
Other things you can do with scumbling:

Pick at least 3 painting techniques that you like and feel comfortable with
Create a piece that would incorporate these techniques (B/W or Color)