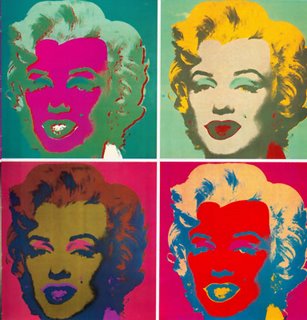
Use the image above or use your own photograph.
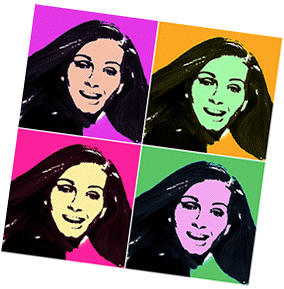
by JuliannaKunstler.com
Use the image above or use your own photograph.


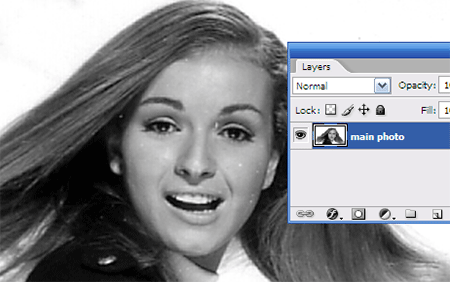
1. Convert your photo to black and white or monochrome if it is not already (like the sample one). An easy way to do this is by opening the Hue and Saturation palette and sliding the saturation all the way to the left.
Or Image > Adjustments > Desaturate.
(Check the image's color mode: Image > Adjustment > Color mode). Choose RGB or CMYK (not Greyscale).
Rename the layer ‘main photo’.
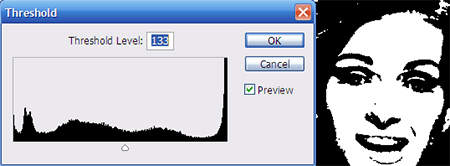
2. Create a New Adjustment Layer and make it for Threshold.
Use the options box to manipulate the image to how you like it, but try and leave some detail.
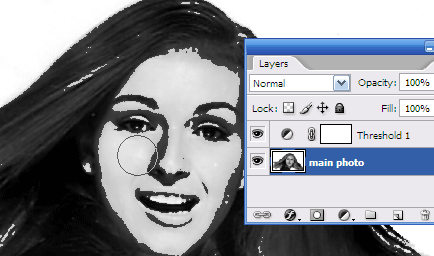
3. If needed: Set the Opacity of the Threshold Layer to 50%.
Go to main photo layer.
Select the Burn Tool brush and set it to Midtones.
Paint over ares that may need more detail, maybe the hair or face.
Set the Threshold Layer’s Opacity back to %100.
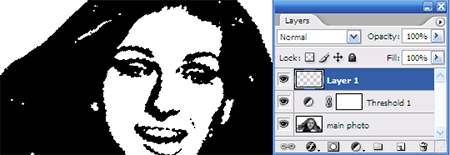
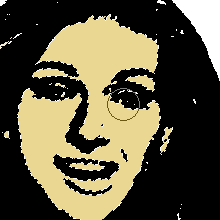
4. Select the Threshold layer and using the Magic Wand Tool click on the black of the image.
Save the selection (Select > Save selection).
Go to Select/Inverse.
With the selection in place create a new blank layer and using the color of your choice fill in the selection.
Use Brush tool (hardness: 0) to paint.
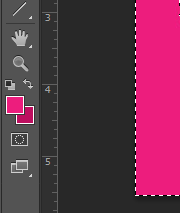
5. Set BACKGROUND color a shade darker than the FOREGROUND color that you just used..
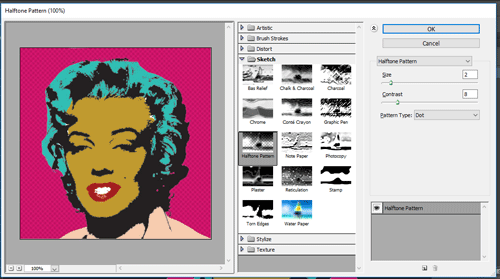
With this new color fill layer selected go to Filter>Filter Gallery>Sketch>Halftone Pattern and click OK on the defaults.
Repeat that with other colors.
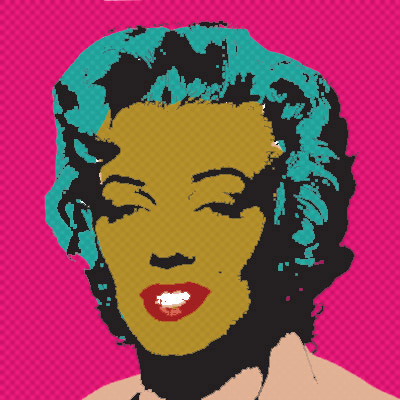
Merge all layers together.
Layer > Merge layers.
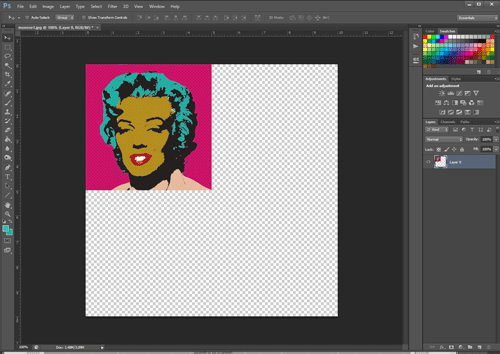
6. Unlock the background layer and double the width and height of the image.
Image > Image Size
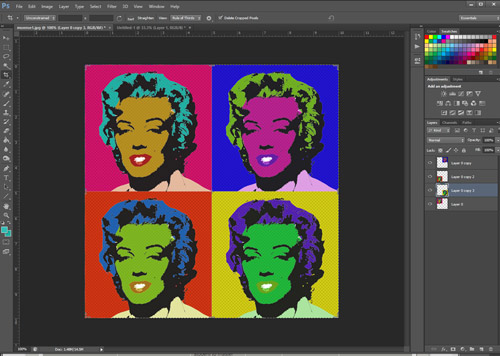
7. Duplicate the layer.
8. Change colors:
Image > Adjustment > Hue/Saturation
Move Hue slider to transform colors.