
by JuliannaKunstler.com
GALLERY

STEPS
1.Open a new file in Photoshop:
6" x 4" Resolution 200; RGB colors; 16 Bit
2. Background is White.
3. In Toolbox: click on Foreground color swatch.
Color Picker control panel opens, set the Red,Green and Blue color
values to R-200,G-163,B-109
which gives a medium brown color,click OK
4. In Toolbox: click on Background color swatch.
Set the Red,Green and Blue color
values to R-253,G-242,B-202 which gives
a light cream color,click OK
5. Create a new layer. Name it "Parchment color"
6. Select Filter>Render>Clouds
7. Select Filter>Texture>Grain
8. Set the Grain Filter controls: Intensity 3, Contrast 56
Click OK
9. Select Filter>Texture>Texturizer>Canvas
10. Set the Texturizer Filter controls as shown Canvas, Scaling 62%, Relief 7, Light Top
Click OK
11. With the Parchment layer selected (highlighted) Click on the
Lasso tool in the toolbox.
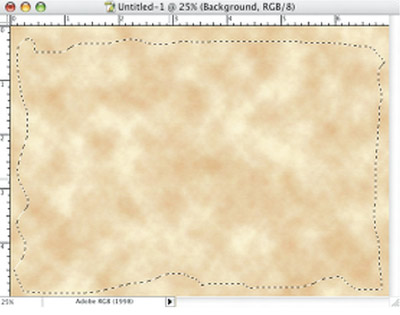
12. With the Lasso tool draw a rough rectangle
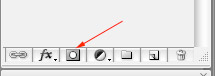
13. Once the rough rectangle has been completed click on the add a layer mask icon in Layers Palette
14. Layer mask cuts away parchment layer exposing the Background image underneath the parchment layer.
15. Layer > Layer Style > Drop Shadow
16. Use Burn Tool to darken the edges of the page. Use Dodge Tool to add lighter spots. Experiment and have fun!