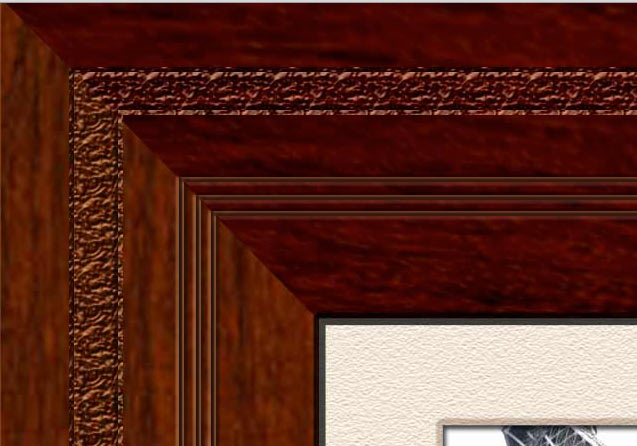
You can customize colors and textures
If you want to frame your favorite photograph, or just put a matting over it - this tutorial is for you....
by JuliannaKunstler.com
You can customize colors and textures
If you want to frame your favorite photograph, or just put a matting over it - this tutorial is for you....
Open the image in Photoshop.

Open a new document in Photoshop:
7.5" x 6" resolution 300
With both documents open, use Move Tool and drag the wood texture onto the new document.
Close the wood file.
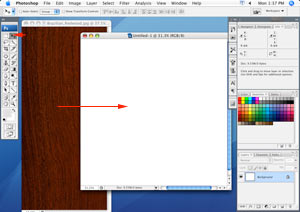
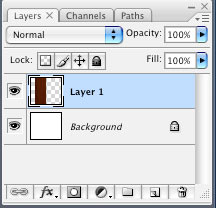
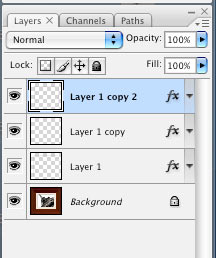
Your Layers palette looks like this:
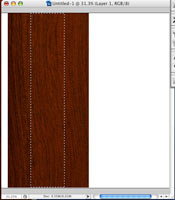
Use Rectangular marquee tool to select a part of the wood texture. It's up to you to choose the width you want for your frame.
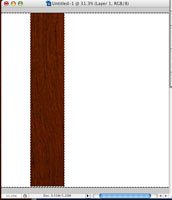
Select > Inverse.... Delete
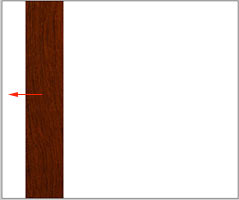
Use Move tool to move the first side of your frame to the left.
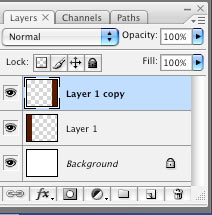
Duplicate Layer 1
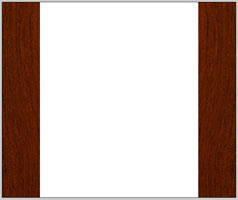
Move it to the right. If you want to, you can flip this layer for more natural look:
Edit > Transform > Flip Horizontally.
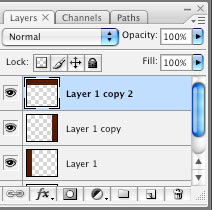
Duplicate the layer again.
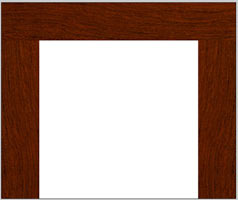
Edit > Transform > Rotate 90
Position it at the top.
Duplicate this layer. Position it at the bottom. Edit > Transform > Flip Vertically
To make a nice 45 degree cut at the corners:
Edit > Transform > Perspective
Drag the top left corner to the right like this:
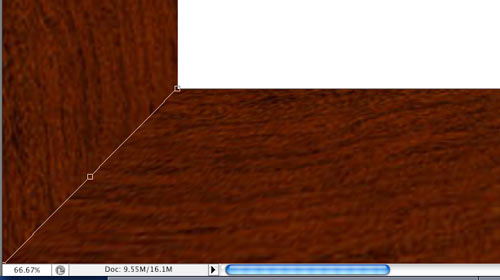
The other corner will adjust.
Hit Enter (Return)
Repeat this step with the other horizontal side of the frame.

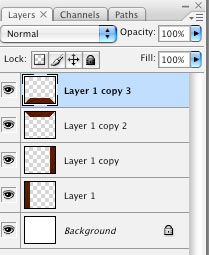
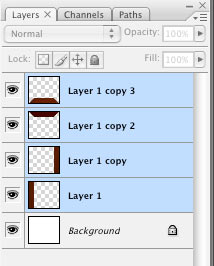
Your Layers palette should look like this.
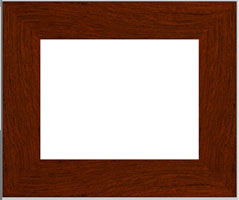
The base of the frame is done.
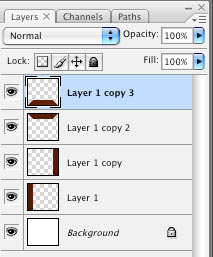
Now it's time to make it 3-D.
Usually, the bottom side of a frame is a little lighter than the rest of the sides - because our light source is usually above the frame.
Select the layer with the bottom side.
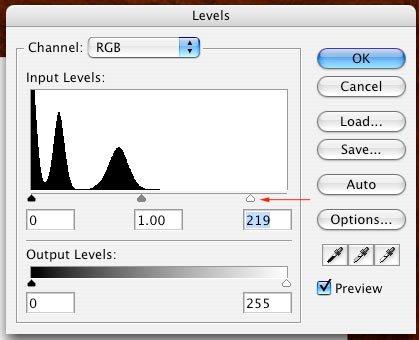
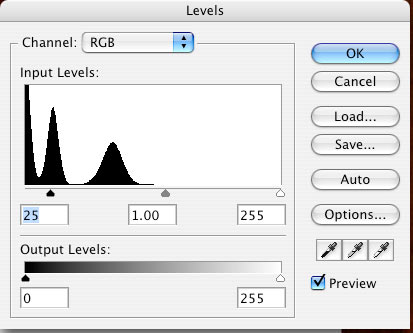
Image > Adjustments > Levels
Drag the white slider to the left. Do not overdo it. We just want to make it a little lighter, not overly contrasted.
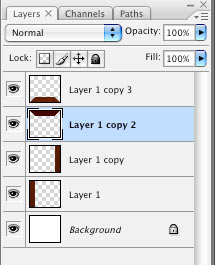
Now select the bottom side of the frame
We are going to make it a little darker:
Image > Adjustments > Levels
Drag the black slider to the right.
If everything looks fine to you - it's time to merge the frame layers.
Select all 4 layers (using Shift)
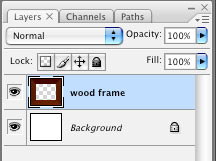
Layers > Merge Layers
Rename the layer: "wood frame"
Fancy border:
Use Rectangular Marquee tool and draw a selection. Make sure that the corners of the selection match the diagonal lines of the frame.
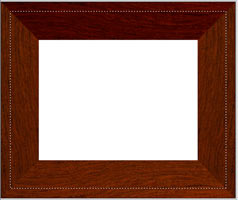
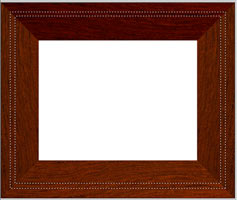
Holding Option (Alt) key, draw another , smaller rectangle inside the first one. Make sure the corners match the diagonals.
Edit > Copy
Edit > Paste
You just got a new layer with a thin wooden border.
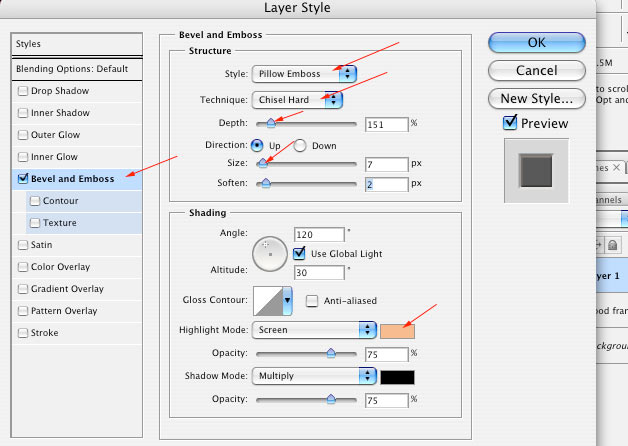
Now it's time to make it fancy:
Layer > Layer Style > Bevel and Emboss
Make the settings as shown:
Pillow Emboss, Chisel hard, adjust the Depth and size, change Highlight color from white to light brown (or whatever color you want)
This will make the border 3 dimensional
To add a fancy texture: check the Texture option and double-click on it.
Choose any texture you like.
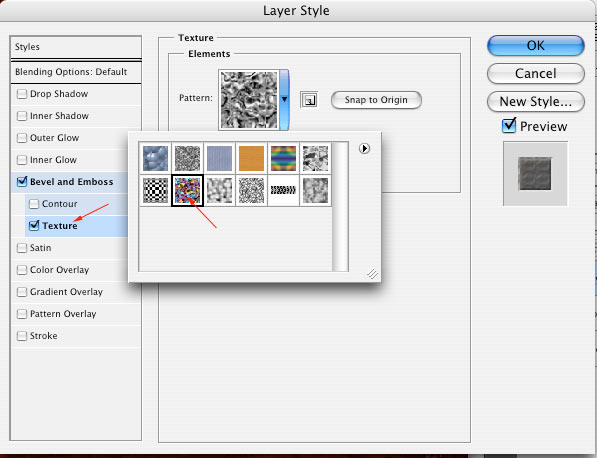
Click OK.
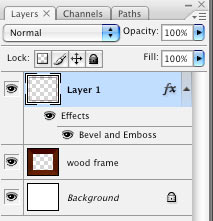
This is your Layers palette.
This is what your frame looks like:
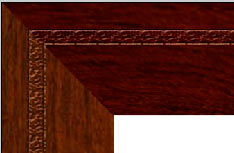
Now it's time to add some 3-D look to the frame itself.
Select your Wood Frame layer.
Layer > Layer Style > Emboss
Adjust the settings as shown (you can also check the Drop Shadow option):
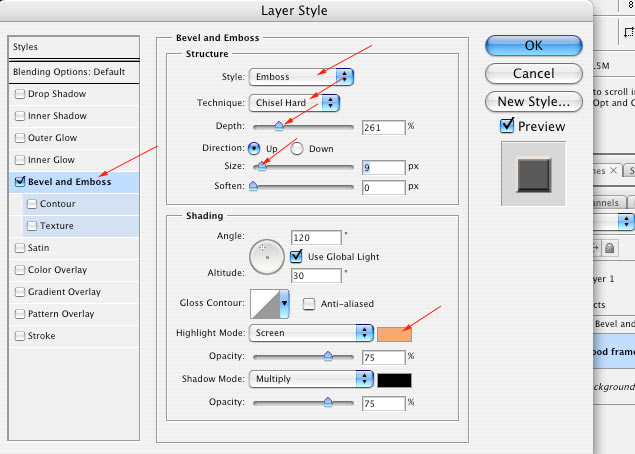
This is what your frame looks like:
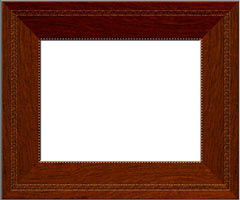

Add matting:
Create a new layer. Position it under the Wooden Frame layer.
With Rectangular marquee tool draw a selection that matches the opening of the frame.
Select > Inverse
Choose a color for the mat. I chose off-white or tan color.
Edit > Fill Foreground color
Edit > Free Transform
Hold Option (Alt) key and resize the mat (Option key allows you to keep it centered). Make sure the corners of the bounding box match the diagonal lines of the frame.
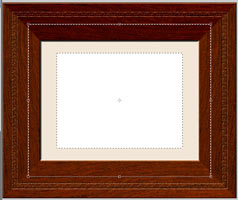
Hit Enter (Return)
Deselect.
To add texture to the mat: Filter > Texture > Texturizer
Choose Sandstone.
Adjust the other settings to your taste.
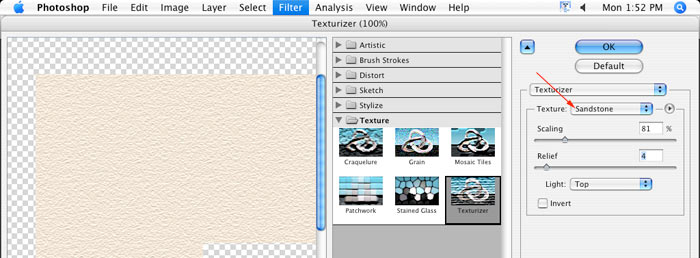
To add 3-D to your mat:
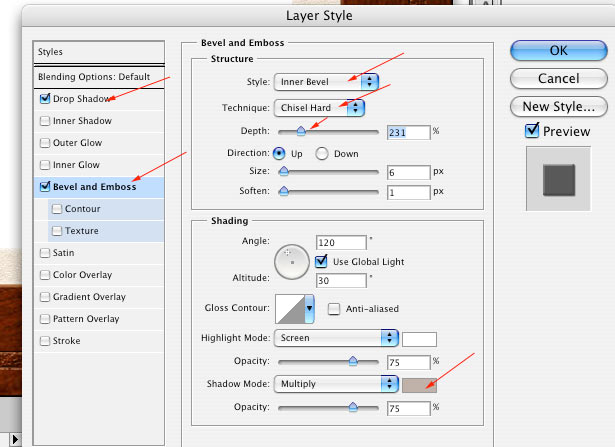
Layer > Layer Style > Bevel and Emboss
Adjust the settings as shown. Don't forget to change Shadow color from black to warm grey.
Add Drop Shadow effect.
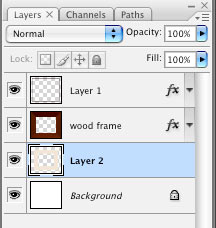
This is what your Layers palette looks like:
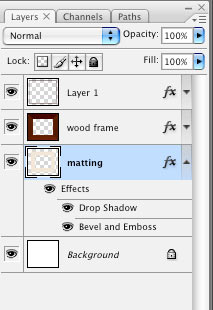
You are done!
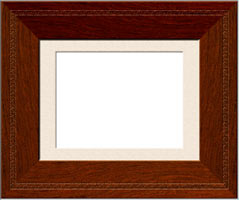
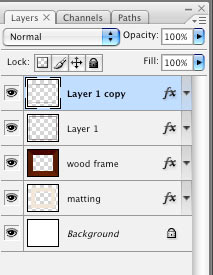
You can add another decorative border to the frame by copying layer 1 and resizing it (Free Transform)
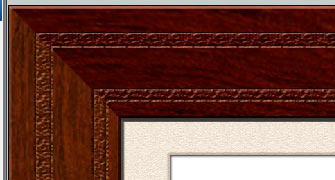
Something like this.
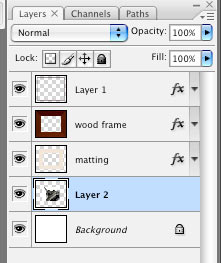
Do not overdo it though! We don't want a frame to overshadow the picture.
Speaking of a picture! Open your picture file.
Using Move tool drag it over the frame document.
Position the picture layer at the bottom. Resize it if necessary.
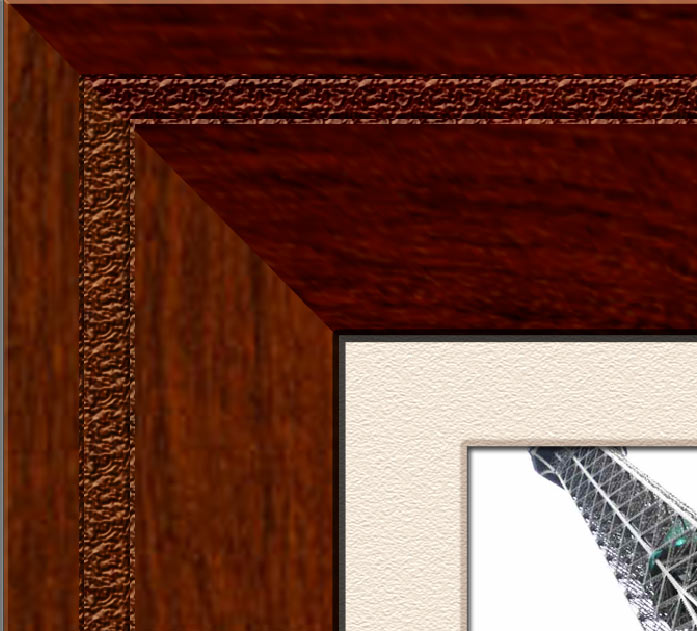
Ready to print!!!!
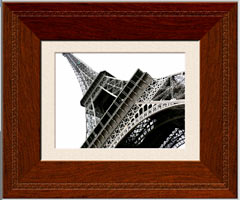

If you feel like you want to add more design to your frame.
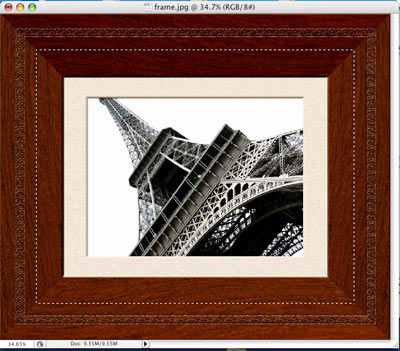
Create a new layer above the Wooden Frame layer.
Draw a rectangular selection.
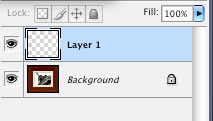
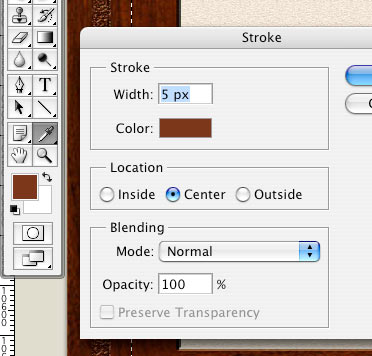
Select a medium brown color
Edit > Stroke
This will apply a thin brown rectangle on the layer.
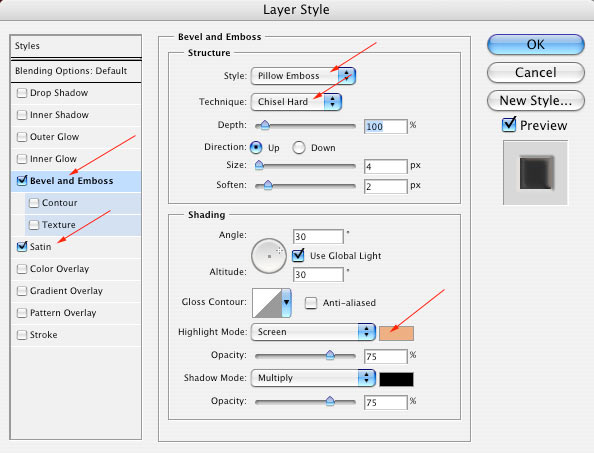
To make it 3-D:
Layer > Layer Style > Bevel and Emboss
Apply the shown settings.
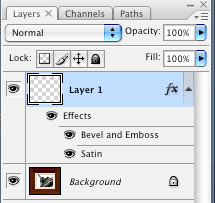
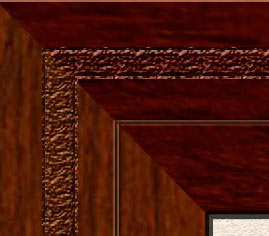
This is how it looks now.
Duplicate this layer and resize (Free Transform)
Something like this:
That's it!
