In the Curves dialog box, the tonal range is represented as a straight diagonal baseline, because the input levels (the original intensity values of the pixels) and output levels (new color values) are identical.

Flatter the line - less contrast in the image.

Steeper the line - more contrast
Horizontal line gives you only one color - gray
Diagonal line, going in the opposite direction - gives you a negative

Lightening the highlights and darkening the shadows is represented by an S-curve where the image contrast is increased.
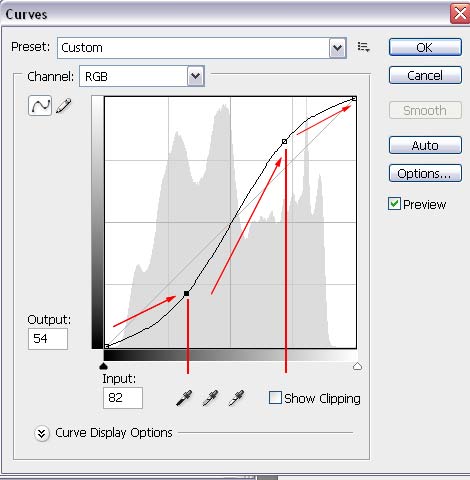
All dark tones: the curve is flatter - less contrast
All mid-tones: the curve is steeper - more contrast, more details
All light tones: the curve is flatter - less details
Before we start with the tone adjustment, we need to find the darkest and the lightest spots in the image (we want to be in control of this process, don't we?).

To find (and mark) these spots we need to (temporary) remove all mid-tones:
Image > Adjustments > Threshold

To find the darkest spot: drag the slider to the left. Stop when you see only few spots left - these are the darkest spots in the image.
With Eyedropper Tool, Shift click on one of these spots. It will place a marker there.
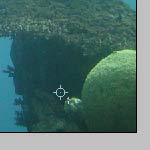
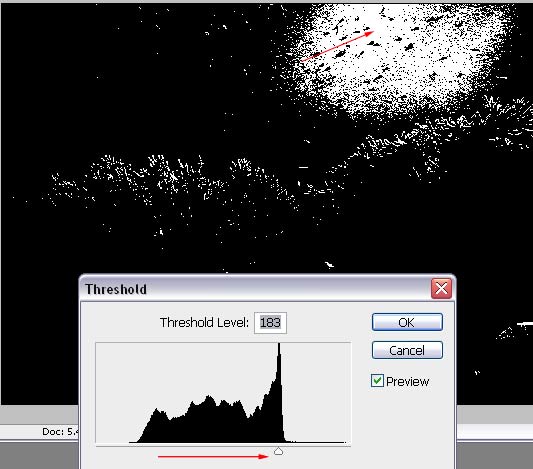
Drag the slider to the right to find the lightest spot in the picture.
Shift-click there to place the second marker.
Cancel the Threshold.
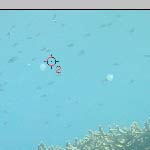
You still have the markers on your image.
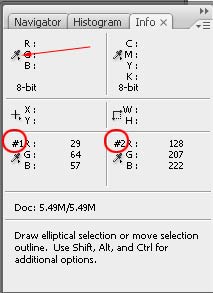
Open Info palette.
Both markers are displayed in here with the complete RGB value information.
Next step is to find a 50% gray value in the image (to place another marker).
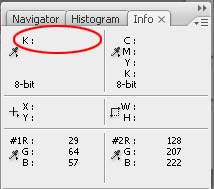
Click on the Eyedropper tool in the top left part of the Info palette. Choose Grayscale.
As you move the cursor around the image, look at the Info palette.
"K" stands for "blacK".
We need the 50% value.
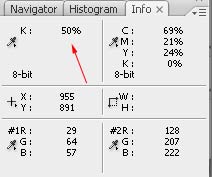
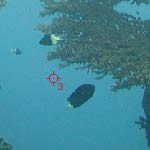
Once you found the spot - Shift-click on it to place marker #3
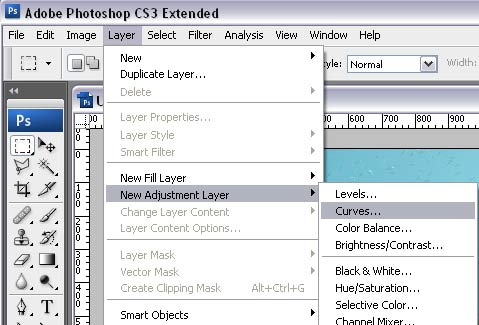
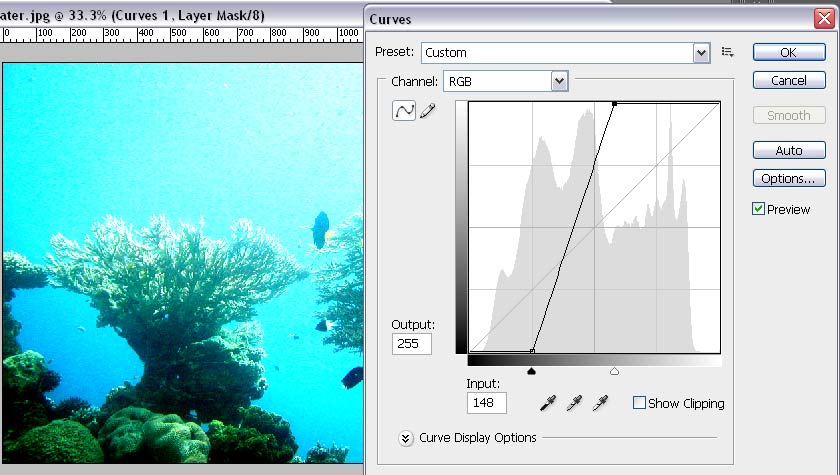
Now it's time to apply Curves.
Do it on an Adjustment Layer.
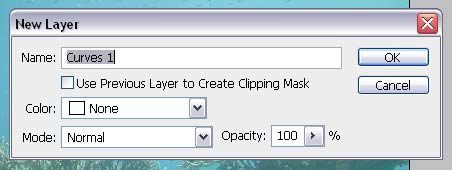
If you already have multiple layers on the image, click on "Use Previous Layer..." box.
If you have just one Layer, ignore it, and click OK
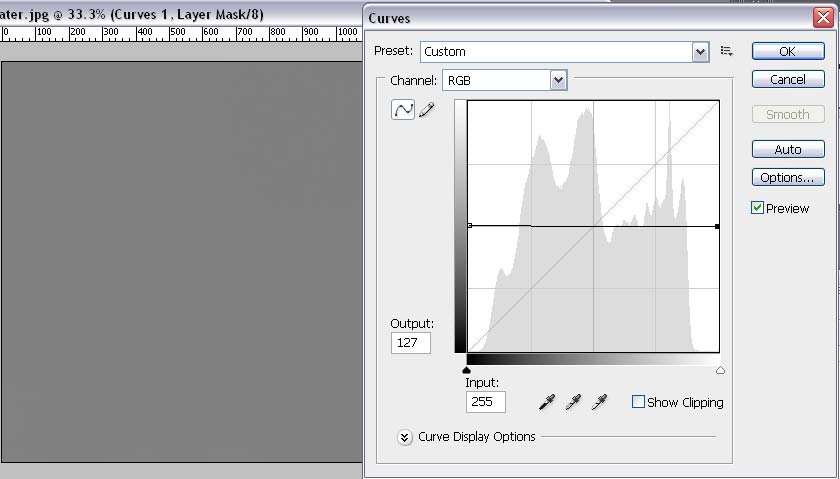
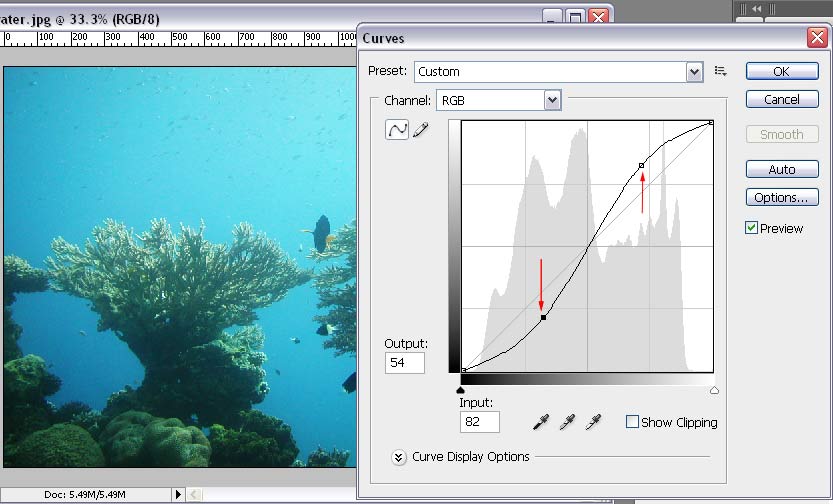
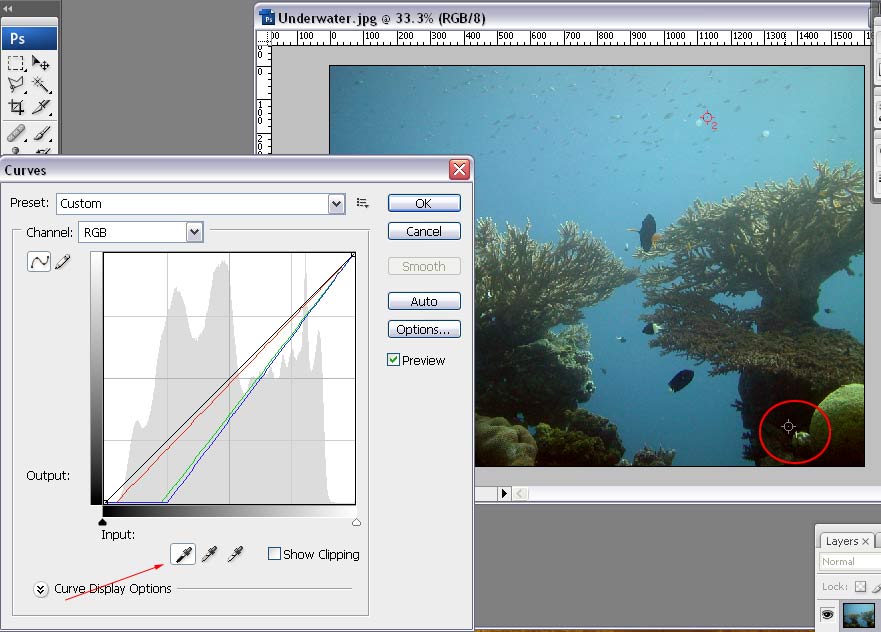
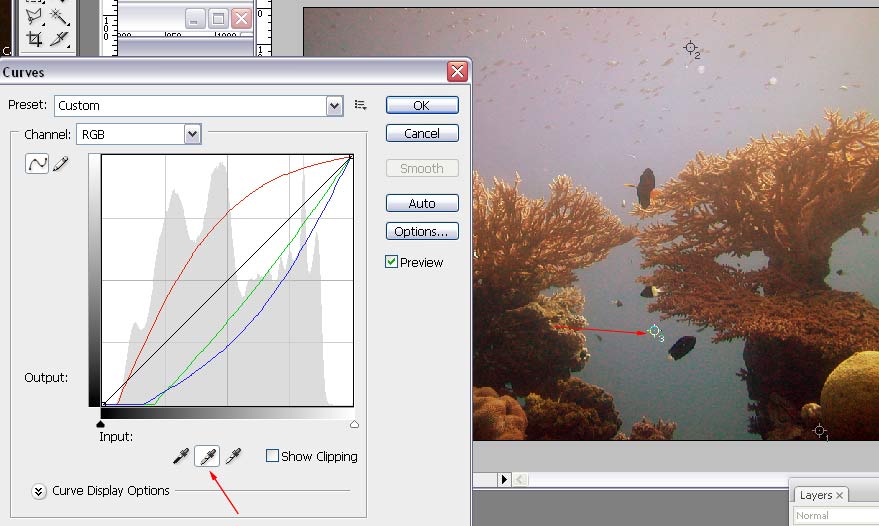
There are three Eyedropper buttons in the Curves palette: black, mid-tones, and white.
Choose the black eyedropper and click on the marker # 1
Choose mid-tones eyedropper and click on marker # 3
Choose white eyedropper and click on marker # 2.
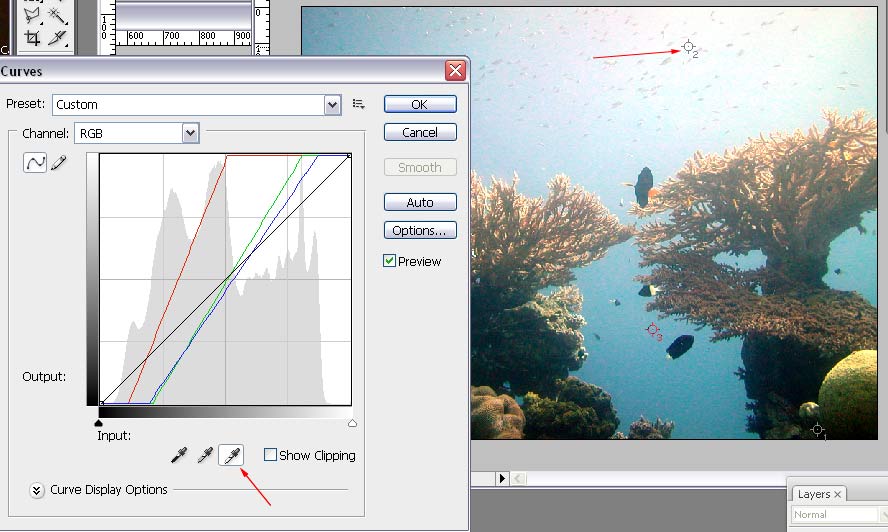
That should do it!
You might want to experiment with the curves a little. Consider copying the original layer a few times and applying different tonal adjustments to it (try Levels and Curves). Then use the parts from different layers for the final image.