Sometimes there are photographs that are of a bad quality.
You cannot make them perfect, but there are few ways you can enhance them.

by JuliannaKunstler.com
Sometimes there are photographs that are of a bad quality.
You cannot make them perfect, but there are few ways you can enhance them.
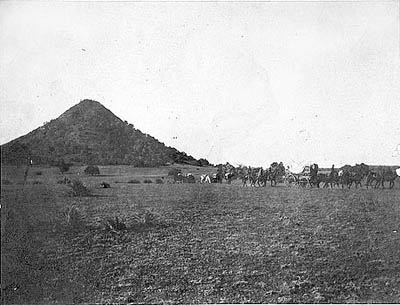
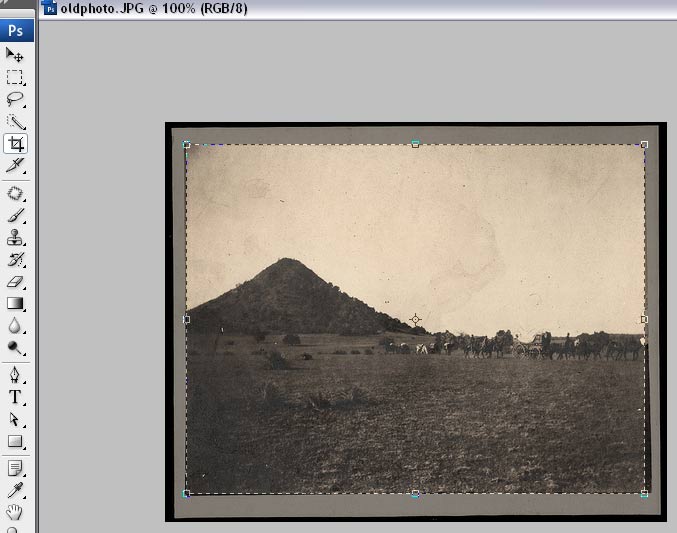
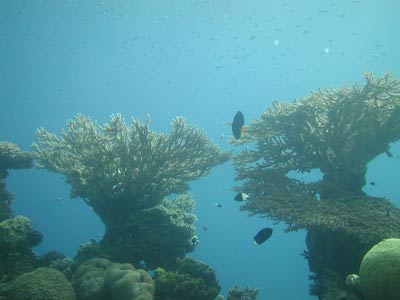
Download and open image 1.
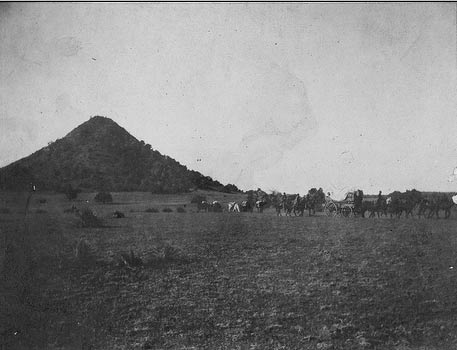
First, get rid of unnecessary border. Use Crop Tool
Remove all color information: Image > Adjustment > Desaturate.
The photo will look like this.
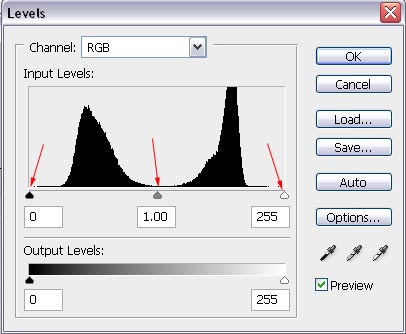
To increase contrast adjust Levels:
Image > Adjustment > Levels
Take a look at the Levels window:
There are three sliders under the histogram:
black - controls shadows
white - controls highlights
gray - controls mid-tones.
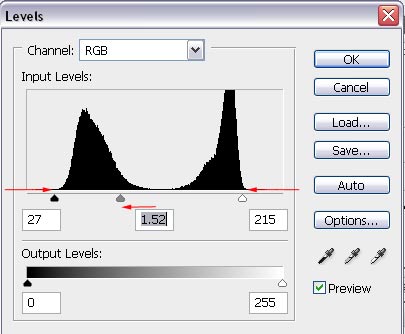
Drag the black slider to the right - where the curve starts. It will make all shadows darker and the darkest area becomes black.
Drag the white slider to the left - where the curve ends. It will make all highlights lighter and the lightest area becomes white.
Drag the gray slider to adjust mid-tones- It will bring up the details.
For color photos I recommend using each color channel separately for color level adjustment.
Have the Preview button checked so you can see the changes that you apply.

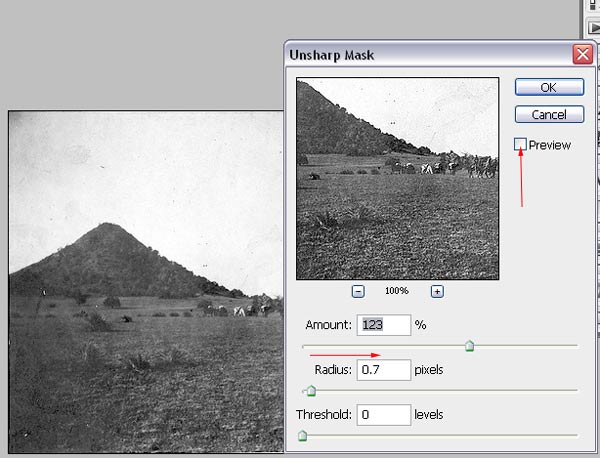
To sharpen the image - use Unsharpen Mask filter:
Filter > Sharpen > Unsharpen mask
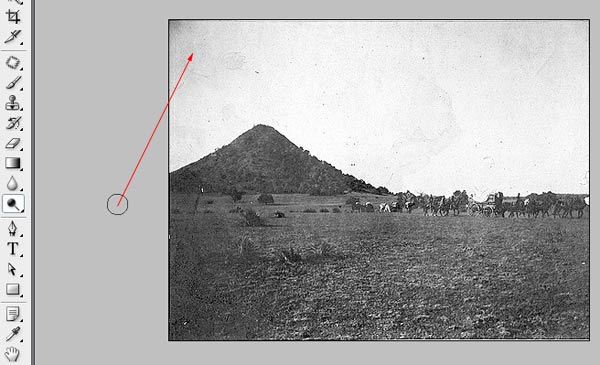
Some areas you'll need to fix manually. Like the dark corners on the top.
Use Dodge tool with soft edges to lighten the sky.
See the difference?

These are before and after images:
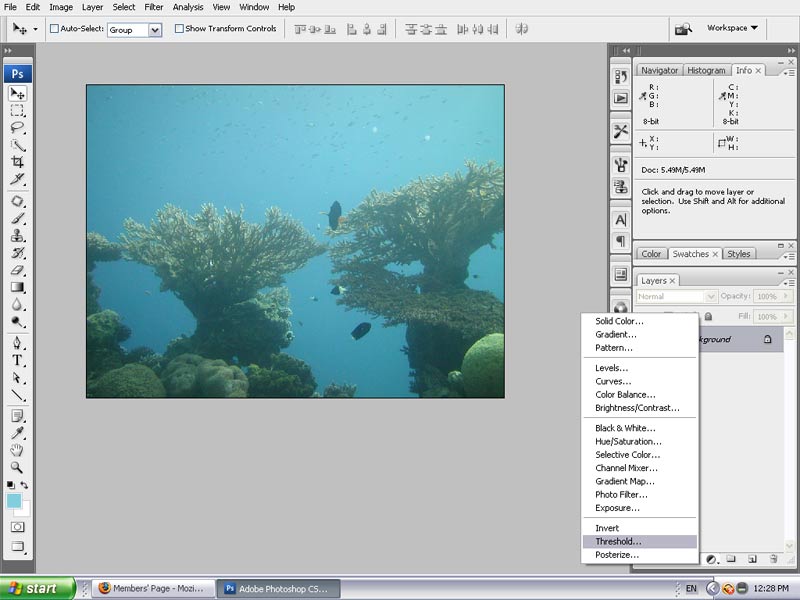
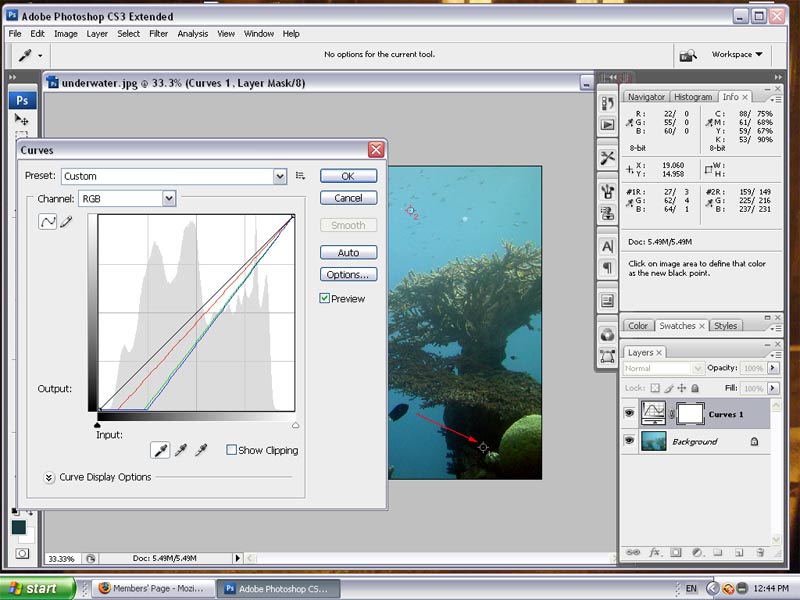
Open the image in Photoshop.
Let's find the darkest and the lightest areas:
Insert an adjustment layer "Threshold"

This is the Threshold window
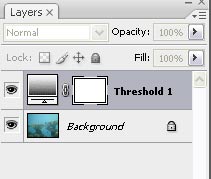
This is your Layers palette
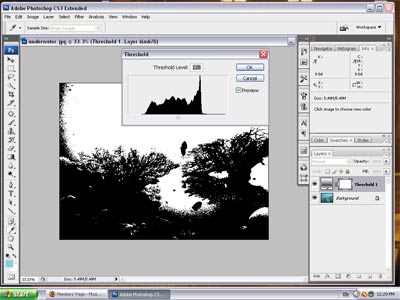
Don't panic when you see your image look like this.
This is temporary.
It will help us determine the darkest and lightest ares.
Move the slider to the left until you have a few dark spots.

Shift-click on a black area.
It will put a marker that we can refer to when assigning the darkest spot.
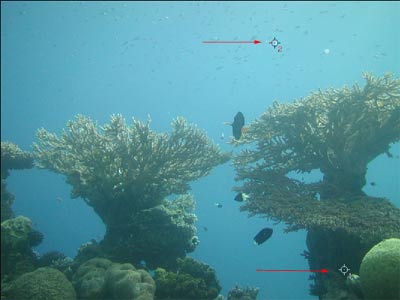
Now move the slider to the right.
Shift-click on a white spot to place a marker on the lightest spot.

Cancel Threshold.
In the Toolbox select the eye-dropper tool
to view the markers.
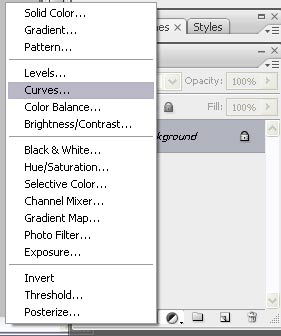
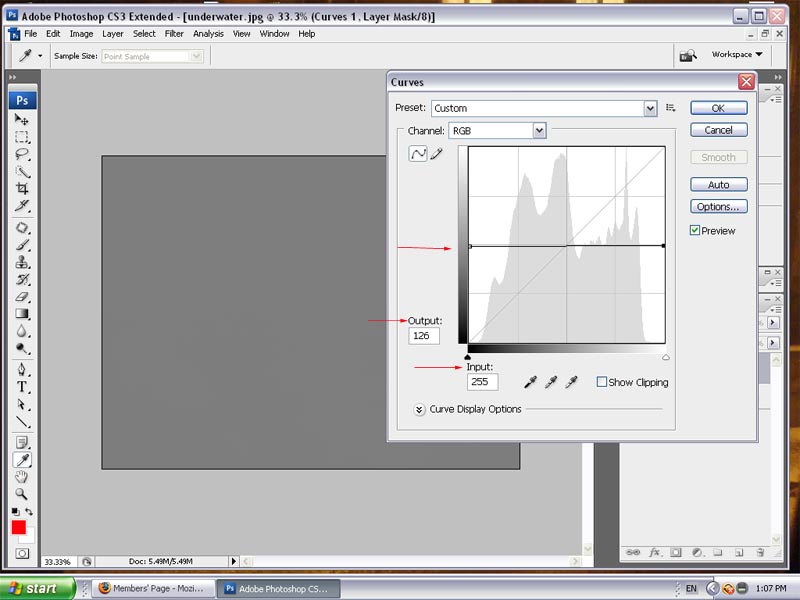
Add Curves Adjustment Layer.
There are three eyedropper tools in the Curves window:
for black, midtones, and white.

Select the Black eyedropper tool and click on the first marker.
Select the White eye-dropper and click on marker #2
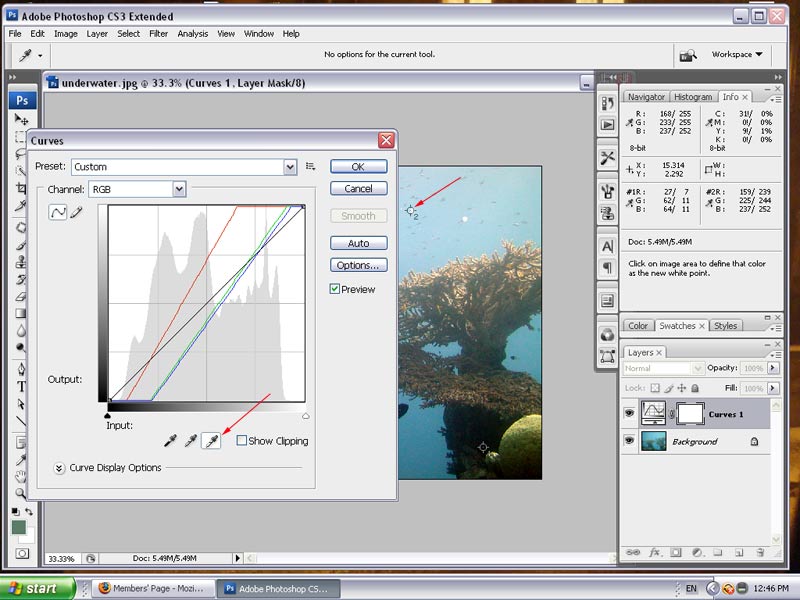
That's it! You just fixed the contrast in the image!
Here is how it works:
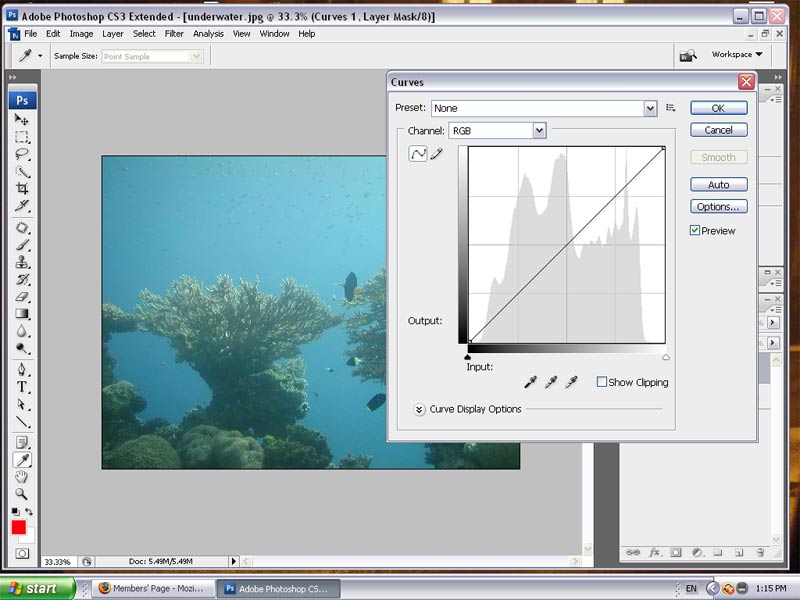
You can use the Curves dialog box or Levels dialog box to adjust the entire tonal range of an image. The Curves dialog box lets you adjust up to 14 different points throughout an image’s tonal range (from shadows to highlights). The Levels dialog box has only three adjustments (white point, black point, gamma). You can also use the Curves dialog box to make precise adjustments to individual color channels in an image.
In the Curves dialog box, the tonal range is represented as a straight diagonal baseline, because the input levels (the original intensity values of the pixels) and output levels (new color values) are identical.
Note: After you’ve made an adjustment to the tonal range in the Curves dialog box, Photoshop continues to display the baseline as a reference. To hide the baseline, turn off Show Baseline in the Curve Grid Options.
The horizontal axis of the graph represents the input levels; the vertical axis represents the output levels
Flatter the graph - less contrast you get:
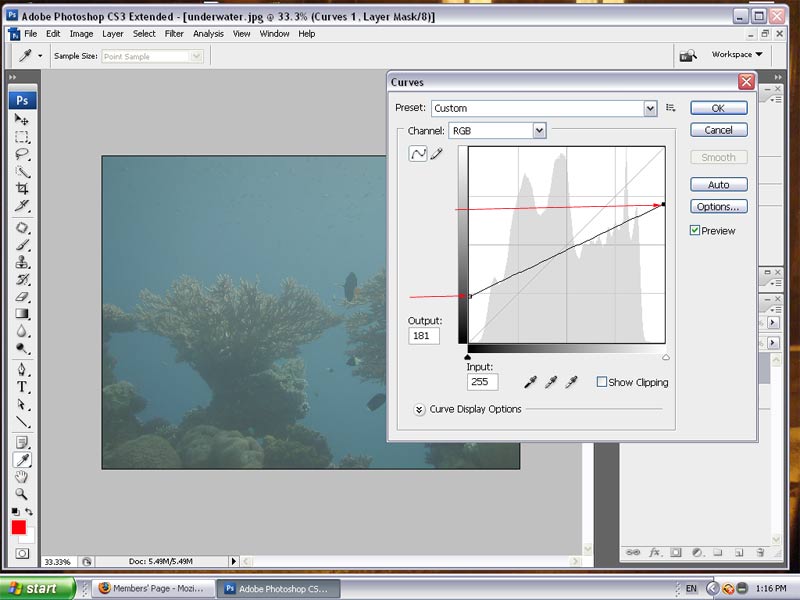
If the graph is horizontal - there is no contrast:
Steeper the graph - more contrast you get.
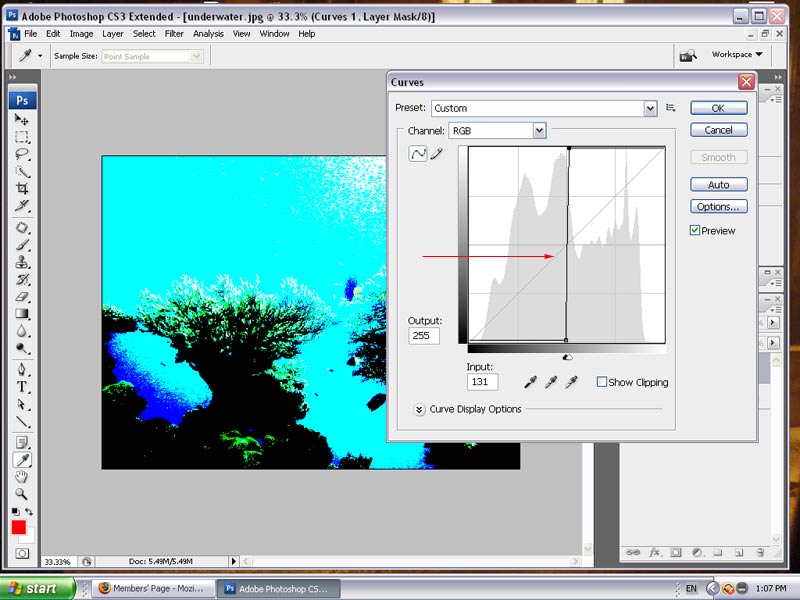
Steeper the graph in the middle - more contrast you have for the midtones.
Shadows and highlights - get less contrast - they look more flat and neutral.
