julianna kunstler logo
changing a color

using adjustments layer
Instagram icon
 

by JuliannaKunstler.com

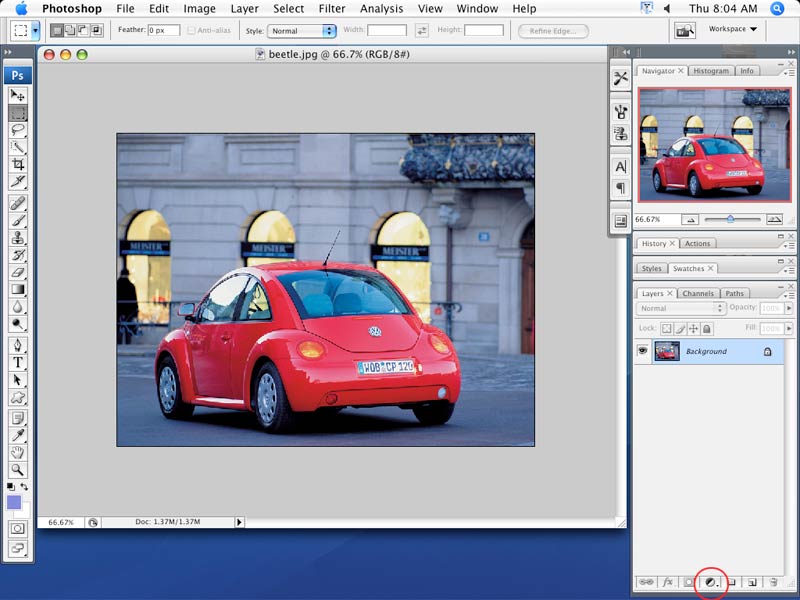
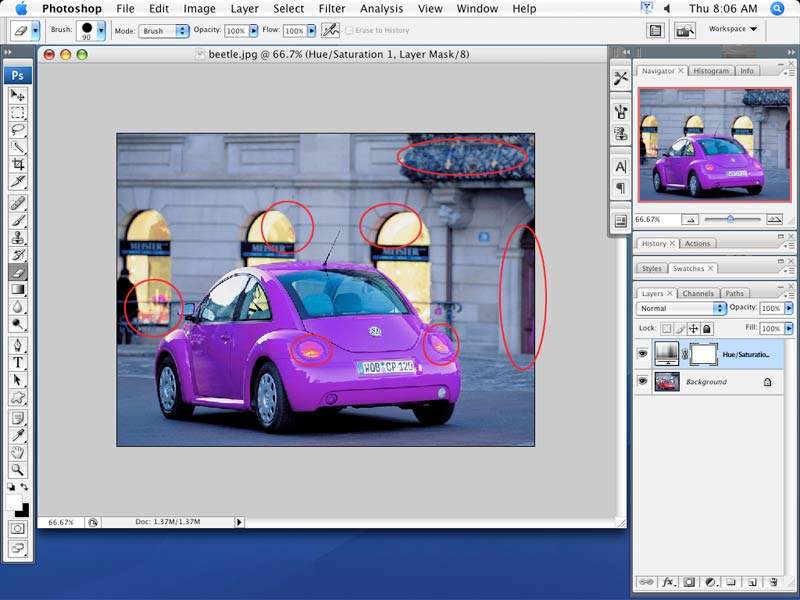
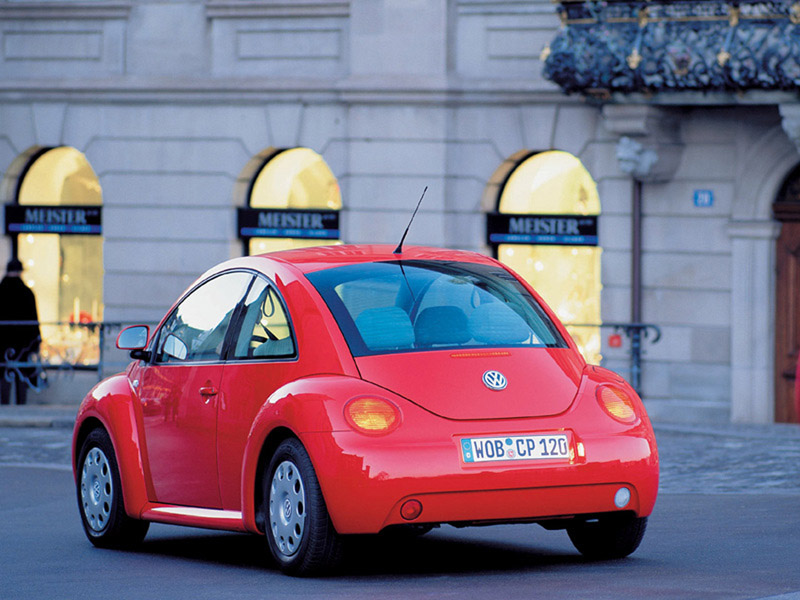
Open the image in PhotoShop.

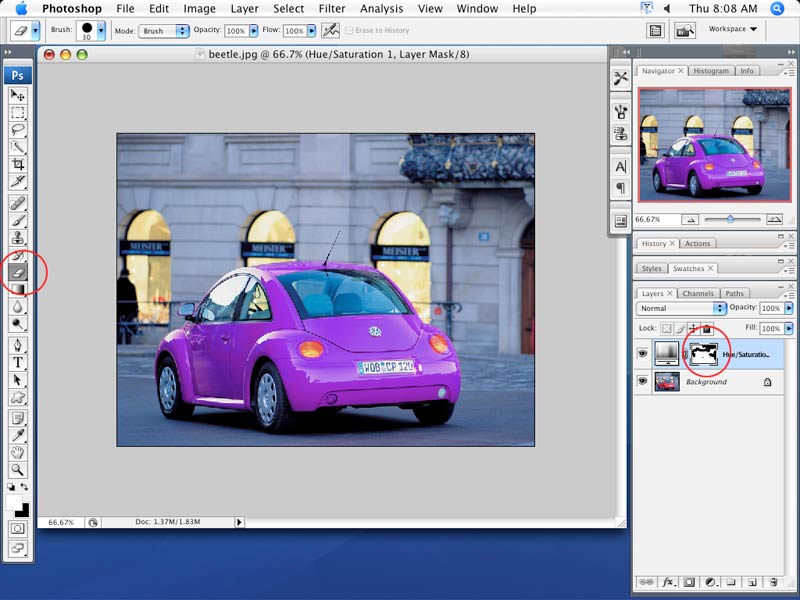
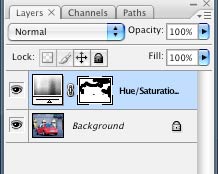
You are going to change the color of the car without making a selection (which is always time consuming). You will do it by adding an Adjustment Layer.

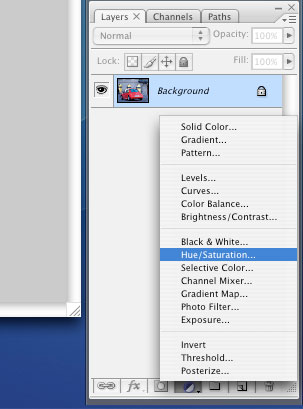
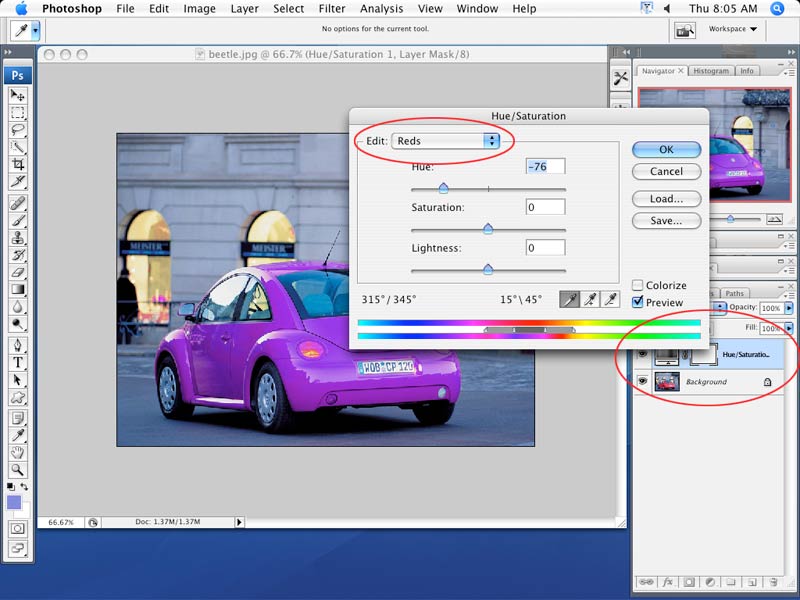
An adjustment layer applies color and tonal adjustments to your image without permanently changing pixel values. For example, rather than making a Levels or Curves adjustment directly to your image, you can create a Levels or Curves adjustment layer.

The color and tone adjustments are stored in the adjustment layer and apply to all the layers below it. You can discard your changes and restore the original image at any time.

GALLERY

changing color

STEPS

To add an Adjustment Layer, go to Layer > New Adjustment Layer > Hue/Saturation
(Hue/Saturation is a color control option that allows you to change all three dimensions of a color - hue, saturation, and value).
You can also add an Adjustment layer by clicking on the button in the Layers palette.

Make sure you choose Hue/Saturation

You will see a window like the one below.

We do not want to change all colors in the image. Just the red in the car. That's why we are going to choose Reds in Edit option.

Drag the Hue slider any direction to change the color. If you wish so, you can also change Saturation (brightness) and Lightness (value).

Make sure the Preview is checked, so you can see the changes

Look at the Layers palette. See the Hue/Saturation Adjustment layer? At this point - do not click on anything inside the Layers palette. Please!

We have changed all red colors in the image. But.... the car is not the only area in the image that had red pixels in it. Look at the areas that I circled. They all use to have red in it, and now they look purple (or whatever other color you have on your screen).

We are going to fix it. It's really easy....

Choose Eraser Tool in the Tool box.

Start erasing the areas that don't look real due to the color change. Do not worry. You are not erasing the image - just masking the adjustment layer.

Look closer at the palette:

Each adjustment layer has a mask linked with it.

When you erase the areas on the adjustment layer, it masks them (in other words - you are revealing the original image through the ares that you erase)

Look at the mask thumbnail to your left. See the black spots? These are the ares that I have erased on the adjustment layer

Delete the adjustment layer.

Start over. Change the color again.

Ask me if you have any problems.

.
...