julianna kunstler logo
cheese board

organic imprints
Instagram icon

by JuliannaKunstler.com

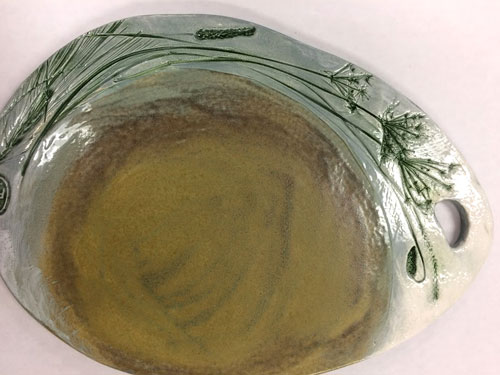
Using a thin slab, design a cheeseboard that is functional and aesthetically pleasing.

The final project should include:

  • nice shape (use template) with a functional handle (cutout or attached)
  • press-in (organic or found objects)
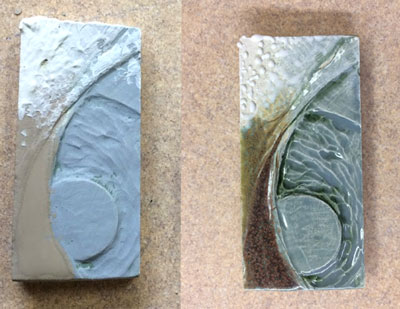
  • pre-designed color scheme of at least 3 glazes (use glaze swatches or create your own)
  • 3 different textures (opaque, shiny, specialty glaze, etc)
  • optional: sculptural element, border

Planning:

  • day 1: research and sketch
  • day 2: sketch & draw template (life size)
  • days 3-4: test glaze (make swatches) and color planning; aquire press-in plants
  • day 5: roll slab, cut, smooth
  • day 6: details, press-in, start drying
  • day 7: experiment with glazes
  • day 8: glaze

GALLERY

STEPS

Start with a research. Find what other artists did before you...

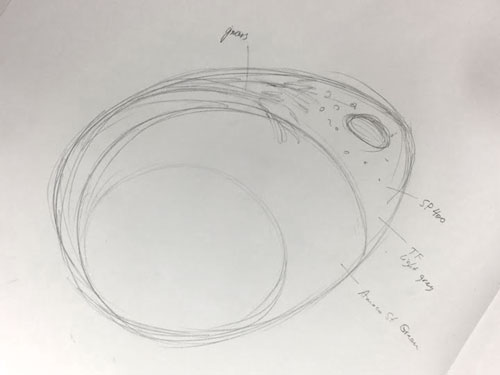
Come up with your own idea and sketch it.

Place the planned press-in objects

Separate by glazes (write down the glazes)

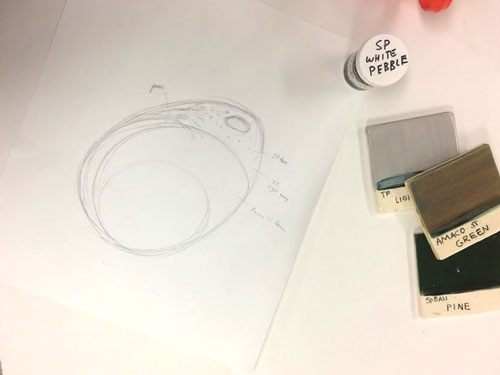
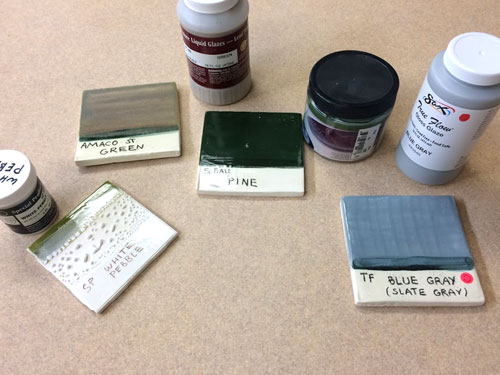
Place glaze swatches next to each other, experiment with different colors.

Find a color scheme that will work for your particular design.

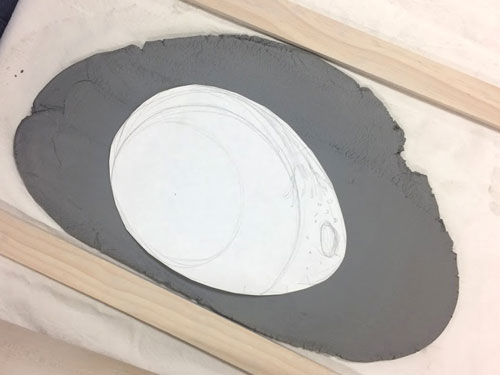
Make a life-size template.

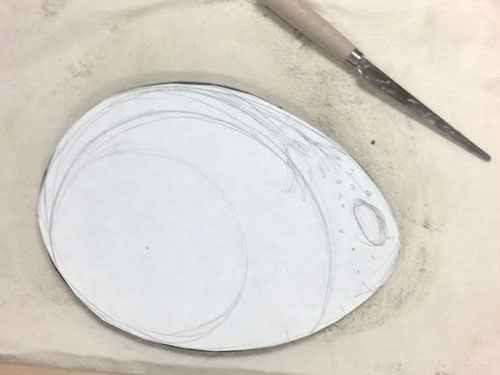
Cut out the template and transfer it onto a piece of a thin slab.

Cut the slab to size.

Transfer any designs you have.

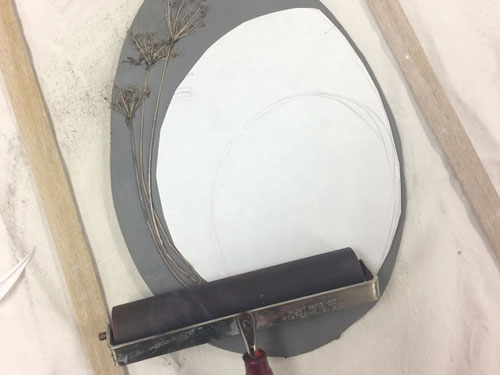
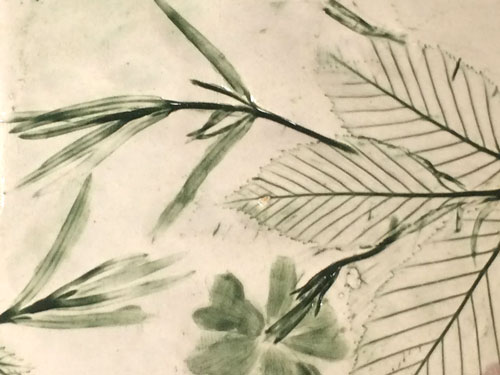
Place your press-in grass, leaves, flowers, branches, (or any other objects) position them and secure on the slab.

Use a roller to carefully press them in.

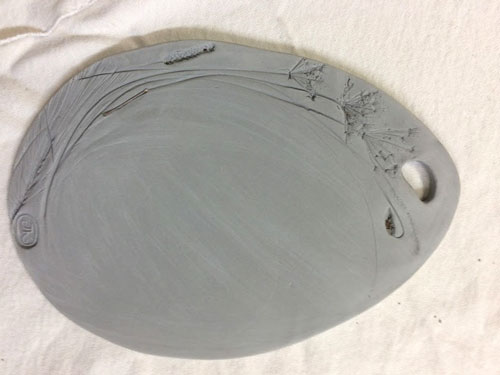
Smooth the edges.

Cut out or add a handle.

If you want to attach any additional elements - do it now.

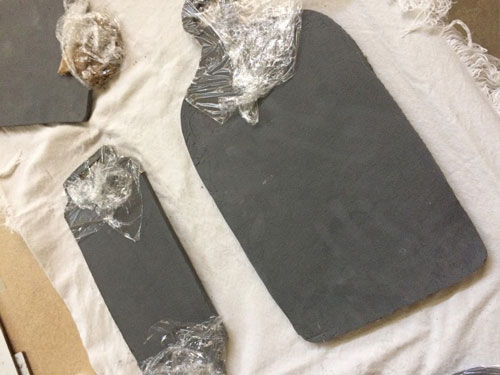
Cover or wrap the cutouts with a plastic wrap to slow down the drying in that area - otherwise it will crack or deform.

As the clay is drying, experiment with glazes.

Make your own swatches, see how glazes will interact with each other or specialty glazes.

After the board has been bisque-fired, start glazing.

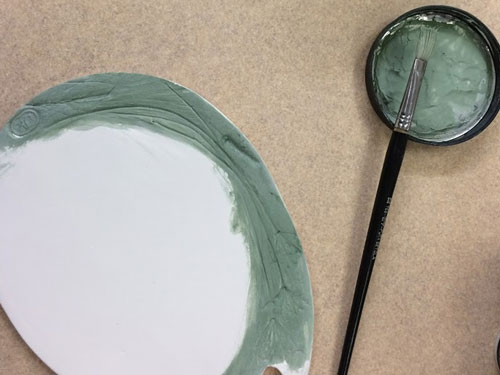
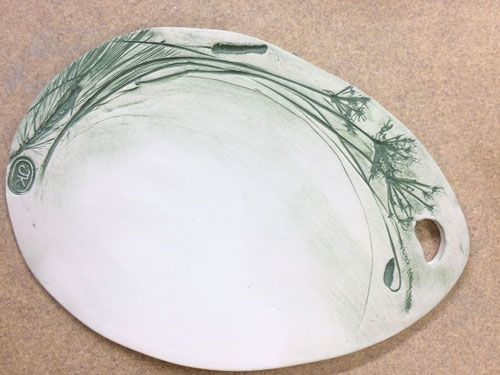
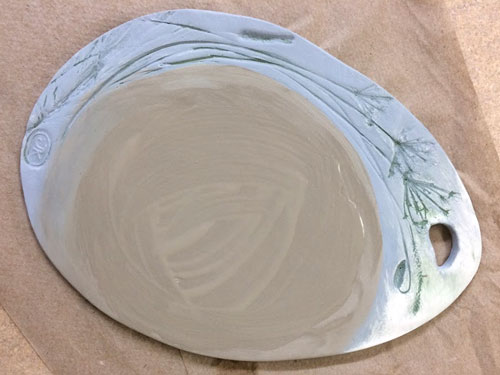
Choose a darler glaze an glaze over the pressed-in design.

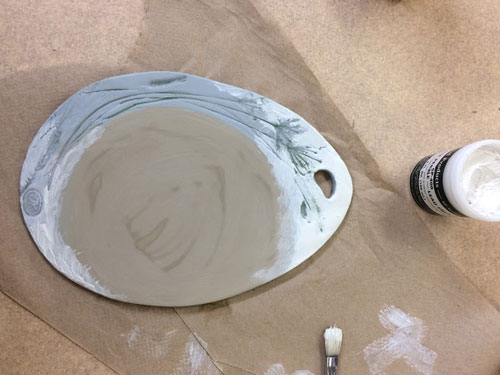
Remove the exess glaze with a damp sponge.

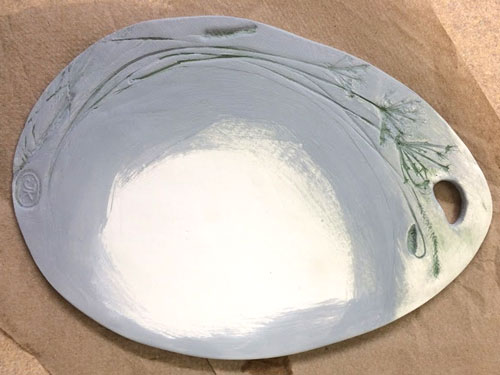
Now it is ready to be glazed with lighter colors.

Apply special effects glazes if you choose to.

Do not over do that!

...