by JuliannaKunstler.com
GALLERY
STEPS
Art Nouveau
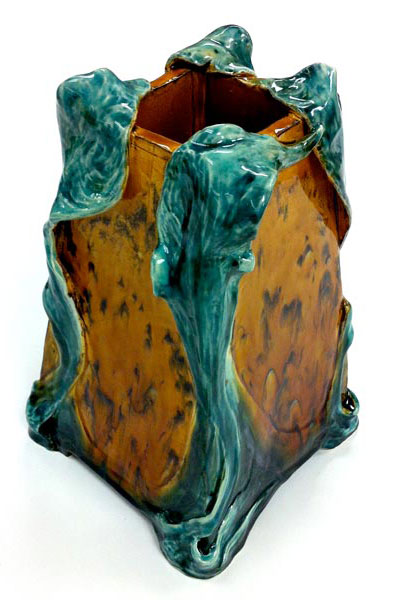
Art Nouveau style is a particular form of art that is based in organic beauty as opposed to classical, academic art. Typical decorative elements include leaf and tendril motifs, intertwined organic forms, mostly curvaceous in shape, although right-angled designs were also prevalent in Scotland and in Austria. Art made in this style typically depicted lavish birds, flowers, insects, zoomorphs, and female images.
Style characteristics:
Simple base form
Flowing lines (often with stylized corners)
Organic motifs
Curves
Celtic design influence
Japanese influence
Female allegory images
Sculpture elements
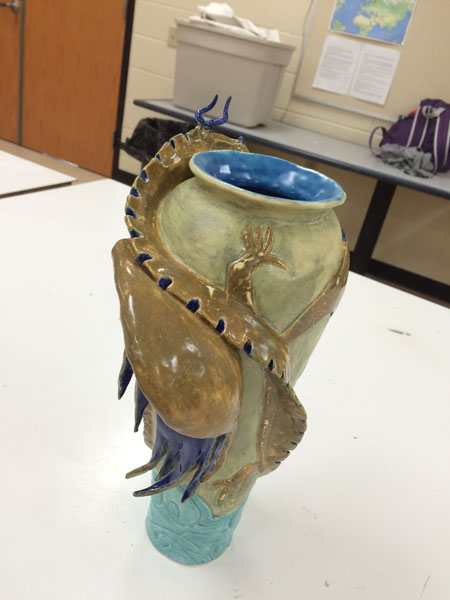
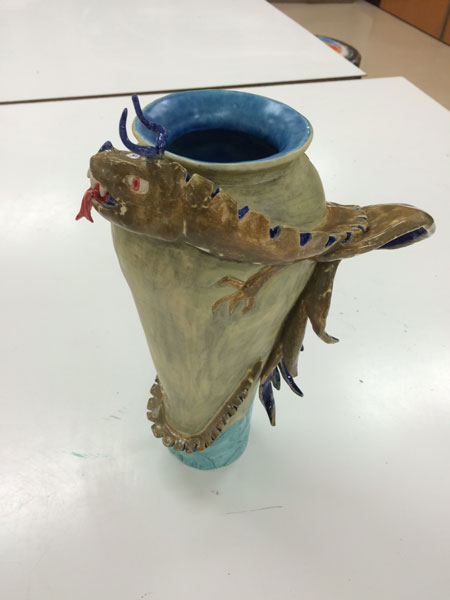
Mythical creatures
Use of negative shapes (empty background areas)
Use of negative space (cut-outs)
Contrast of vertical rhythm and elaborate details
references
 |
 |
 |
 |
 |
 |
 |
Assignment details
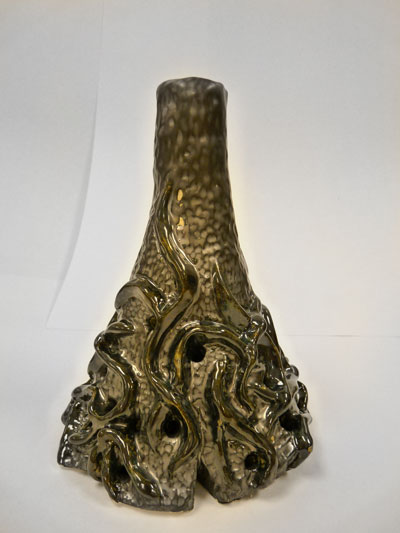
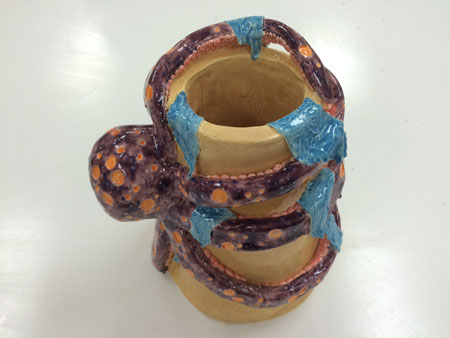
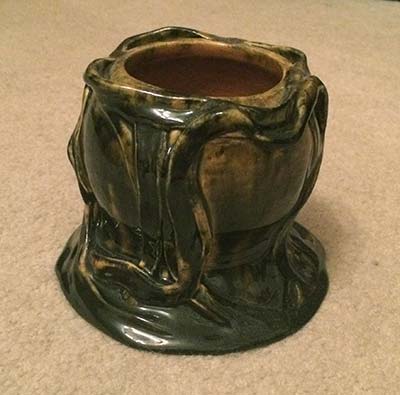
Build a vessel in the Art Nouveau style. Select at leas 3-4 characteristics that you going to incorporate into the piece to make it fit the description of the style. Use a combination building technique. Sketch your piece and the construction steps you are going to take.
Build the base form:
step 1 - template
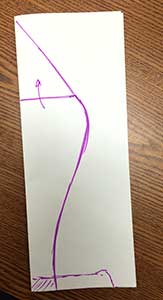 |
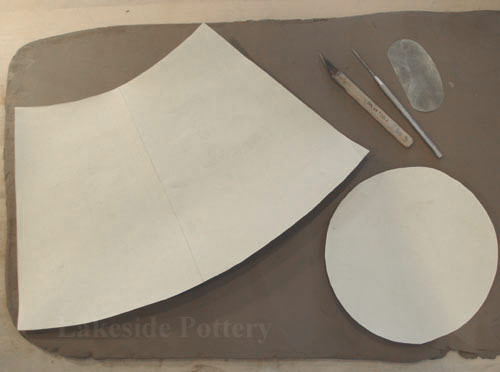
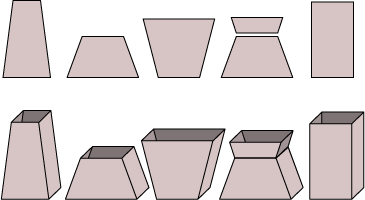
Start with a template - use a piece of drawing paper to create one. You need to do a very careful planning. Base form can be round: ... or "boxy"
|
| Plan your templates to achieve the desired base form: whether it's "boxy" or round. |
|
step 2 - slab
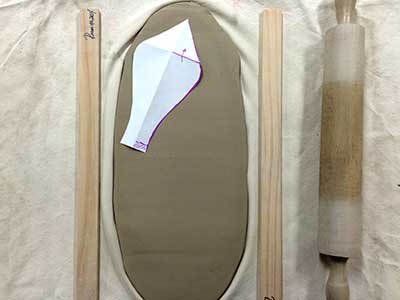 |
Roll a piece of slab about 1 cm thick. |
step 3 -shapes
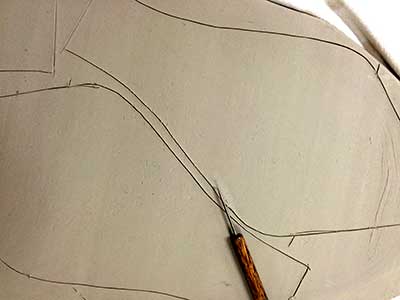 |
Trace the template on the slab. Use needle tool. Don't try to cut it right away - take your time. |
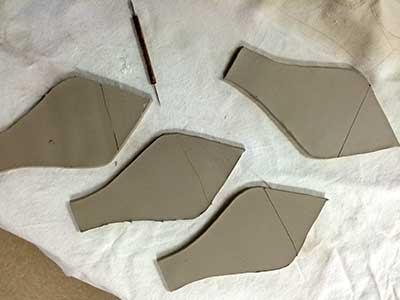 |
Cut the pieces by repeatedly tracing the shapes with the needle tool. |
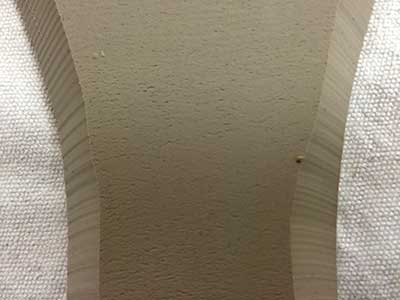 |
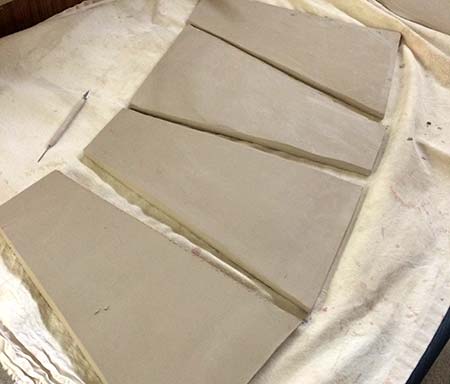
Cut the sides of your shapes that you are going to join at 45 degrees for shapes like pictured here. For simple "box" type forms or round ones - you don't have to. |
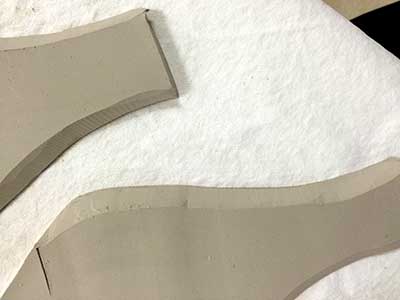 |
Lay them out and get ready to attach them. |
step 4 - putting together
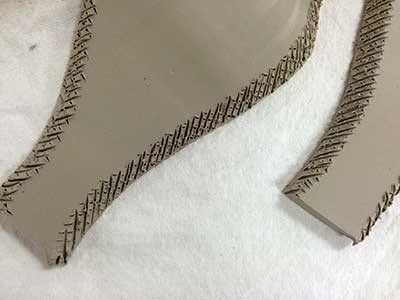 |
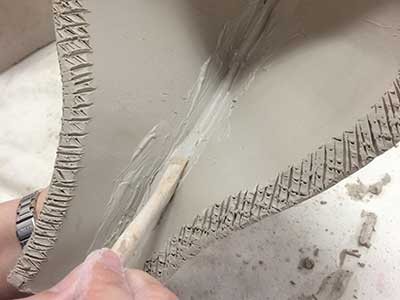
Score |
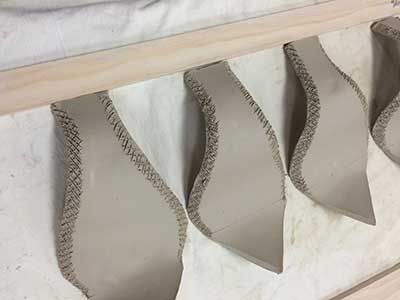 |
Shape (if needed) to prevent from cracking in future. |
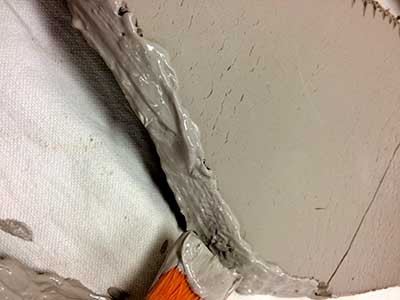 |
Slip |
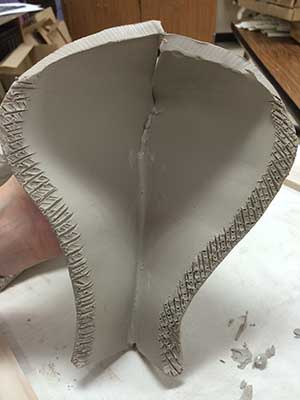 |
Join all shapes. |
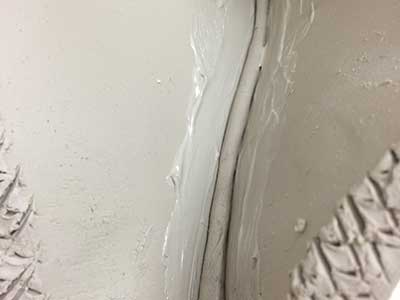 |
Use coils for the corners. |
 |
Smooth |
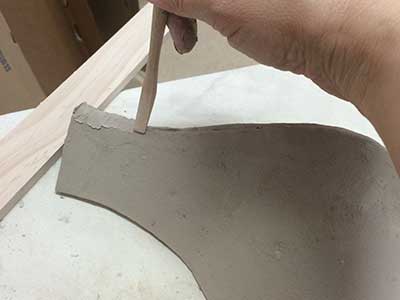 |
Make sure the joints are strong on the outside. |
step 5 - adding details
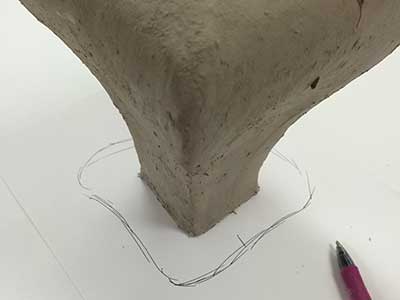 |
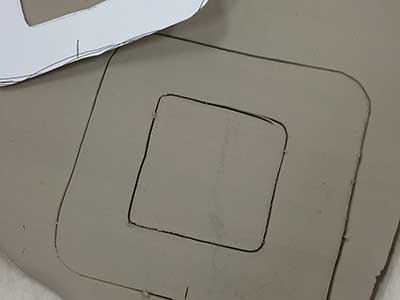
If you want to add a stand - make another template. You need to make sure all pieces will fit together. |
 |
|
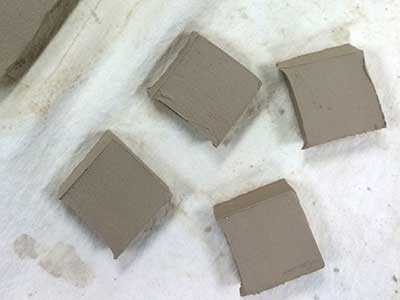 |
Cut "feet" if you need to |
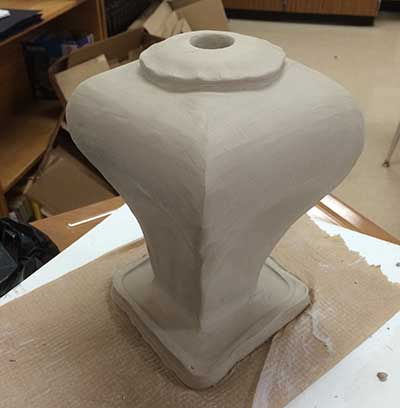 |
Put everything together. Don't forget to score and slip when joining the pieces. Smooth all sides. |
Decorating
step 3 - cutting and carving
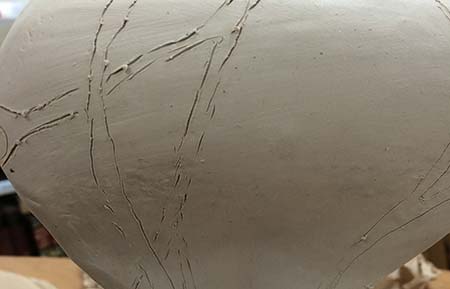 |
Use a needle tool to sketch out the design that you want to carve. |
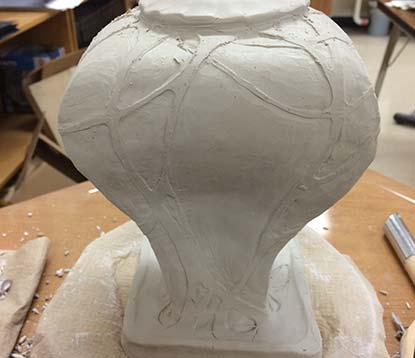 |
Don't go too deep. |
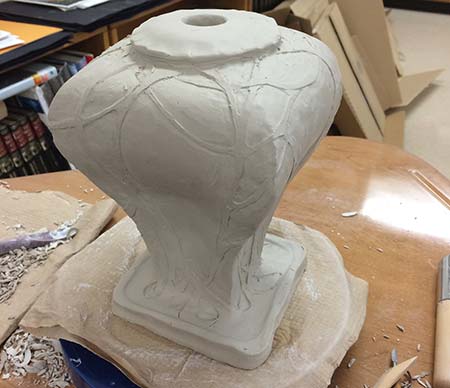 |
Make sure the design flows from one side to another. |
step 4 - attaching pieces
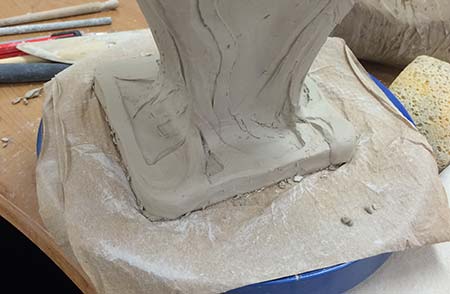 |
Roll thin slabs and cut out shapes that you want to attach to the base. Don't forget the "score & slip" routine when attaching. |
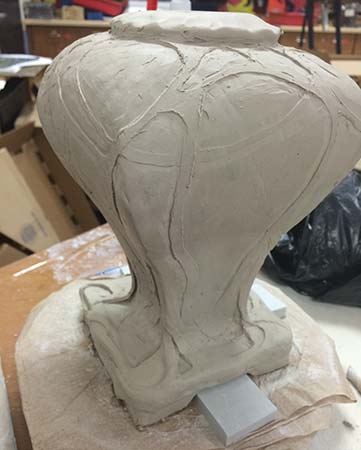 |
Decide if you need an extra support for the base - it can get really heavy. |
 |
Keep adding decorations. |
Step 5 - finalizing
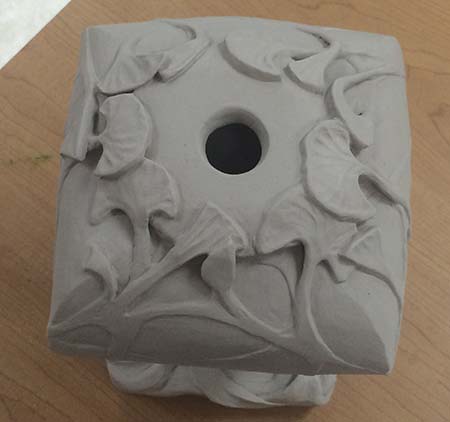 |
Carve smaller details at this point. |
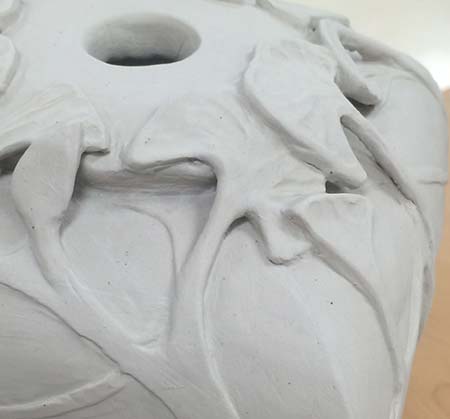 |
I like to use a wet soft brush to smooth everything and to get rid of "crumbs". |
| Don't forget to sign your piece or to add a signature stamp. | 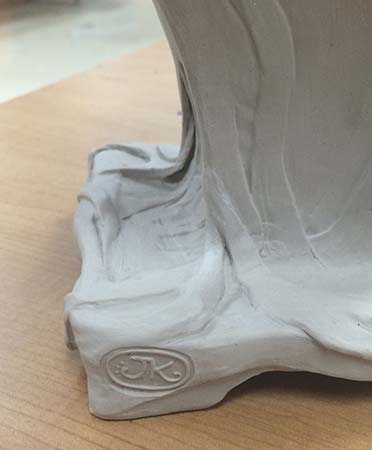 |
After it dries - bisque fire it.
After you are done
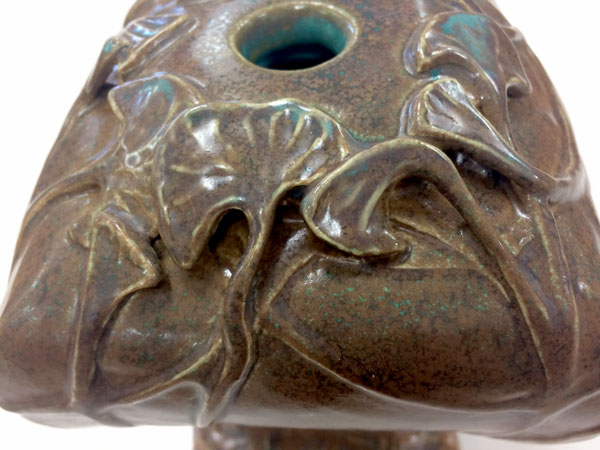
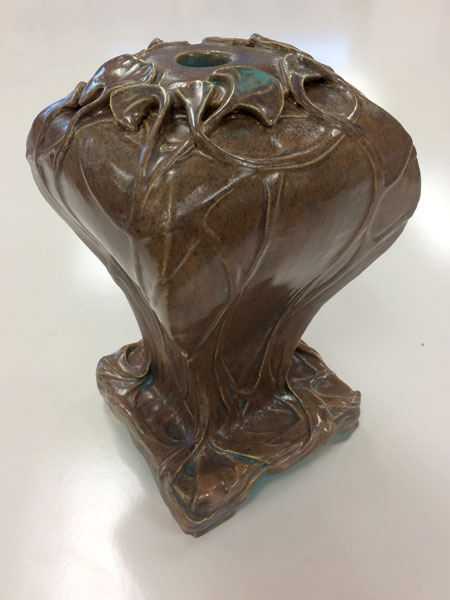
Step 6 - Glazing

 |

