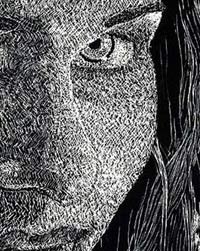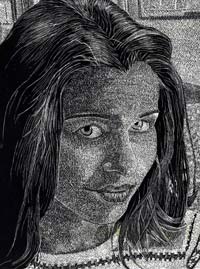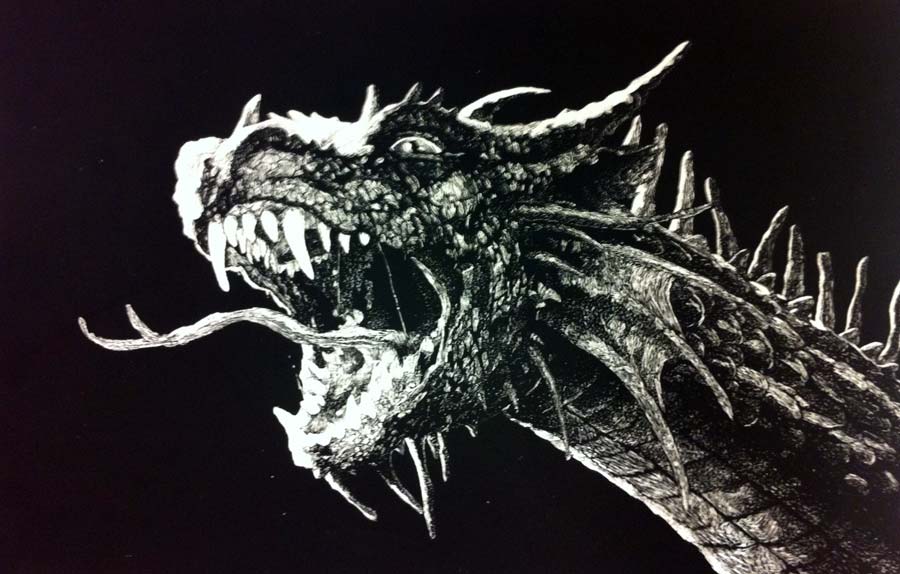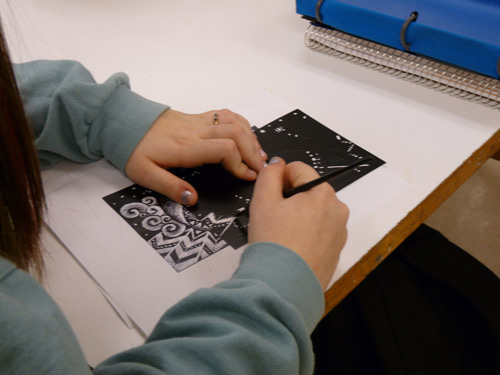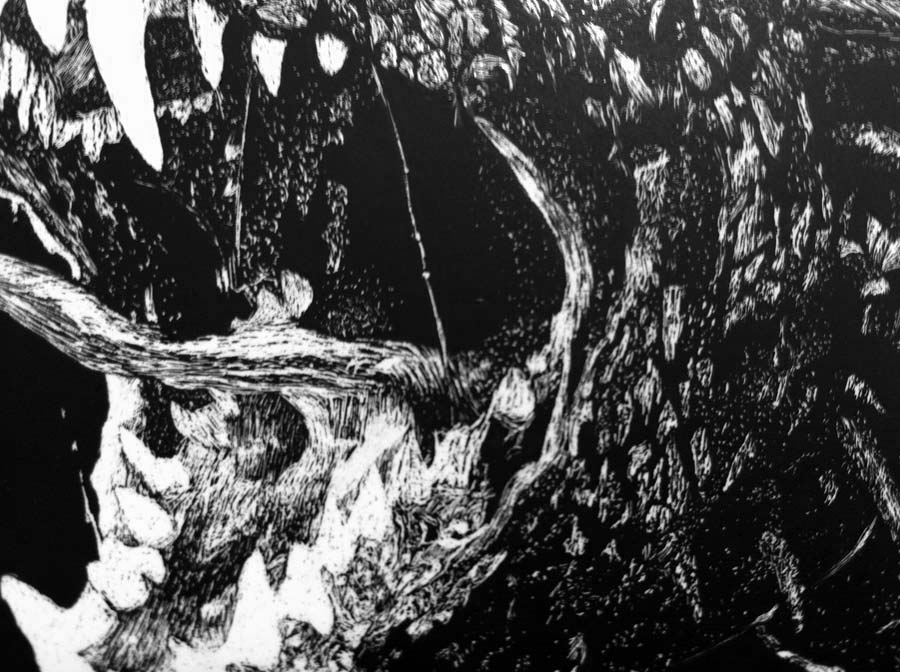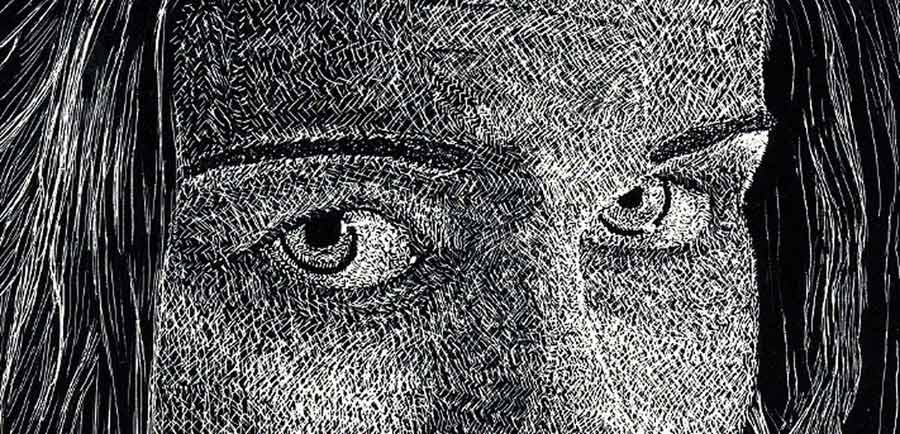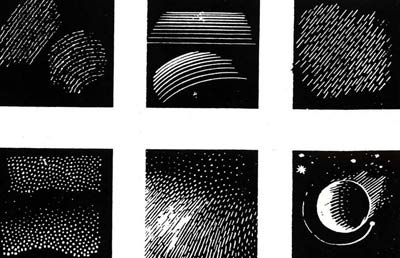
You can use a variety of strokes as you scratch. Depending on the object that you are working on – you should use different value techniques to show texture of this particular object.
As a rule – USE SMALL STROKES!!!! Smaller the stroke – easier it is to control the scratching process. Remember, you cannot “undo” or erase a scratch. Once it is there – it stays. That’s why it is a good idea to take your time and scratch with smaller strokes – in case you mess it up – you still might be able to fix it and not start over. Which saves time in a long run!
Another rule – don’t press too hard on the tool – it will rip the paper.
TAKE YOUR TIME!!!!

Here is a value scale done on the scratch board.
As you can see it is possible to show values and textures just by scratching small strokes.
Before starting on a big project – practice.
Print the pictures below and spend some time mastering the technique.
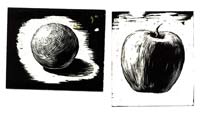
First – tape your picture to a scratch board.
Second – use a pen (not pencil – it’s too soft) and trace the entire image, including ALL the DETAILS, all white and grey areas (all value changes). More accurate is your tracing part – easier it will be to scratch. Press hard enough to leave indents on the board but without ripping the paper. Use a contrasted color pen (red, green, blue, etc) so you can see what has been traced.
Next – take the picture off the scratch board and grab your scratch knife.
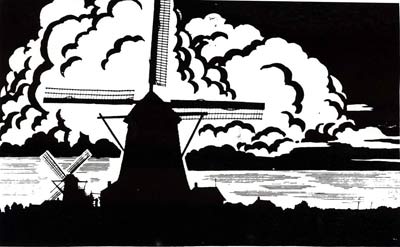
Note to yourself the darkest and the lightest values.
Leave for now the darkest values black (you can always make the value lighter later).
Start with white and light grey areas.
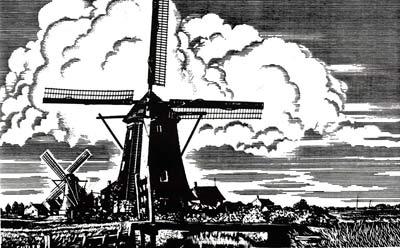
Eventually get to work on details and grey values.
Look at the example below. See the different types of strokes? That is how you create an interest in your drawing. But remember, that each type of stroke should be appropriate and planned. Keep in mind that longer strokes are harder to use and control. If you don’t believe me – try… (on a scrap piece, of course….)
Small strokes are great for details!
Remember to replace the blades for your scratch knives!
