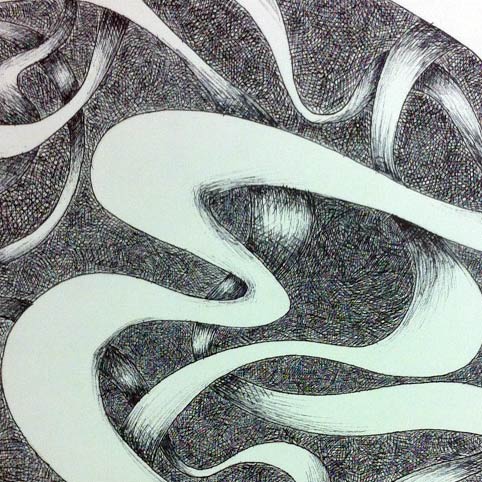
Learning objectives
- master cross-hatching technique
- overlapping in drawing
- placement of shadows
- value study
- creative design
by JuliannaKunstler.com


Start with drawing a border around the square. About 1 1/4 inch all way around.
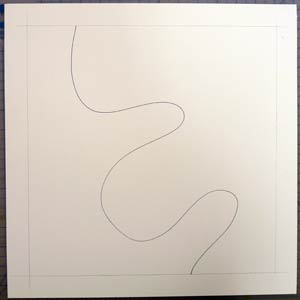
Draw your first line any way you feel like.
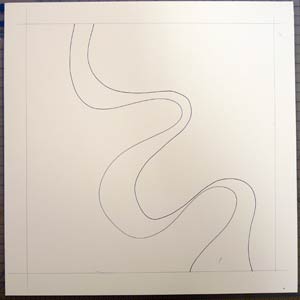
Draw the second line to complete the first ribbon.
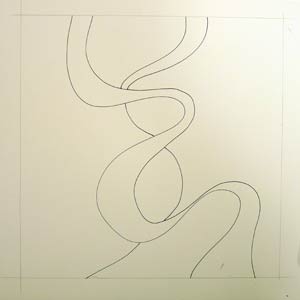
Start drawing the second ribbon "behind" the first one.
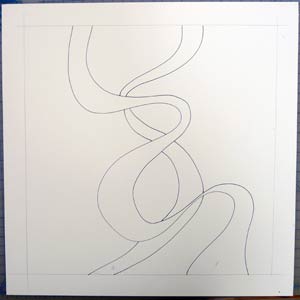
Should look similar to this.
Important: mark (number) every ribbon as you draw it - especially where they overlap. Do it in multiple spots.
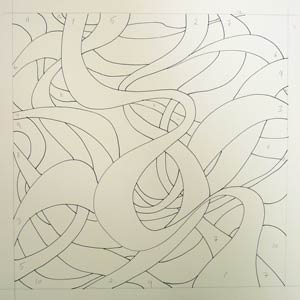
Draw a total of 12 ribbons.
Make sure they are all numbered.
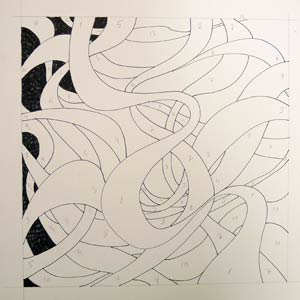
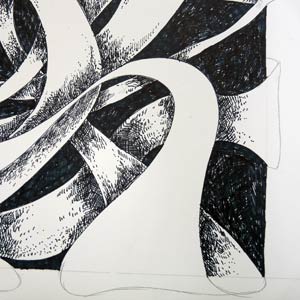
Use a black pen and fill in all background areas with cross-hatching technique.
Pay attention to where you shade.
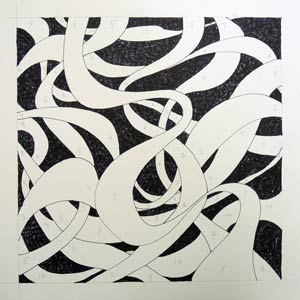
This is what it looks like when you are done with this step.
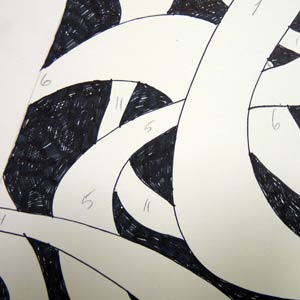
See the numbers?
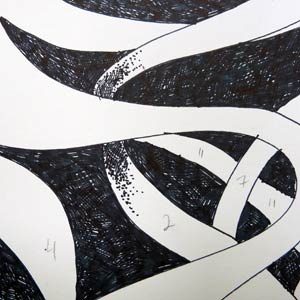
Skip ribbon #1
Start with ribbon #2. Shade everywhere where it is overlapped by ribbon #1.
Shade on both sides.
Value should fade from dark to light: start with dark cross-hatching, follow with hatching, space small strokes to lighten the value, finish fading with pointillism.
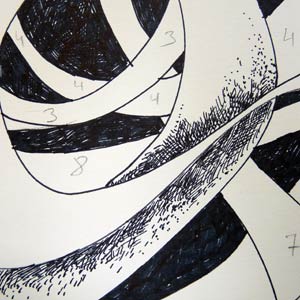
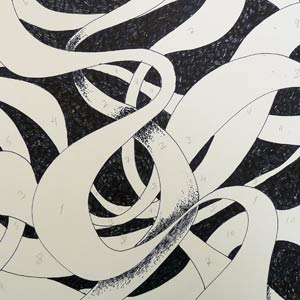
After you are done with ribbon #2, proceed to next ribbons.
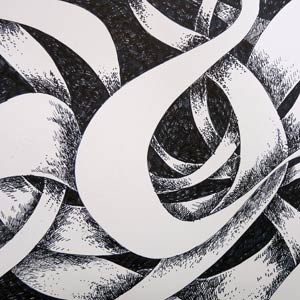
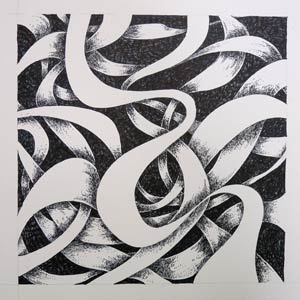
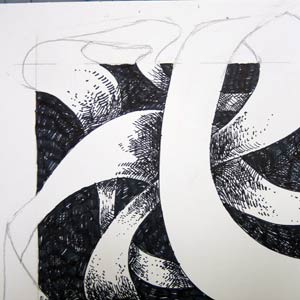
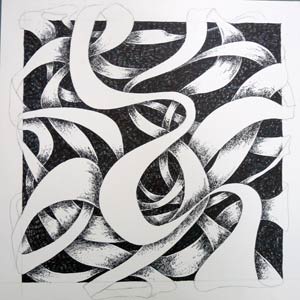
Connect ribbons' ends:
Use pencil at this point.
Create folds, twists, etc.
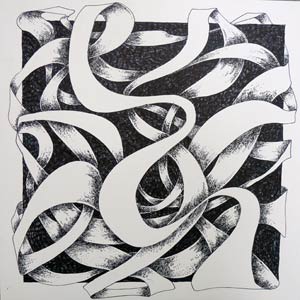
Outline with black pen.
Complete shading.
Erase all pencil marks.