Learning objectives:
- Repetition & pattern
- Manipulate lines to create an illusion of depth
- Eye-hand coordination
- Sense of proportion and space
- Abstract thinking
- Line drawing skills
- Measurements
- Planning

by JuliannaKunstler.com
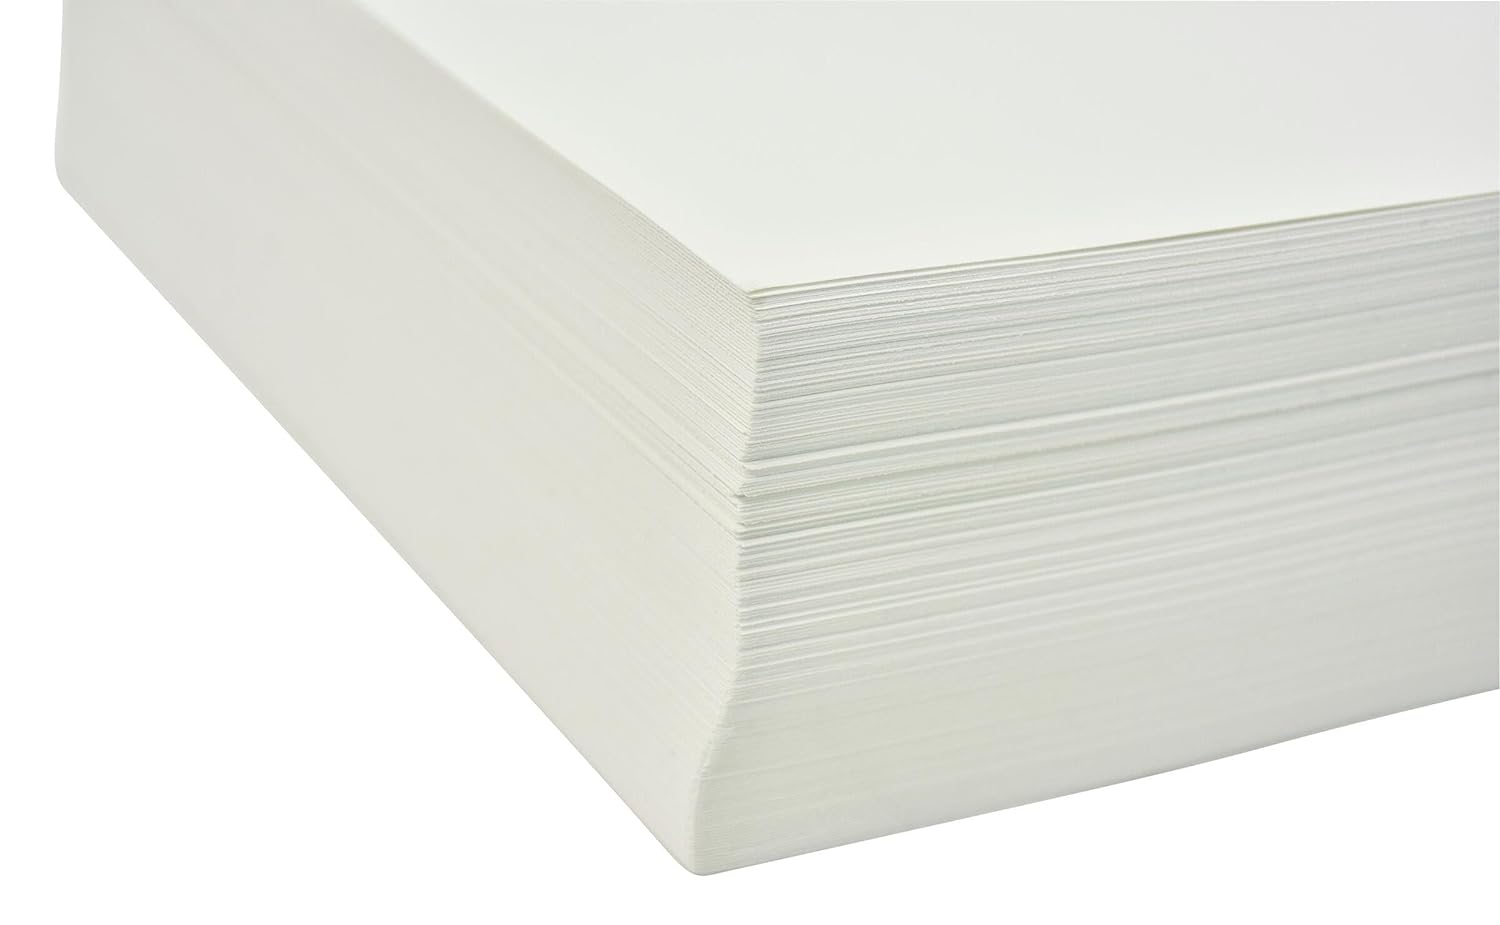
sulphite 90lb

18" ruler

drawing pencil B

white erasers

Sharpie ultra fine point

black pen

Start with an 12x18 paper.
Use drawing paper rather than a computer paper - it works better with a permanent marker (it bleeds less).
Use pencil.
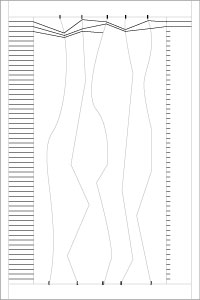
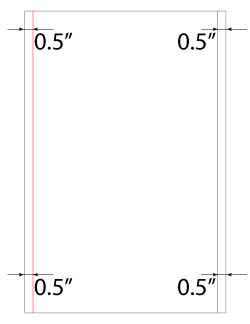
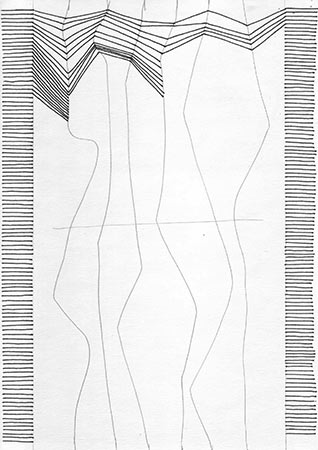
Use a ruler and draw two vertical lines 1/2" off the edge of the paper.
Draw lightly.
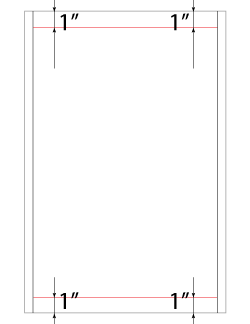
Draw horizontal borders 1" off the top and bottom edges.


Add two more vertical lines 1.5" from the first border
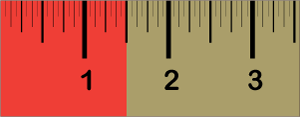
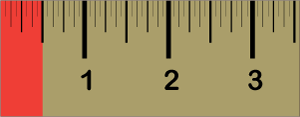
On line 1 and line 3: make a small mark every 1/8":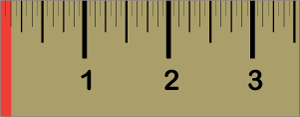

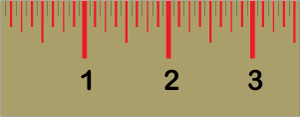
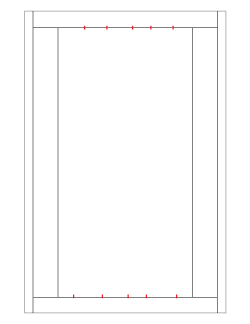
Make 5 - 6 marks on the top line and the same number of marks on the bottom line.
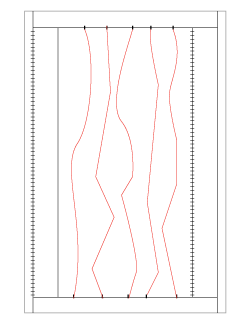
draw zig-zag or curved lines to connect these marks
the lines should not cross
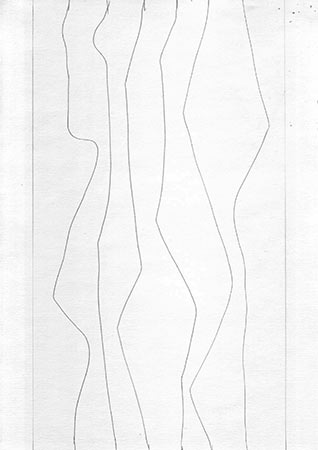
Do not draw lines that are too complex or too wavy,
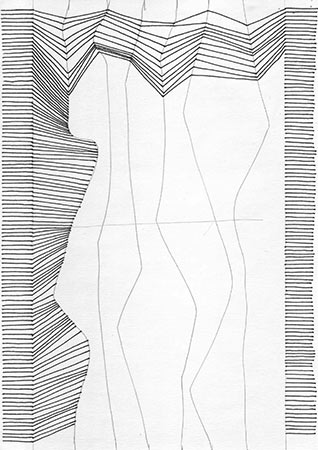
Start using a pen or a permanent marker.
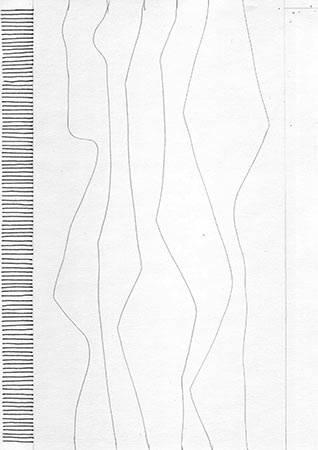
Draw parallel lines as shown.
Do not use a ruler!!!!
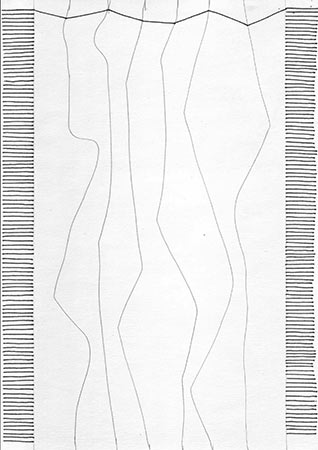
Draw parallel lines on the right side of the drawing.
You will connect the corresponding lines from left and right columns with straight segments.
Each segment is a straight line.
Each segment goes at a different angle.
Each segment goes between the two pencil lines.
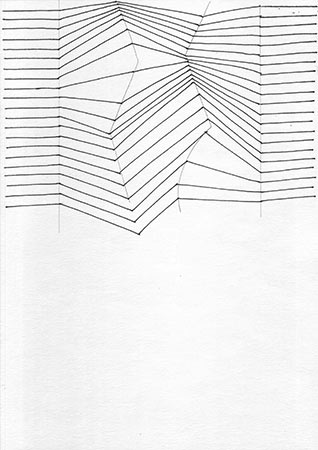
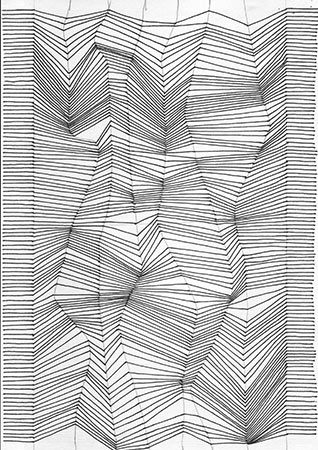
Continue drawing the lines between the pencil lines.
Each line should end at the appropriate segment on the right.
Continue experimenting with the directions of the segments.
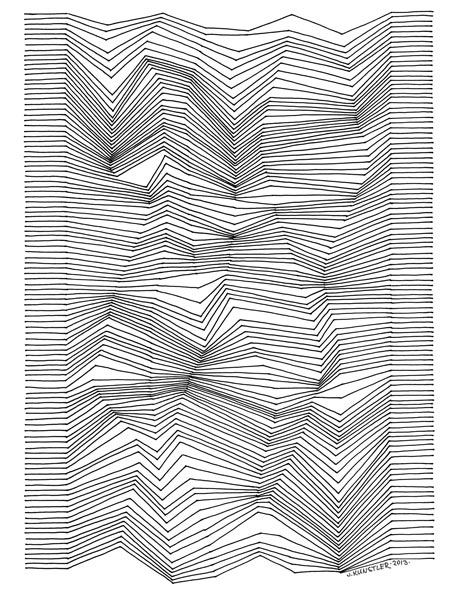
Mark a center of the design with a pencil.
Draw the segments all the way down to this center line.
As you reach the center line - start changing the directions of the segments into the opposite direction.

You can work with one section at a time.
If you have extra horizontal segments left:
incorporate them into design as on this picture *bottom right corner).
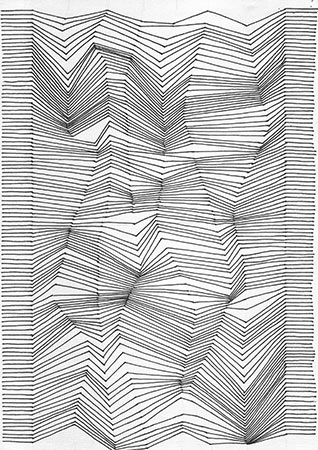
Erase all pencil marks!
Done!