julianna kunstler logo
line repetition designs

eye-hand coordination exercise
Instagram icon

by JuliannaKunstler.com

Drawing with lines. Abstract line design with an illusion of space. Lesson plan and worksheets.

Learning objectives:

  • abstract thinking
  • critical thinking
  • eye-hand coordination
  • fine-motor skills

The purpose of this project is to practice the eye-hand coordination.

An important part of learning how to draw is to develop eye-hand coordination skills.  It is not as easy as you might think…. 

Remember, last time you were drawing… you had a perfect picture in your head…. but once you started to draw it… it did not turn out as you have pictured it.  Why? Because along with developing drawing skills and techniques, you need to develop a very basic skill – make you hand draw what you have in mind.
How we do that? Practice… practice… practice…..

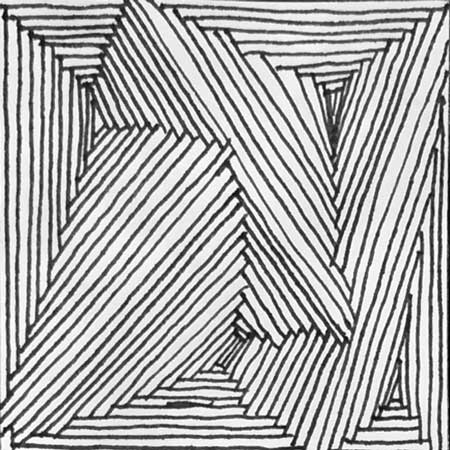
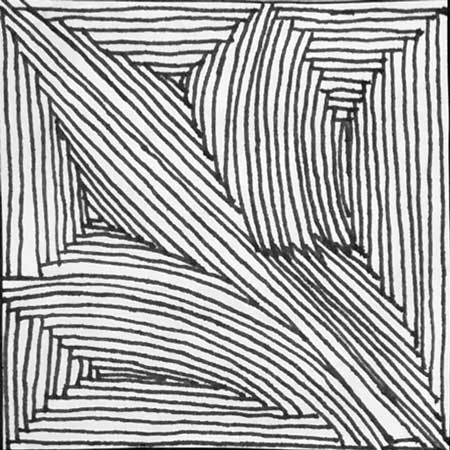
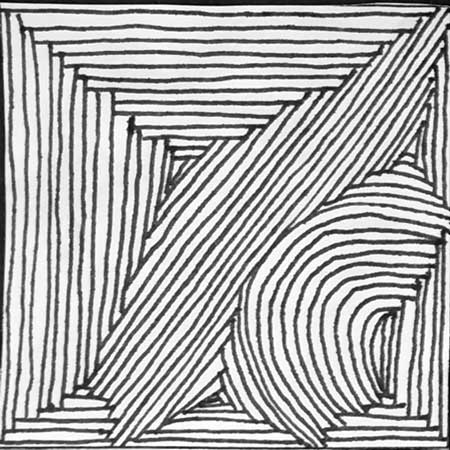
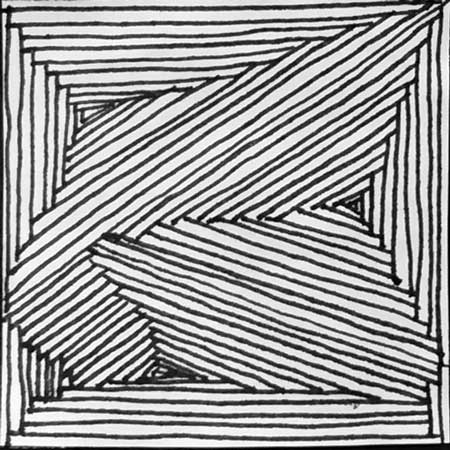
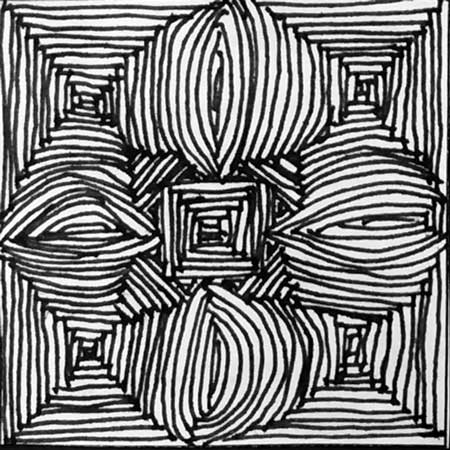
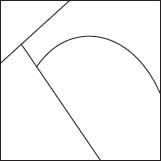
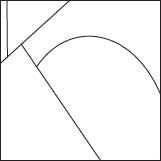
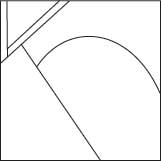
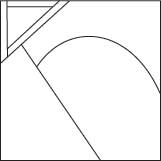
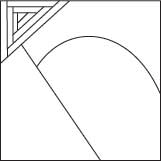
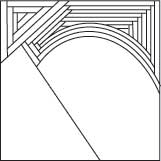
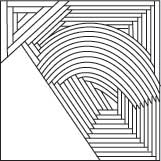
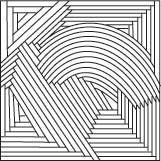
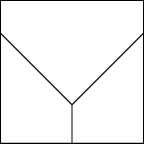
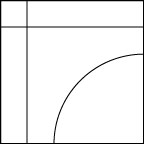
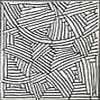
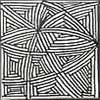
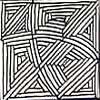
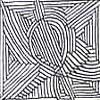
The following exercise will help you to develop this skill. 
Please note: YOU HAVE TO WORK SLOWLY.  Take your time. Learn how to control your own hand. Tame those lines!

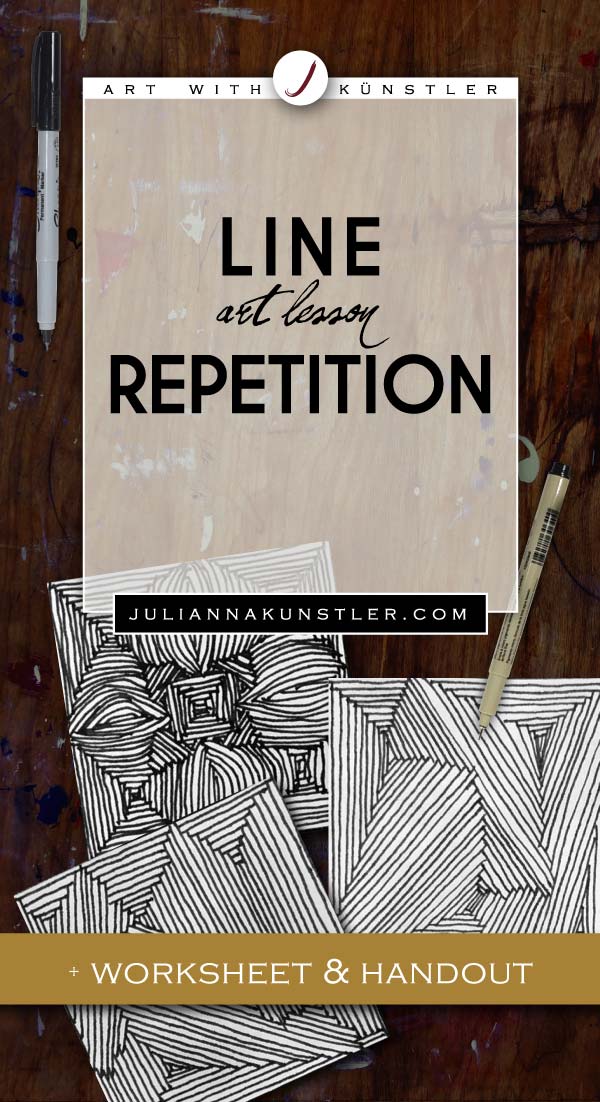
Work with a black pen.

materials used:

paid links

laserjet paper

Sharpie ultra fine point

black pen

scissors

examples

line repetition design

steps

worksheet 1: practice

drawing step

Use worksheet 1 to practice. Follow the steps:

You start with 3-4 random lines inside the square. These can be straight lines or curves. Each line should start and end at the border of the design or another line.

The startup lines should not be loose. Their purpose is to divide a square into enclosed areas..

Now you concentrate on one area at a time.

design step

If we pick the top left area first - analyze it.

It has 3 sides.

That means that the lines we are drawing can be only parallel to these 3 sides.

Place your first line parallel to one side.

You start at a line and finish at a line. Do not cross lines.

drawing step

Once you completed the first line - change the direction you are drawing.

Your second line will be parallel to another side.

Get them close together without having them touch (except at the ends).

Once a line touches another line – change the direction.

drawing step

Once you are done with the second line - start the third line, that is going to be parallel to the third side.

You can continue the process "in a circle" - using all sides, or use only select sides of the area, or use only 2 sides

drawing step

Once you are done with one area – move to the next one.

drawing step

Continue the process until your design is done.

drawing step drawing step
Use the rest of the templates to practice more.
design prompt design prompt design prompt design prompt design prompt design prompt

worksheet 2: create

Once you are comfortable with the concept - move on to the next worksheet.

This one is to create your own designs, using the same approach.

You start with 3-4 initial lines to divide a square.

Then fill in each ares with parallel lines following the guidelines.

line repetition design line repetition design line repetition design line repetition design

Select your best six.

Cut them out.

Present them on a piece of black board or paper.

Presentation is a part of your grade.

line repetition designs


...