In a nutshell:
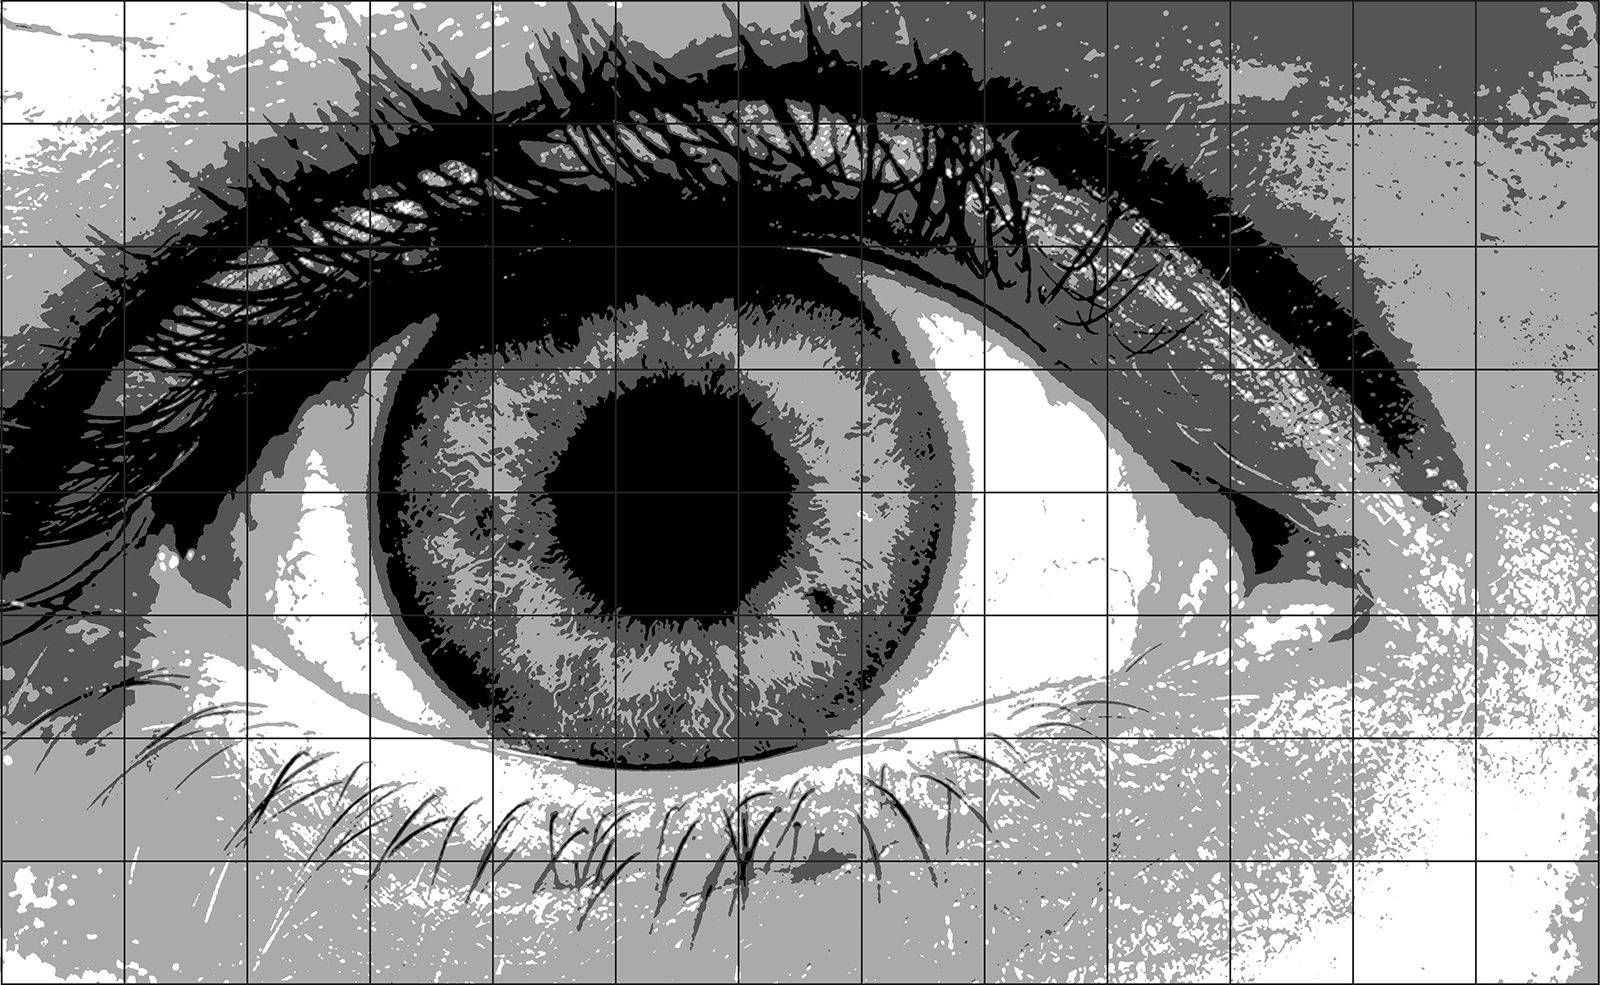
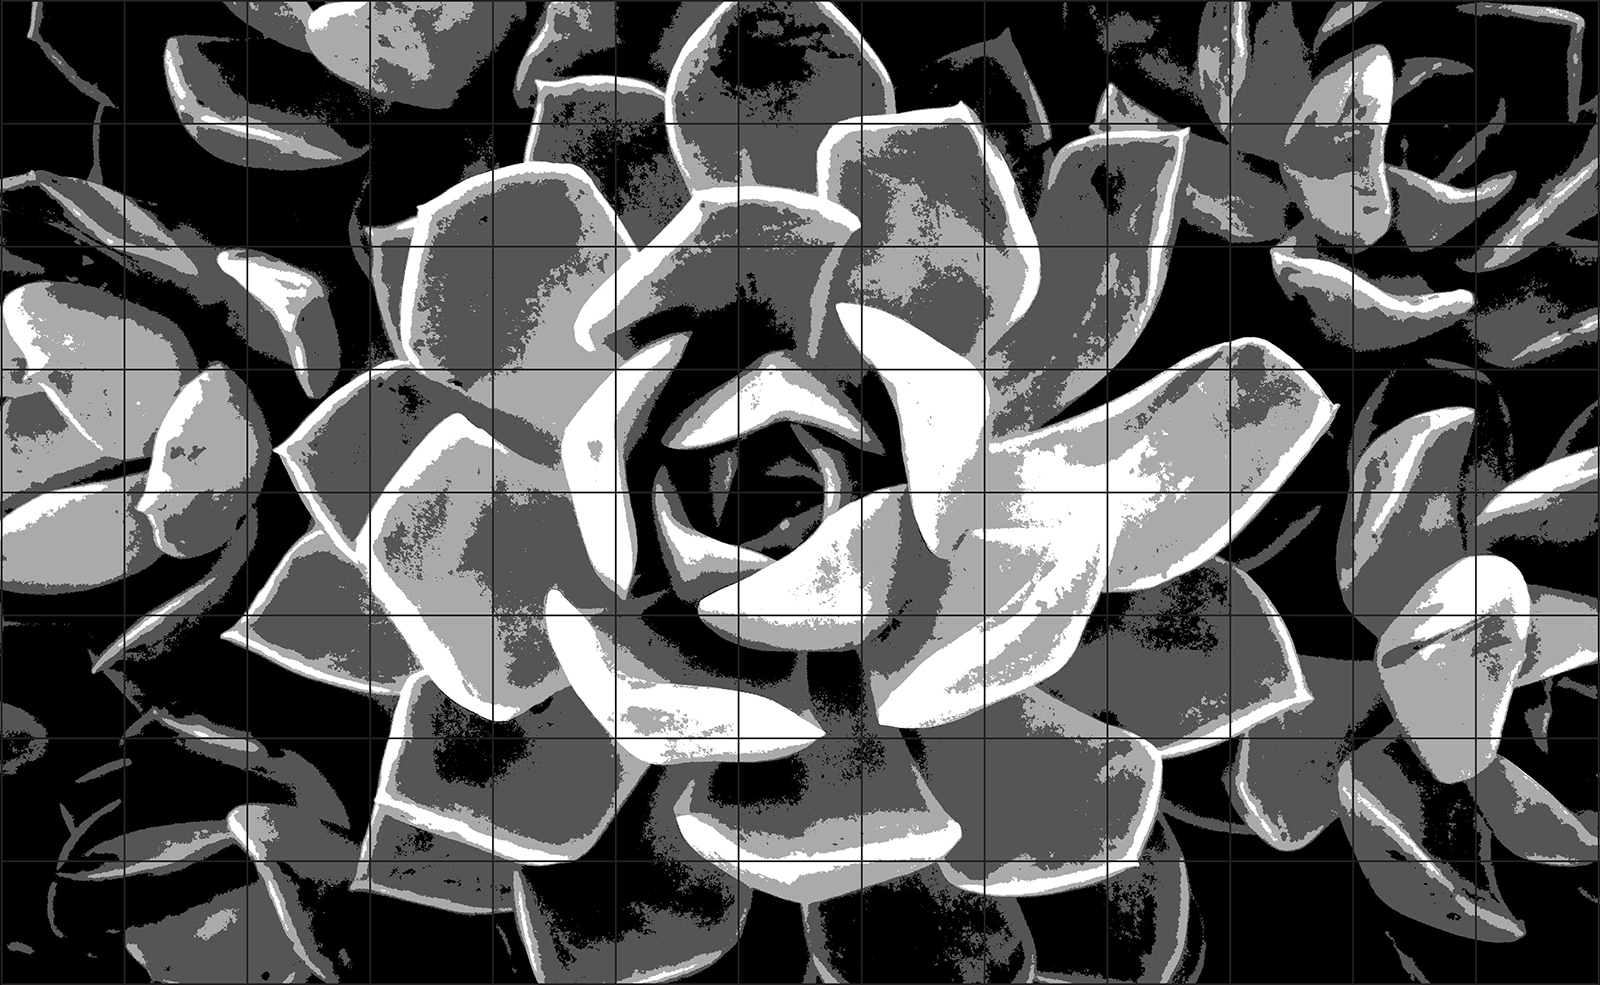
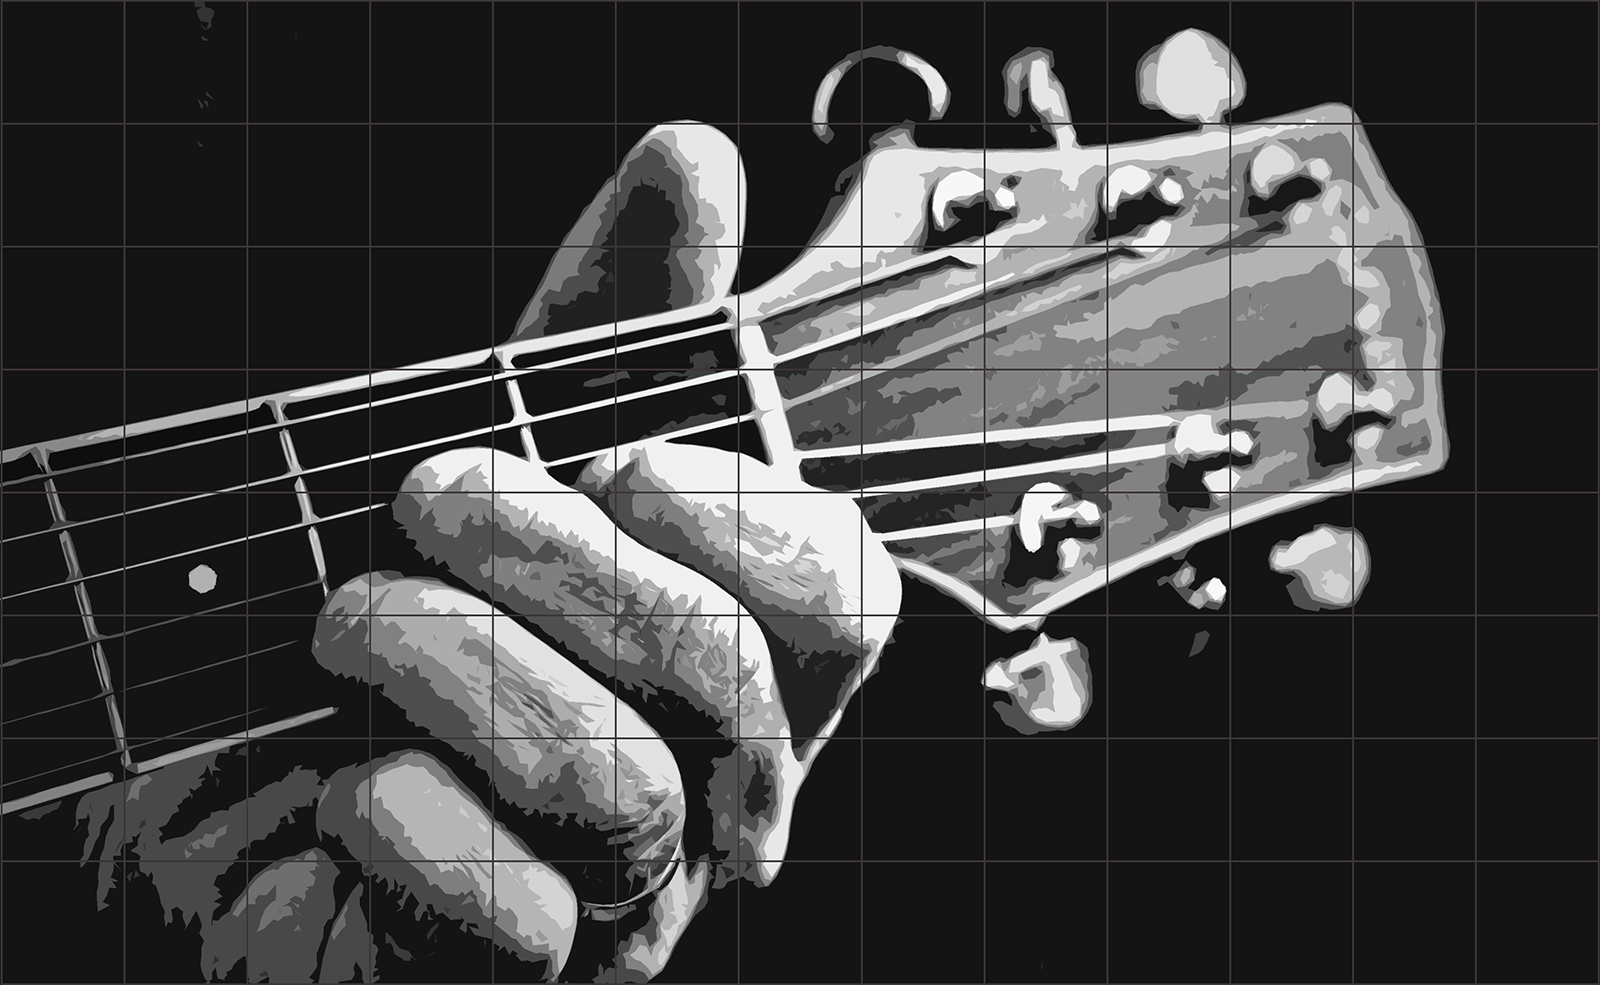
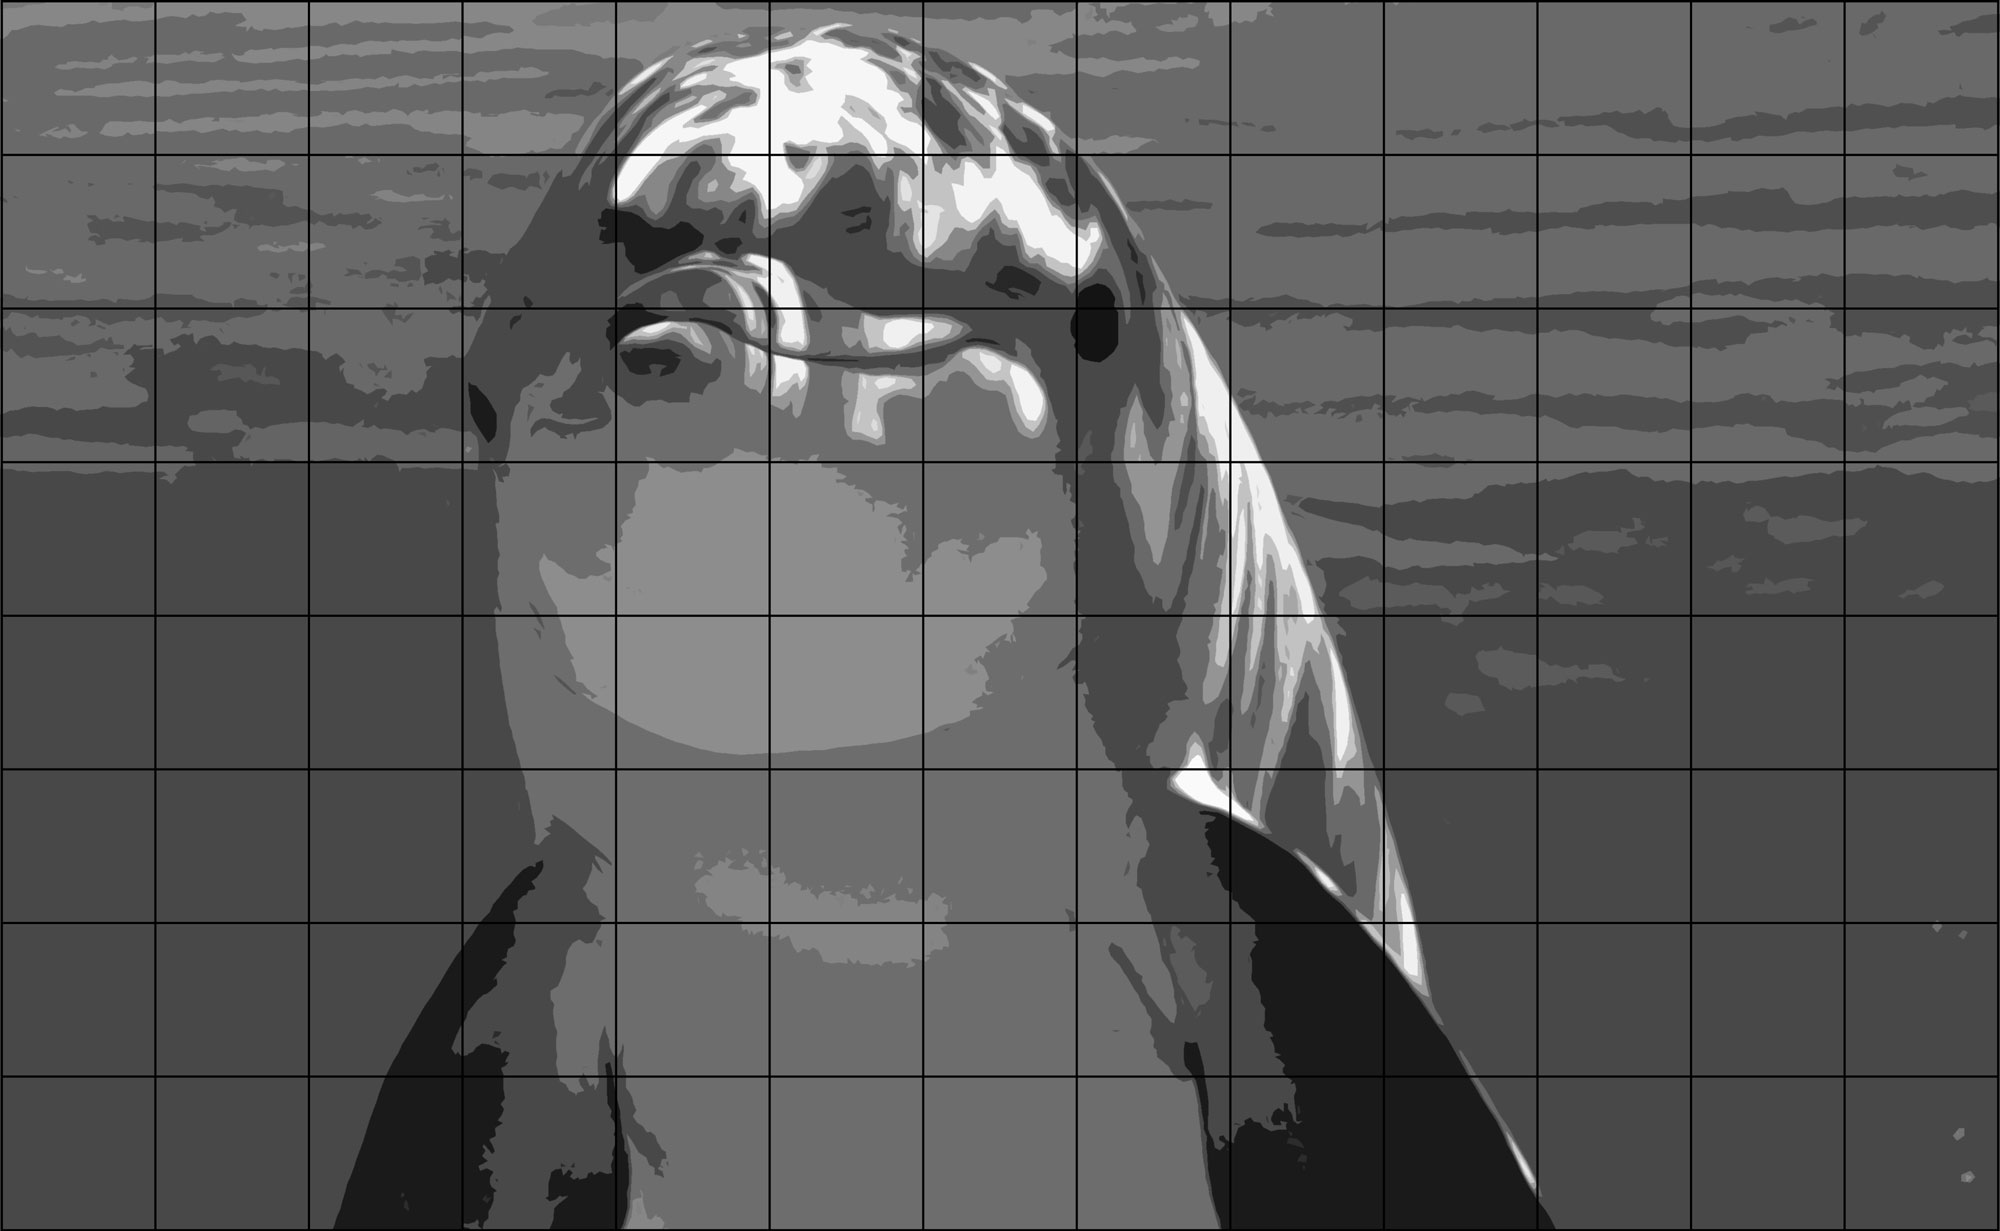
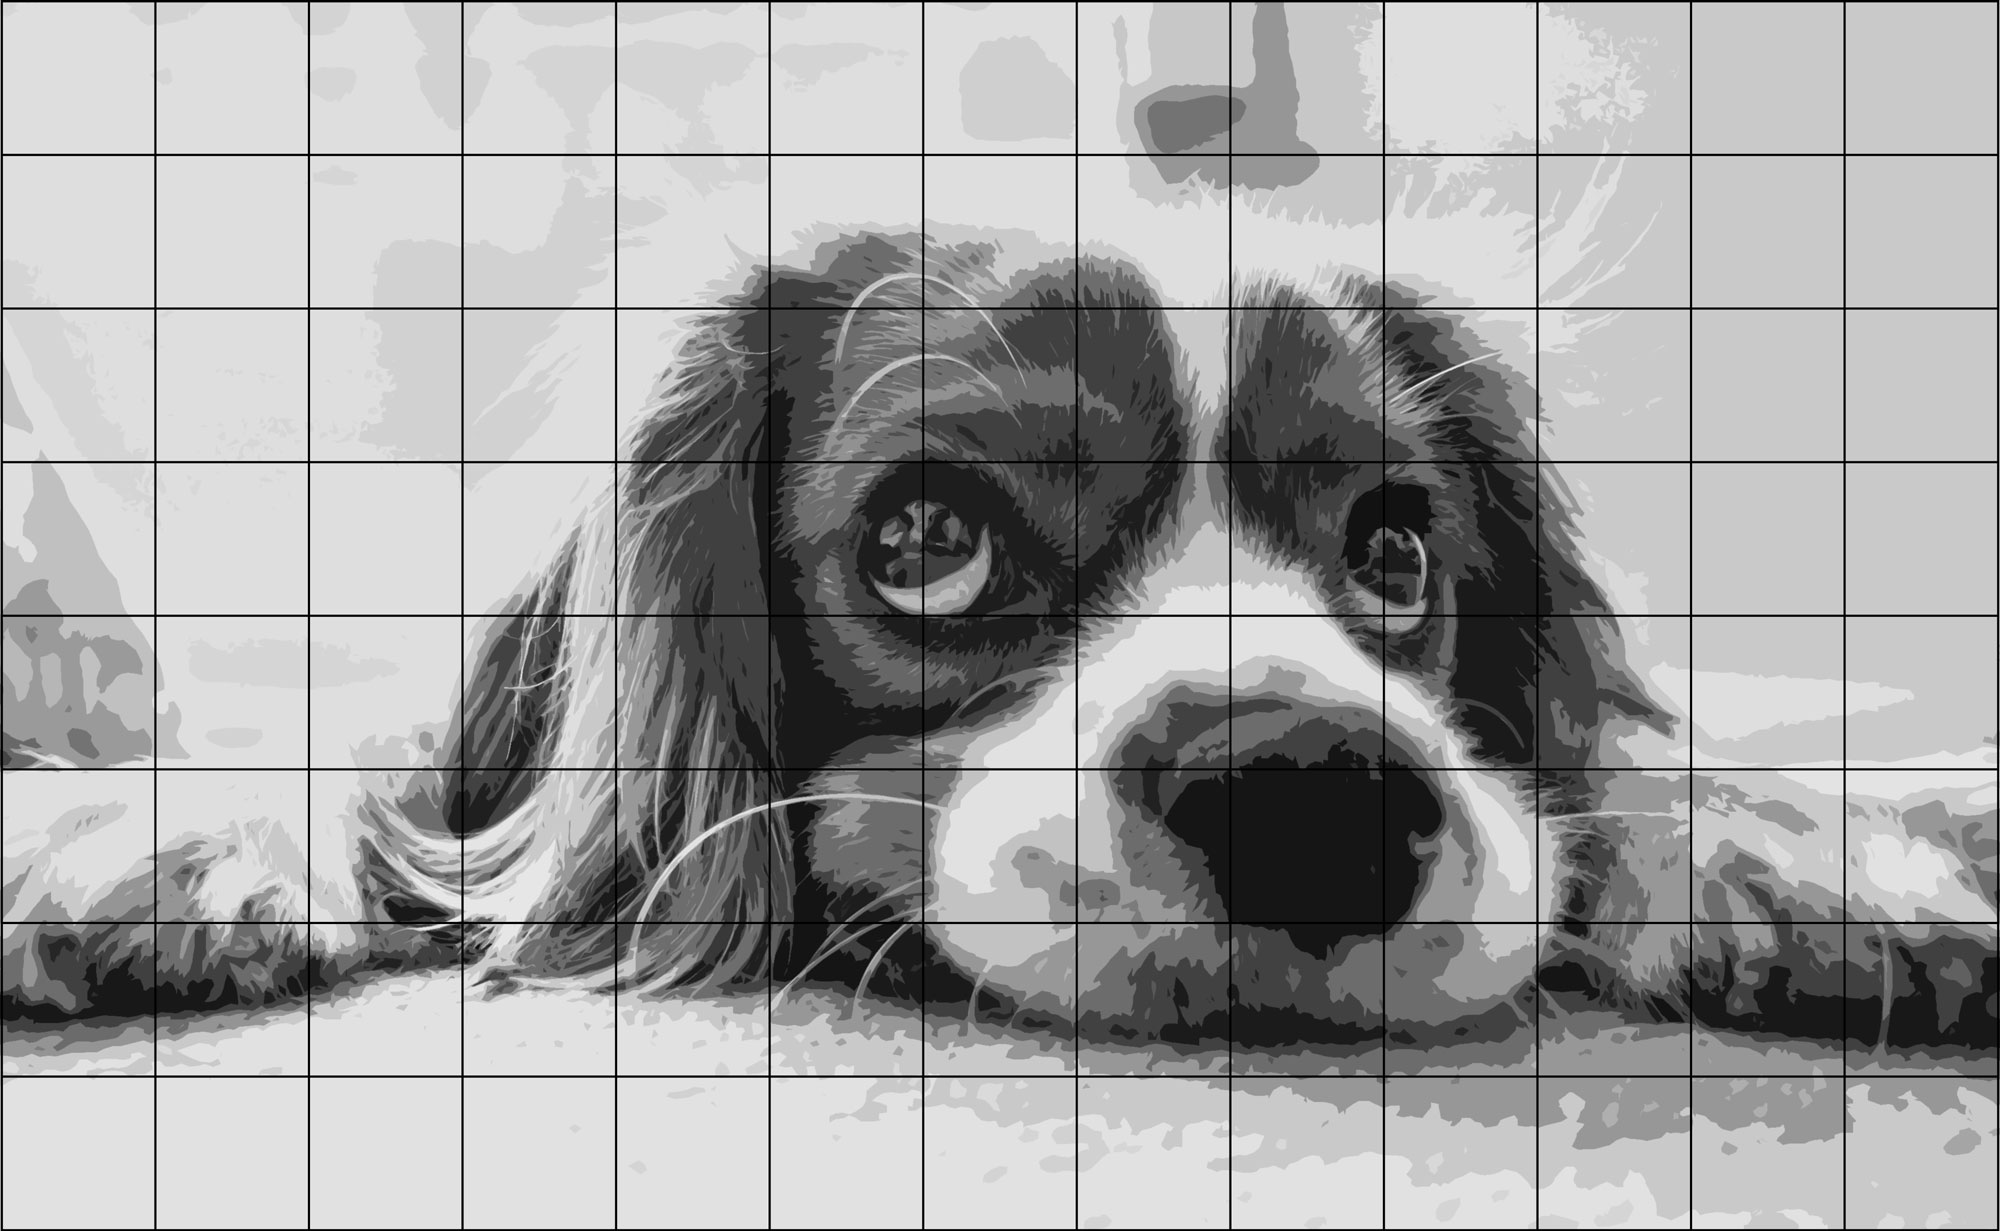
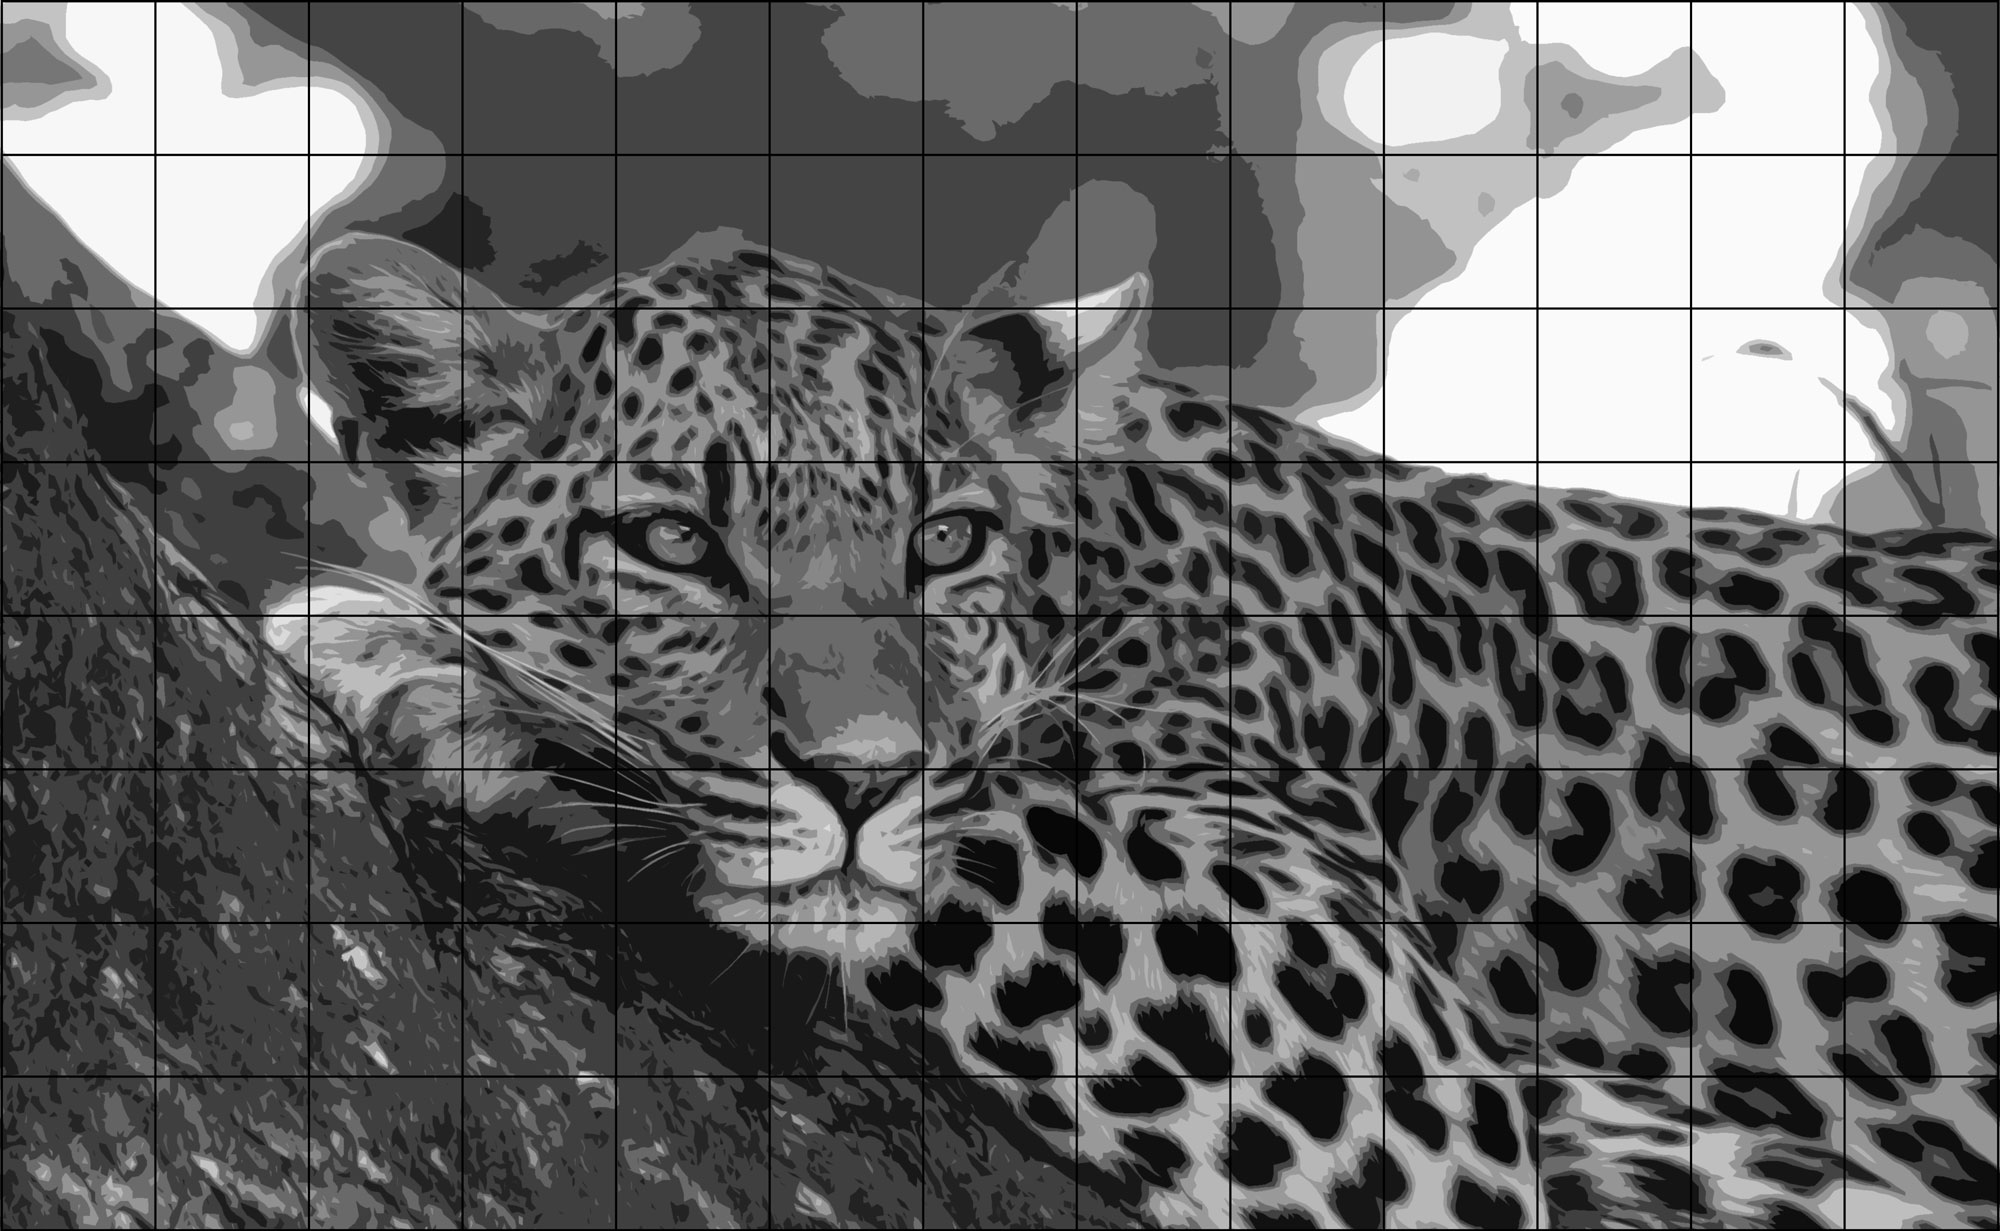
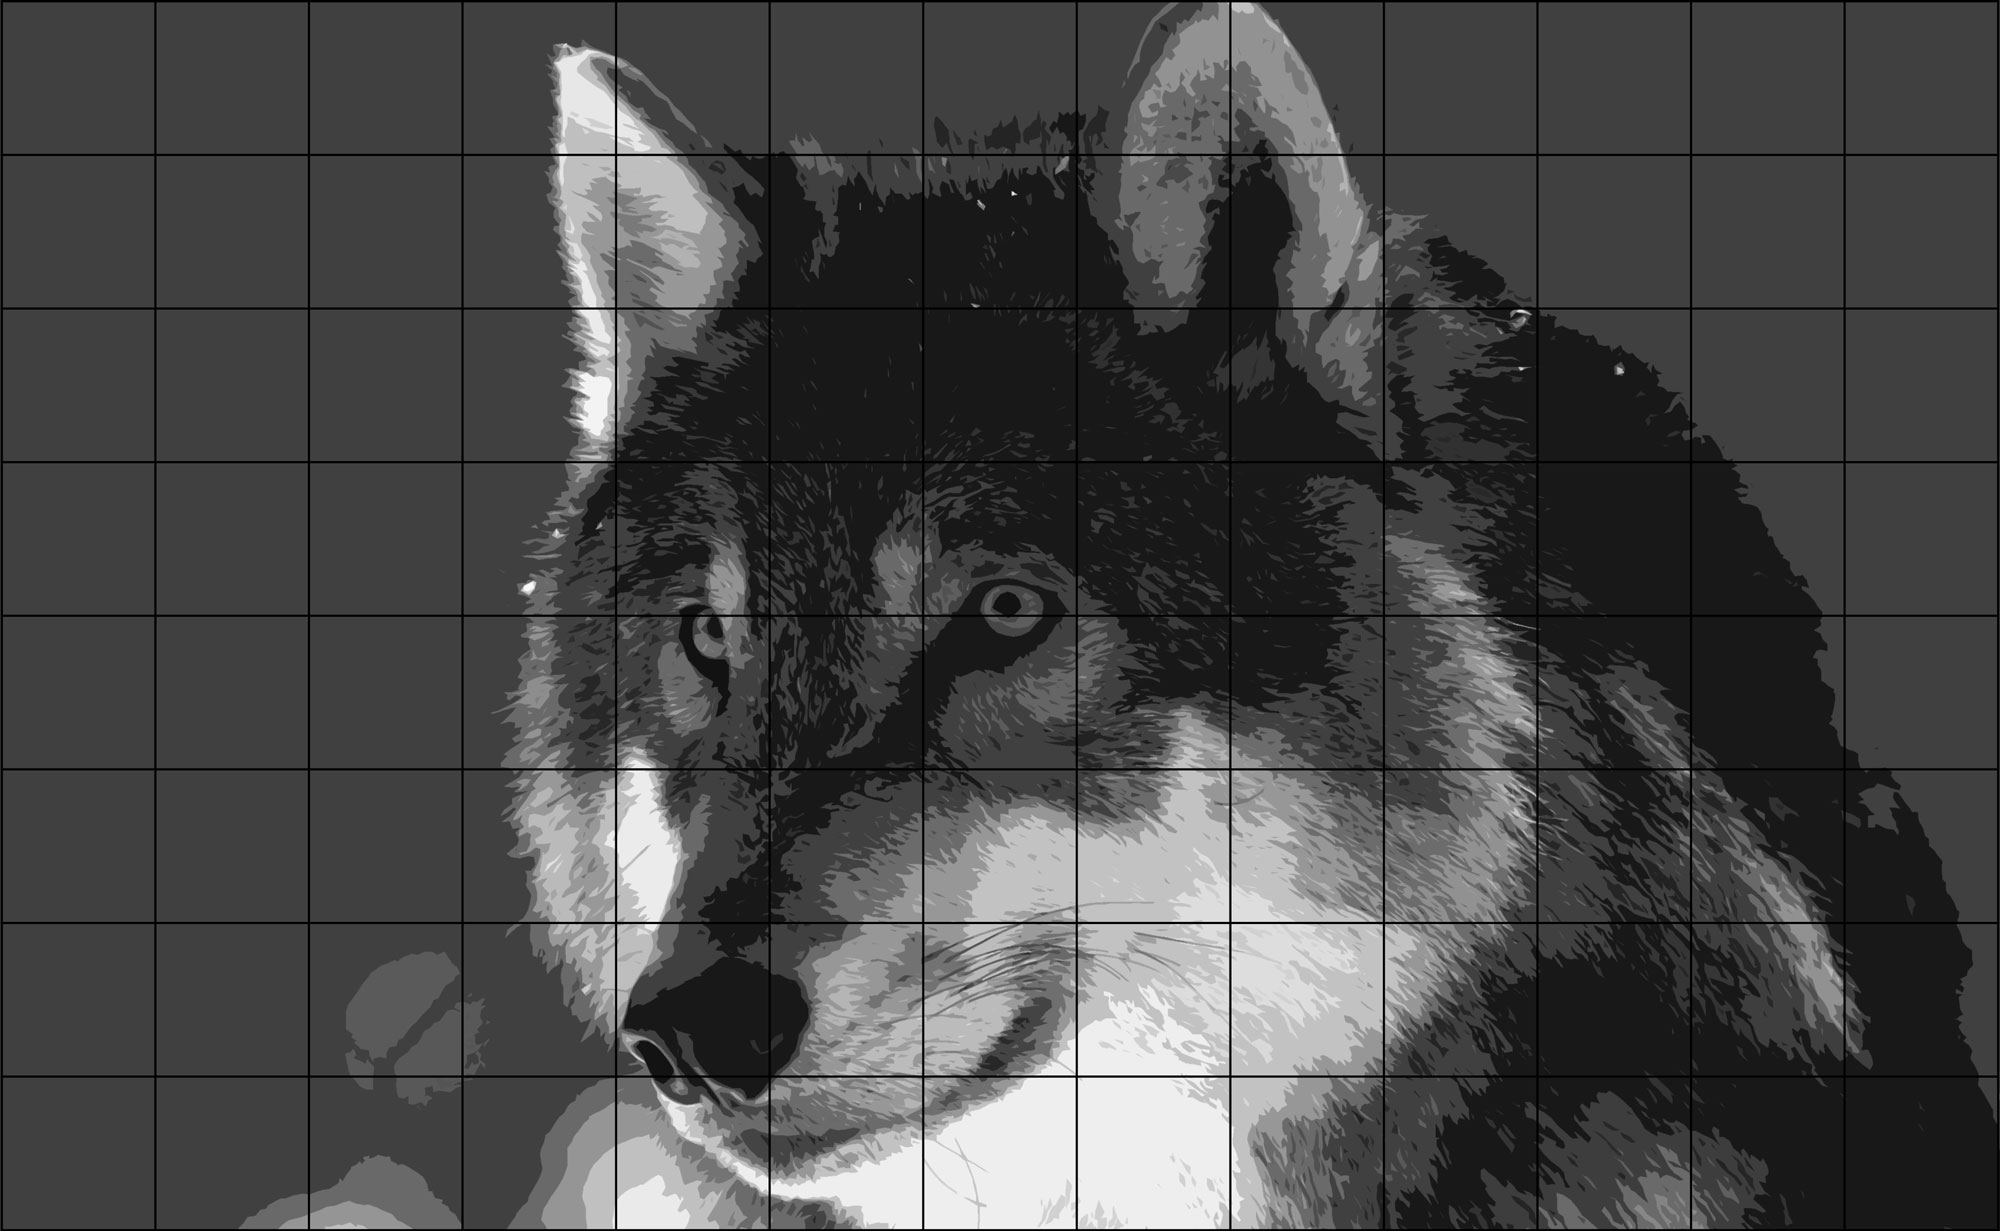
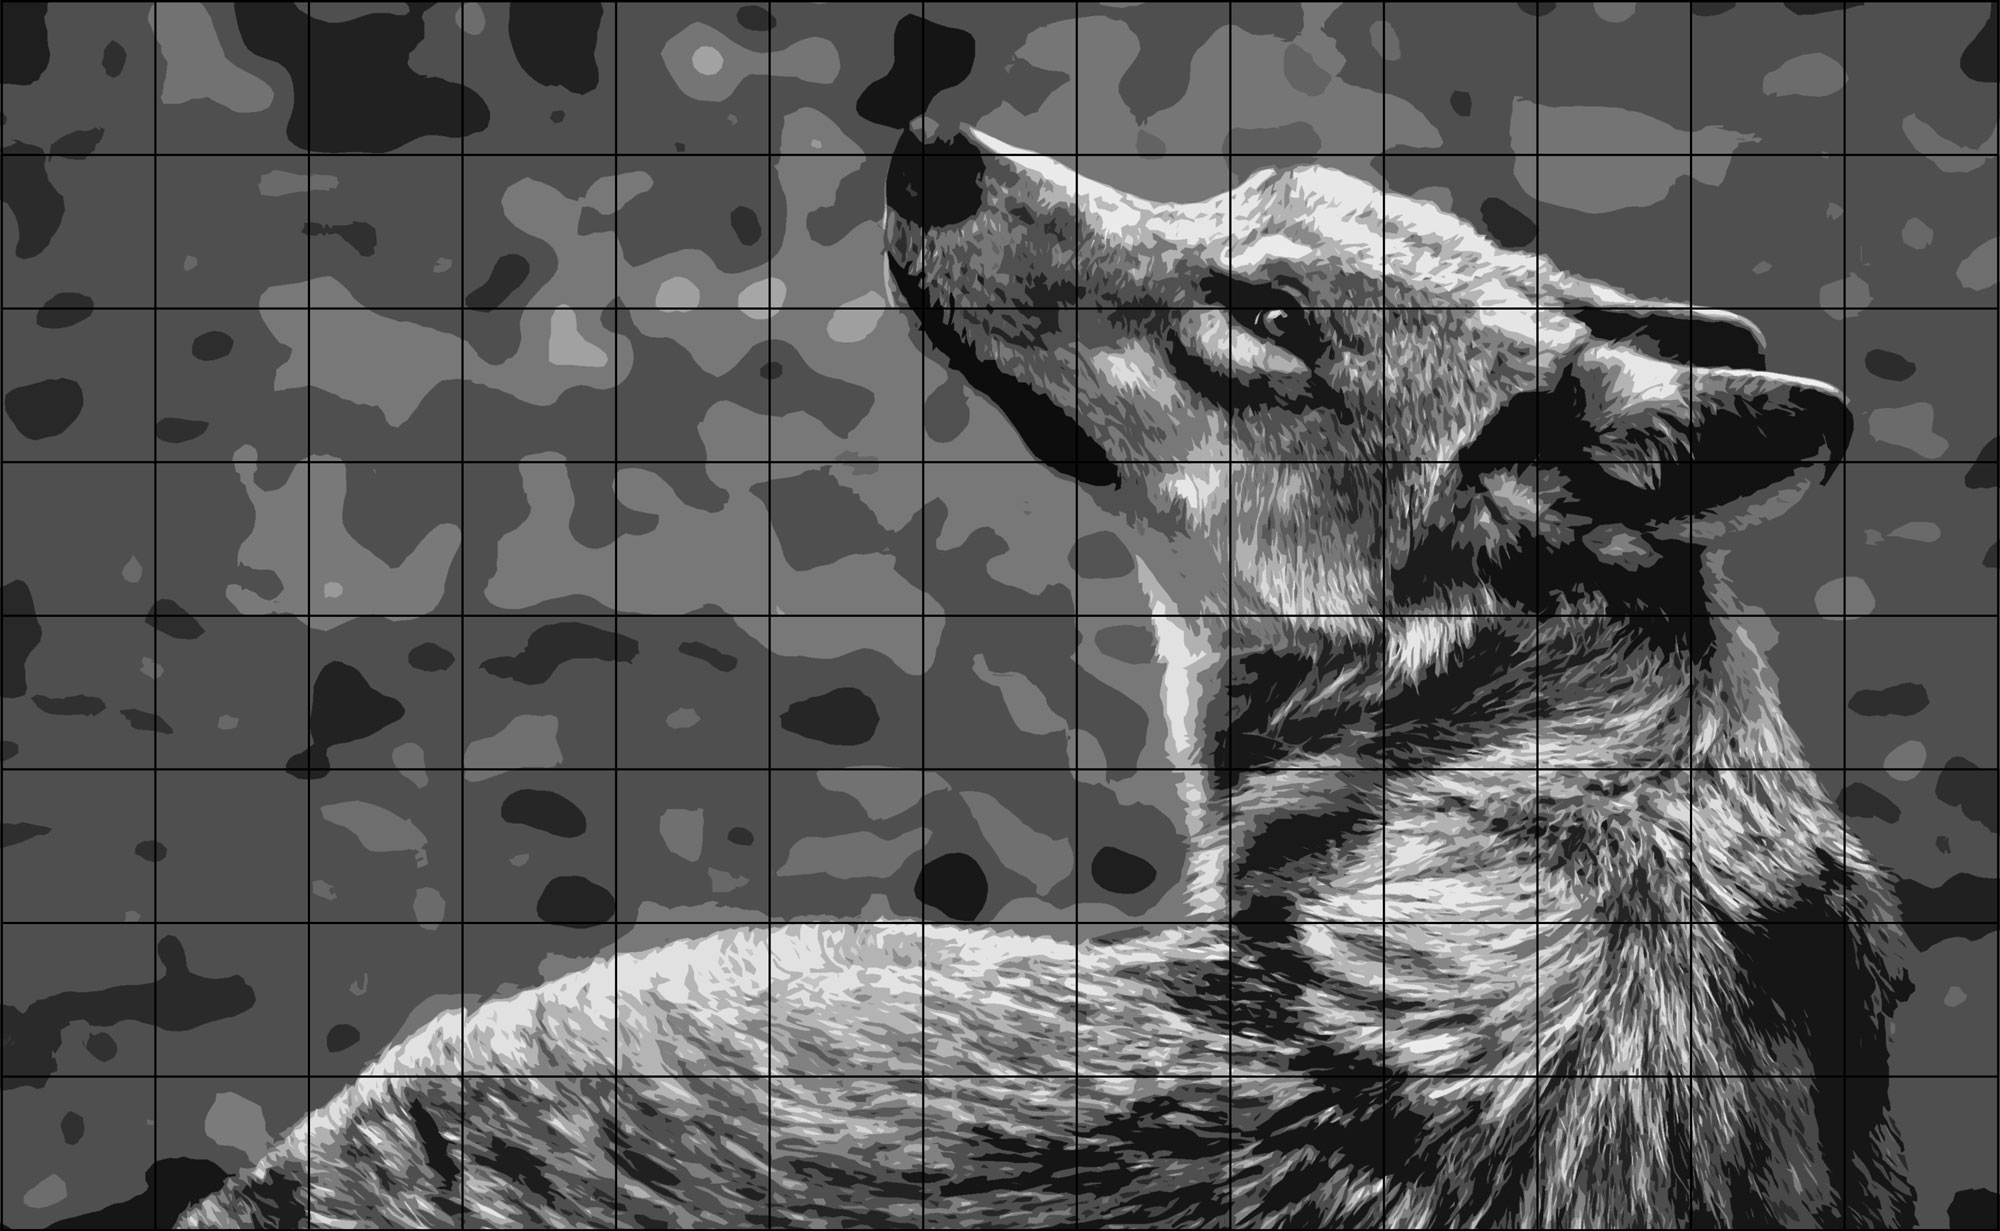
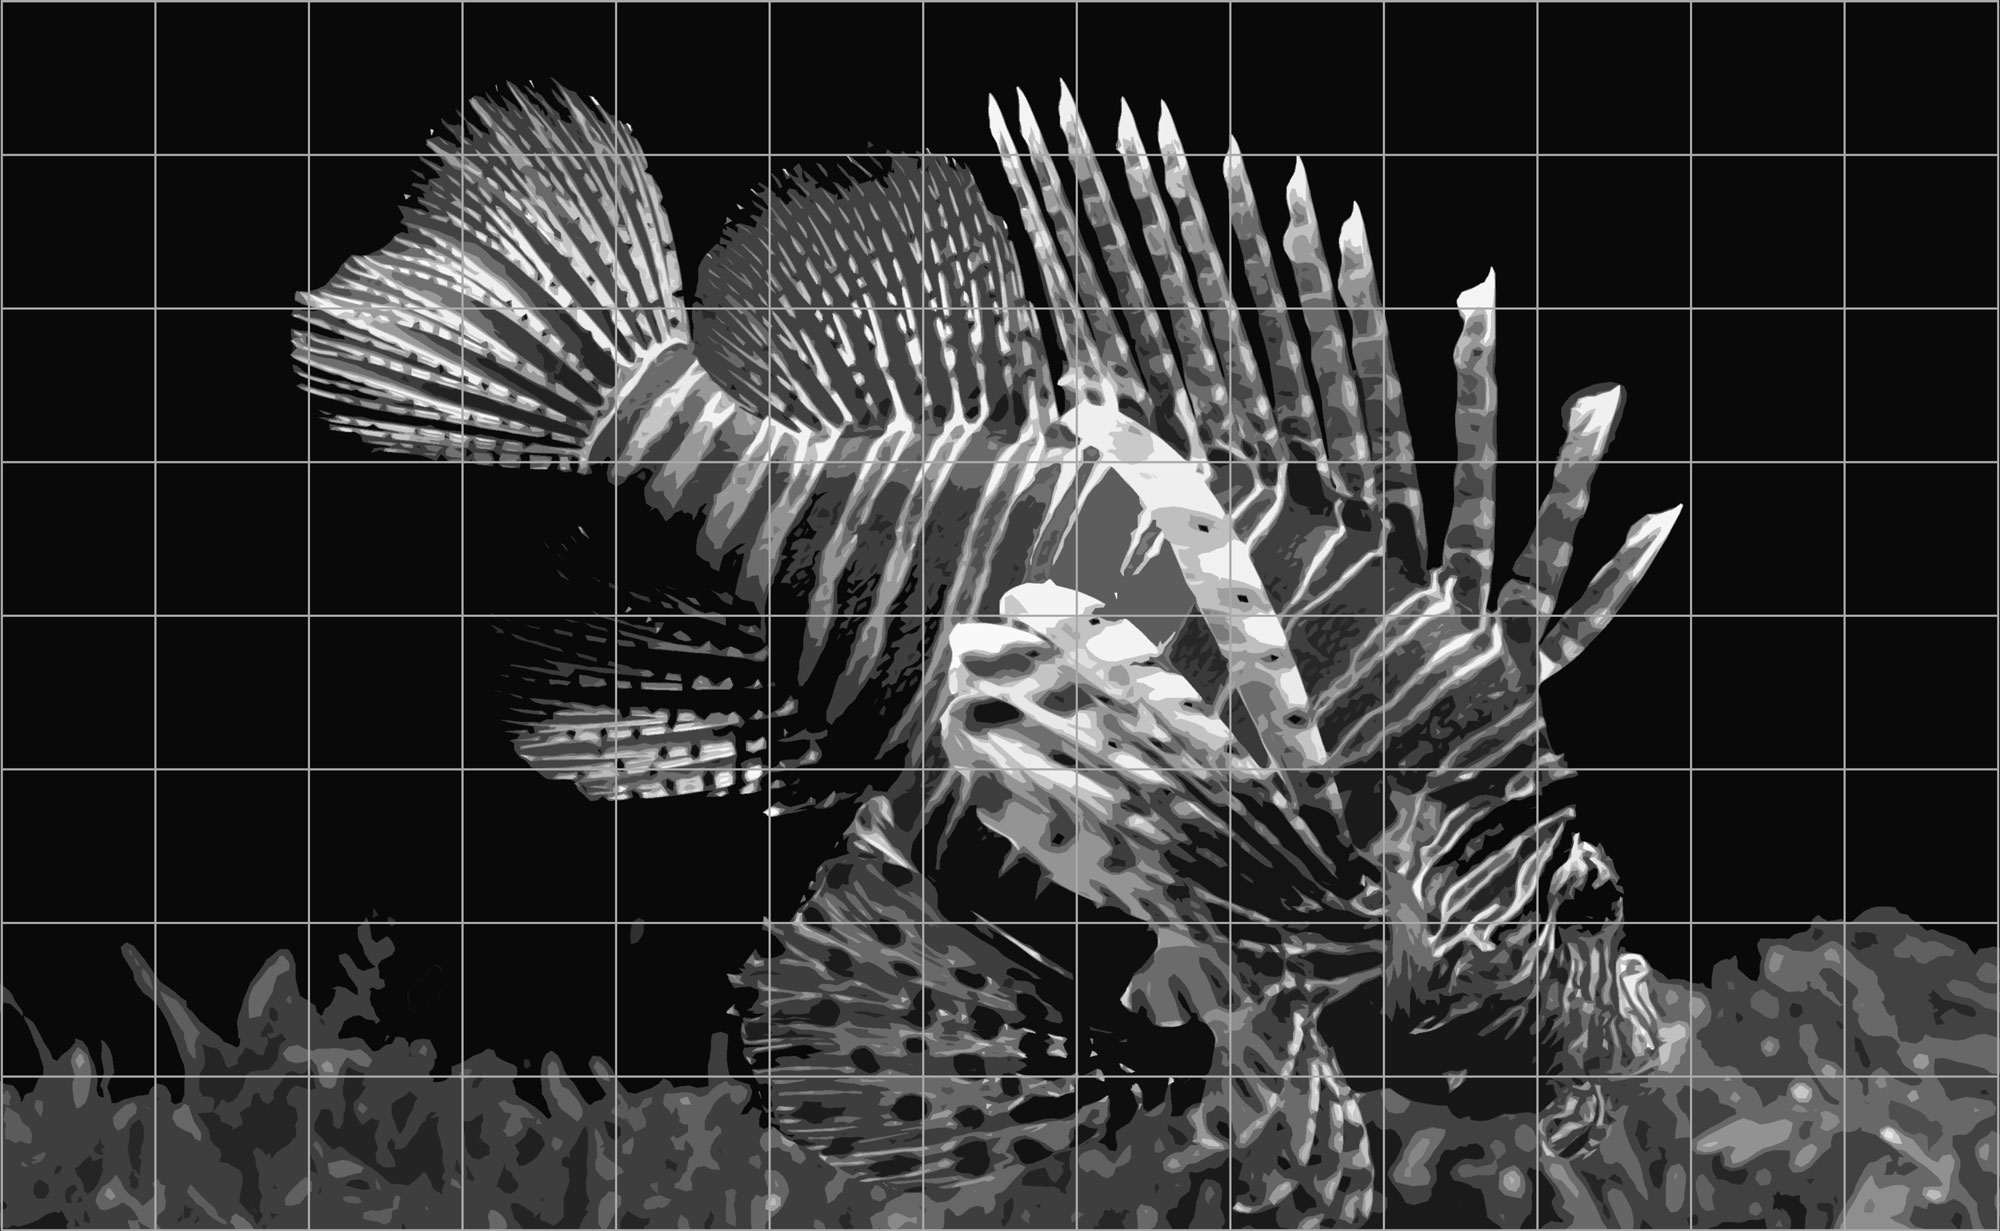
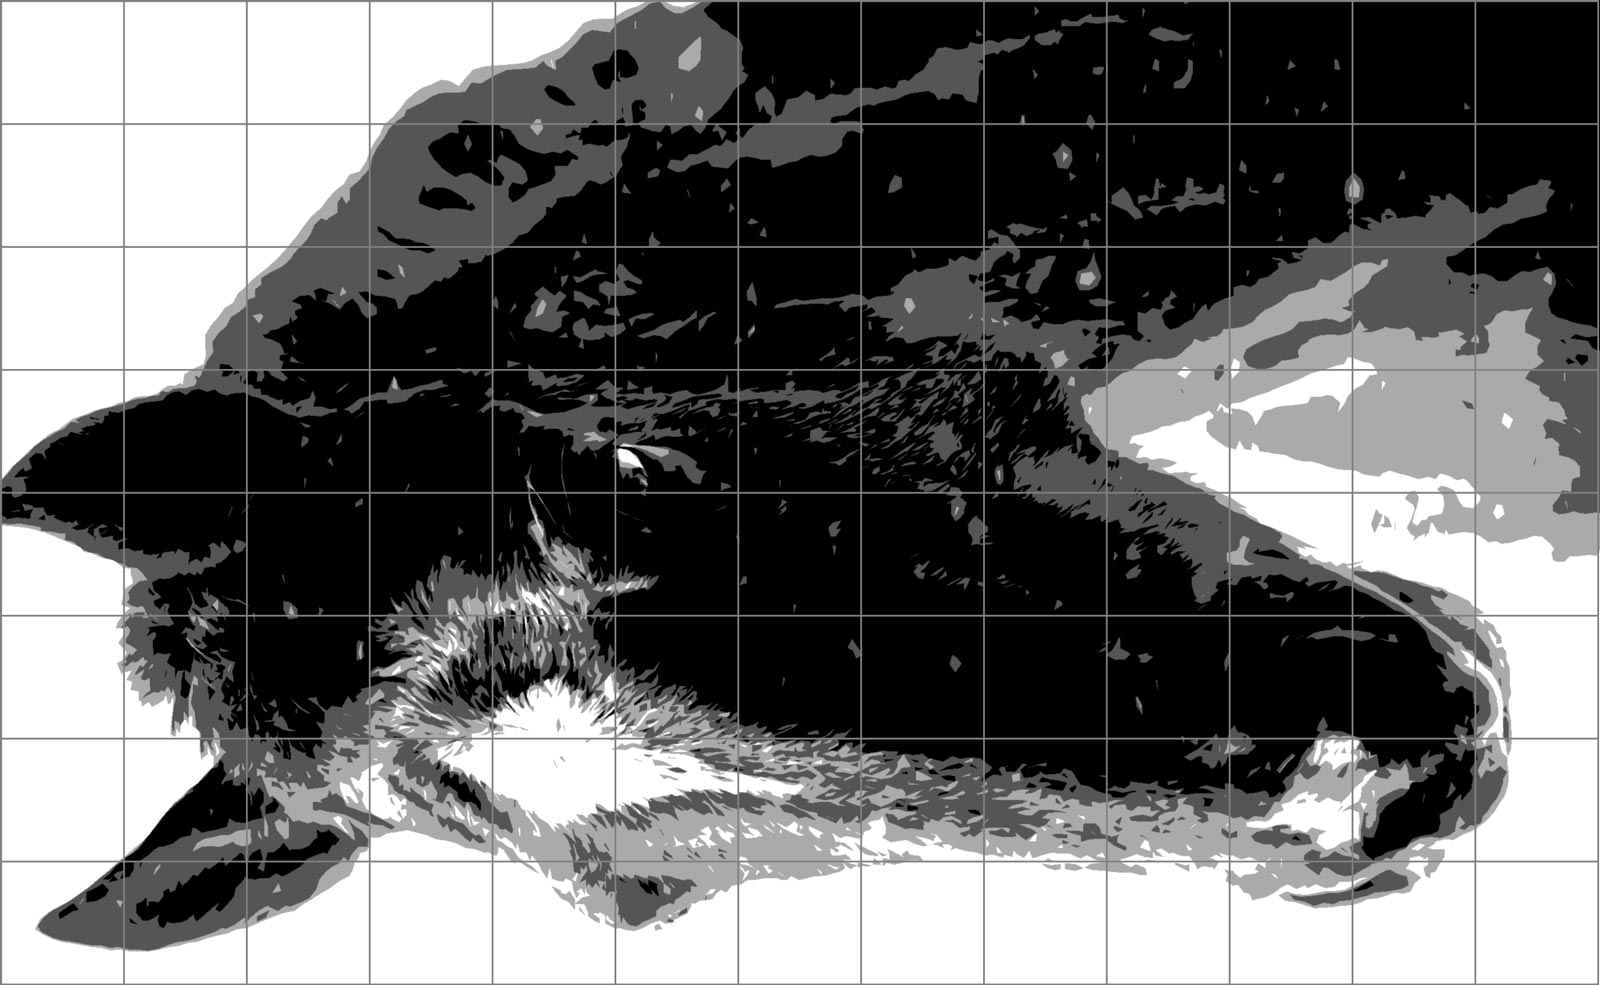
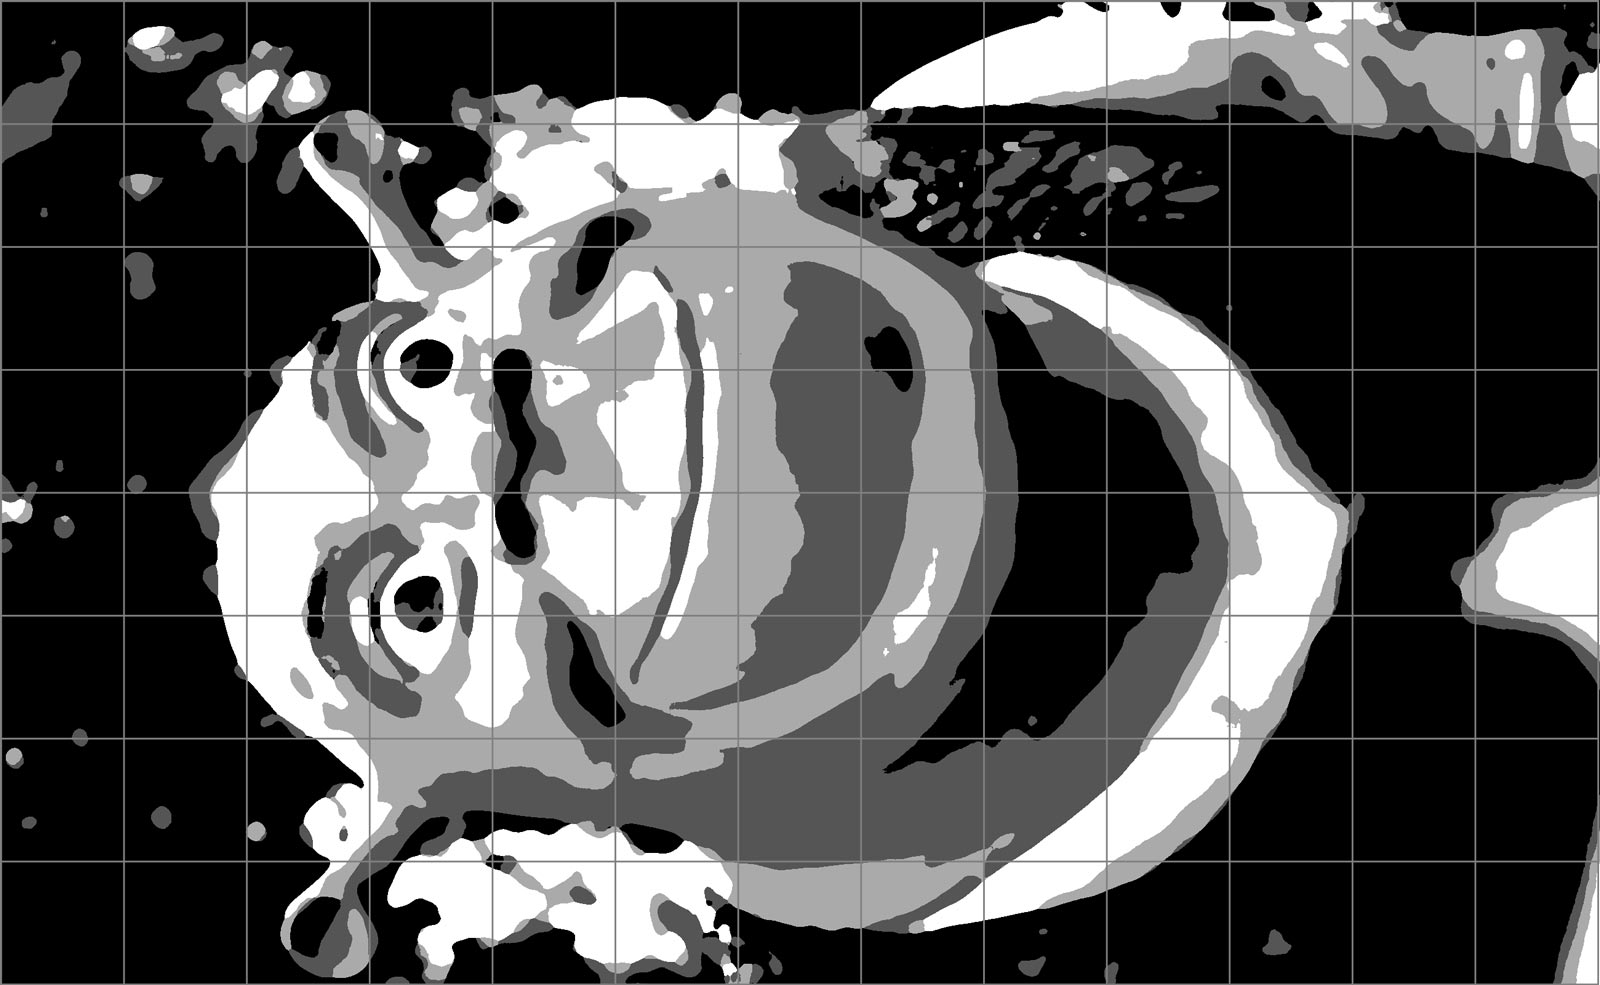
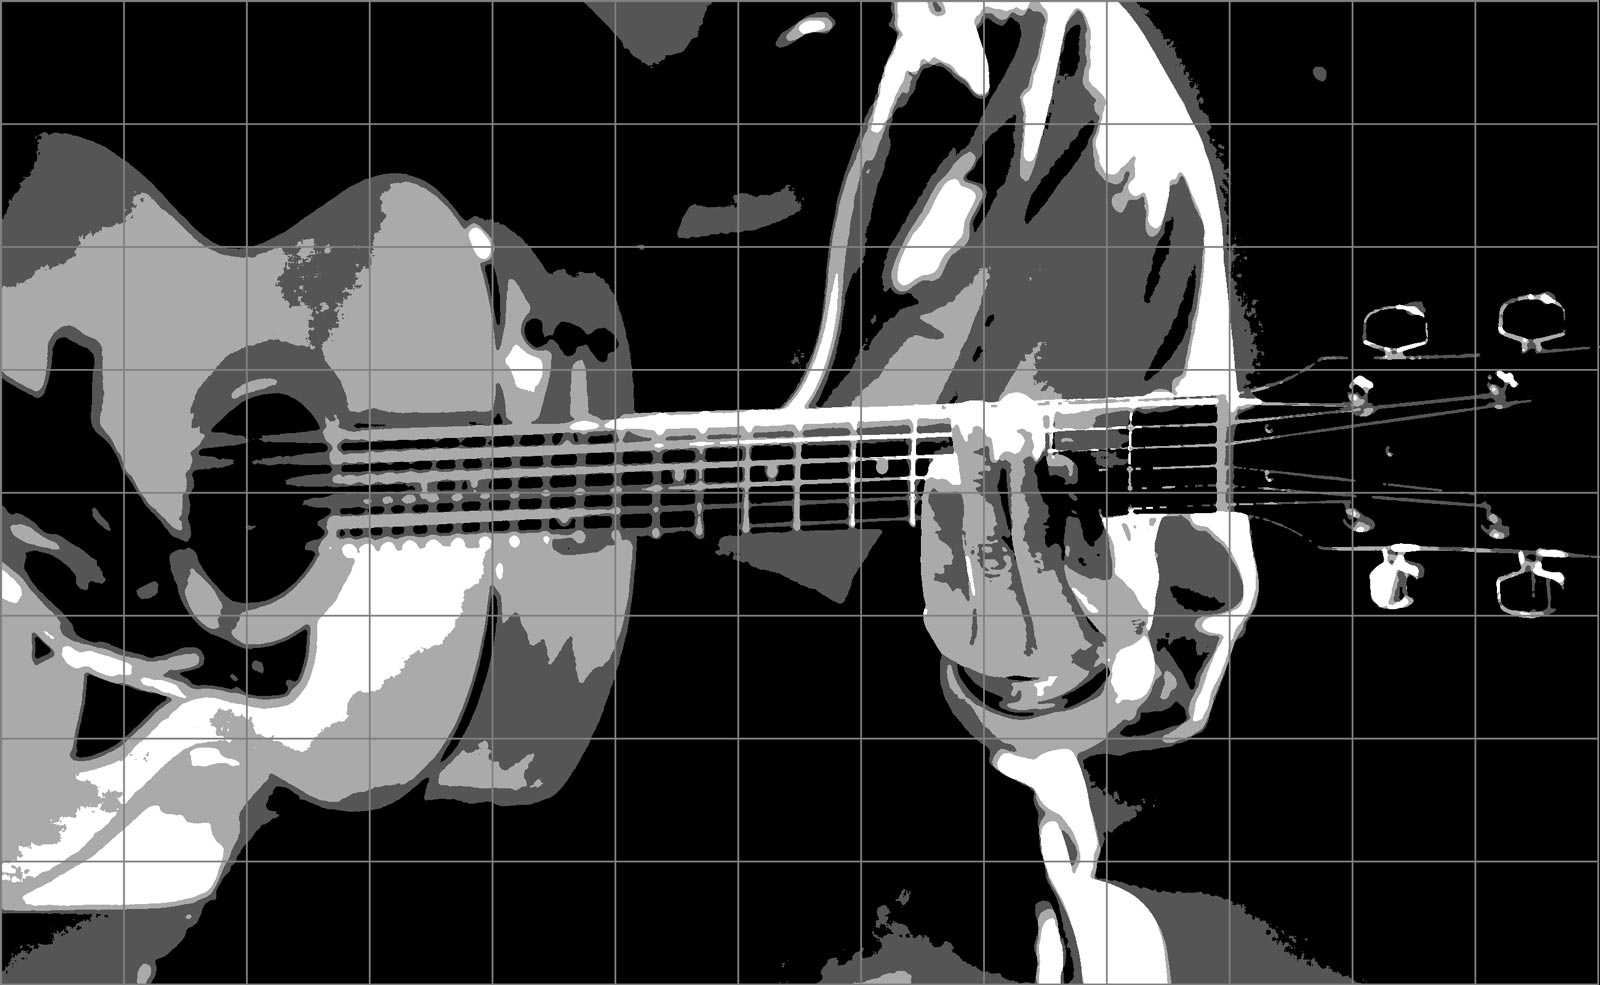
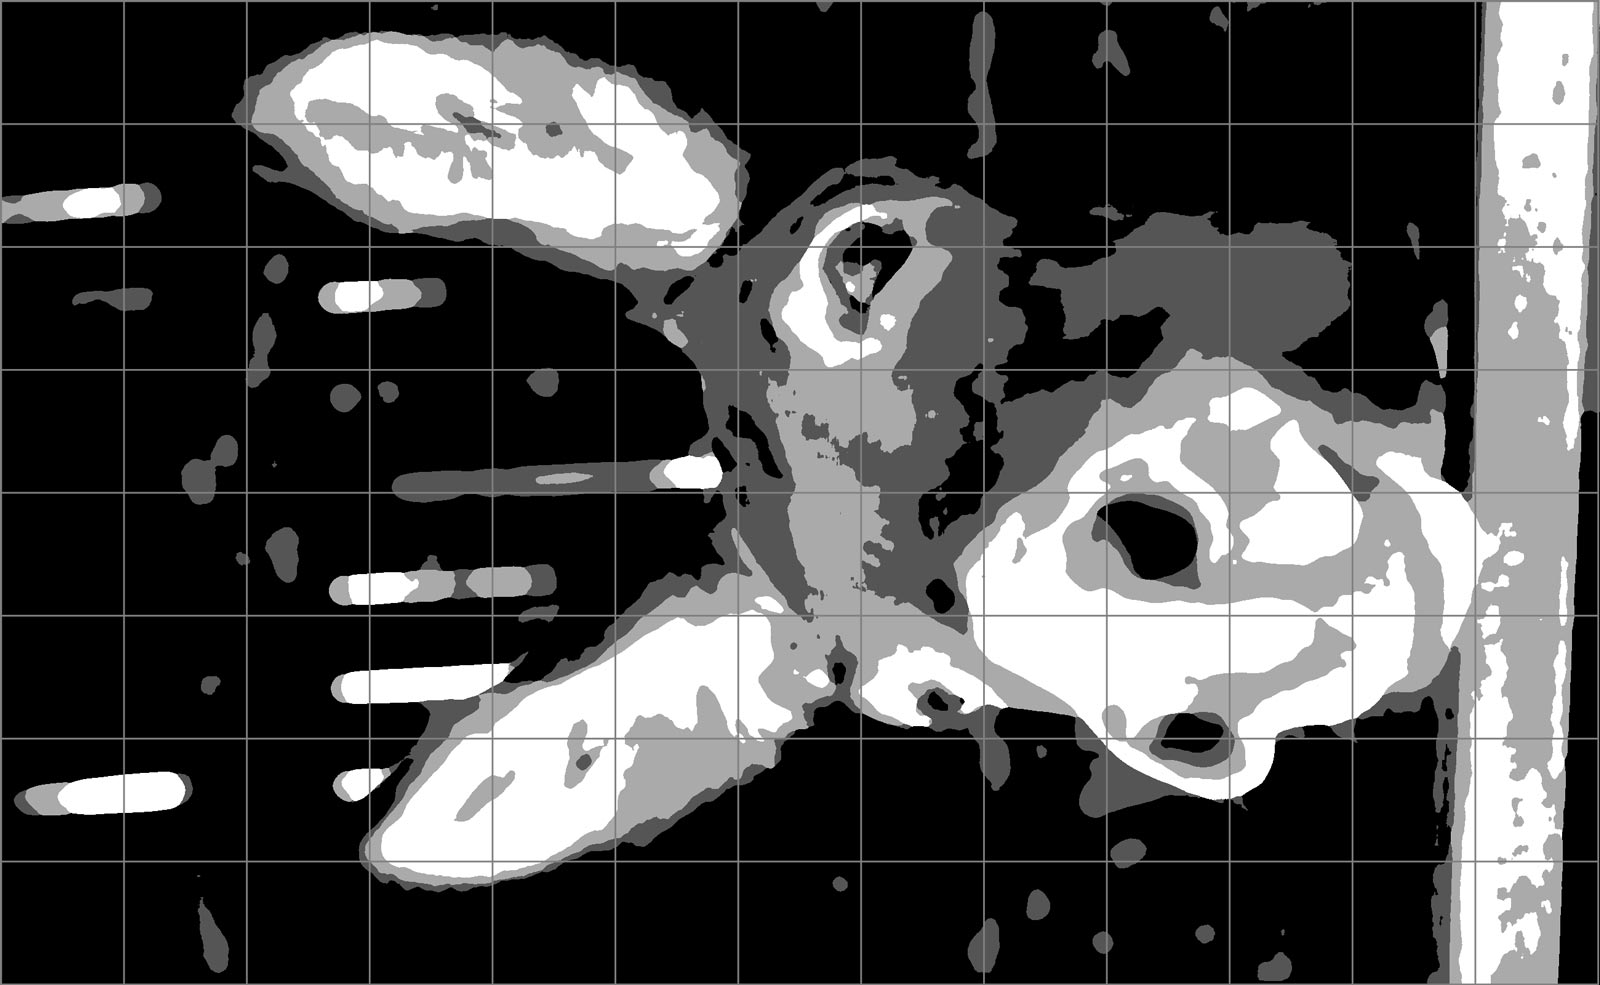
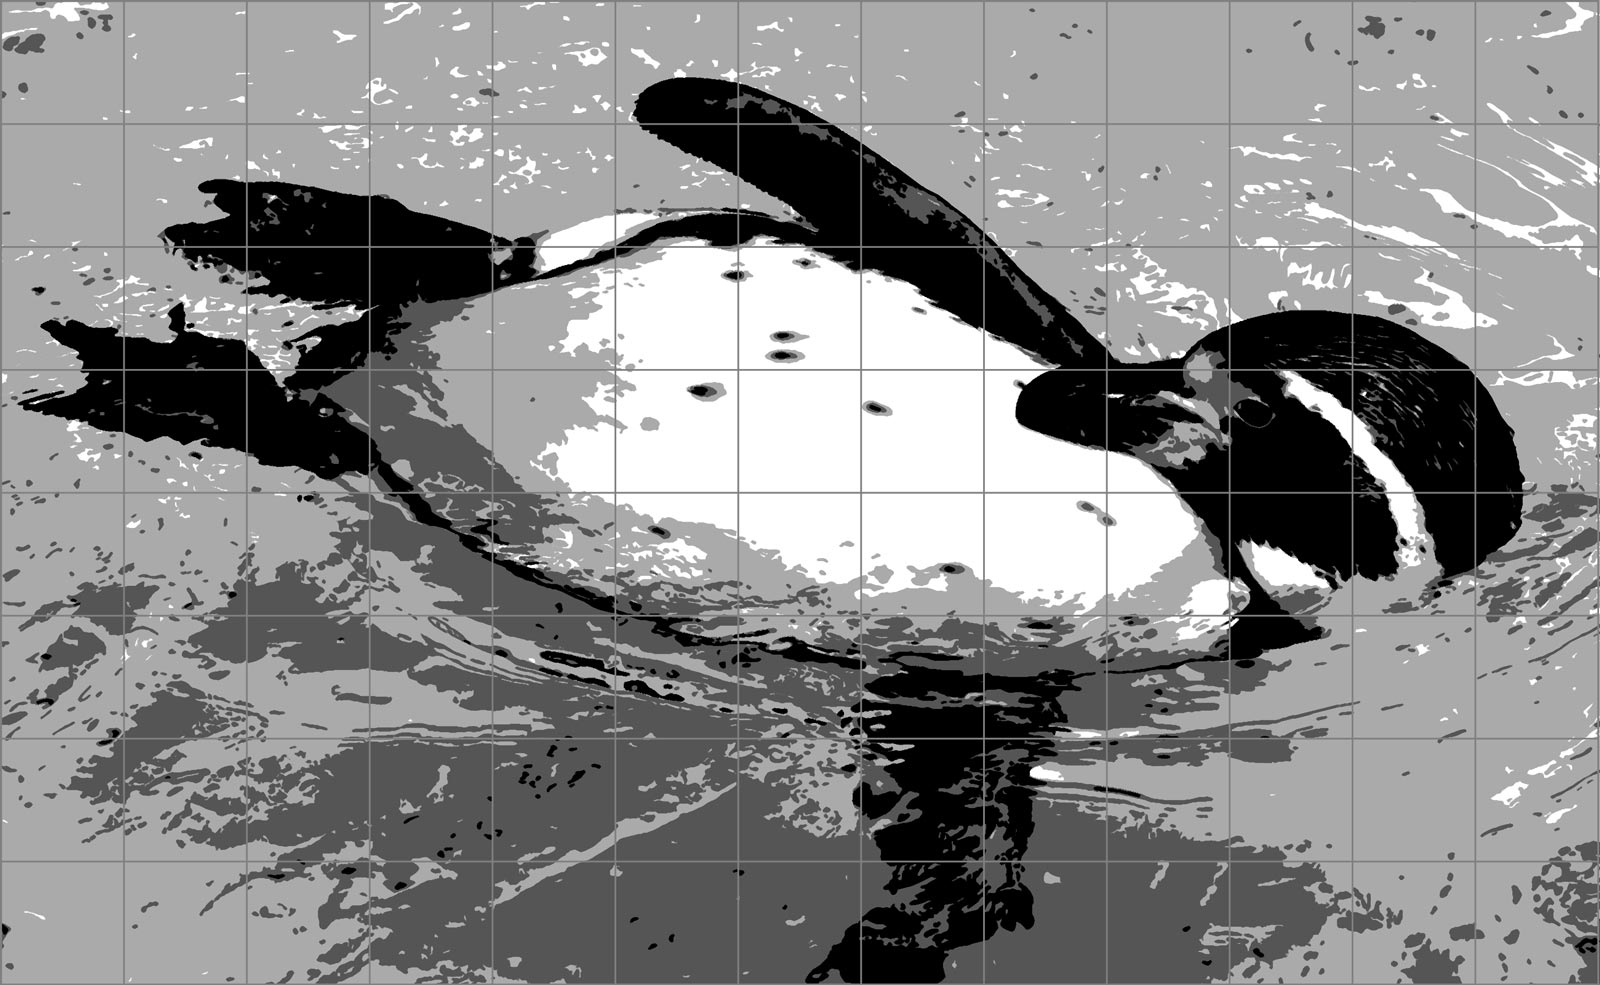
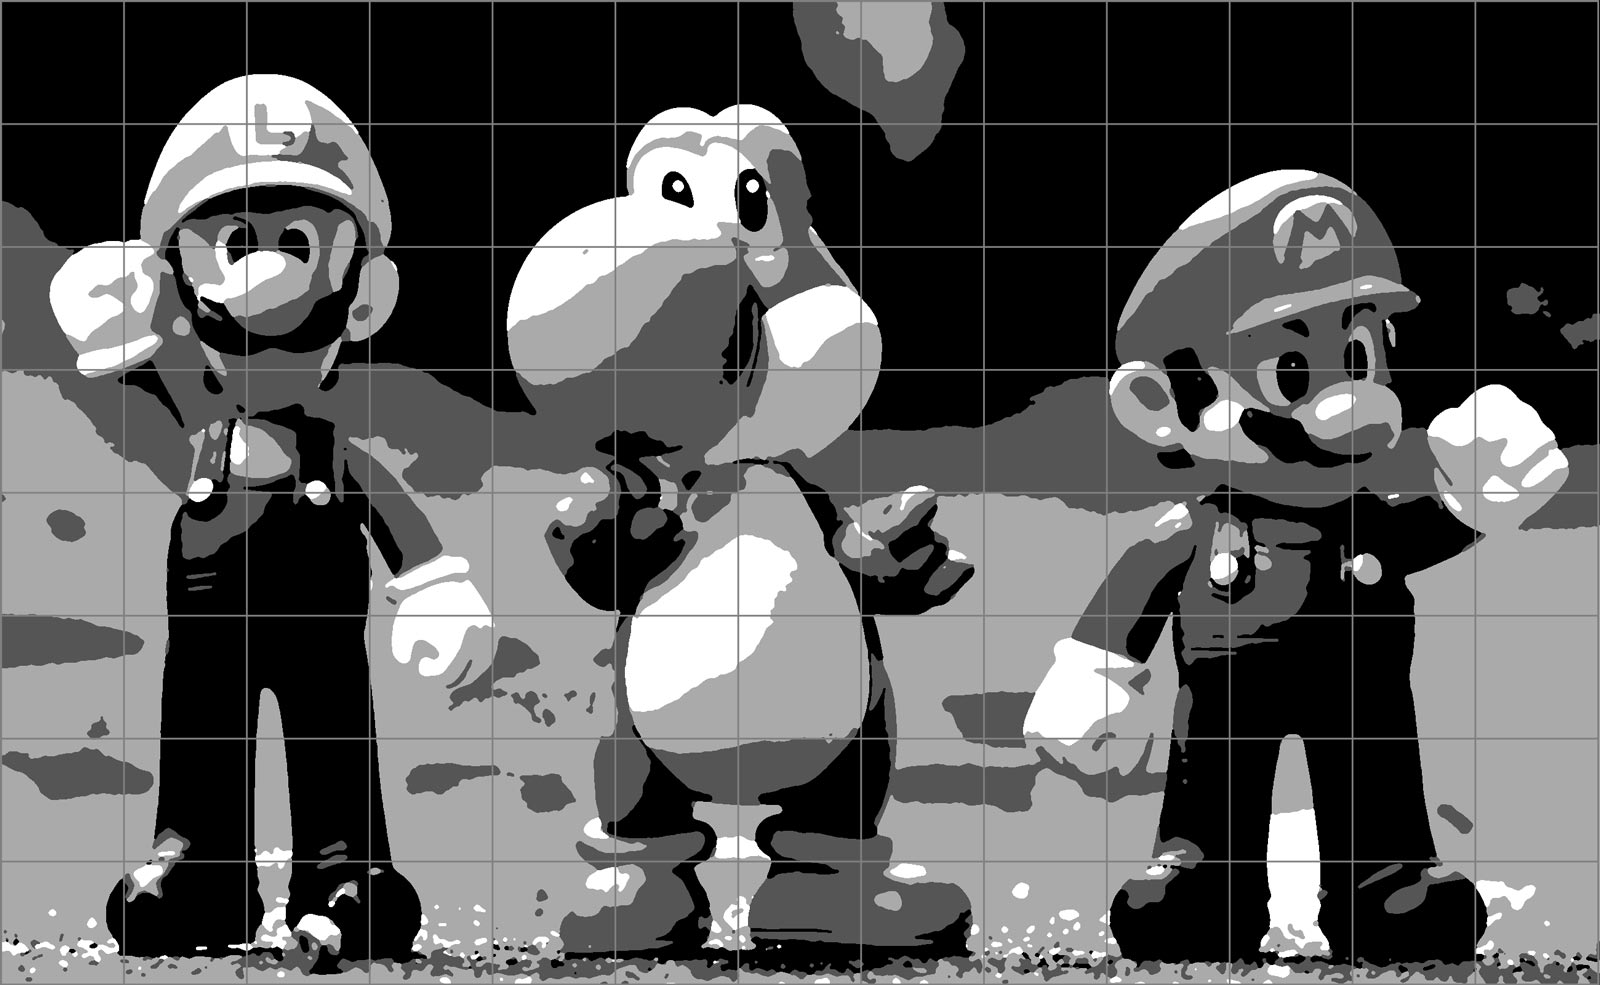
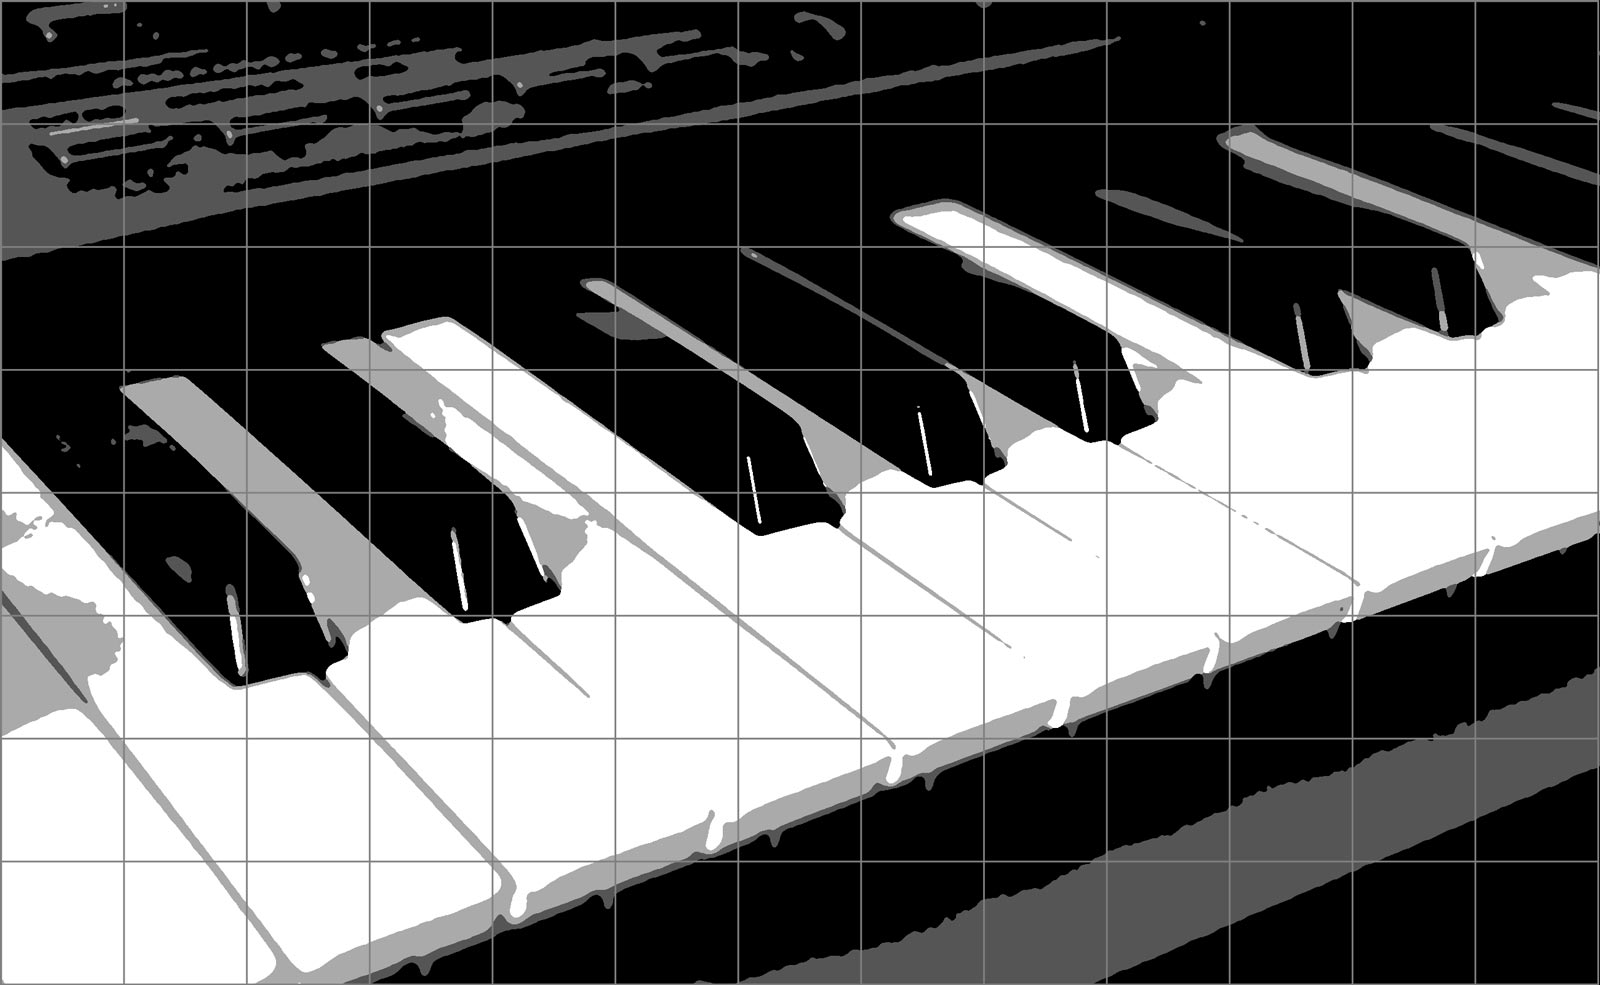
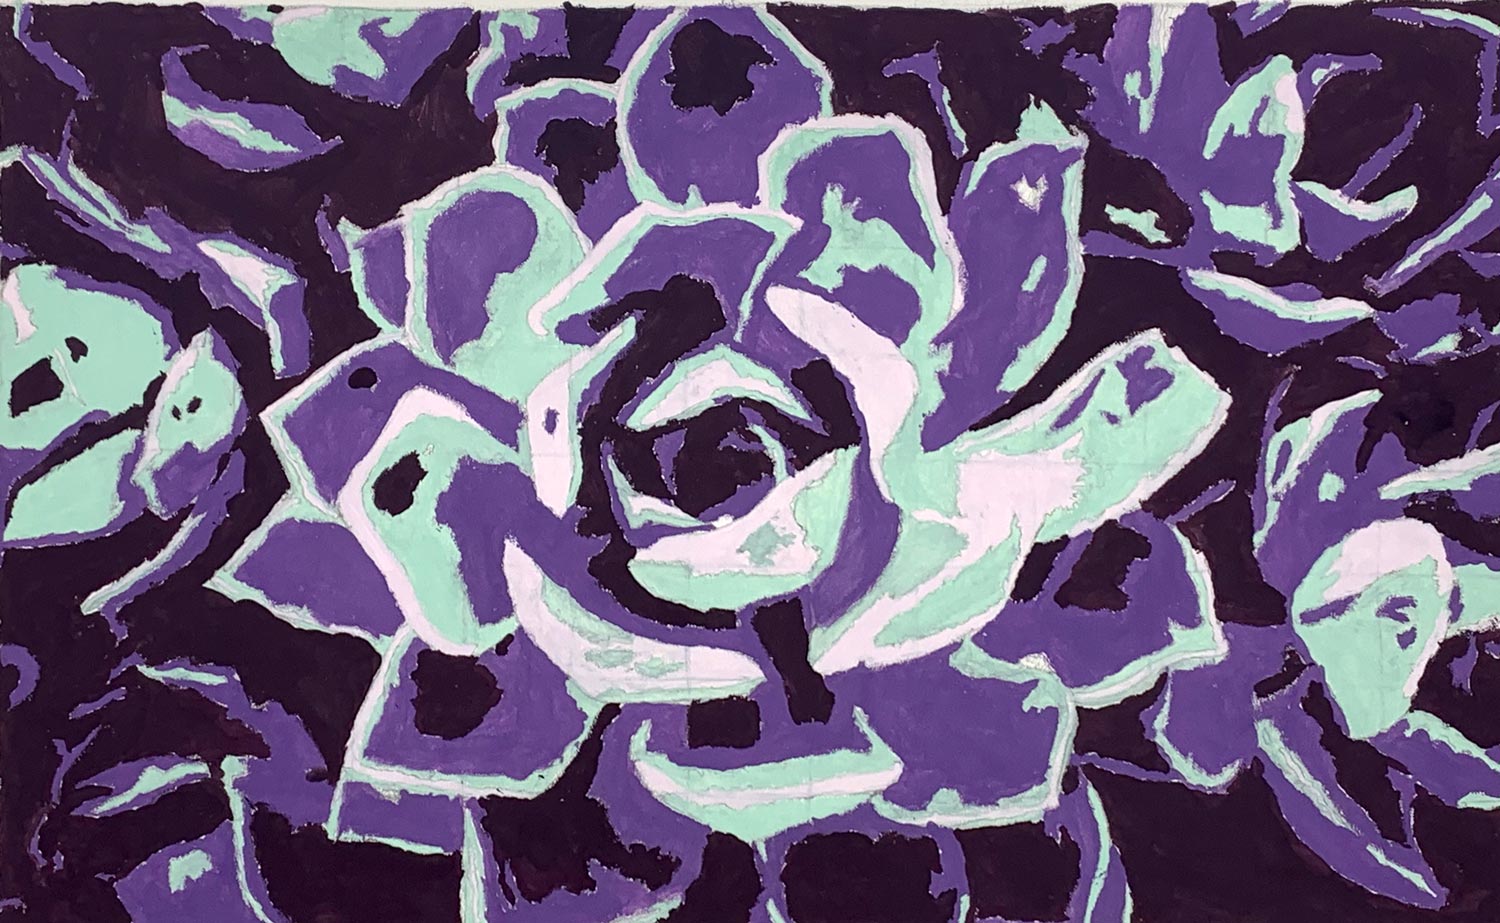
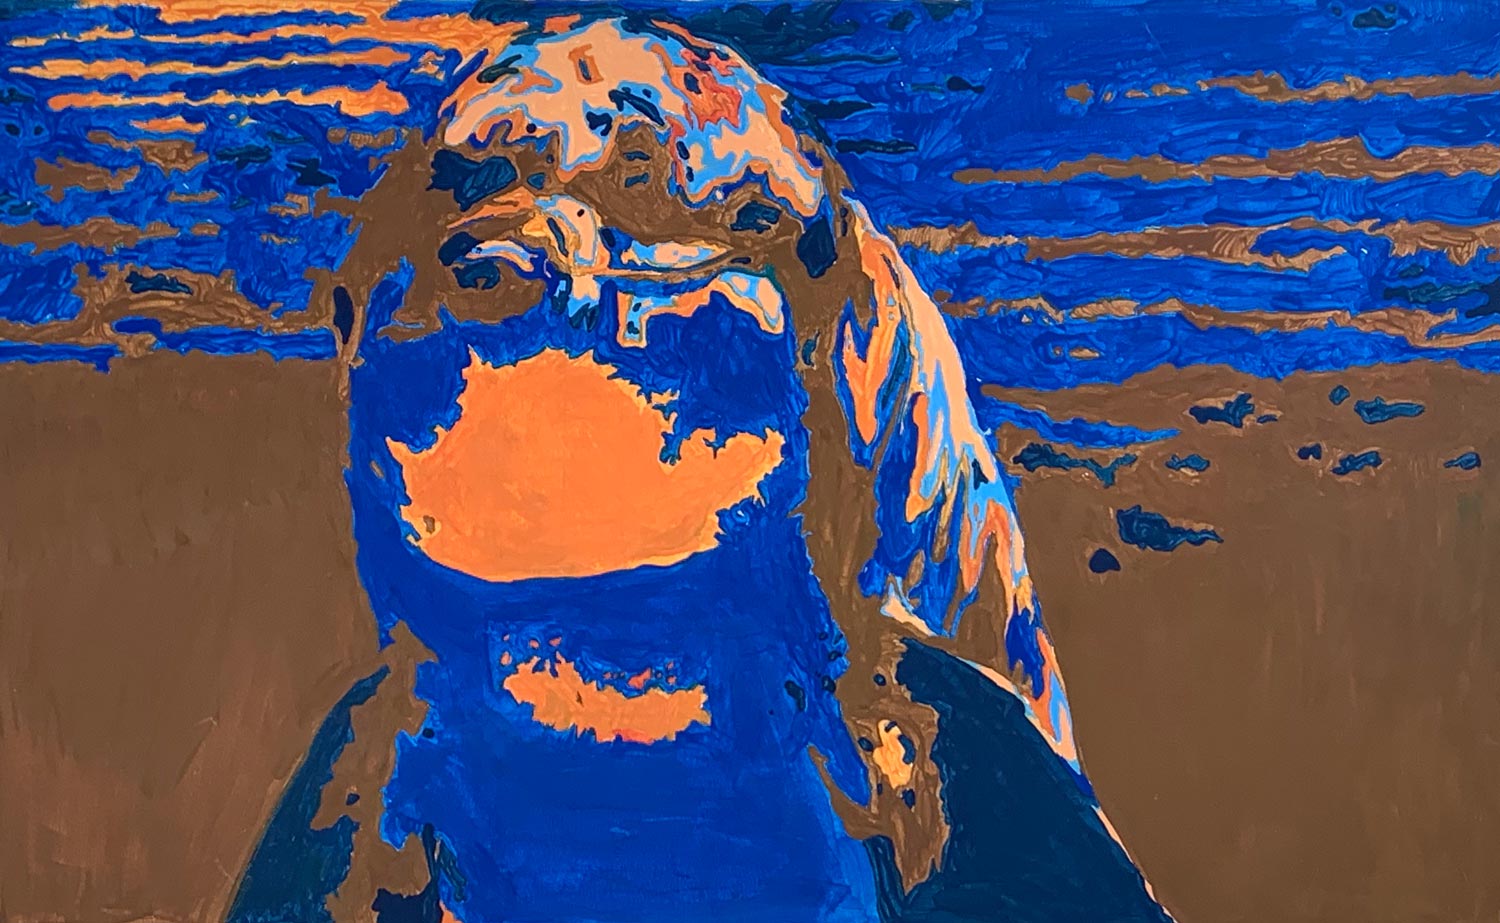
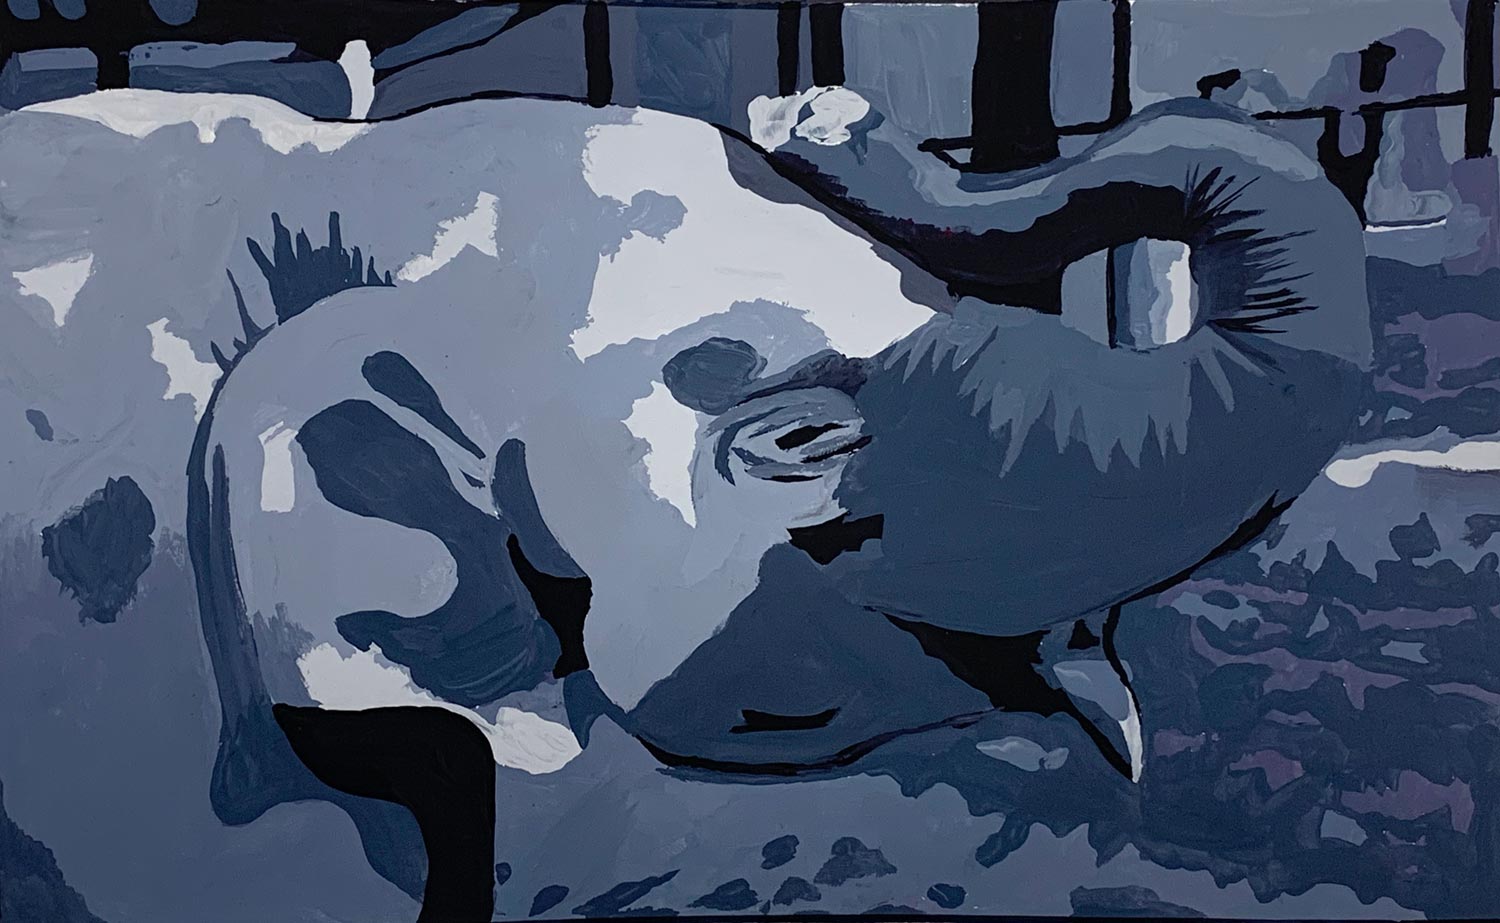
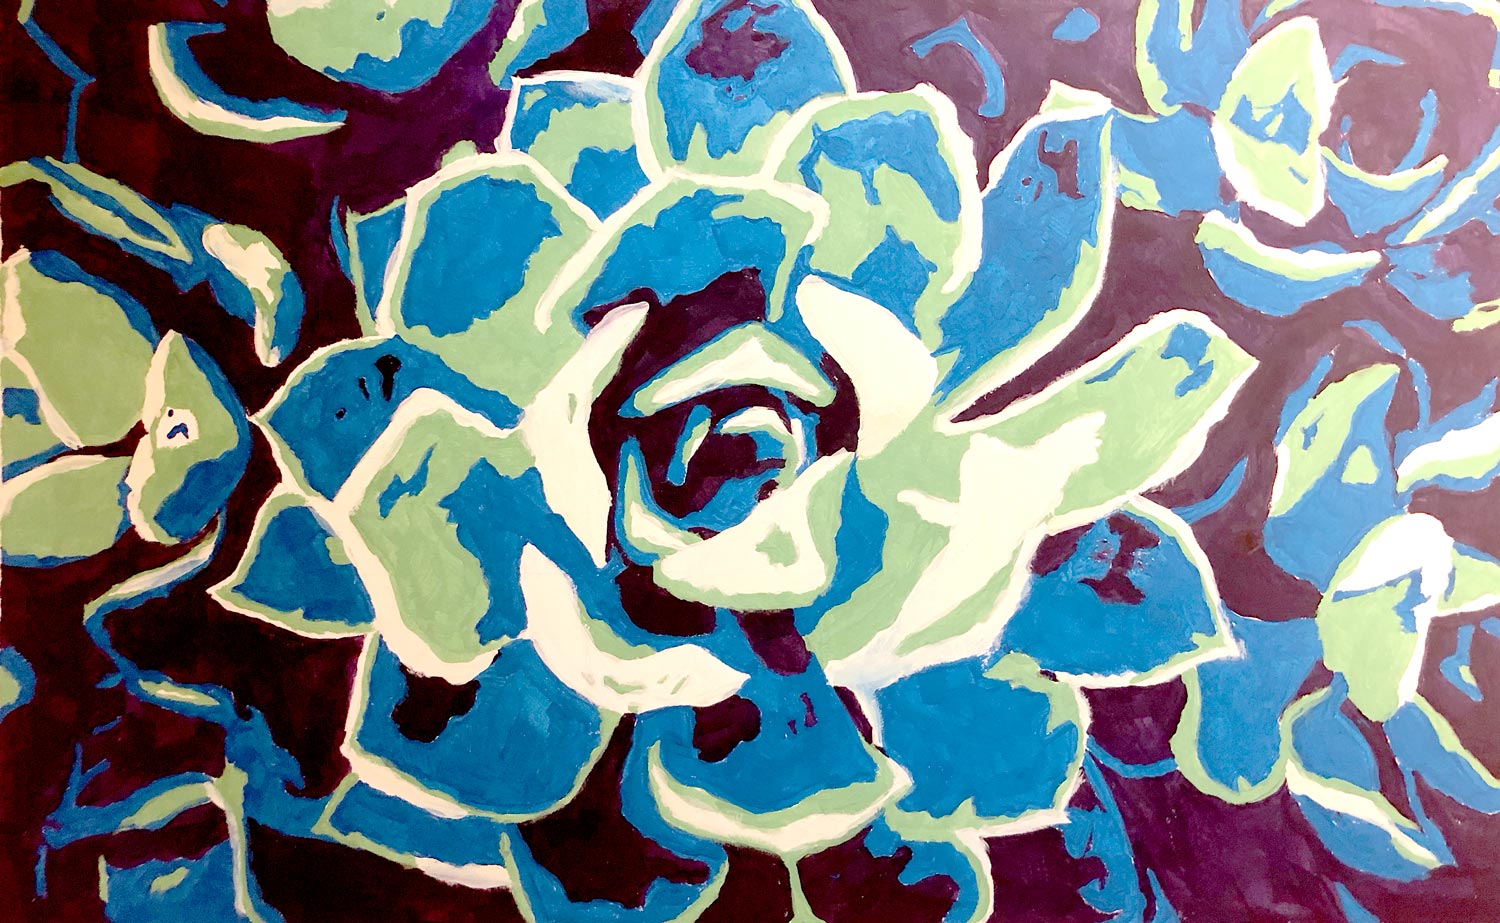
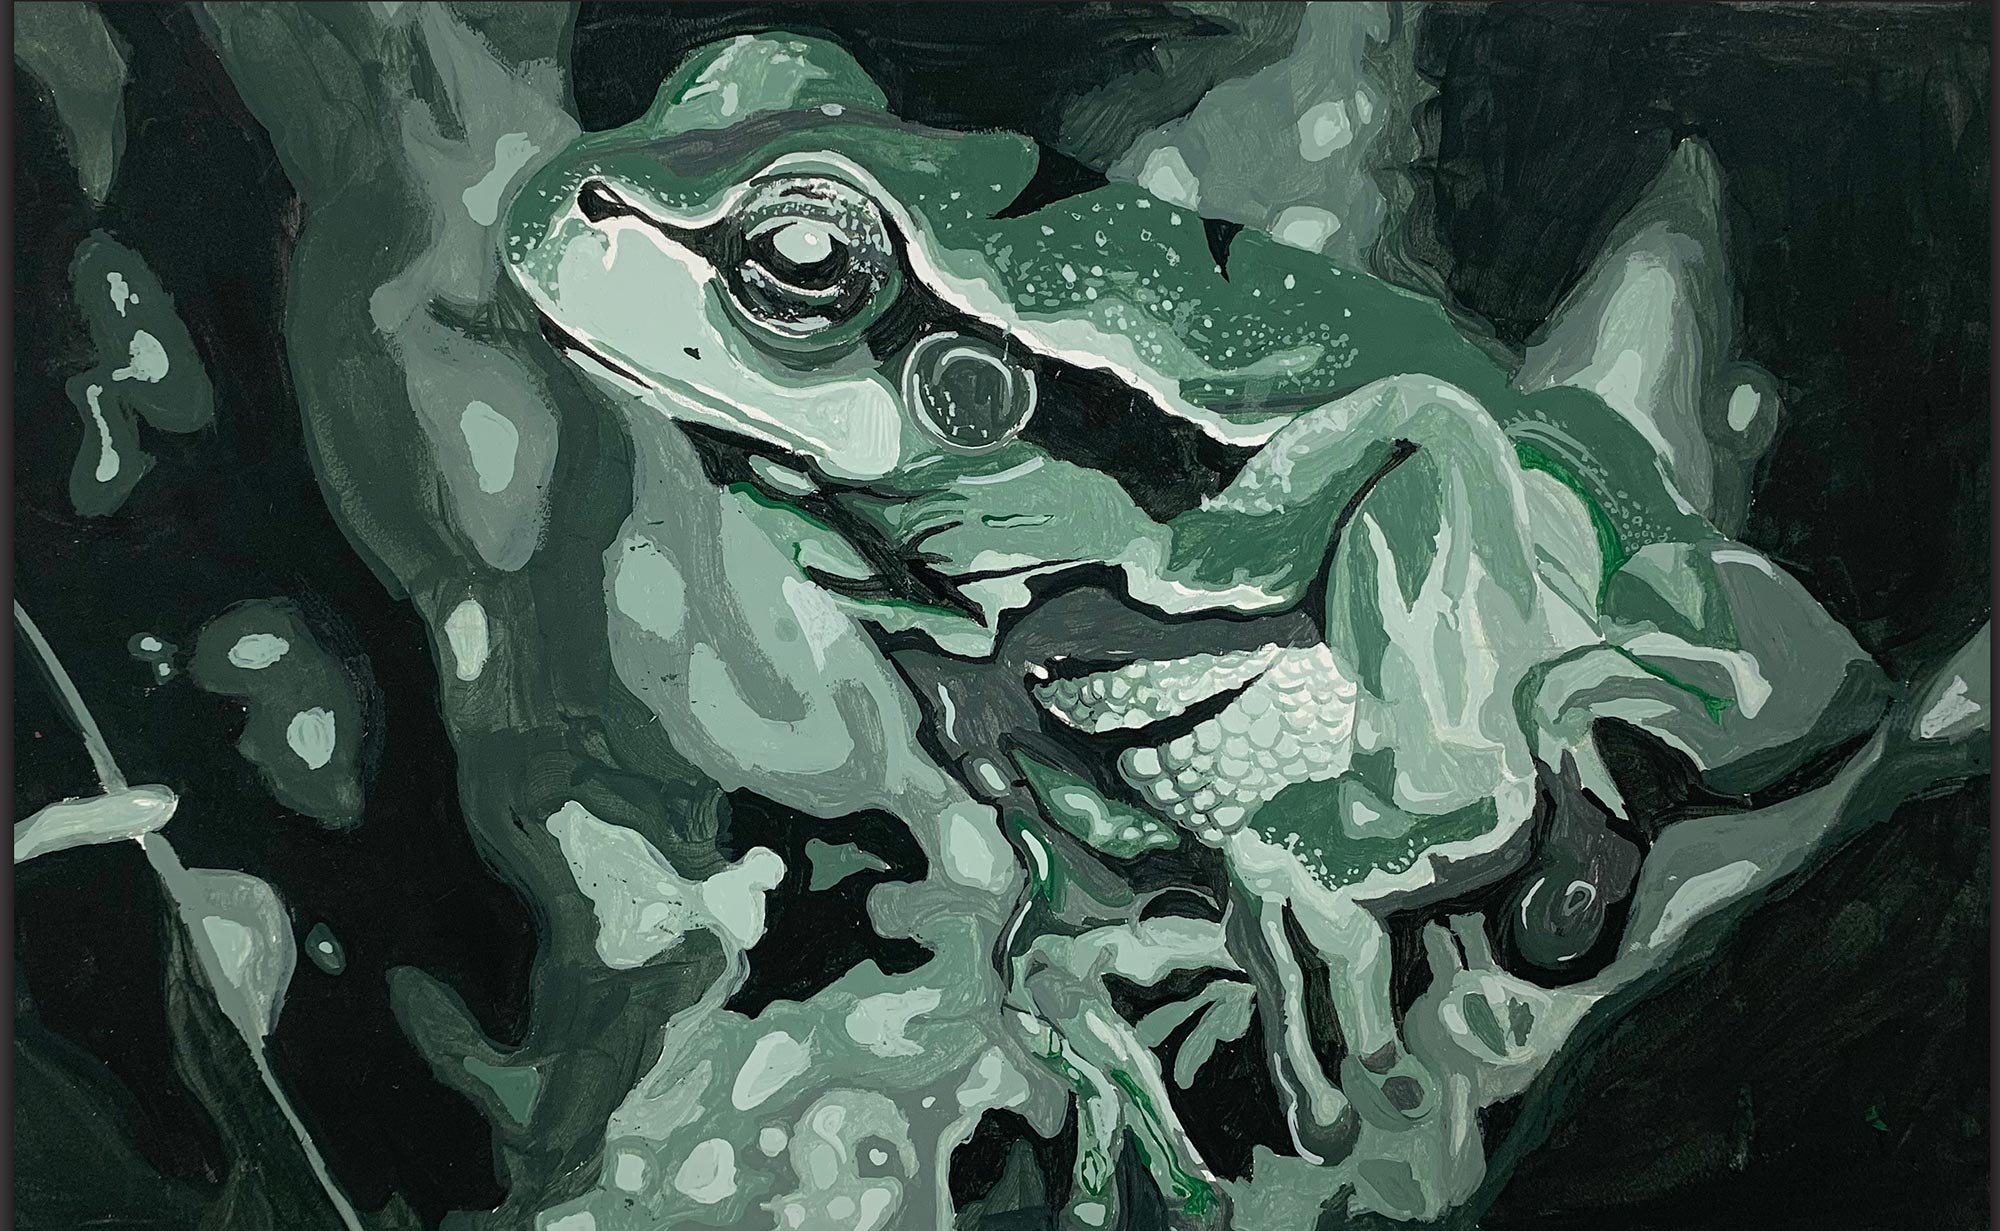
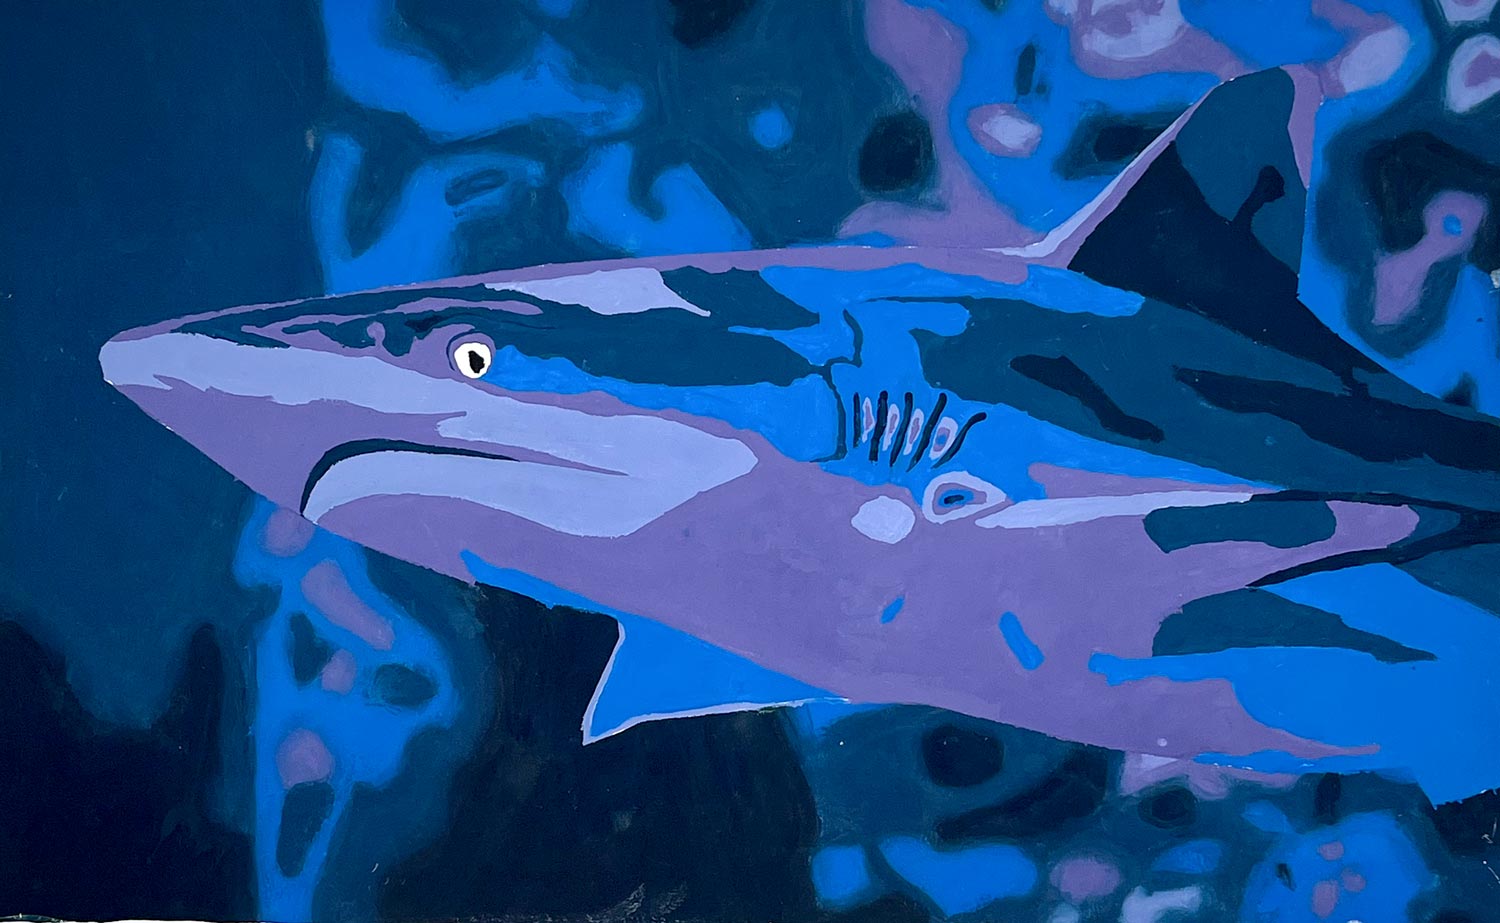
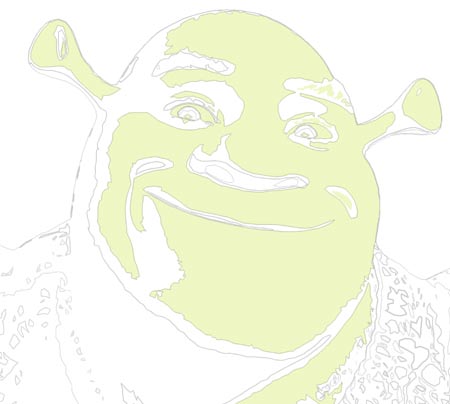
1. Pick a reference image from the library below. Consider complexity of the shapes and you personal preferences - it is more fun to draw and paint what you like :)).
2. Let me know your choice. I will print it out.
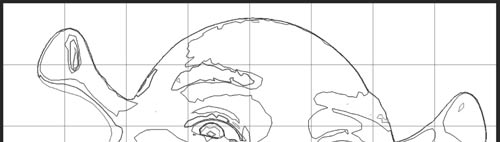
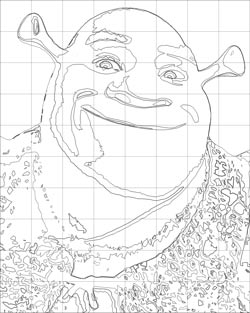
3. Draw a grid on an illustration board and copy the photograph.
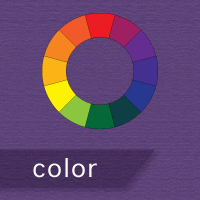
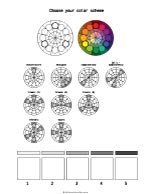
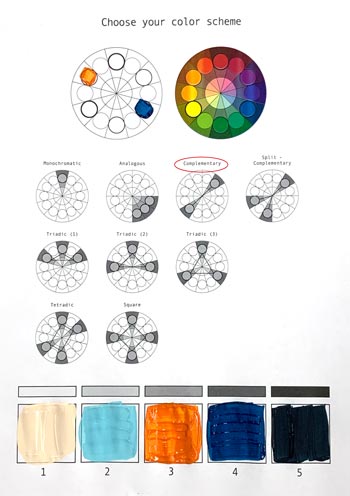
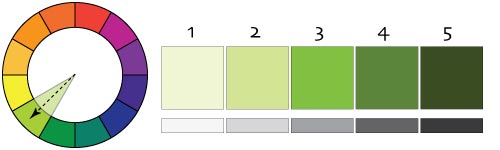
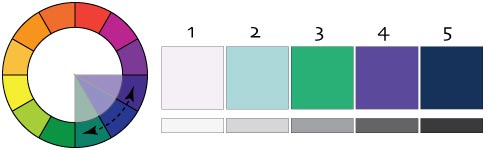
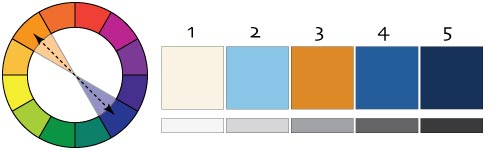
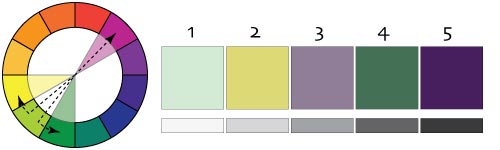
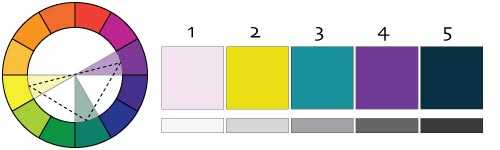
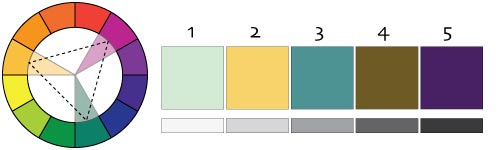
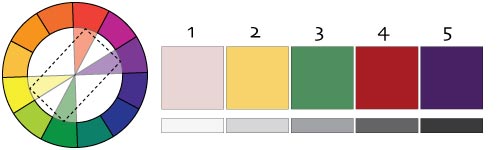
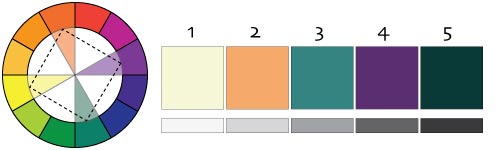
4. Choose a color scheme (use worksheet)
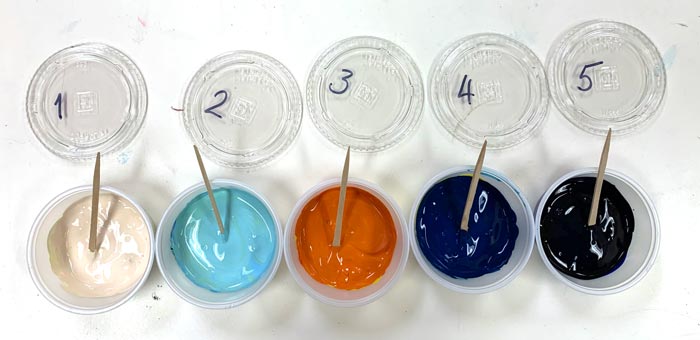
5. Label each shape with a color/value that you are going to use.
6. Mix paint and start painting starting with the lightest color.
WI State Standards:
- AA Cr10h
Investigate: Engage in critical thinking, problem solving, and research through elements and principles of art and design studio practices and processes. (aesthetics / problem solving) - AA Cr11h
Plan: Formulate original concepts by practice, experimentation, and revision. (planning/experimentation) - Cr12h
Make: Create works of art that introduce students to media, care of tools, and basic craftsmanship skills. (skills)
Learning targets:
- understanding color schemes
- understanding and matching color values: Value review
- grid drawing skill
- planning and problem solving
- color theory: color mixing
- vocabulary: hue, shade, tone, and tint
- use of flat and round brushes
- painting techniques and skill development
- control of tools/media
- color scheme and value accuracy