Download the Photoshop file (above).
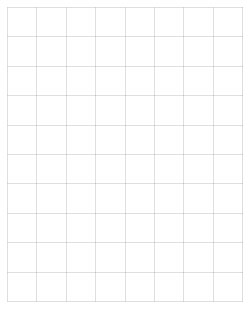
This file contains a grid that fits the project requirements.

by JuliannaKunstler.com
Download the Photoshop file (above).
This file contains a grid that fits the project requirements.

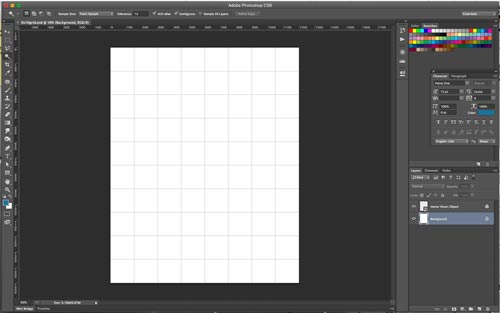
Open the file (most likely it will be in the Downloads folder).
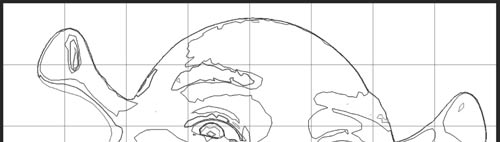
It looks like this.
If you are going to use a "landscape" layout - rotate the image: Image > Image Rotation > 90 CW (or 90 CCW)

Move tool - is the only tool you need to use.
Open your photograph in Photoshop.
Detach your photo from the tab bar by grabbing its tab and dragging it off the bar.
Use Move tool
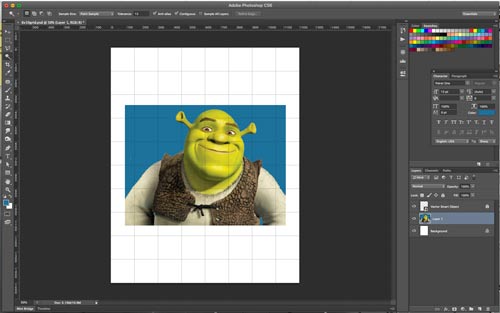
Drag your photo onto the Grid image.
Close your photo file - we do not need it anymore.
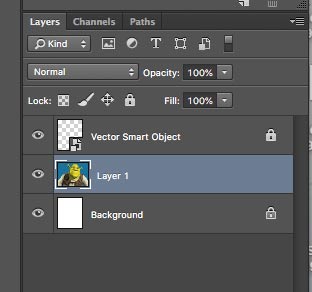
Once you placed your photo, a new layer is created in the layers palette.
Keep it selected.
You do not need to change anything here,
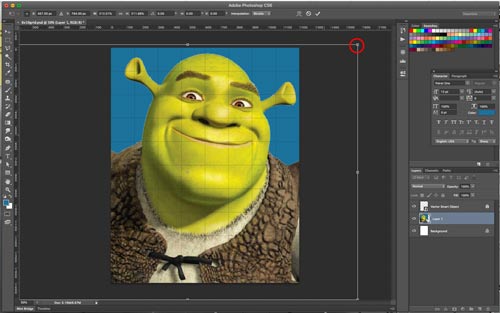
Resize your image by selecting Edit > Free Transform (or Ctrl/Command T)
Important: Hold SHIFT while resizing to constrain proportions.
Resize your photograph to make the face as big as possible. Cropping is OK too.
After you finished resizing - hit ENTER to apply transformation.
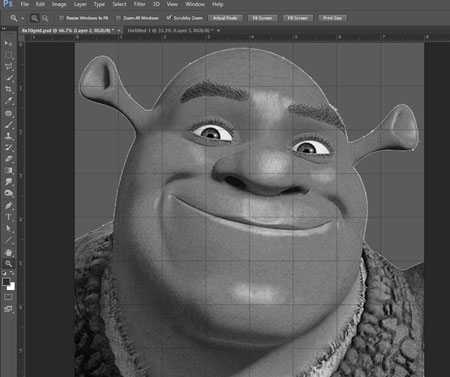
Image > Adjustments > Desaturate
That will remove all color information and make the picture greyscale.

The image needs to be very contrasted.
We are going to make the darks darker and lights lighter.
Image > Adjustments > Levels
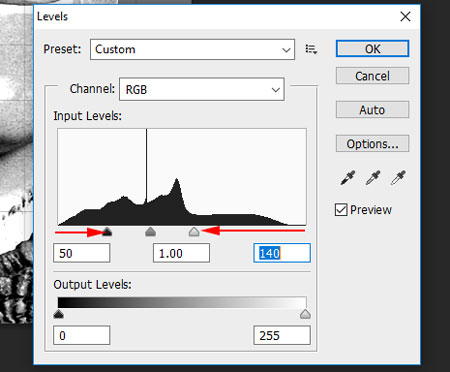
Move the left (Black) slider to the right.
Move the right (White) slider to the left.
Adjust the grey slider (most likely to the right) to exaggerate the contrast in the image.
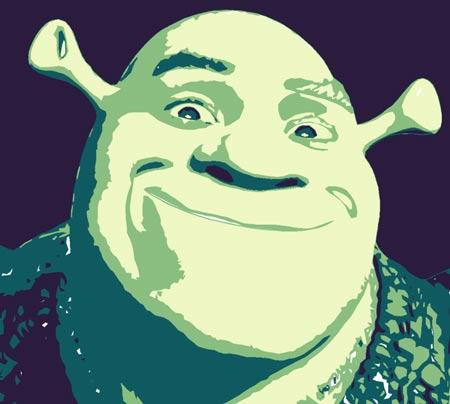
Please do not copy my input values.
These are specific input levels for this particular Shrek image.
Your values will be different!
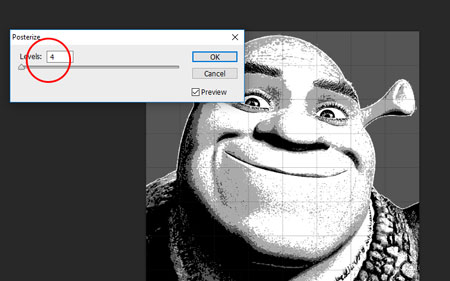
Step 1:
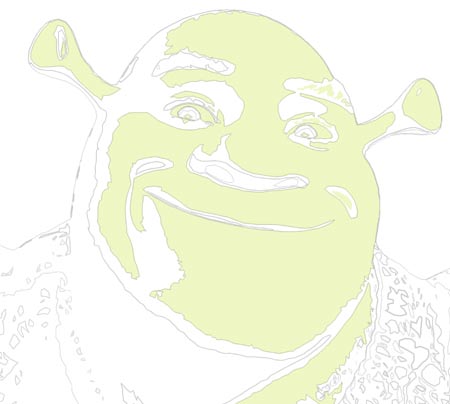
Image > Adjustments > Posterize
Choose 4 levels
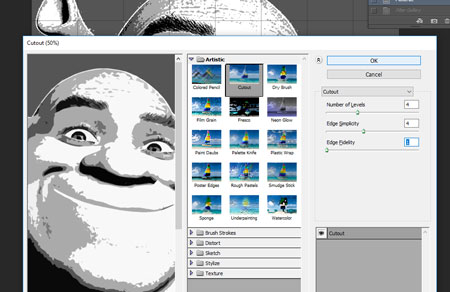
Step 2:
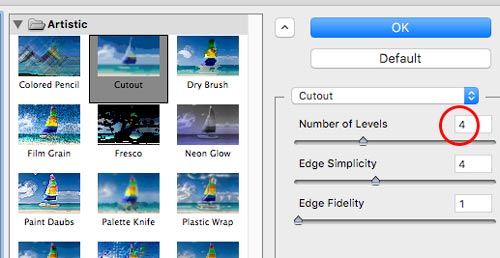
Filter > Filter gallery
Filter Gallery window will pop up.
Click on Artistic folder.
Select Cutout filter
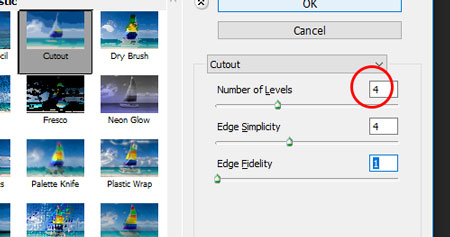
Number of levels: 4
Experiment with other settings.
This filter will simplify the edges of your image.

Black & White image adjustment gives us an easy and natural way to convert color photos to black and white.
The Black & White adjustment lets you convert a color image to grayscale while maintaining full control over how individual colors are converted.
Go to Menu bar:
Image > Adjustments > Black & White
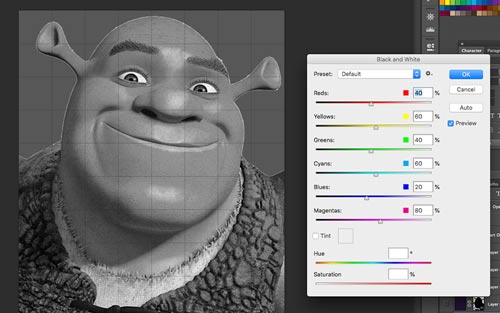
Once you applied the adjustment, colors look grey.
The image, in my case, looks too dark and lacks contrast.
I am going to adjust the conversion of each color in the pop-up window.
Please note, that your adjustments will be different from mine and reflect your image characteristics.

I lighten some colors (yellow) and darken others (cyans and blues).
My goal is to increase overall contrast.
I also darkened the background.
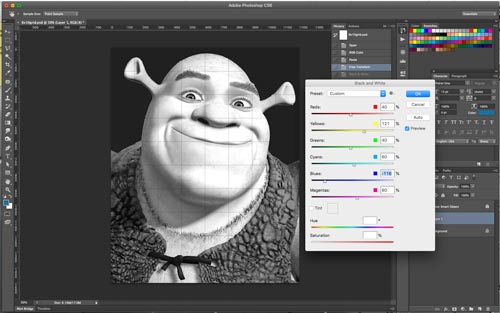
Adjust the color settings until you are satisfied with the contrast (or ask me :))

See the difference?
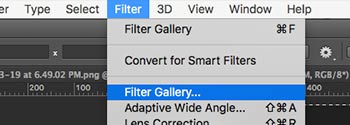
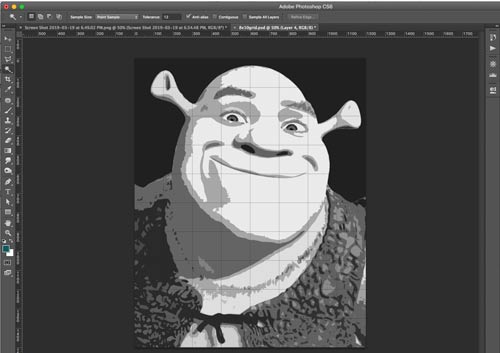
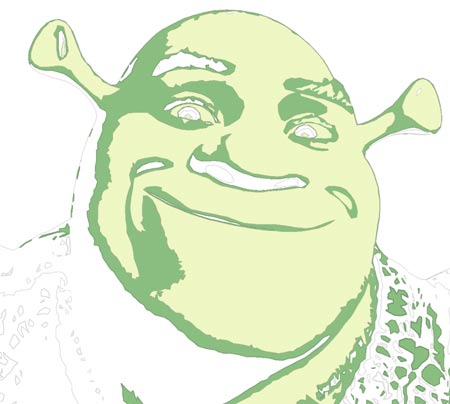
The next step is to simplify the image and condense all values into 4.
Filter > Filter Gallery

Filter Gallery window will pop up.
Click on Artistic folder.
Select Cutout filter
Set level number to 4
Click OK.
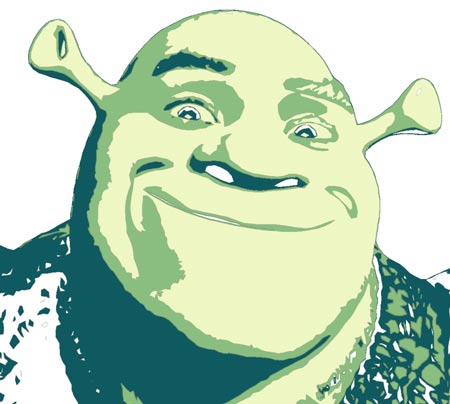
Your reference image is done and ready to be printed,
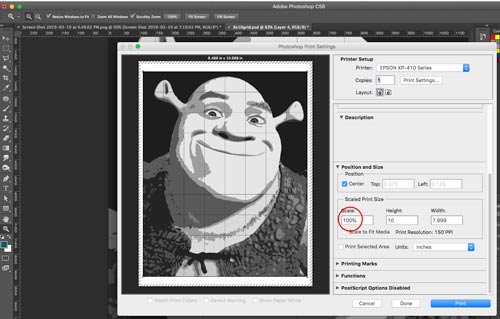
File > Print
Choose the correct printer.
Set scaling to 100%
Print.
Save and close the file.
You are done with step 1 of this assignment.
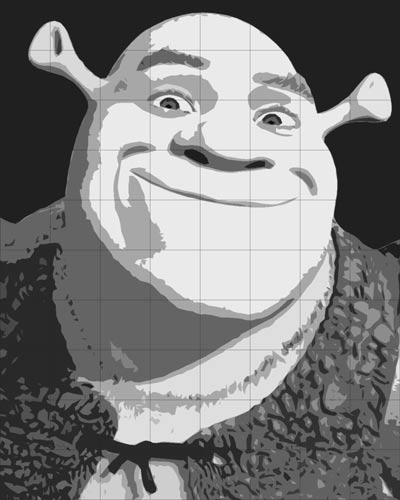
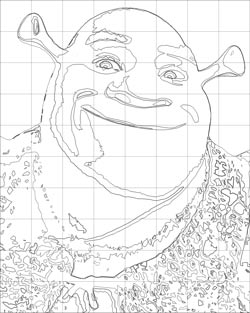
If you explore the printout - you will see that all shapes are filled with 4 values.
You will use each value as a reference for your color selection.
Draw a grid on an 10" x 15" illustration board:
Do not apply pressure on your pencil while drawing the lines.
Pencil's weight alone will produce enough pressure for the line.
The lines should be very thin and light.
Lightly draw your photo image onto the board in pencil.
Work with one row at a time.
Carefully draw all different shapes. Details are extremely important.
As you draw, you may "smooth out" the edges of any jagged shapes on the skin as you draw them.
The hair might have jagged shapes. Leave the hair shapes jagged as a contrast to the smooth shadow shapes on the skin.
Take your time with this drawing step.
The more accurate your drawing is, the more successful your painting will be.
Draw in all details!
Erase the grid lines completely before the painting steps.
Your photo is made up of 4 different values.
You are going to use 4 hues in the painting.
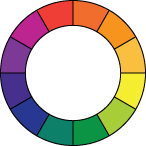
Start with selecting a color scheme.
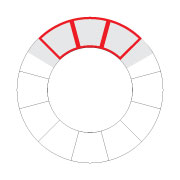
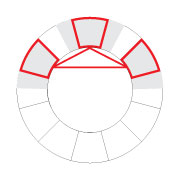
analogous
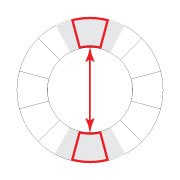
complementary
triadic (split 1)
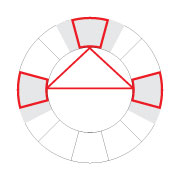
triadic (split 2)
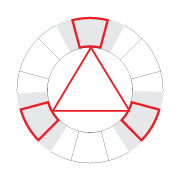
triadic (split 3)
1. Paint lightest value:
Use one very light tint of a hue of your choice.
Paint in all shapes that are the lightest value in your reference photo.
2. Paint medium-light value
Remember to reference your color scheme when selecting a light tone.
It should be darker that the first color.
3. Paint medium-dark value:
The paint should be a darker tone than the previous one.
4. Paint the darkest value:
Use a dark shade of a color and complete painting the portrait.