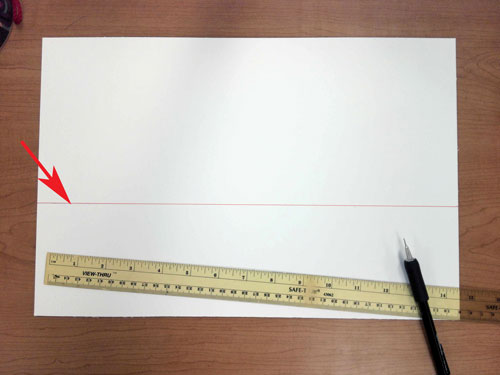
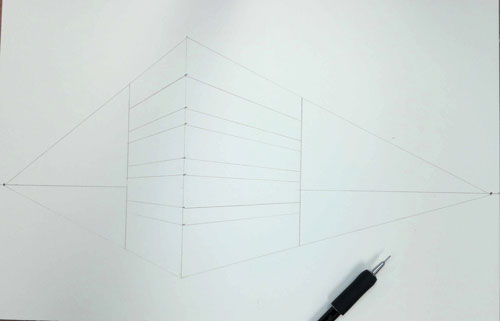
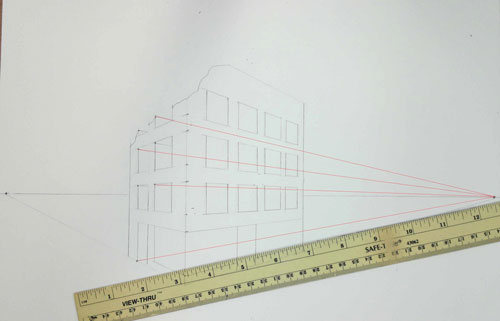
Start with drawing a horizon line in the lower half of the board.
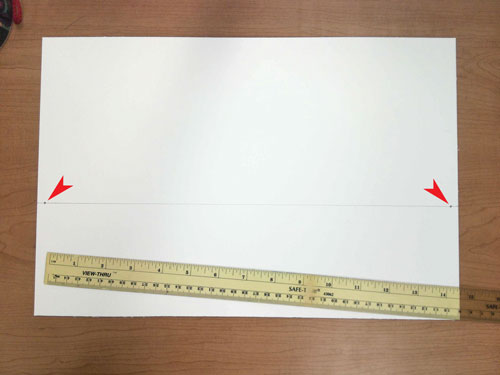
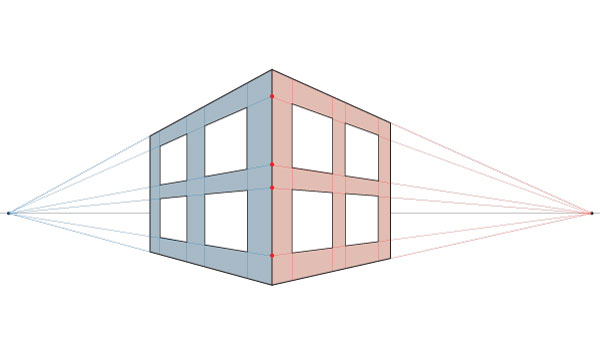
Based on your perspective view - place one or two vanishing point(s).
If you choose a 2-point perspective - place the vanishing points as far apart as you can.
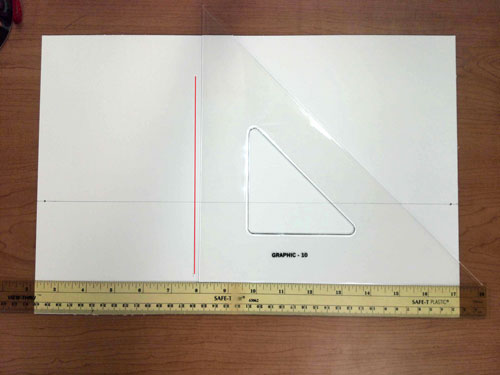
Draw the front corner or the front side of your first building.
Use a ruler and a triangle to maintain a perfect vertical position of your lines.
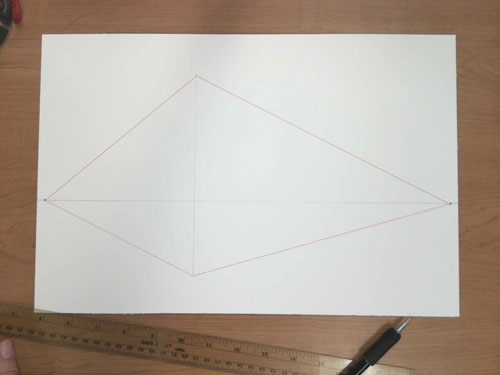
Connect the corners to the vanishing points.
Draw receding lines with very light and fine lines.
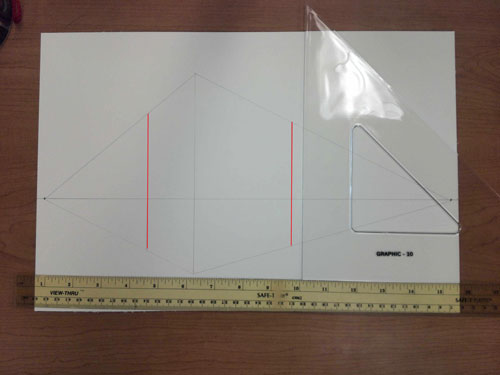
Define the depth of the first building by drawing vertical lines between the receding lines.
In one-point perspective - do it on one side. In two-point perspective - do it on both sides.
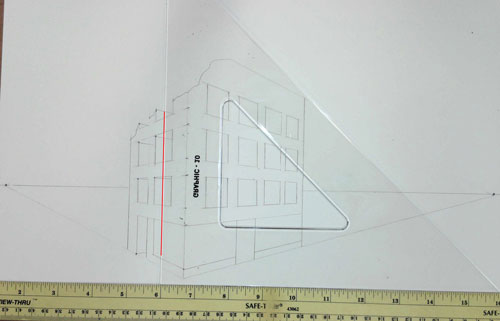
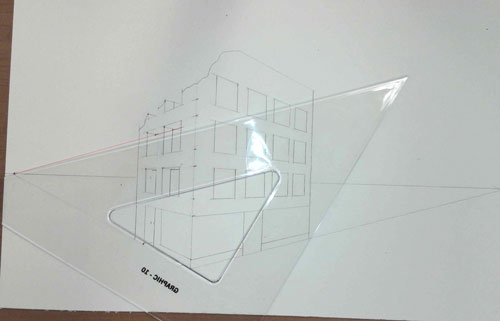
Use the triangle for all vertical lines.
windows

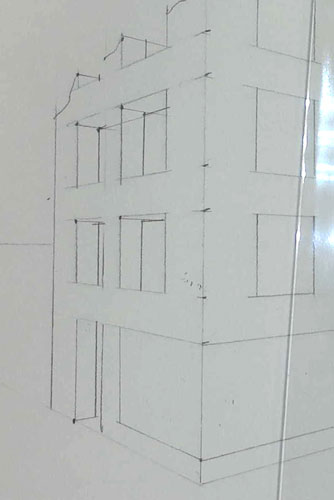
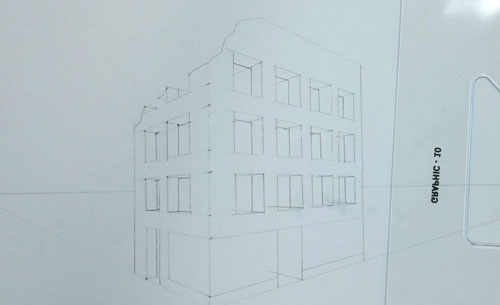
Once you have your building done, it's time to add windows.
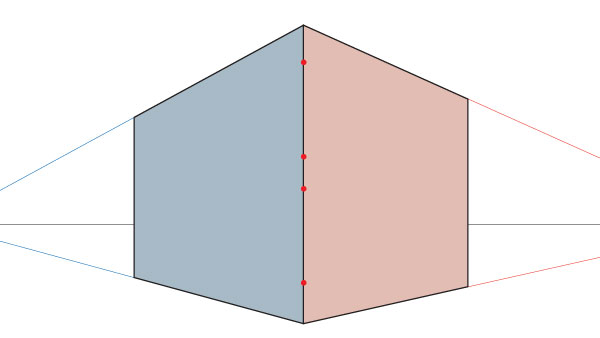
1. Measuring
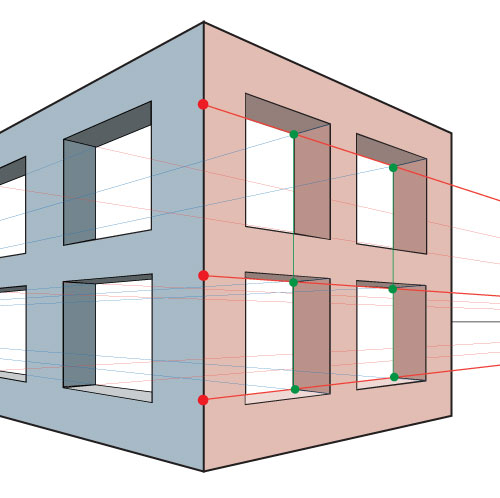
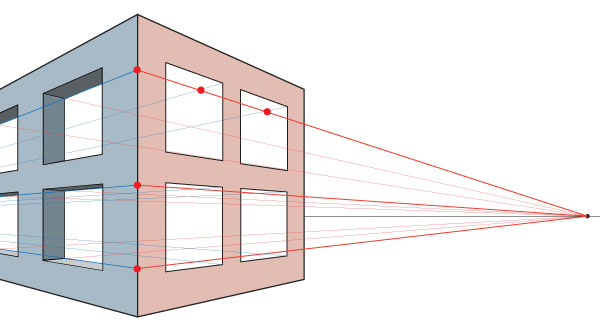
On the front corner: mark the height and position of your first window.
Add space between the windows
Mark the height of the next window (should be the same as the first one).

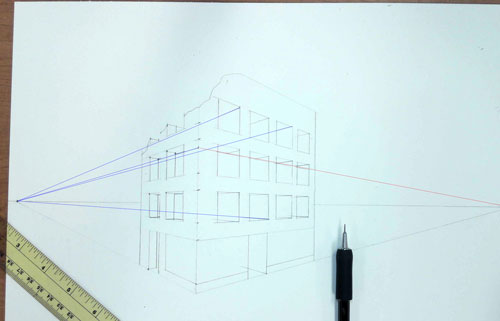
Connect the marks with both vanishing points.
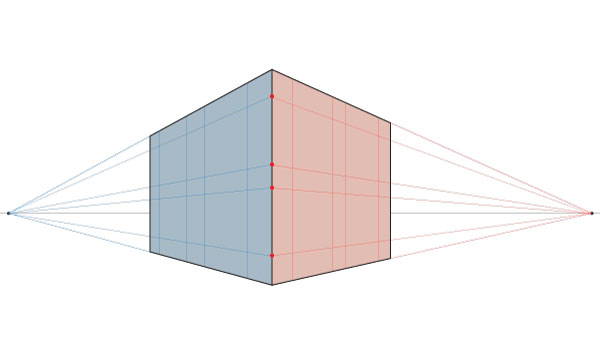
Draw the vertical sides of the windows. They should be aligned.
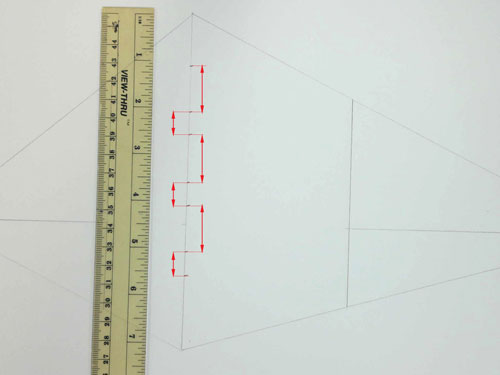
All measurements of doors, windows, space between windows, and other architectural details can be done only:
1-point perspective - on the front side
2-point perspective - on the front corner
Connect your marks with the vanishing points.
After aligning a mark with a vanishing point - draw a receding line within the building outline.
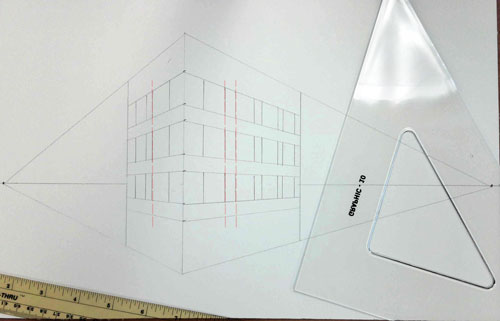
Use the triangle again to draw vertical lines for windows and doors.
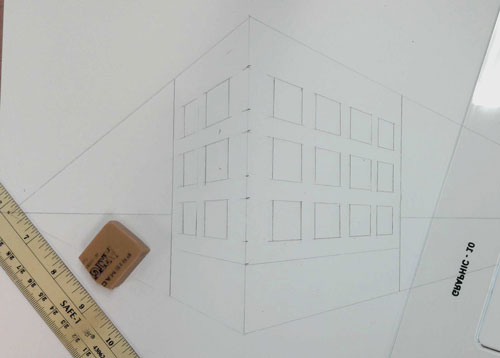
Erase all construction lines that you no longer need.
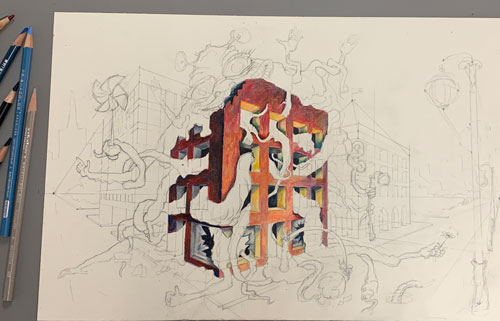
Let's keep the drawing "uncluttered".
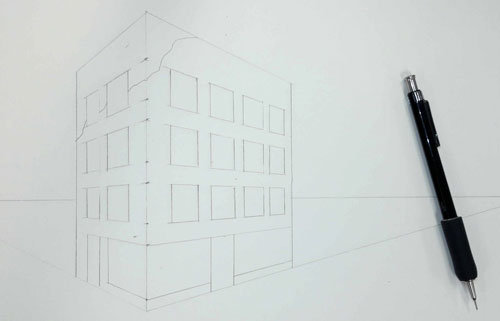
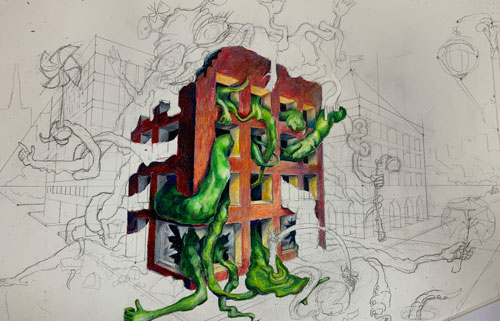
Add extra details to the drawing at this point.
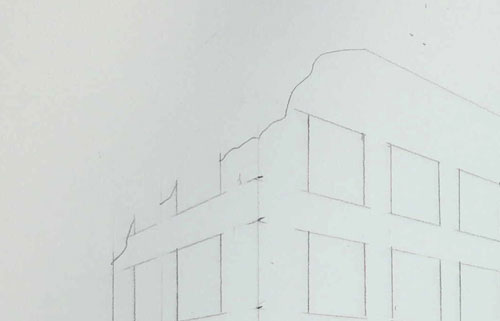
Keep erasing unused lines.
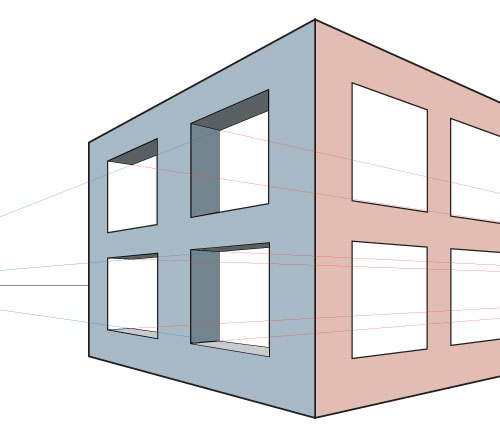
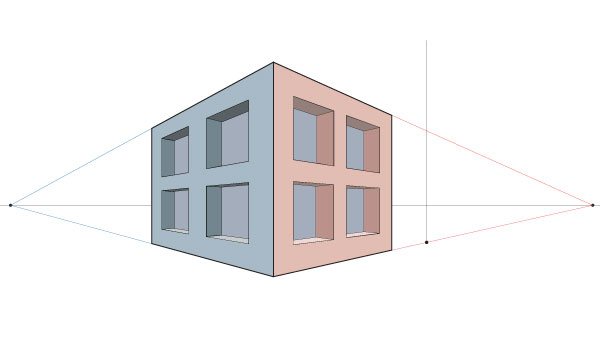
wall thickness (optional)

Start with one side of the building.
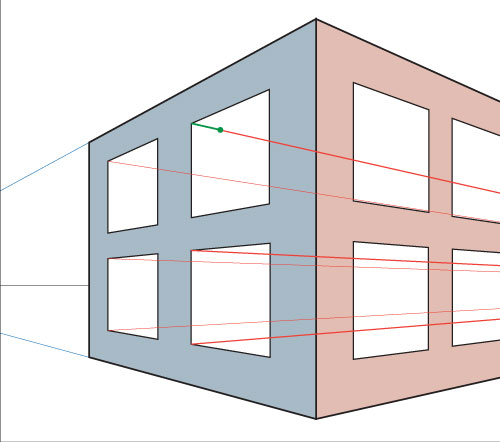
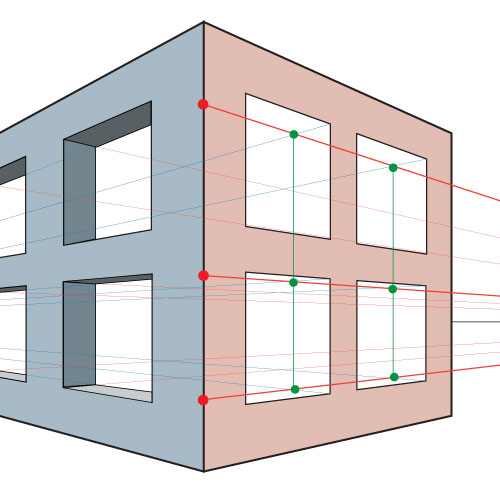
Draw receding lines from all visible corners of the windows to the opposite vanishing point.
Note: If the corner is above the horizon line - you will see the top side of the window. If the corner is below the horizon - you will see the bottom side.
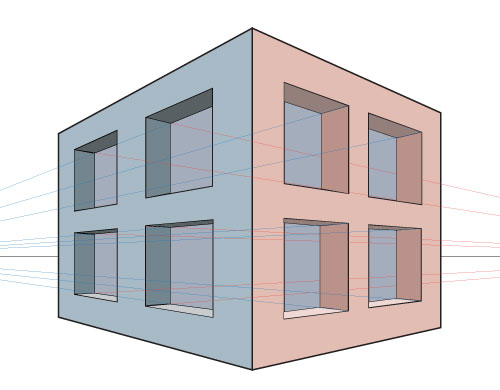
Mark the wall thickness on one of the receding lines.

Draw a vertical line through that mark.
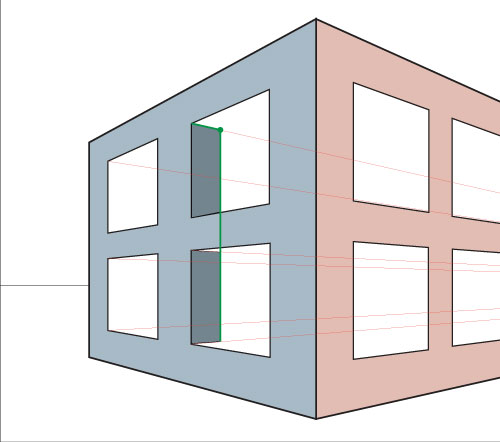
This will define one side of the windows.

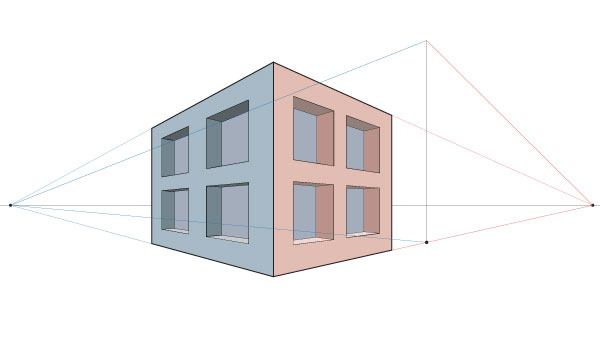
Draw receding lines to the closest vanishing point...
... trough the back corners.
This will define the top and bottom sides.

One last thing:
Draw a vertical line through the back corners of the second set of windows.
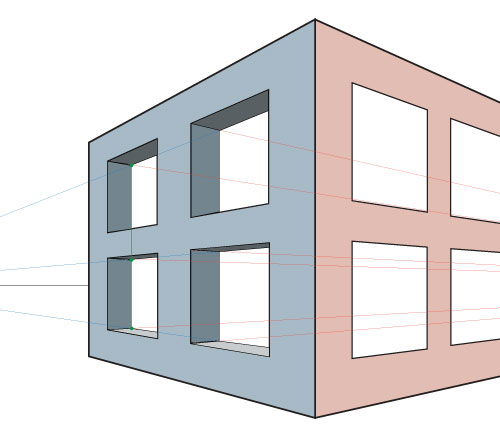
One side is done!
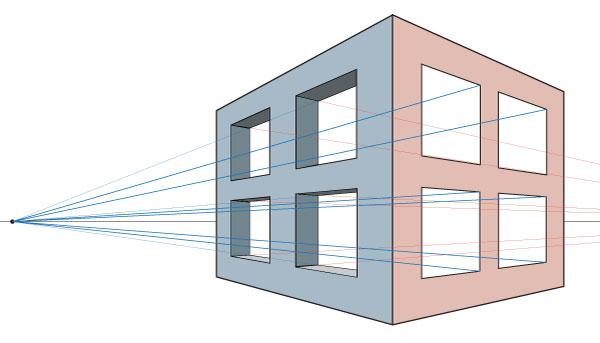
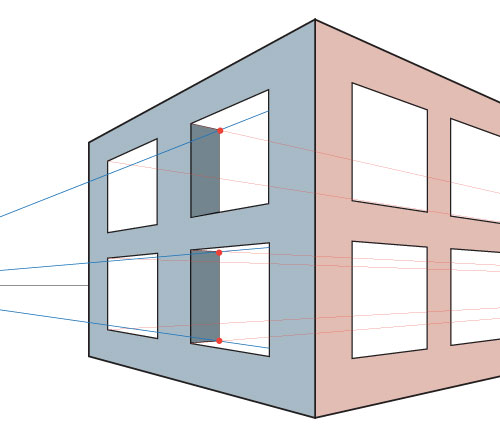
Repeat the steps for the other side:
Draw receding lines from each visible corner to the opposite vanishing point.
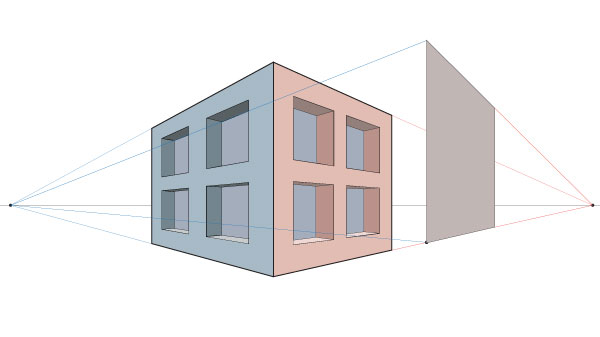
Then expend the window back corners receding lines all the way to the front corner of the building.

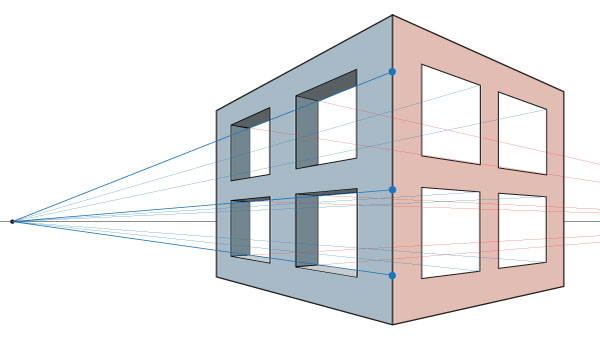
Use these marks and draw the receding lines over the second side.
Mark where these lines cross.
These marks will define the thickness of the second side of the building.
The windows are done!
You can use the same technique to add doorways, arches, and other architectural elements.
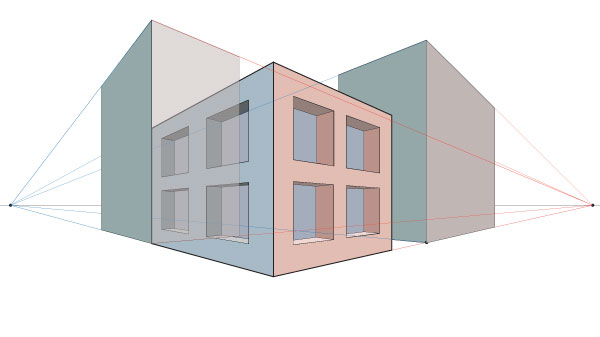
Add depth to the walls.
Buildings are not made out of thin paper. The walls are thick structures. We see that as we look at the windows and doorways.
Start with one side of the building - connect the visible corners of the windows and doorways with an opposite vanishing point.
Determine the thickness of the wall in one set of windows by drawing a vertical line.
Draw a receding line to the closest vanishing point through the intersection of the other receding line and the vertical line.
Now you can define the wall thickness of the entire side of the building.

To keep the wall thickness consistent on both sides of the building - extend the reeding line to the front corner.
Now connect this mark with the other vanishing point.
Then connect all visible corners of the second side with the opposite vanishing point. Exactly as we did with the first side.
Point, where the two receding lines cross, marks the thickness of the wall.
Now you can complete all windows, doors, and other elements.
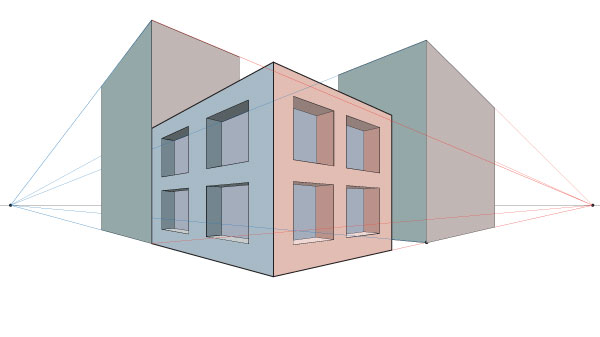
city block (adding buildings)
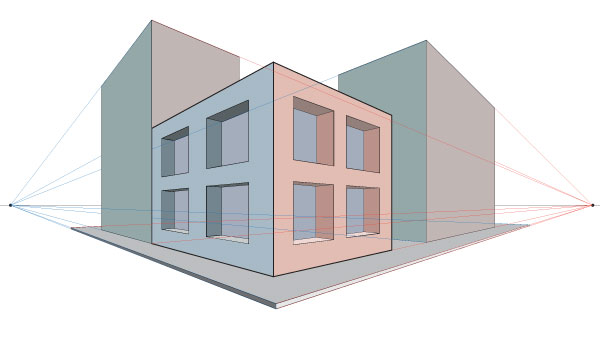
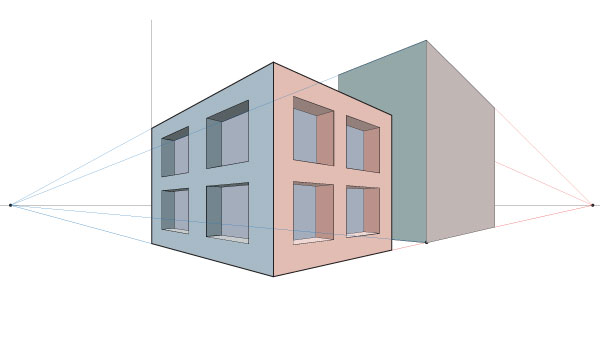
After you are done with one building - you need to add more structures for this city block.
Use the existing receding lines to define the ground level.
The steps are the same as before:
Draw a vertical line for the front corner of building 2. Leave some space between the buildings if you want an alley there.
The bottom point of this line should be on the existing receding line.
The top point - can be below, on, or above the existing receding line.
Connect the line ends with both vanishing points.
Define (guess) the depth of the building one side by drawing a vertical line between two receding lines.
...then the other side.

Time to add details and other elements to the building.
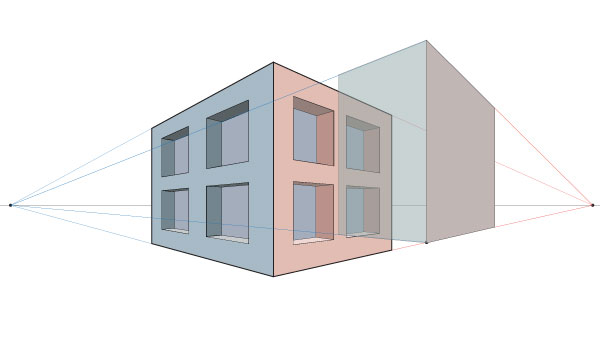
Add another building.
If you want it attached to building #1 - draw the front corner right where is the back corner of building #1.
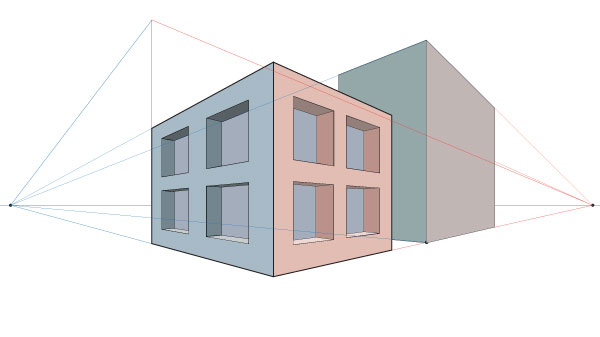
Connect the line with vanishing points.
Define (guess) one side.
Then the other.
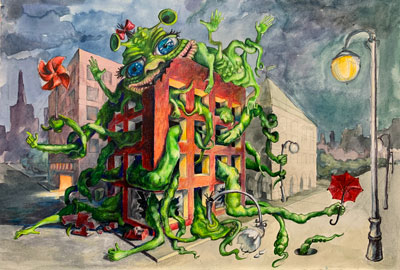
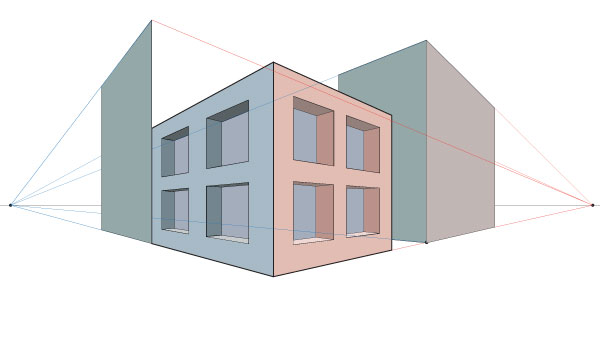
Add other elements and more buildings.
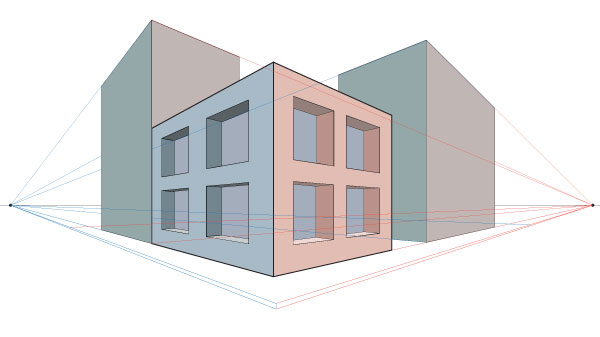
To add a sidewalk - use the same vanishing points.
Continue adding buildings and details to the drawing.
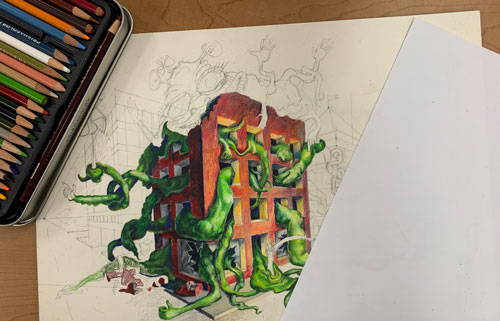
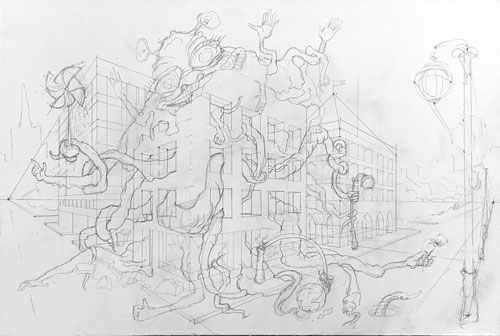
Add characters or other objects to tell a story.
Make sure you understand where is your light source. This can be sun, moon, city light, or anything else.
enlarge image