Fill in the three apples with any of the five textures. Each texture should "wrap around" each apple to emphasize the form.
Follow the steps below
by JuliannaKunstler.com
Fill in the three apples with any of the five textures. Each texture should "wrap around" each apple to emphasize the form.
Follow the steps below
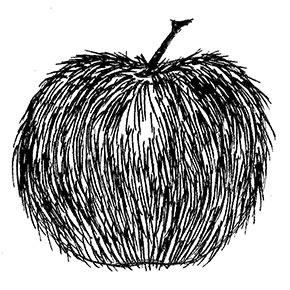
"hairy" apple
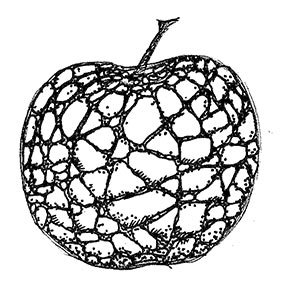
"rocky" apple
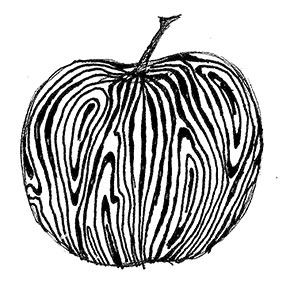
"wooden" apple
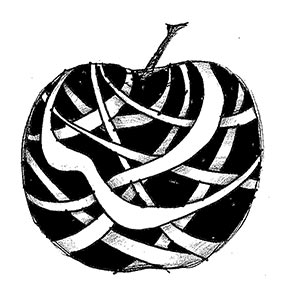
"wrapped" apple

"weaved" apple
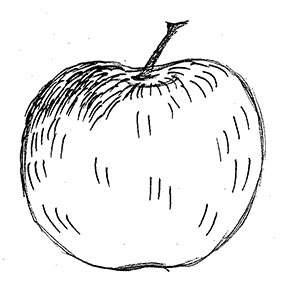
Place the curved strokes following the form of an apple.
Placing strokes in the direction of the apple's surface will support its form.

More strokes should be placed on the sides of the apple.
Extend strokes outside the outline.
The sides and the bottom part of an apple should have more dense strokes to make them darker and make the form "pop".
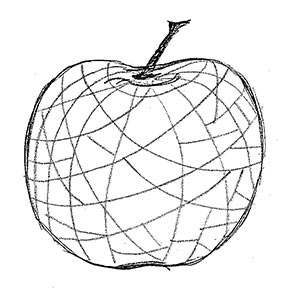
Start with drawing a pencil grid. Draw lightly.
The grid areas in the center should be larger than the sides and the bottom of the apple.
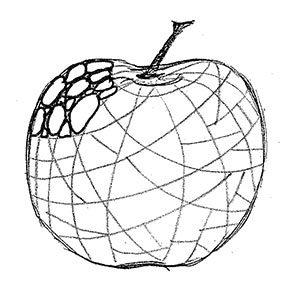
Fill in each area with a "rock" outline.
These are free hand rough shapes that fit inside each area.
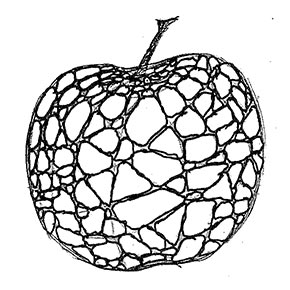
Smaller "rocks" can be placed closer to the sides of the apple..

Fill in the gaps with strokes or/and dots for the "rock" texture.
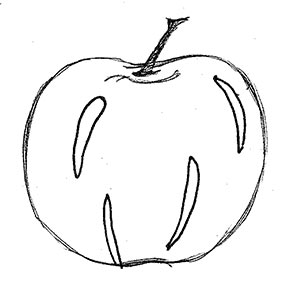
Start with basic long oval-like or tear-drop shapes.
Curve the shapes to follow the form of the apple.
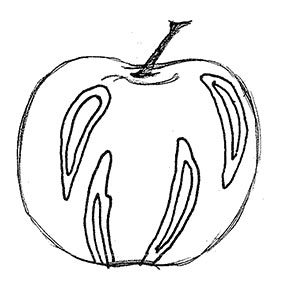
Outline the shapes to imitate the wood grain.
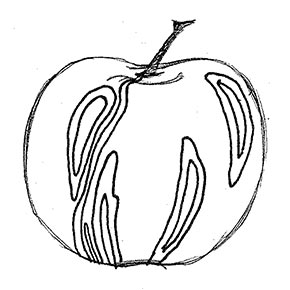
Fill in the blank areas with vertical curved lines.
Remember to "wrap" them over the apple form.
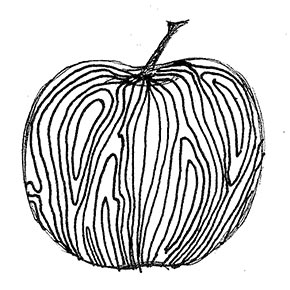

Alter the thickness of the lines.
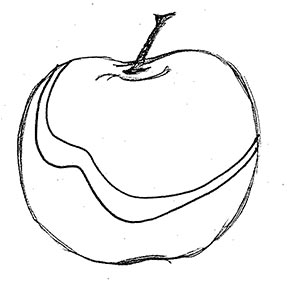
Draw the first ribbon.
Bend the "ribbon" to follow the form of an apple.
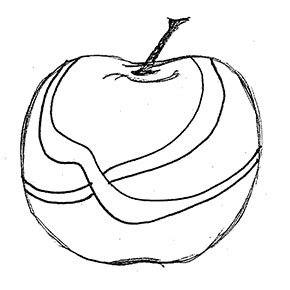
Add another ribbon behind the first one.
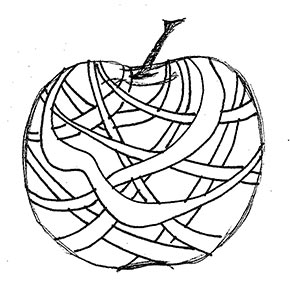
Fill in the apple shape with more ribbons.
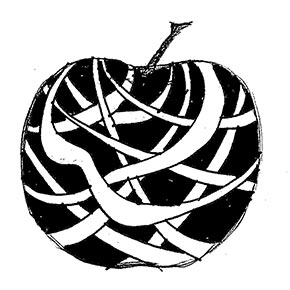
Fill in the background.

Add shading for more realistic look.
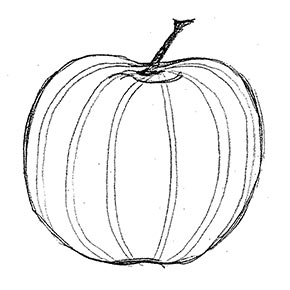
Start with a pencil grid.
Draw vertical double-lines that follow the apple's form.
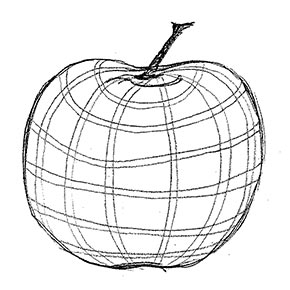
Add curved horizontal double-lines.
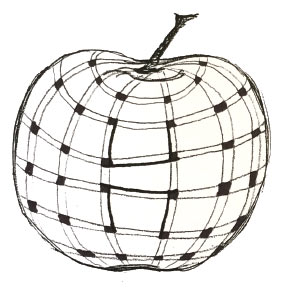
Fill in the small squares with a marker.
Start placing the weaving pattern.

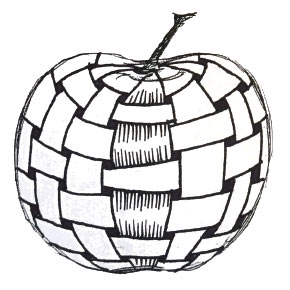
Add shading for more realistic look.
