Print out the worksheet and draw a grid in 2 point perspective.
Follow the steps provided in the presentation below.

by JuliannaKunstler.com
Print out the worksheet and draw a grid in 2 point perspective.
Follow the steps provided in the presentation below.
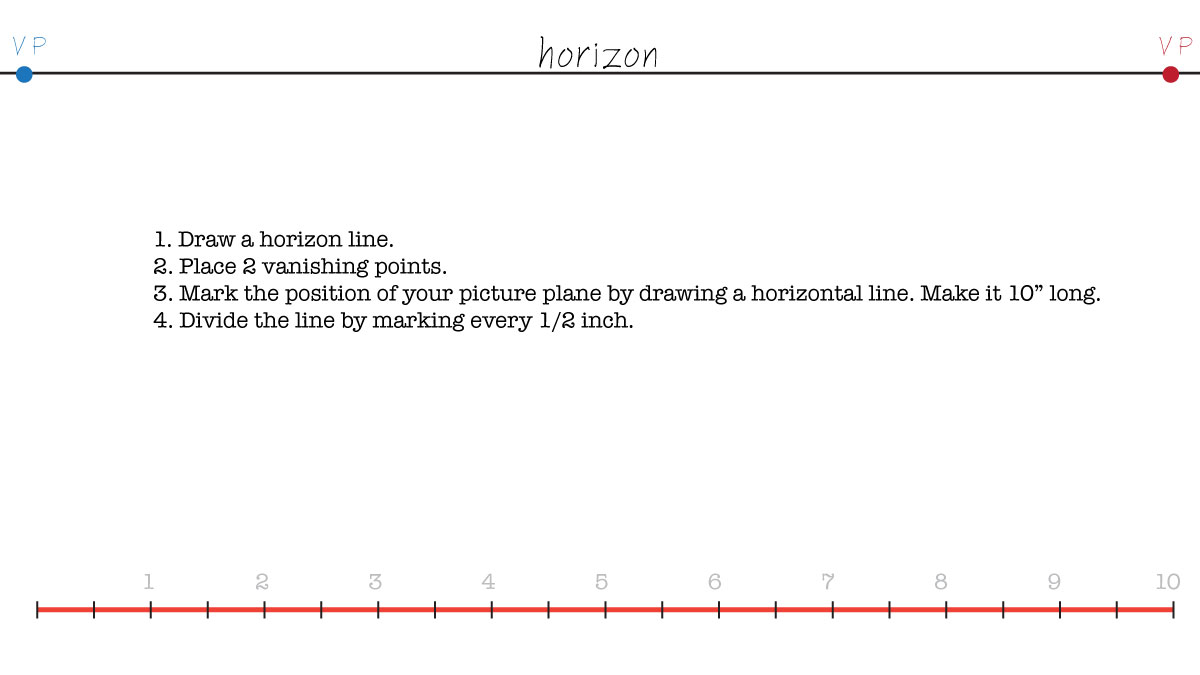


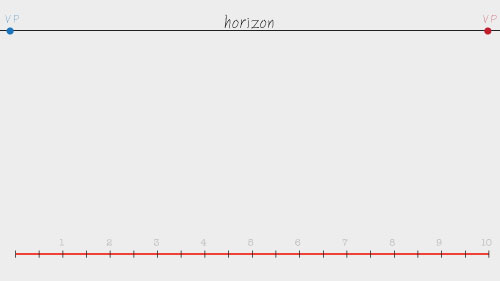
1. Draw a horizon line.
2. Place 2 vanishing points.
3. Mark the position of your picture plane by drawing a horizontal line. Make it 10” long.
4. Divide the line by marking every 1/2 inch.
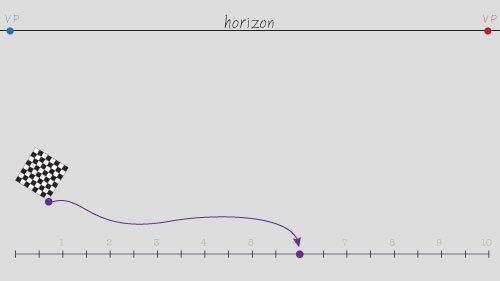
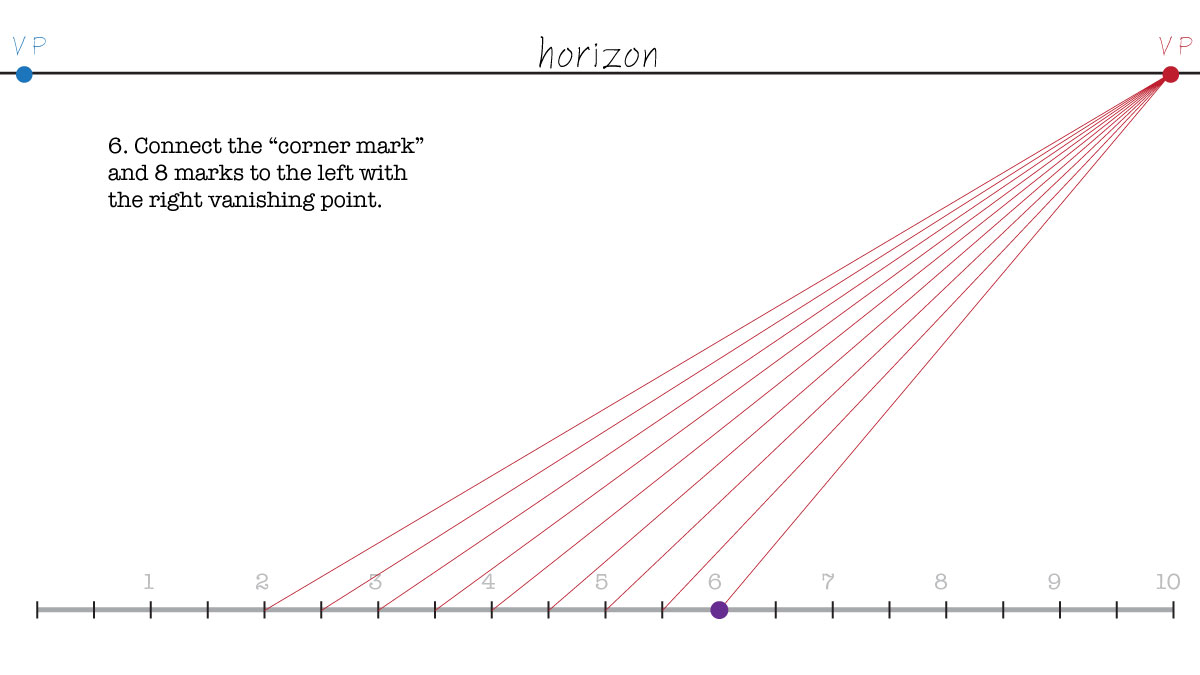
5. Place a mark on the picture plane line to position the corner of the checkerboard.
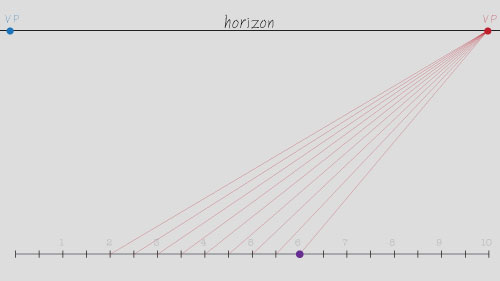
6. Connect the “corner mark” and 8 marks to the left with the right vanishing point.
The number of marks on each side is equal to the number of squares you want per side.
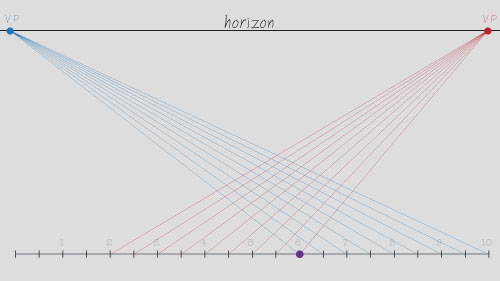
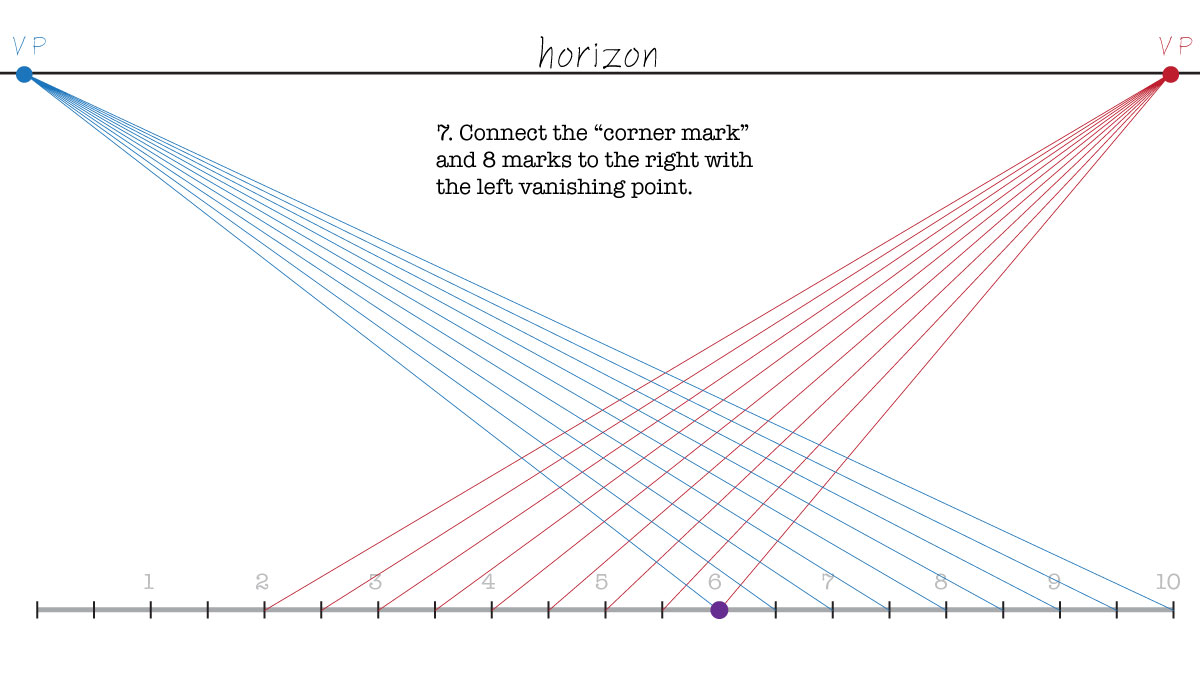
7. Connect the “corner mark” and 8 marks to the right with the left vanishing point.

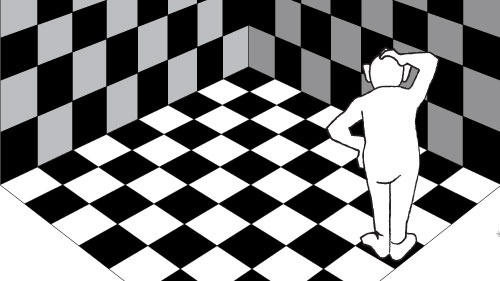
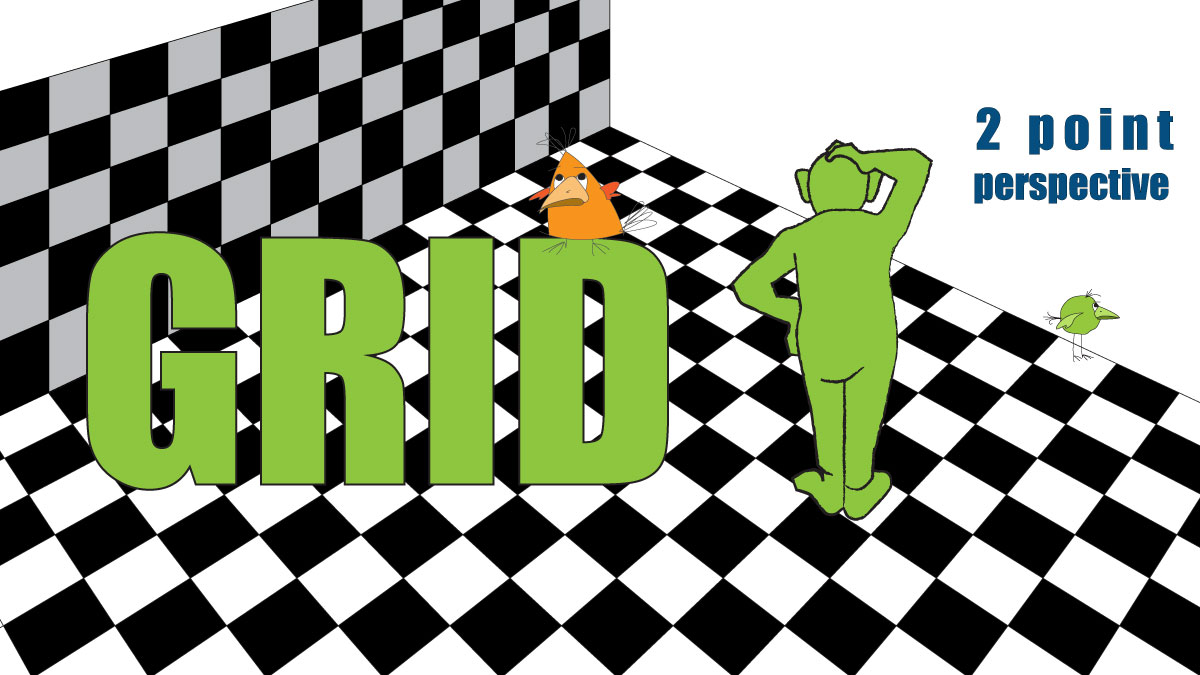
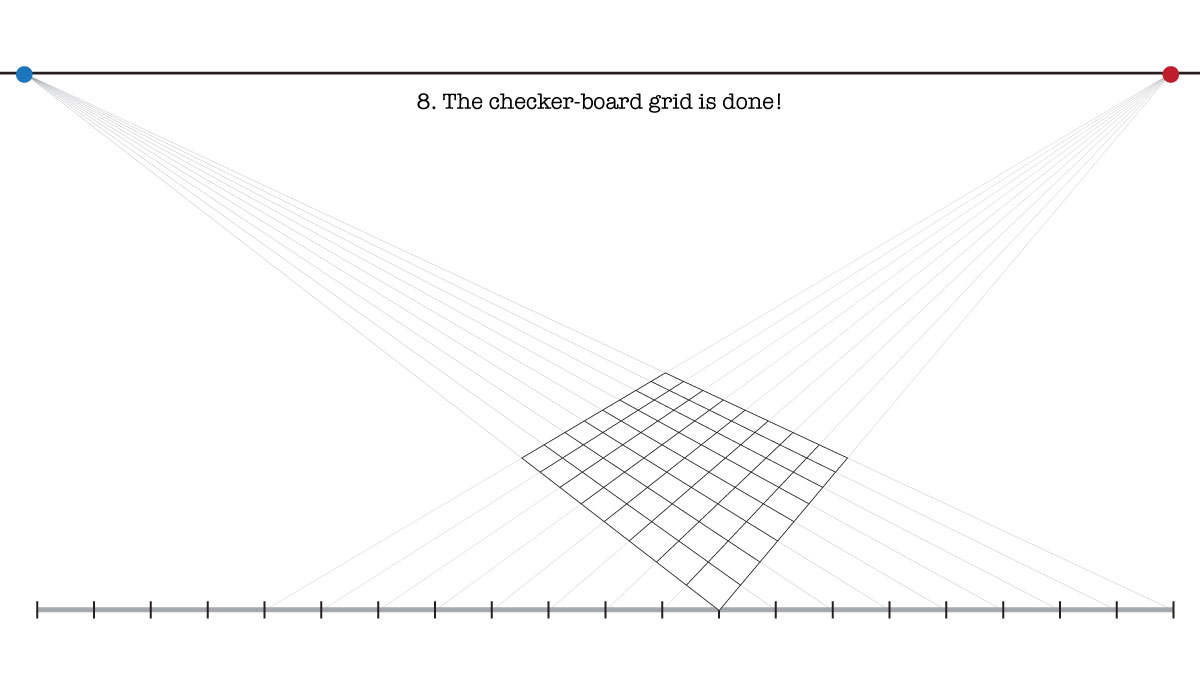
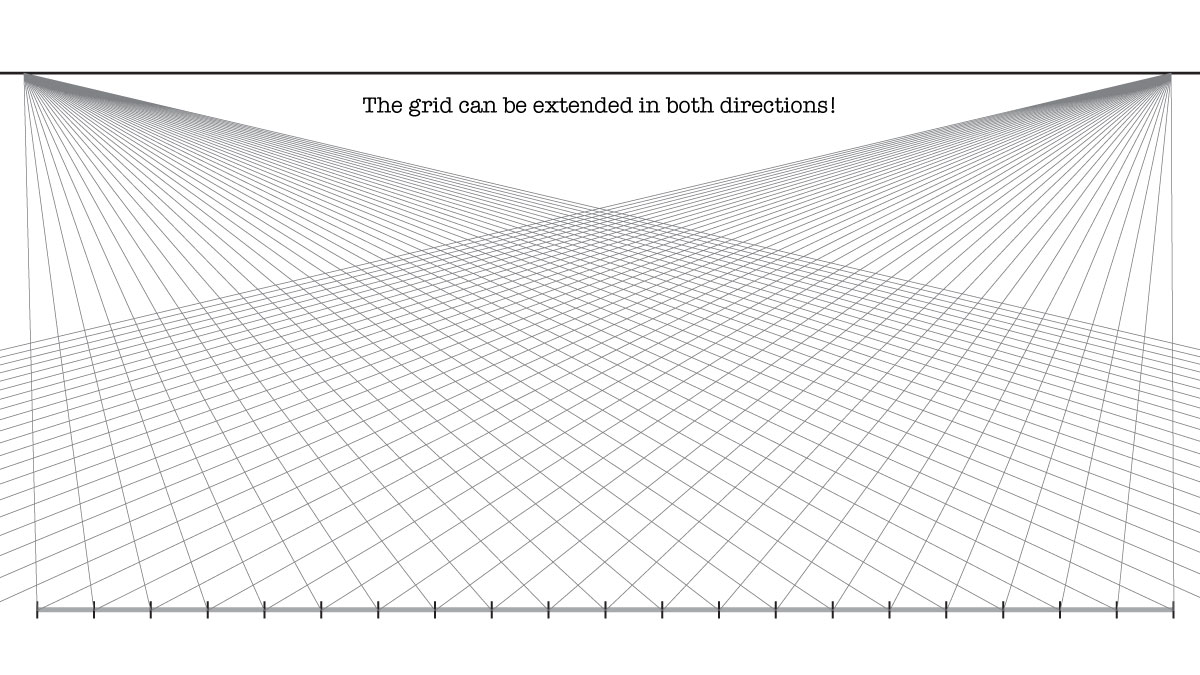
8. The checker-board grid is done!
Erase all receding lines and outline the grid.
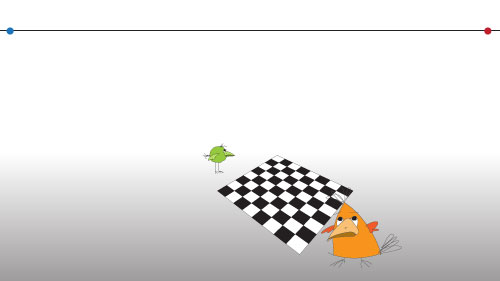
The grid can be extended in both directions!
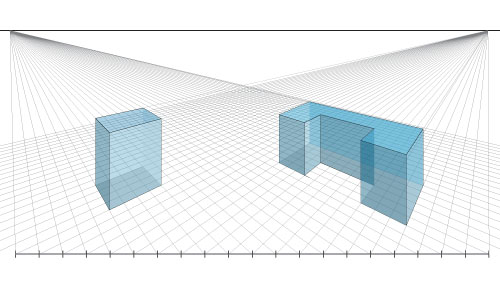
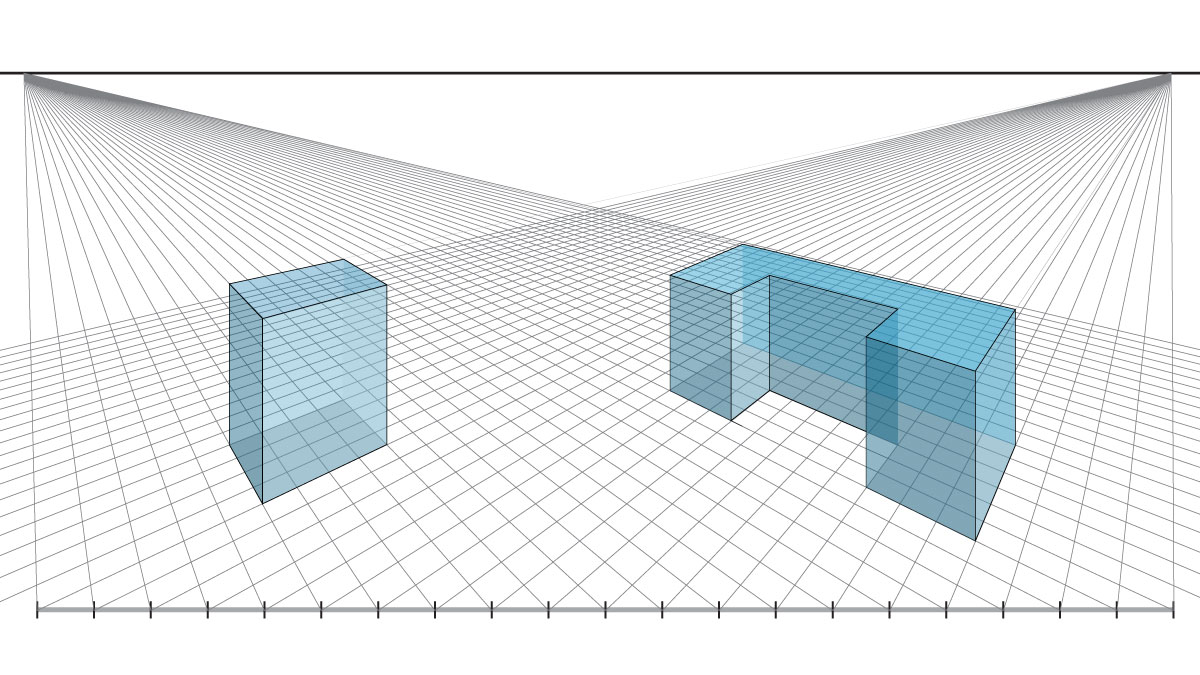
And be used as a layout of objects in 2 point perspective.
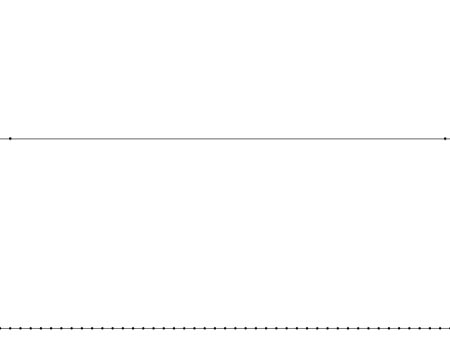
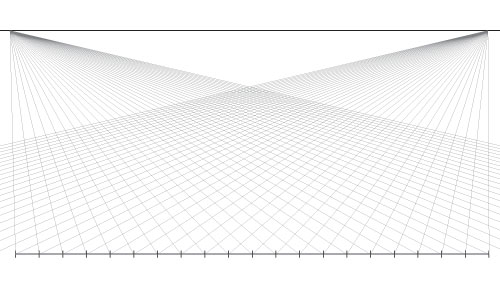
With a horizon and 2 vanishing points, placed in the middle of the paper, Draw a line at the bottom of the paper (or use the edge).
Divide it into even parts (.25", for example)
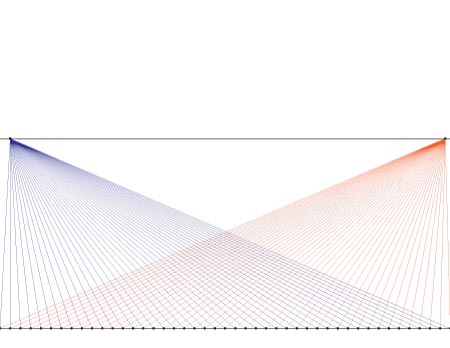
Connect each mark with both vanishing points.

Extend the bottom line both ways (you can attach an extra piece of paper if you have to) to continue drawing the grid.