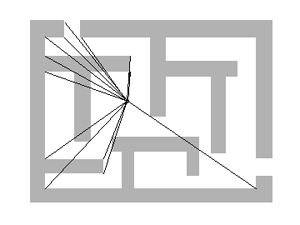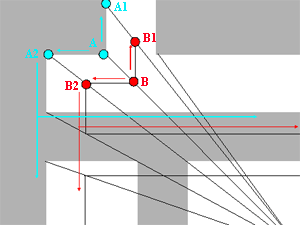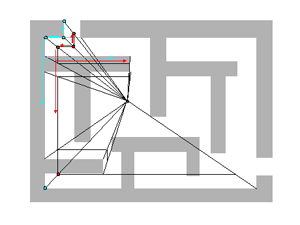
The top corners are marked with blue dots. The bottoms of the corners – are red.
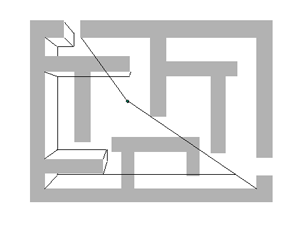
Start with the corner AB.
From this corner the top of the wall goes in two directions: up and left (follow the blue arrows). That means that the bottom of this wall goes in the same directions (follow the red arrows). AA1 is parallel to BB1; AA2 is parallel to BB2
So, from point B you draw a line that would be parallel to AA1. Stop at the receding line that comes from point A1.
From point B draw a line that is parallel to AA2. Stop at the receding line that comes from A2.
Congratulations! You are done with your first corner!
Continue building the “bottom” of the outer wall.
Every wall that is attached to the outer wall is built the same way: If the two wall share the same corner on the top of the wall, they will share the same corner at the bottom.

At some point you can erase the extra receding lines. Continue until you are done with every wall that is attached to the outer wall.
Now. What about the walls that are not attached to anything?
That’s easy too.
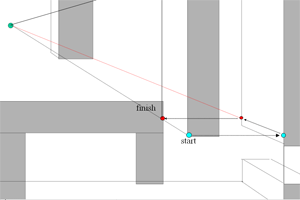
Pick a corner of detached wall (point START).
Find a closest wall that already has the bottom line.
Connect the START corner point with this wall. Use horizontal or vertical lines only. In my case it’s a horizontal line. As you reach the wall – stop (blue point).
From this point on the wall draw a receding line to the vanishing point.
Stop as you reach the bottom line of the wall (red dot).
Draw a line back to your original corner and stop as you reach the receding line going from your START point. That will be your FINISH.
FINISH point is the bottom corner of your detached wall.
From here – just draw a line that is parallel to the top of the detached wall.
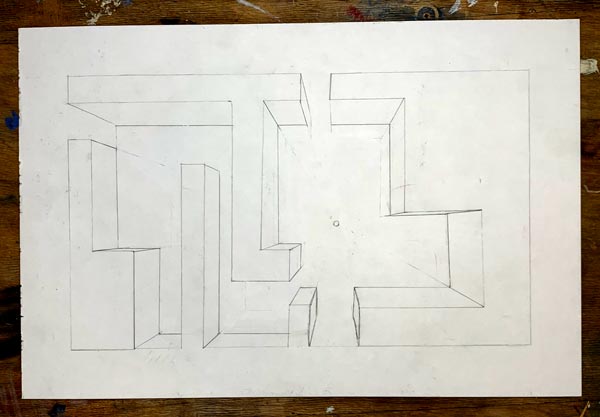
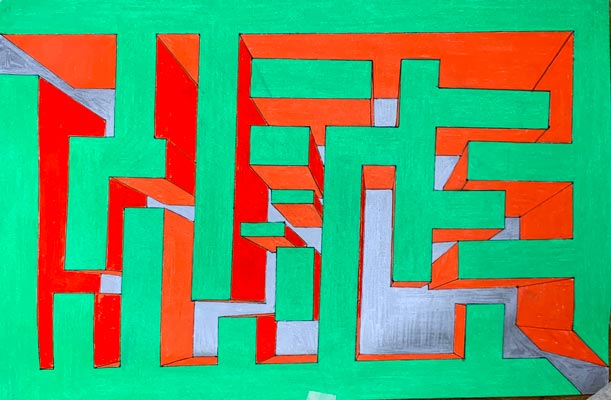
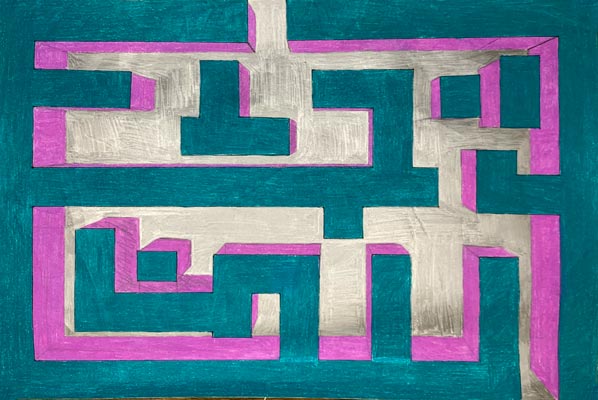
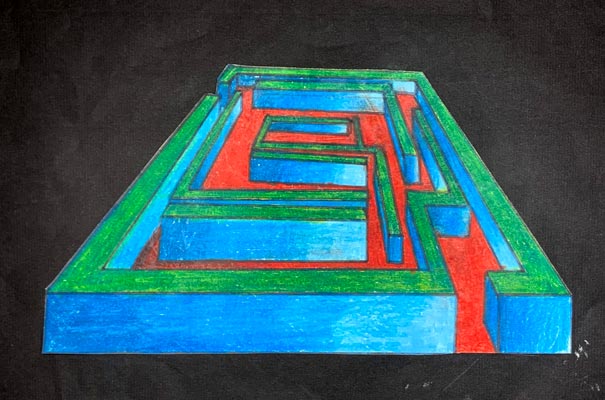
Continue building the walls. When done – it should look something like this.
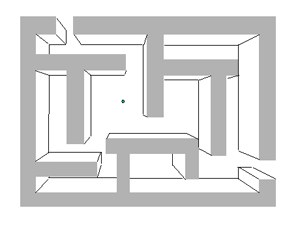
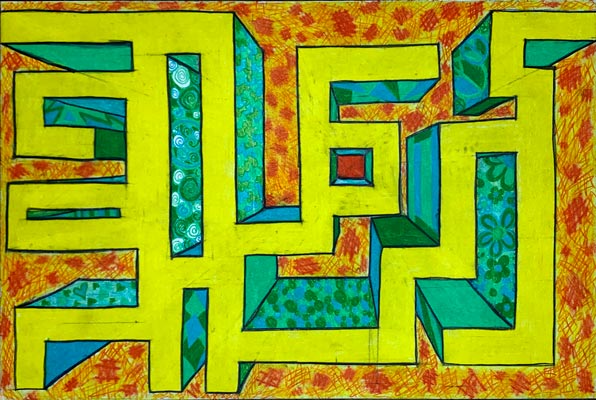
You can color the wall now. Use different colors for the top, sides, and ground.
You can be really creative and add niches, windows, gates, old roots, etc…
Use Prizmacolor pencils to color.
