Quick tip:
Use double-thickness illustration board (30-ply). Thinner board will warp.
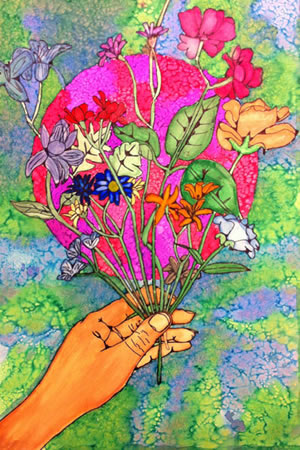
Pick a flower and draw your hand holding it.
DO A LIGHT LINE DRAWING, LIFE-SIZED, IN PENCIL…DO NOT SHADE.
Pay attention to the directions of the lines. Compare size relationships.
Add another flower to the bouquet.
Do not shade!
outlining and stylizing
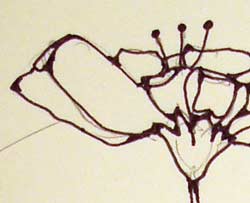
After you are done drawing - outline the entire picture with a fine Sharpie. Use solid, smooth lines.
STAY RIGHT ON THE LINES, TAKE YOUR TIME.
Round all corners to stylize the drawing:
USE THE “ROUNDING-OFF” STYLIZATION TECHNIQUE YOU LEARNED EARLIER.
APPLY THIS TECHNIQUE TO THE ENTIRE DRAWING.
THEN ERASE ALL YOUR STRAY PENCIL MARKS THAT ARE LEFT.
painting flowers

Now that you are finished with the drawing, you are ready to begin the painting.
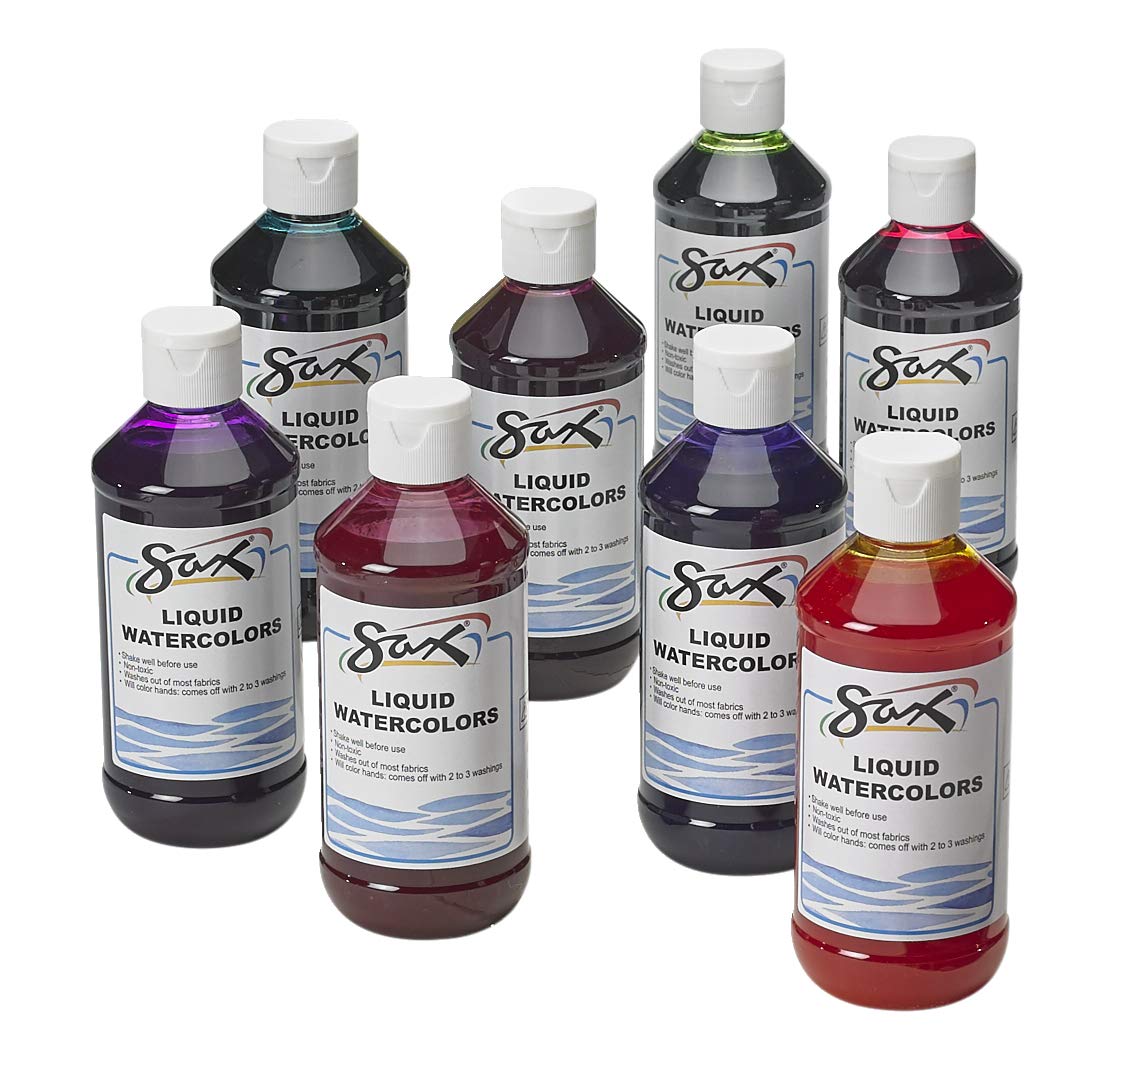
Use watercolor paint sets and follow the guidelines:
- each shape is different;
- at least 2 colors (or 2 shades) blended inside each shape;
- stay inside shape outlines;
- no white gaps inside shapes.

painting suggestions:
-
DO NOT USE THE WHITE WATERCOLOR PAINT.
YOU LIGHTEN COLORS BY ADDING MORE WATER TO THEM, WHICH ALLOWS MORE OF THE WHITE BOARD TO SHOW THROUGH.
-
STAY IN THE LINES AS YOU PAINT…BESIDES CREATING A FINISHED PIECE OF ARTWORK, YOU ARE ALSO IMPROVING YOUR HAND-EYE COORDINATION, AND YOUR FINE MOTOR SKILLS.
YOUR HAND IS PLACING THE PAINT ON THE BOARD WHERE YOUR BRAIN IS TELLING IT TO. YOUR BRAIN IS YOUR HAND’S BOSS.
-
USE ANY COLORS YOU WANT TO PAINT THE FLOWERS AND THE STEMS/LEAVES…YOU DON’T HAVE TO FOLLOW THE COLORS THAT THEY ACTUALLY ARE.
HOWEVER, YOUR COLORS MUST BE CUSTOM, “MIXED” COLORS…NOT A COLOR THAT ALREADY EXISTS IN YOUR SET. YOU ARE CREATING YOUR COLORS BY MIXING TWO PAINT COLORS TOGETHER.
-
Use at least two colors (or shades) inside each shape.
- THE COLORS YOU CREATE SHOULD BE “WASHES”…MEANING THAT THEY ARE VERY WATERY, EASY TO SEE THROUGH, TRANSLUCENT… THEY SHOULD NOT BE AN OPAQUE COLOR THAT COVERS UP THE SHARPIE LINES.
- THE PETALS THAT ARE “BEHIND” OTHER PETALS SHOULD BE A DARKER WASH OF THE SAME COLOR. THE PETALS IN FRONT SHOULD BE A LIGHTER WASH. YOU SHOULD USE DARK AND LIGHT WASHES OF THE SAME COLOR WITHIN EACH INDIVIDUAL FLOWER. THE SAME APPLIES TO LEAVES AND STEMS THAT ARE FURTHER BACK (BEHIND).
- TALK WITH ME BEFORE YOU BEGIN TO PAINT THE HAND. EVEN IF SOMEONE AT YOUR TABLE IS ALREADY PAINTING THE HAND, AND YOU THINK YOU UNDERSTAND HOW TO DO IT, I STILL WANT YOU TO TALK WITH ME FIRST.
- Paint each shape separately - do not cover the entire flower with one color.