Learning to draw hands is easier than it seems. Even though they are complex forms, they become less daunting by simplifying the shapes.
The elementary approach to drawing hands using circles and ovals is OK to start with, but the shapes are way more complex, they change with the position of a hand. So it is much better to train your eye to see what is required.
It can help to see each part of the finger as a short cylinder, depicted with an oval overlapping the next to form the joint, but from there the subtle variations of shape must be built up.
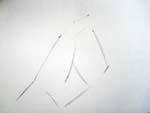
1

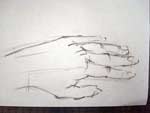
Rough in the overall form Imagine the hand is encased in a tight mitten, and sketch the basic shape formed by the hand and fingers.
Mark the imaginary lines through the joints.
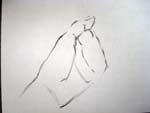
2

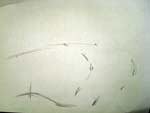
3

Refine the drawing Indicate the main visible creases, especially where the thumb folds into the hand.
Refine contour lines defining the palm and thumb
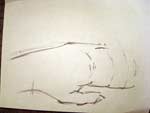
4

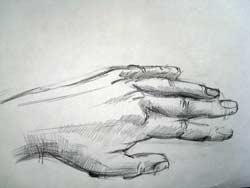
Complete with shading .

In this example some fingers are partially hidden. Draw the closest finger first and allow the others to sit in behind it, drawing only the portion you can see, or lightly indicating the hidden lines to help judge proportion.
based on http://drawsketch.about.com
assignment
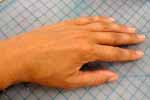
Sketch your own hand in the following positions:
study 1
1

Mark the dimensions of your hand. Find the most right, left, top, and bottom points. Pay attention to the directions of the lines.
Compare the sizes and proportions of the elements.
2

Mark all the joints and all angles. Define the shape.
3

Then shade - starting with the darkest areas.
study 2
It is really important to draw the direction lines for fingers. Remember - erasers are there for you to use!!! There will be some mistakes along the way. Take time to correct them! Never start drawing with small details. Do not shade until you are happy with the drawing.
study 3
study 4