There are many shading techniques. Use a different technique when it's appropriate.
Remember: smaller strokes are easier to control while shading
Print out worksheet 1
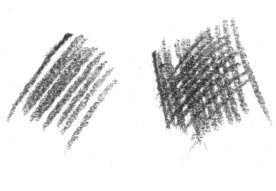
hatching - a shading technique that uses lines drawn closely together
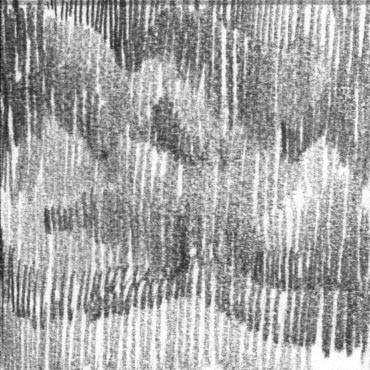
Vertical strokes.
Vary pressure and spacing of the lines to create values.

Angled strokes.
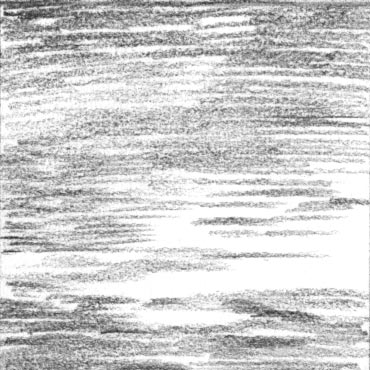
Horizontal strokes.
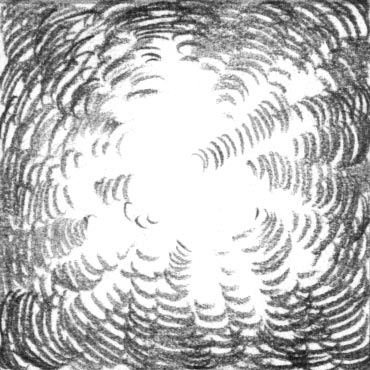
Short curved strokes.
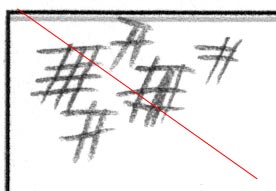
crosshatching - a shading technique that uses sets of lines (strokes) that overlap.
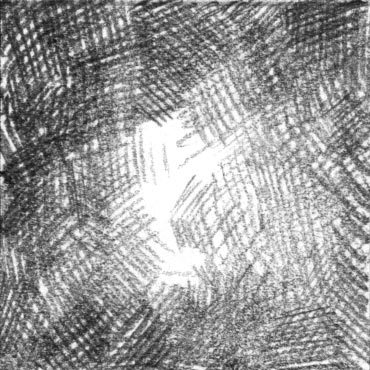
Crosshatching technique is great for layering values: sets of strokes can overlap multiple times to achieve the right value.
Please, do not try to "draw" the lines like tic-tact-toes:
Here is how you practice:
Place your hand comfortably over paper.
Draw a set of strokes (lightly) as far as you can without moving your arm. Only your wrist works!
Then change the position of the hand and draw another set of strokes in a different direction.
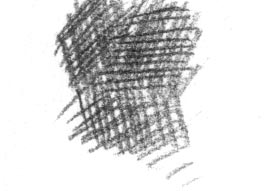
Continue adding the sets to make the shading consistent.
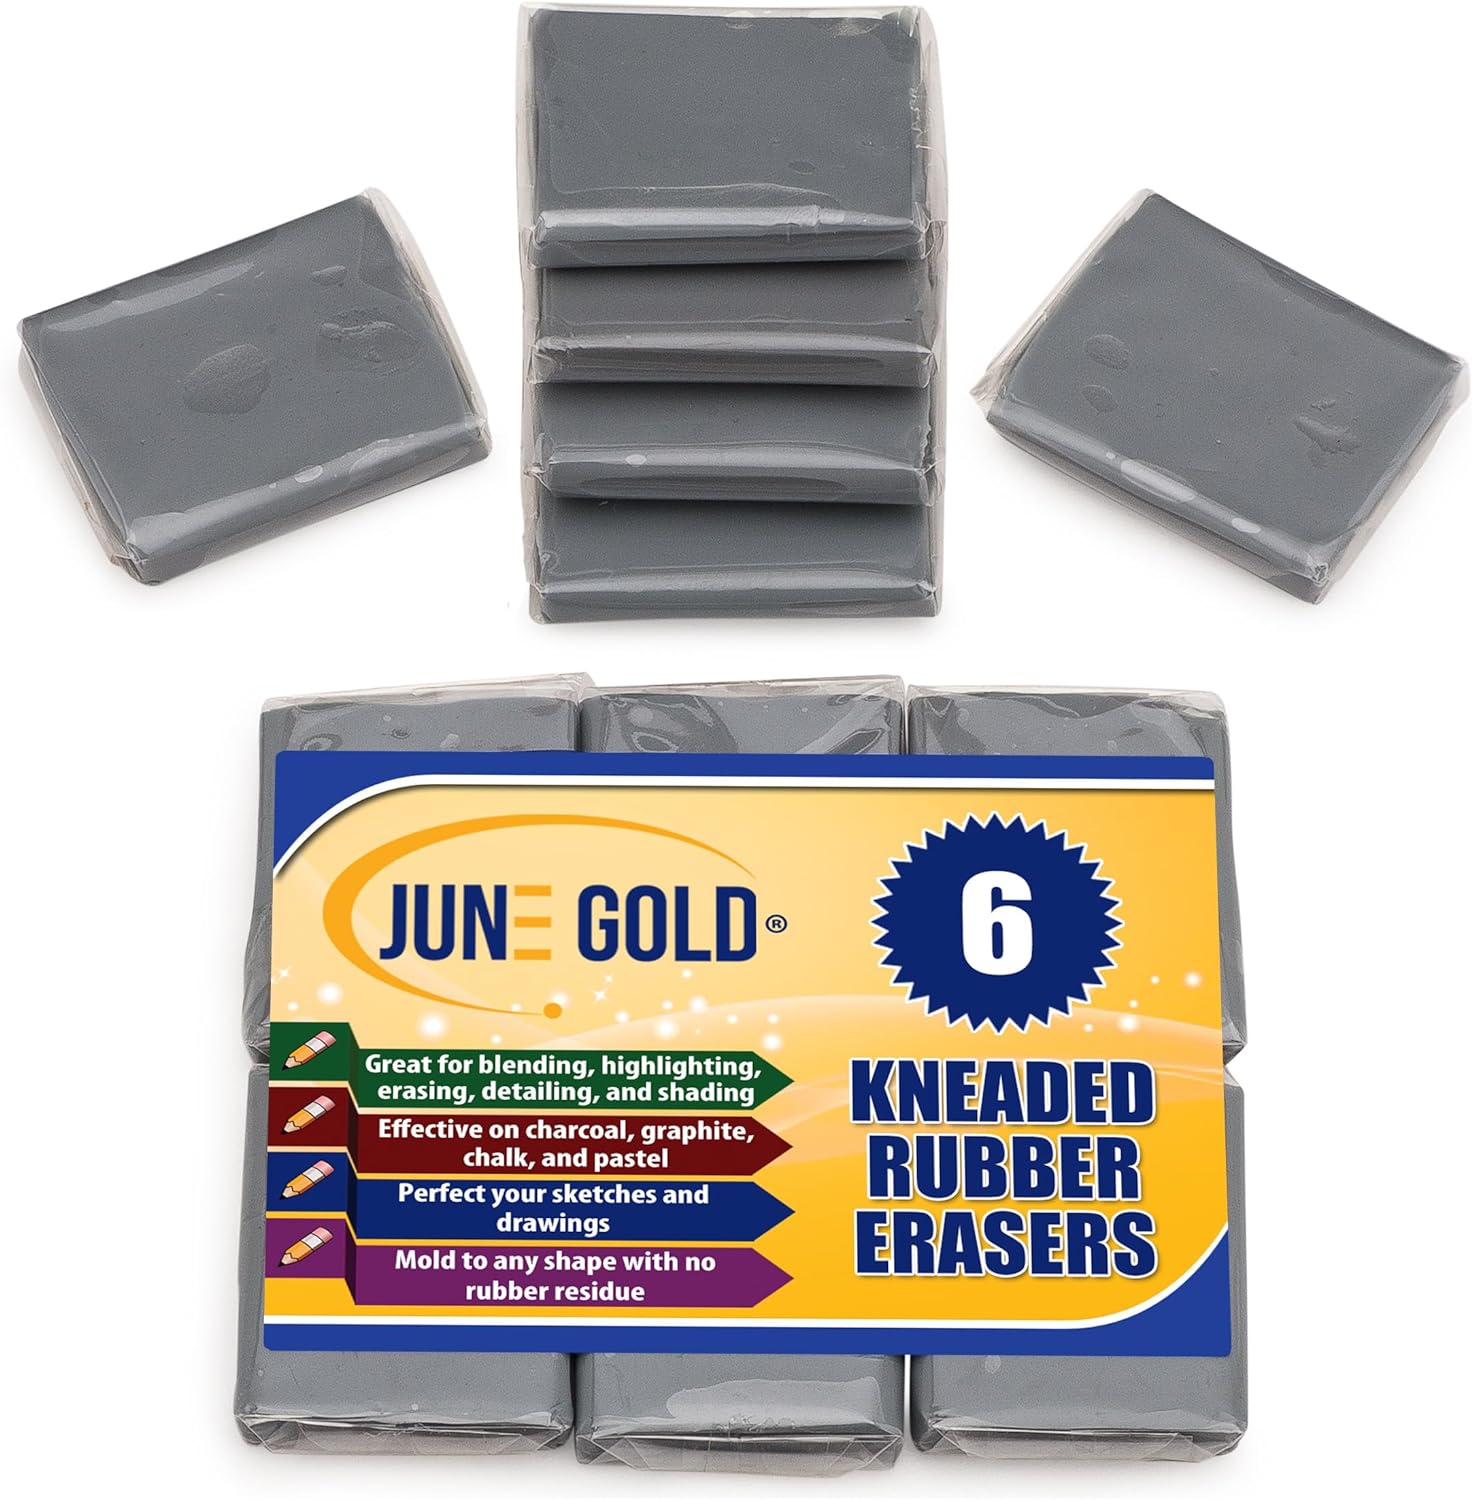
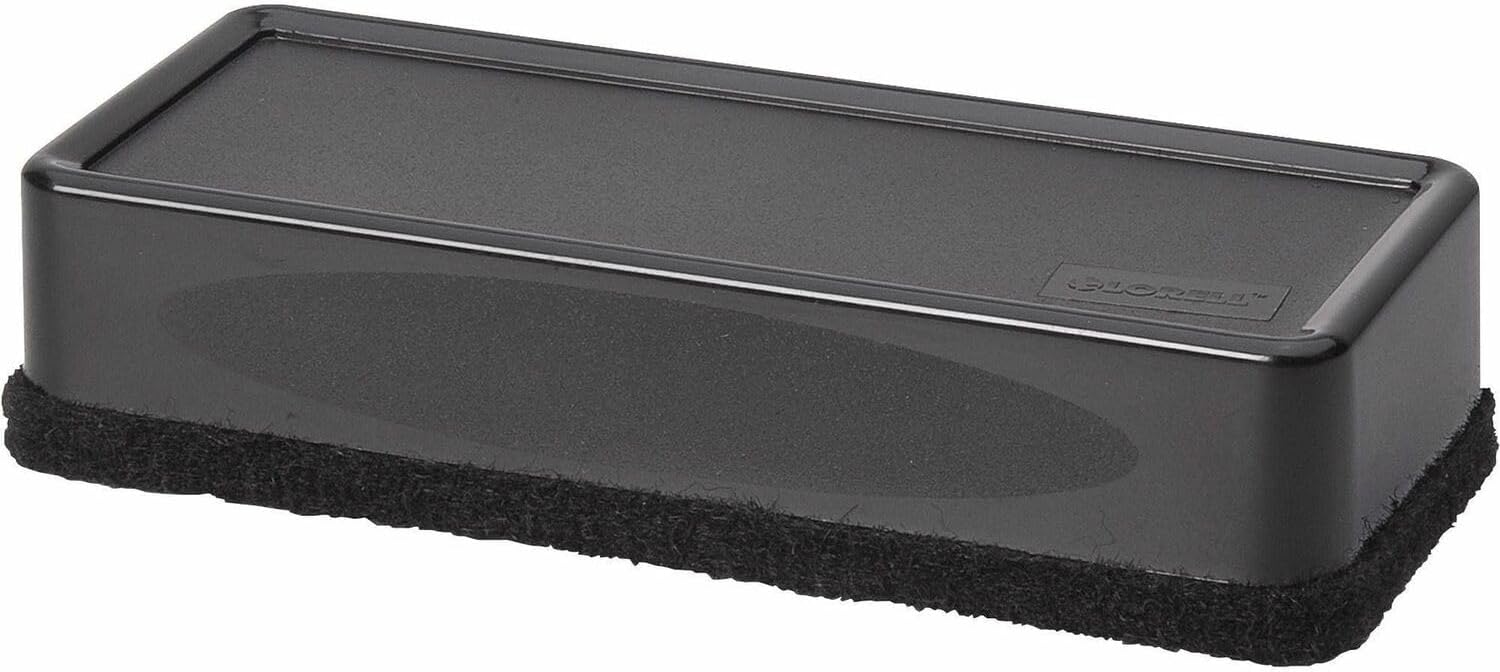
blending - a shading technique that is used mainly with soft materials (graphite, charcoal, pastel, etc.).
It involves rubbing strokes with a blending tool.
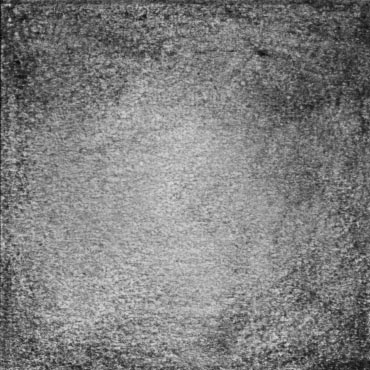
Blending tools include: tortillons (paper stumps), cotton, tissue, Chamois leather, paper towel, etc.
Do not use your finger for blending - the oil that is on your finger can ruin your drawing.
pointillism (stippling) - creating value in a drawing by placing dots.
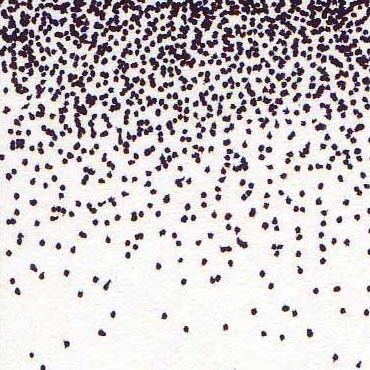
This is time consuming technique. It looks good when all dots are the same size.
To change value - alter space between the dots.
Works great with a felt pen, fine point markers, etc.
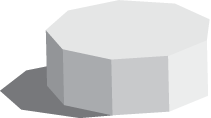
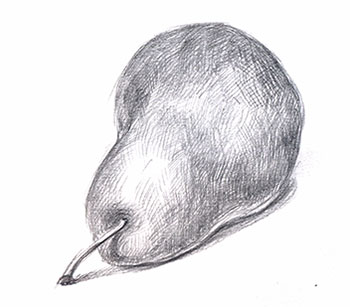
Value is created by a light source that shines on an object creating highlights and shadows.
What we see is the amount of light reflected from each surface. Each surface (plane) reflects the amount of light that it receives. So, the surfaces that face a light source receive the most light - so they reflect the most light - so they look the lightest.
As long as you are aware of this - it will make it so much easier to shade your drawing when you know where the light is coming from.
Value creates depth within a picture making an object look three dimensional with highlights and cast shadows, or in a landscape, where it gets lighter as it recedes to the background giving the illusion of depth.
Multiple surfaces (planes) of an object with a single light source cannot have same value (because they are all facing the light at different angles).
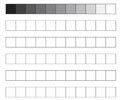
Value scale is a range of values (dakrs and lights) between black and white.


Values show space, depth, or perspective.
By lightening the more distant objects, artist can create an illusion of depth (atmospheric (or aerial) perspective).
Now, let's start with the value scales.
You always start with the darkest value (black).
Why? If you need to - you can always leave the lightest value just white, or go back and add shading to a mid-value. But what happens it you are half the way through the value scale - and already using the darkest value you can get out of your drawing pencil? You would have to go back and start erasing... Which ruins paper and creates a mess. So, just to save time and effort... start with black.

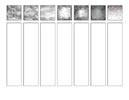
Print out worksheet 2
Use the value scale in your worksheet as a reference.
scale 1
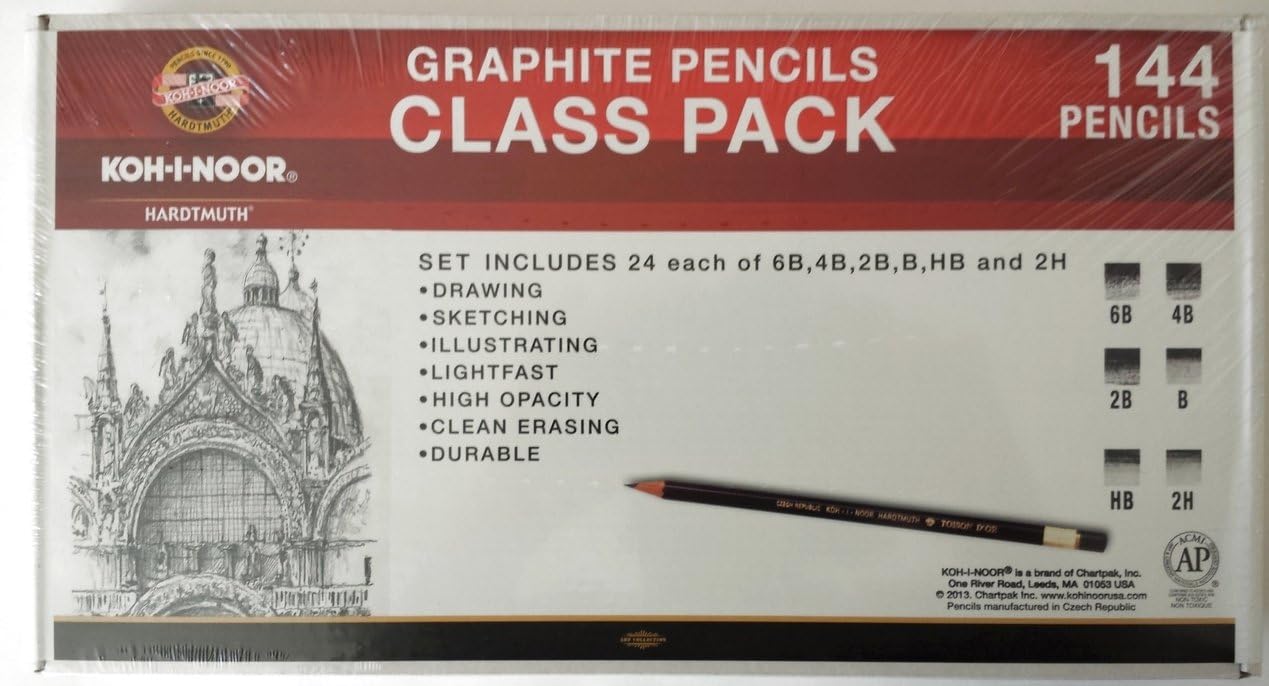
Start with hatching technique. Use different grade pencils for different values (see table below). Softer pencils produce darker values, hard pencils produce delicate light strokes.

scale 2
Use crosshatching shading technique:

scales 3-4
Continue practicing and experimenting with different shading techniques.
Fill in all squares with a uniform shading. Make sure the value changes gradually. Keep comparing values. Make sure the right square is always lighter than the left one.