


Oversized Cardboard Object Sculpture
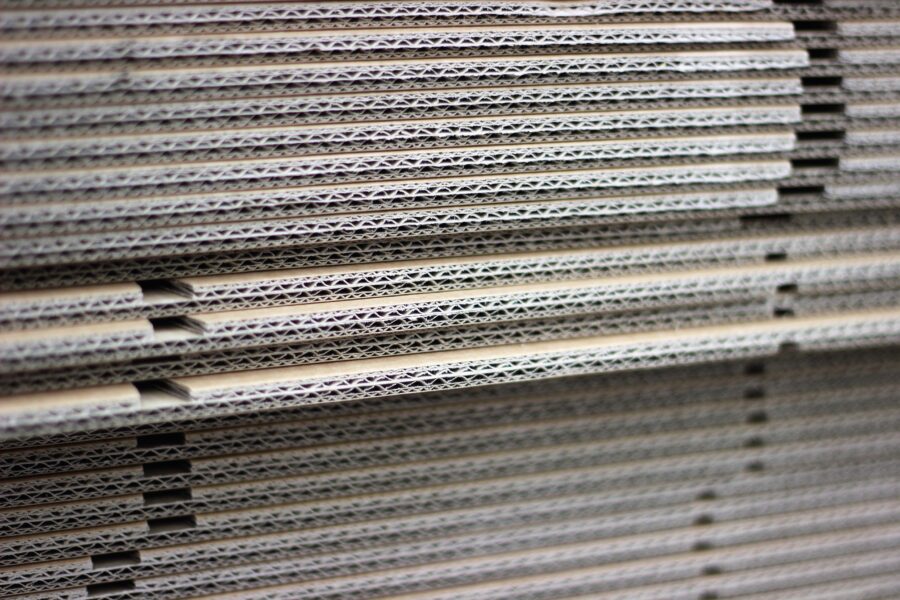
Take something ordinary and make it impossible to ignore.
For this summative project, you will choose an everyday object and recreate it as an oversized cardboard sculpture.
Your sculpture should clearly represent the original object, but it does not need to reproduce every tiny detail. Instead, you will analyze the object as a collection of forms, planes, curves, layers, and textures and determine how those forms can be constructed from corrugated cardboard.
You will apply the cardboard construction techniques learned in previous projects while developing new skills in box construction, bending, scoring, layering, structural support, and surface manipulation.
The finished sculpture should be recognizable, structurally sound, carefully crafted, and interesting from all sides.
Learning Goals
- Analyze a complex object as a combination of simpler forms.
- Plan a three-dimensional sculpture before beginning construction.
- Construct hollow forms using box construction techniques.
- Measure, cut, and join cardboard accurately.
- Create curved surfaces from corrugated cardboard.
- Score or partially cut cardboard to control bends.
.
- Layer cardboard to build thickness and raised details.
- Reveal corrugation as an intentional texture.
- Create internal supports when necessary.
- Join multiple constructed forms into one unified sculpture.
- Maintain accurate proportions while enlarging an object.
- Refine craftsmanship in a finished cardboard sculpture.
The Challenge
Choose an everyday object and recreate it larger than its normal size.
Your object should have enough complexity to challenge your construction skills.
Consider objects such as:
- shoe or boot
- camera
- headphones
- game controller
- telephone (not a “smart phone”)
- hair dryer
- coffee maker
- toaster
- old alarm clock
- backpack
- binoculars
- hand mixer
- desk lamp
- watering can
- power tool
- kitchen appliance
- musical instrument
- other teacher-approved object
Avoid objects that are basically one simple box or cylinder.
Your sculpture should have a variety of forms, changes in surface, and recognizable details.
Your sculpture should be approximately 18–30 inches in at least one dimension.
Think BIG.
Enlarging the object changes it from a small model into a sculpture and forces you to think about structure, proportion, and construction.
The sculpture should remain primarily natural cardboard.
Do not depend on paint to create the object or hide construction problems.
Different cardboard colors, printed areas, exposed corrugation, cut edges, layers, and changes in direction can become part of the visual design.
Project requirements:
Your finished sculpture must:
- Represent a recognizable everyday object.
- Be significantly larger than the original object.
- Measure approximately 18–30 inches in at least one dimension.
- Be fully three-dimensional.
- Be designed to be viewed from multiple sides.
- Use hollow/box construction as a major construction method.
- Include at least one curved or bent cardboard surface.
- Demonstrate scoring or partial cutting to create a controlled bend.
- Include intentional cardboard layering.
- Include exposed corrugation.
- Include raised, recessed, or dimensional details.
- Demonstrate accurate proportion.
- Have secure, carefully constructed joints.
- Include internal support where necessary.
- Be structurally stable.
- Demonstrate careful craftsmanship.
examples:


How to…
Cardboard Construction Techniques
Your sculpture must demonstrate several different ways of manipulating cardboard.
1. Box Construction
The main structure should be created primarily through hollow construction rather than stacking solid layers of cardboard.
Use cardboard planes to create enclosed forms.
A basic form may require:
- front
- back
- sides
- top
- bottom
Not every form needs to be a rectangular box. The same construction idea can be used with irregular shapes.
For example, you can cut two matching irregular side shapes and connect them with cardboard strips to create a hollow three-dimensional form.
This technique is especially useful for shoes, handles, appliances, cameras, tools, and other irregular objects
2. Tabs
Tabs can help connect cardboard surfaces cleanly.
Instead of gluing two edges directly together, leave or add a small cardboard tab that folds behind another surface.
Tabs can:
- strengthen joints
- help position pieces
- support curved surfaces
- reduce visible glue
Whenever possible, hide your structural connections inside the sculpture.
3. Bending Cardboard
Corrugated cardboard naturally resists bending in some directions.
To create a controlled bend, carefully cut or score only the top surface layer of the cardboard.
Do NOT cut completely through the cardboard.
Once the surface has been scored, gently bend the cardboard along the line.
A single scored line creates a sharper fold.
Multiple parallel scored lines can create a gradual curved surface.
Experiment on scrap cardboard before using this technique on your sculpture.
4. Creating Curved Forms
Curves can be created several ways.
You can:
- bend cardboard with the direction of the corrugation
- score parallel lines
- partially cut the surface
- wrap cardboard around an internal support
- connect two shaped ends with a flexible cardboard strip
Think of cardboard as a material that can become a skin stretched around a structure.
5. Layering
Use layers of cardboard to create thickness and raised details.
Layering works well for:
- soles
- buttons
- knobs
- rims
- handles
- seams
- logos
- panels
- edges
- decorative details
Vary the number of layers to create different levels of relief.
Layering should help describe the structure of the object rather than simply decorate its surface.
6. Revealed Corrugation
Use the interior structure of the cardboard as part of your design.
Carefully remove areas of the outer paper surface to reveal the corrugated layer underneath.
You can also intentionally expose corrugated edges.
Use this technique selectively to create contrast and texture.
The exposed cardboard should appear intentional rather than looking like damaged material.
7. Internal Supports
Large sculptures sometimes need support inside.
Create internal cardboard braces, ribs, crosspieces, or partitions to:
- prevent large surfaces from collapsing
- maintain the shape of curved forms
- support attached components
- strengthen weak areas
Good construction is not only about what we can see.
Sometimes the most important cardboard is hidden inside.
STEPS
Step 1: Choose Your Object
Choose an object that has enough complexity to make an interesting sculpture.
Ask yourself:
Can I identify several different forms?
Does it have curves as well as flat surfaces?
Does it have interesting details?
Will people recognize it without color or paint?
Can I enlarge it successfully?
Get your object approved before beginning construction.
Before building anything, study your object carefully.
Take or find reference photographs showing it from several viewpoints:
- back
- sides
- top
- three-quarter view
Then stop thinking about what the object is and start thinking about how it is built.
A shoe might become:
sole + side walls + curved upper + tongue + layered details
A camera might become:
main box + lens cylinders + grip + raised buttons + recessed areas
Complex objects become much easier to construct when you break them into simpler forms.
Step 2: Photograph and Analyze
Collect several reference images.
Sketch the object from different viewpoints.
Identify the major forms.
On your sketch, label how you might construct each section.
For example:
- BOX CONSTRUCTION
- CURVED PANEL
- LAYERED
- SCORED + BENT
- CORRUGATION
- INTERNAL SUPPORT
You are creating a construction plan, not simply a drawing.
Step 3: Determine Scale
Decide how large your sculpture will be.
Choose one important measurement from the original object and determine how much you will enlarge it.
Use the same approximate scale throughout the sculpture.
If one part becomes three times larger, the other parts should also become approximately three times larger.
This will help maintain accurate proportions.
Step 4: Build the Main Form
Begin with the largest structural component.
Do not begin with buttons, shoelaces, switches, logos, or other details.
Build the big form first.
Check:
- proportion
- symmetry when appropriate
- stability
- overall silhouette
If the main structure is incorrect, adding details will not fix it.
Step 5: Add Secondary Forms
Construct the next-largest components separately.
Use box construction, curved panels, cylinders, folded cardboard, or other appropriate techniques.
Dry fit pieces before permanently attaching them.
Continue comparing your sculpture with your reference images.
Step 6: Create Curves
Identify areas where the original object curves.
Score or partially cut the top layer where necessary.
For gradual curves, make a series of parallel scores rather than one deep fold.
Step 7: Add Layers and Details
Once the major structure is complete, begin adding smaller forms.
Use layers to create raised areas and thickness.
Look for details that make the object recognizable.
You do not need to reproduce every detail.
Choose the ones that communicate the object’s identity and structure most effectively.
Step 8: Reveal the Material
Select areas where exposed corrugation can become part of the sculpture.
Consider contrast:
- smooth surface / rough corrugation
- flat plane / layered edge
- large simple area / detailed area
Allow the viewer to recognize that the sculpture is made from cardboard.
Do not try to disguise the material.
Step 9: View From Every Side
Walk around your sculpture. Look at it from multiple points.
A sculpture is not a drawing with a back attached. Every viewpoint matters.
Make sure the forms connect convincingly and unfinished areas are resolved.
Step 10: Refine
Inspect your sculpture carefully.
Look for:
- excessive hot glue
- loose joints
- crooked edges
- crushed cardboard
- unintended gaps
- rough cuts
- unsupported surfaces
- inaccurate proportions
- unfinished areas
Clean, repair, trim, reinforce, or rebuild where necessary.
Final Checklist
Before submitting your sculpture, check:
- Oversized everyday object
- Approximately 18–30 inches or larger
- Recognizable form
- Accurate overall proportions
- Fully three-dimensional construction
- Hollow/box construction
- Curved cardboard construction
- Scored or partially cut bend
- Layered cardboard
- Raised/recessed details
- Exposed corrugation
- Strong structural connections
- Internal supports where needed
- Interesting from multiple viewpoints
- Clean craftsmanship
- Stable finished sculpture
Assessment
Planning & Problem Solving
The object was analyzed into manageable forms and construction methods were planned before building.
Form & Proportion
The sculpture successfully captures the major forms, proportions, and recognizable characteristics of the original object.
Construction Techniques
The sculpture demonstrates successful use of box construction, bending/scoring, layering, curved construction, and exposed corrugation.
Three-Dimensional Construction
Forms are developed completely and thoughtfully rather than functioning primarily as flat façades.
Craftsmanship
Cuts are controlled, joints are secure, glue is used carefully, and construction problems are resolved.
Structural Integrity
The sculpture is stable and uses appropriate internal support where necessary.
Material Exploration
The natural qualities of cardboard, including edges, layers, surfaces, and corrugation, are intentionally incorporated into the design.
Complexity & Effort
The student selected an appropriately challenging object and demonstrated persistence in solving construction problems.
Parcourez les avantages proposés sur https://winouienligne.com/ et découvrez un casino pensé pour le public francophone.