


Vector Food Illustration
WI State Standards:
- AA Cr10h
Investigate: Engage in critical thinking, problem solving, and research through elements and principles of art and design studio practices and processes.
(aesthetics / problem solving) - AA Cr11h
Plan: Formulate original concepts by practice, experimentation, and revision. (planning/experimentation) - AA Cr12h
Make: Create works of art that introduce students to media, care of tools, and basic craftsmanship skills.
(skills)
Learning objectives
- Create and edit a Gradient Mesh.
- Add and manipulate mesh points and mesh lines.
- Apply colors to individual mesh points.
- Create realistic highlights, shadows, and color transitions.
- Understand how light and color create the illusion of 3D form.
- Use additional vector shapes to create small details and textures.
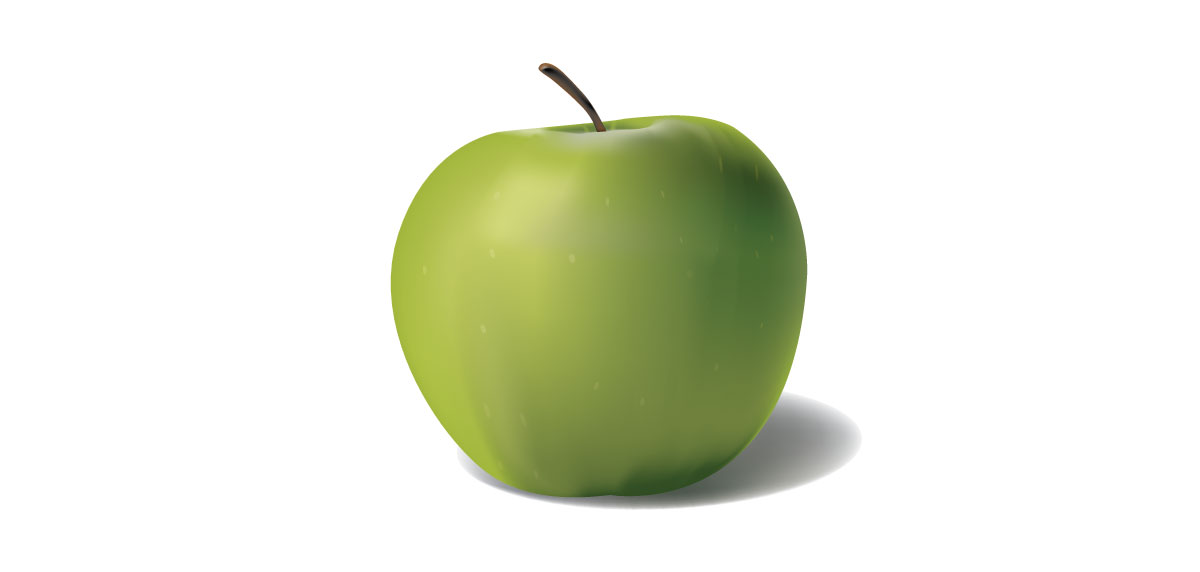
The Challenge: Can you make a vector illustration look like a photograph?
In this project, you will create a realistic-looking illustration of a fruit or food item using the Gradient Mesh Tool in Adobe Illustrator.
Your goal is to recreate the appearance of real food by using carefully placed colors, highlights, shadows, and smooth color transitions. You will learn how to create the illusion of volume and three-dimensional form using vector graphics.
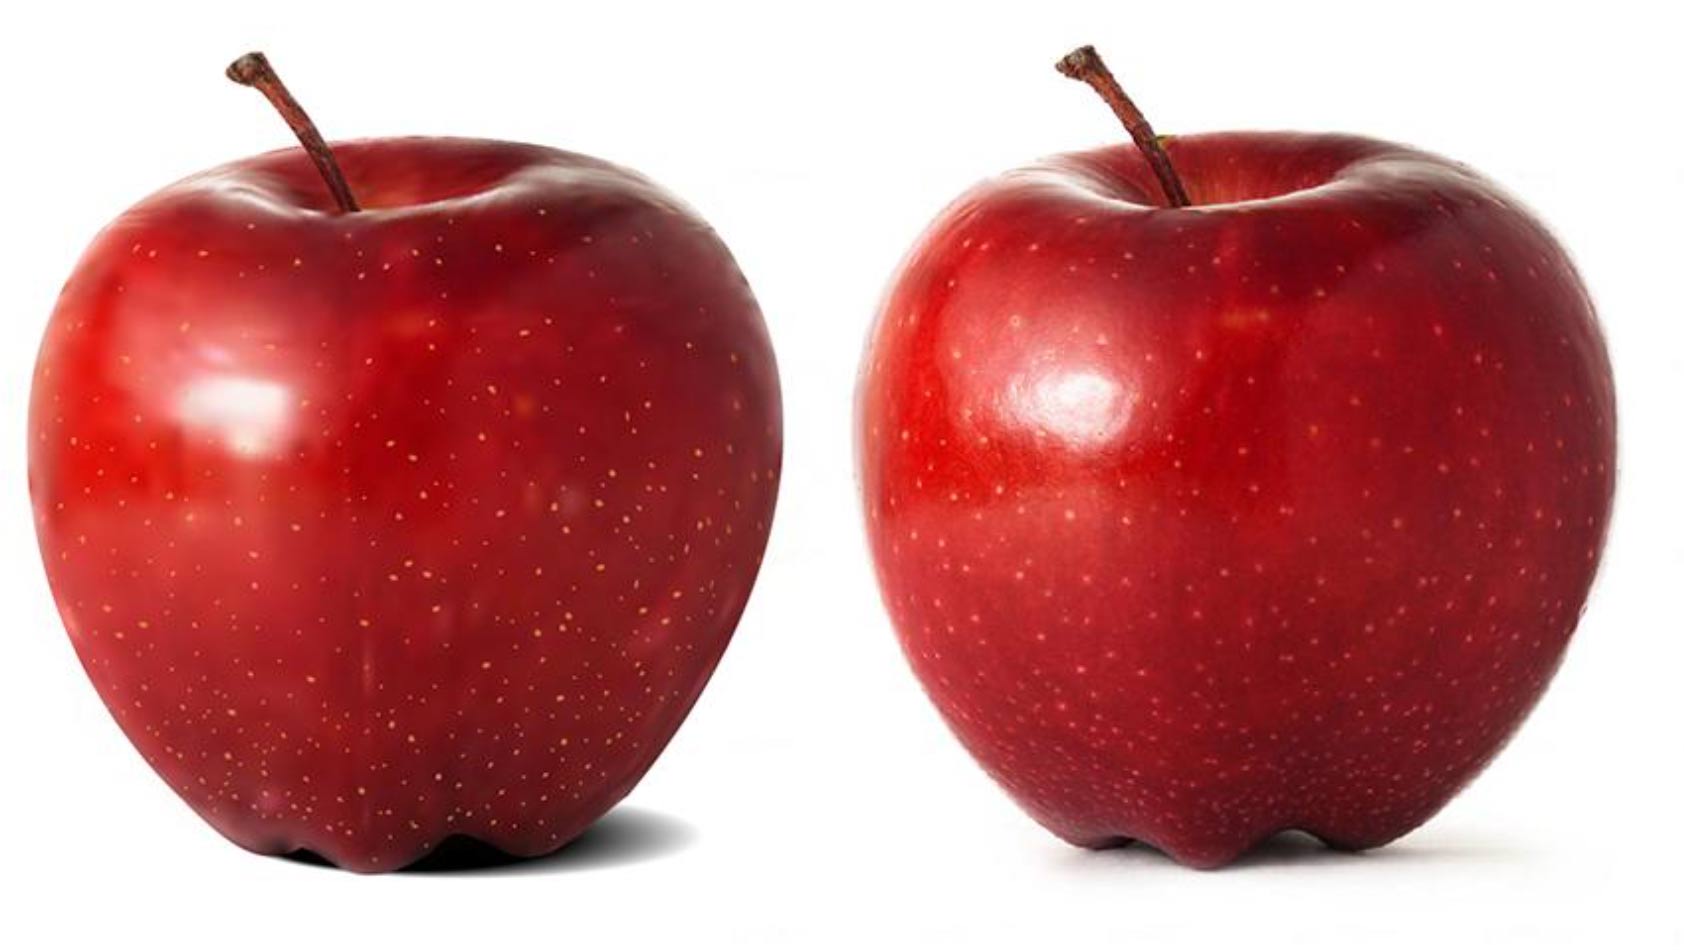
examples:
PART 1. Choose Your Subject
Choose ONE fruit or food item to illustrate. Look for an object with interesting colors, highlights, and shadows.
Suggested Subjects
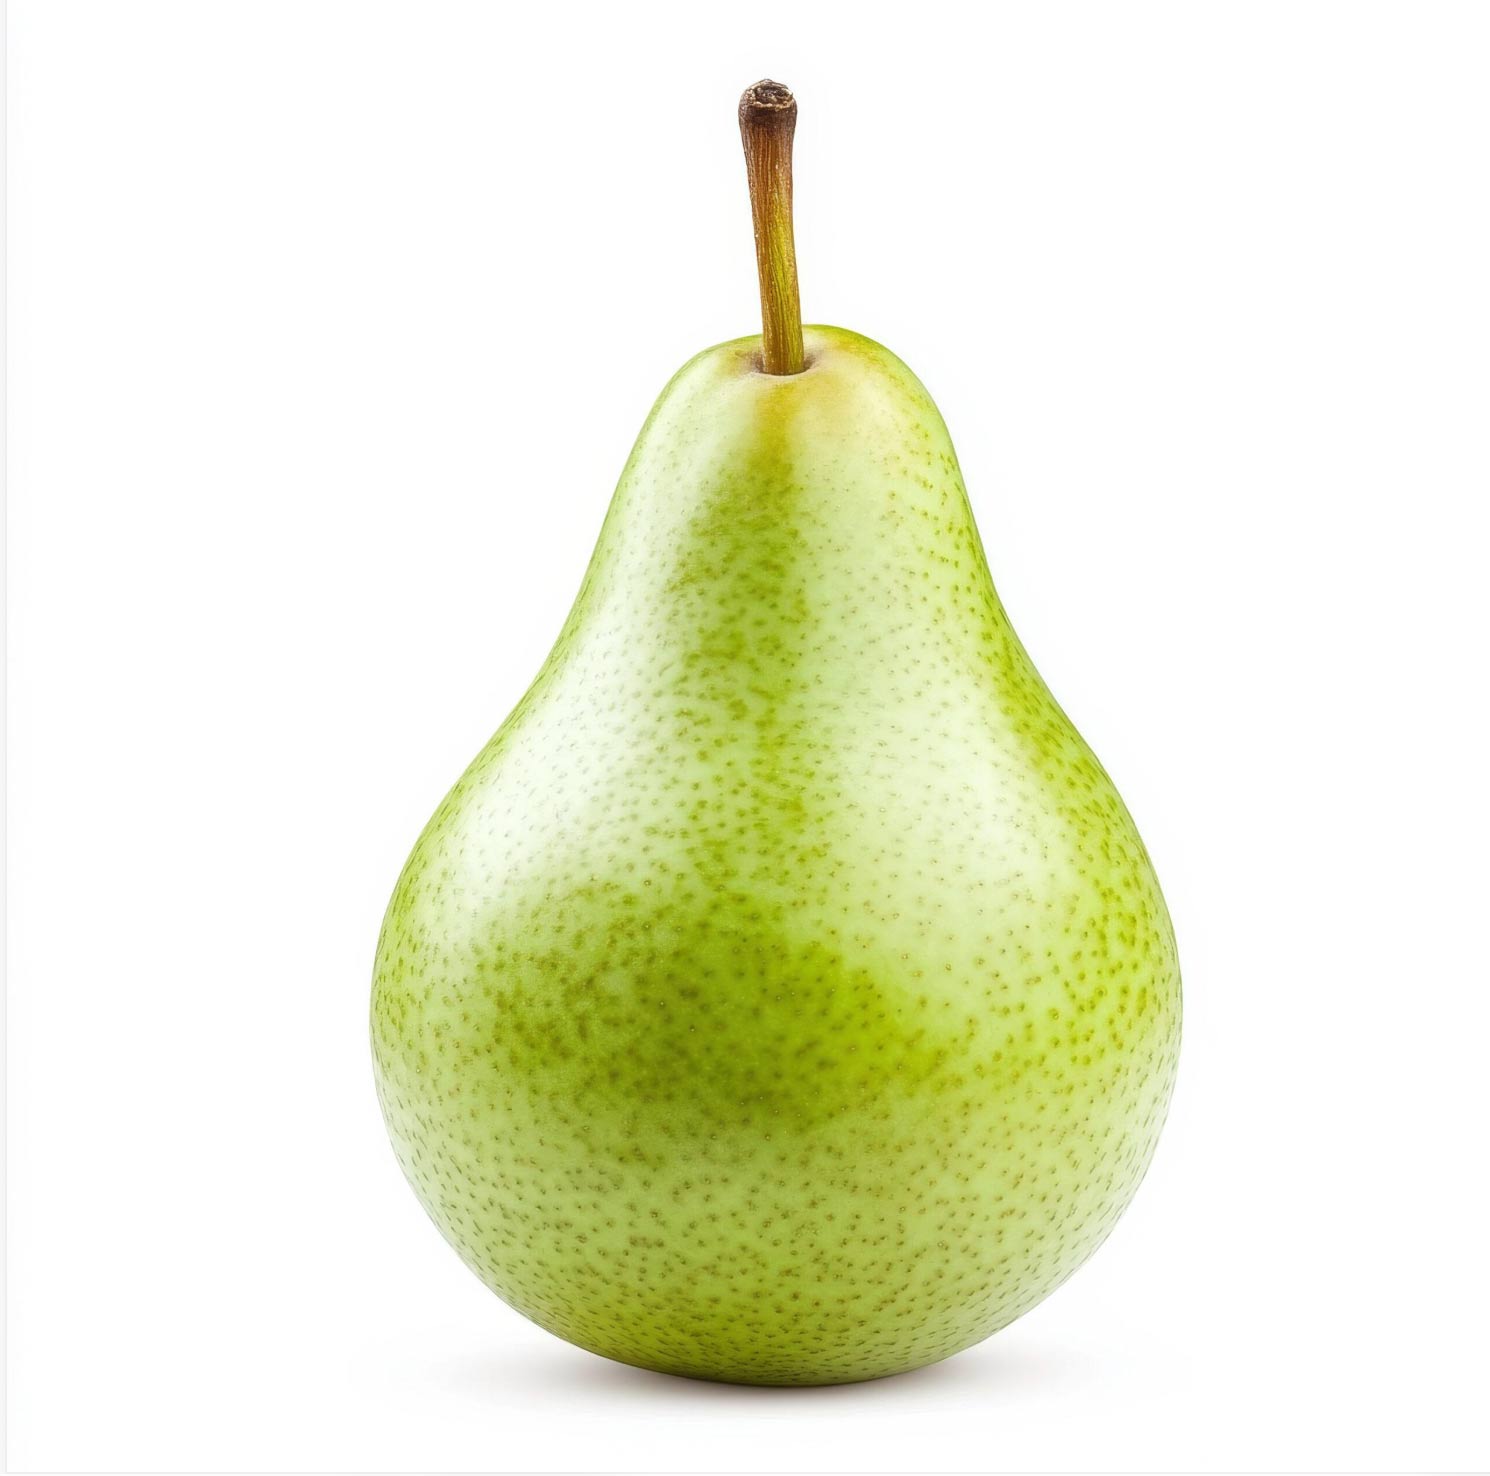
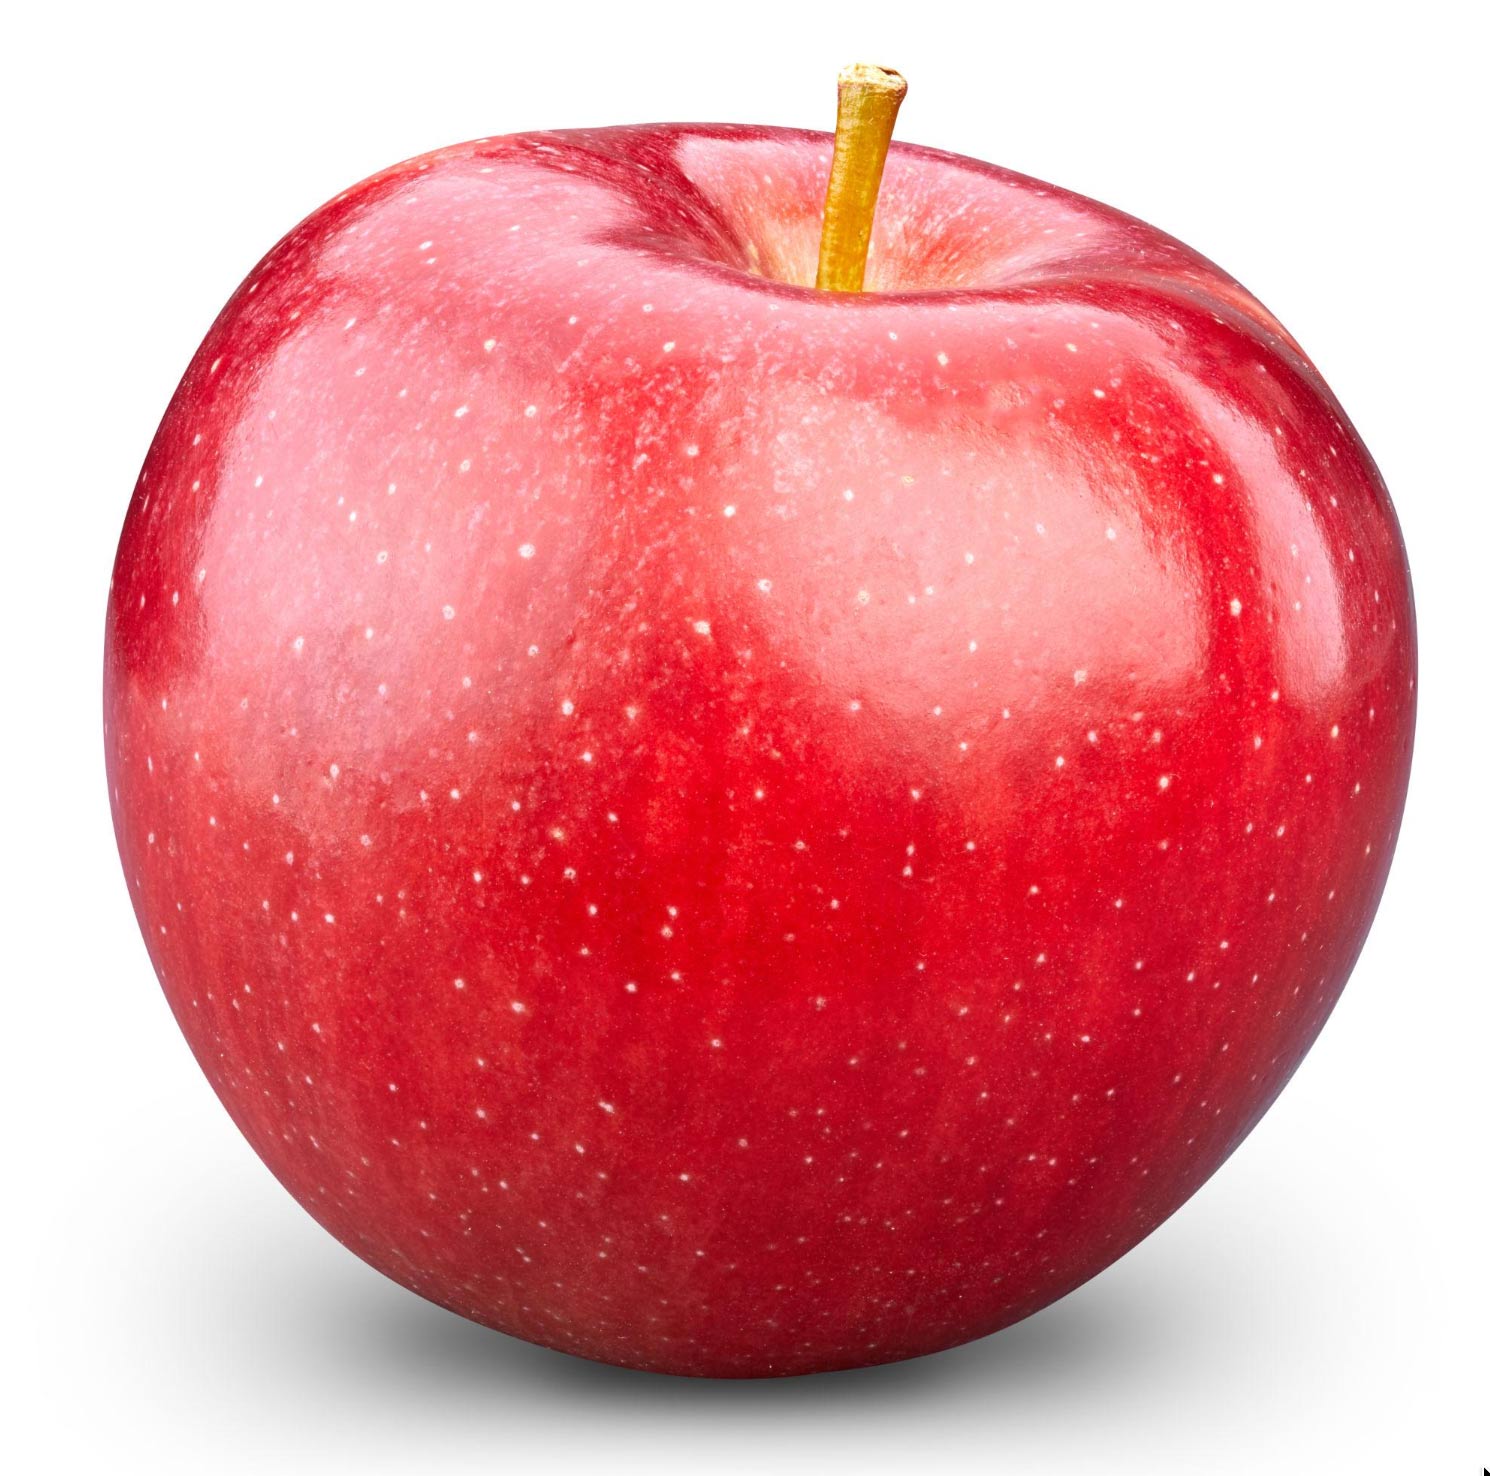
Beginner: Apple, pear, lemon, plum. These have relatively simple silhouettes and not many details.
Intermediate: Peach, tomato, pepper. More complex gradient mesh, but still quite simple silhouettes.
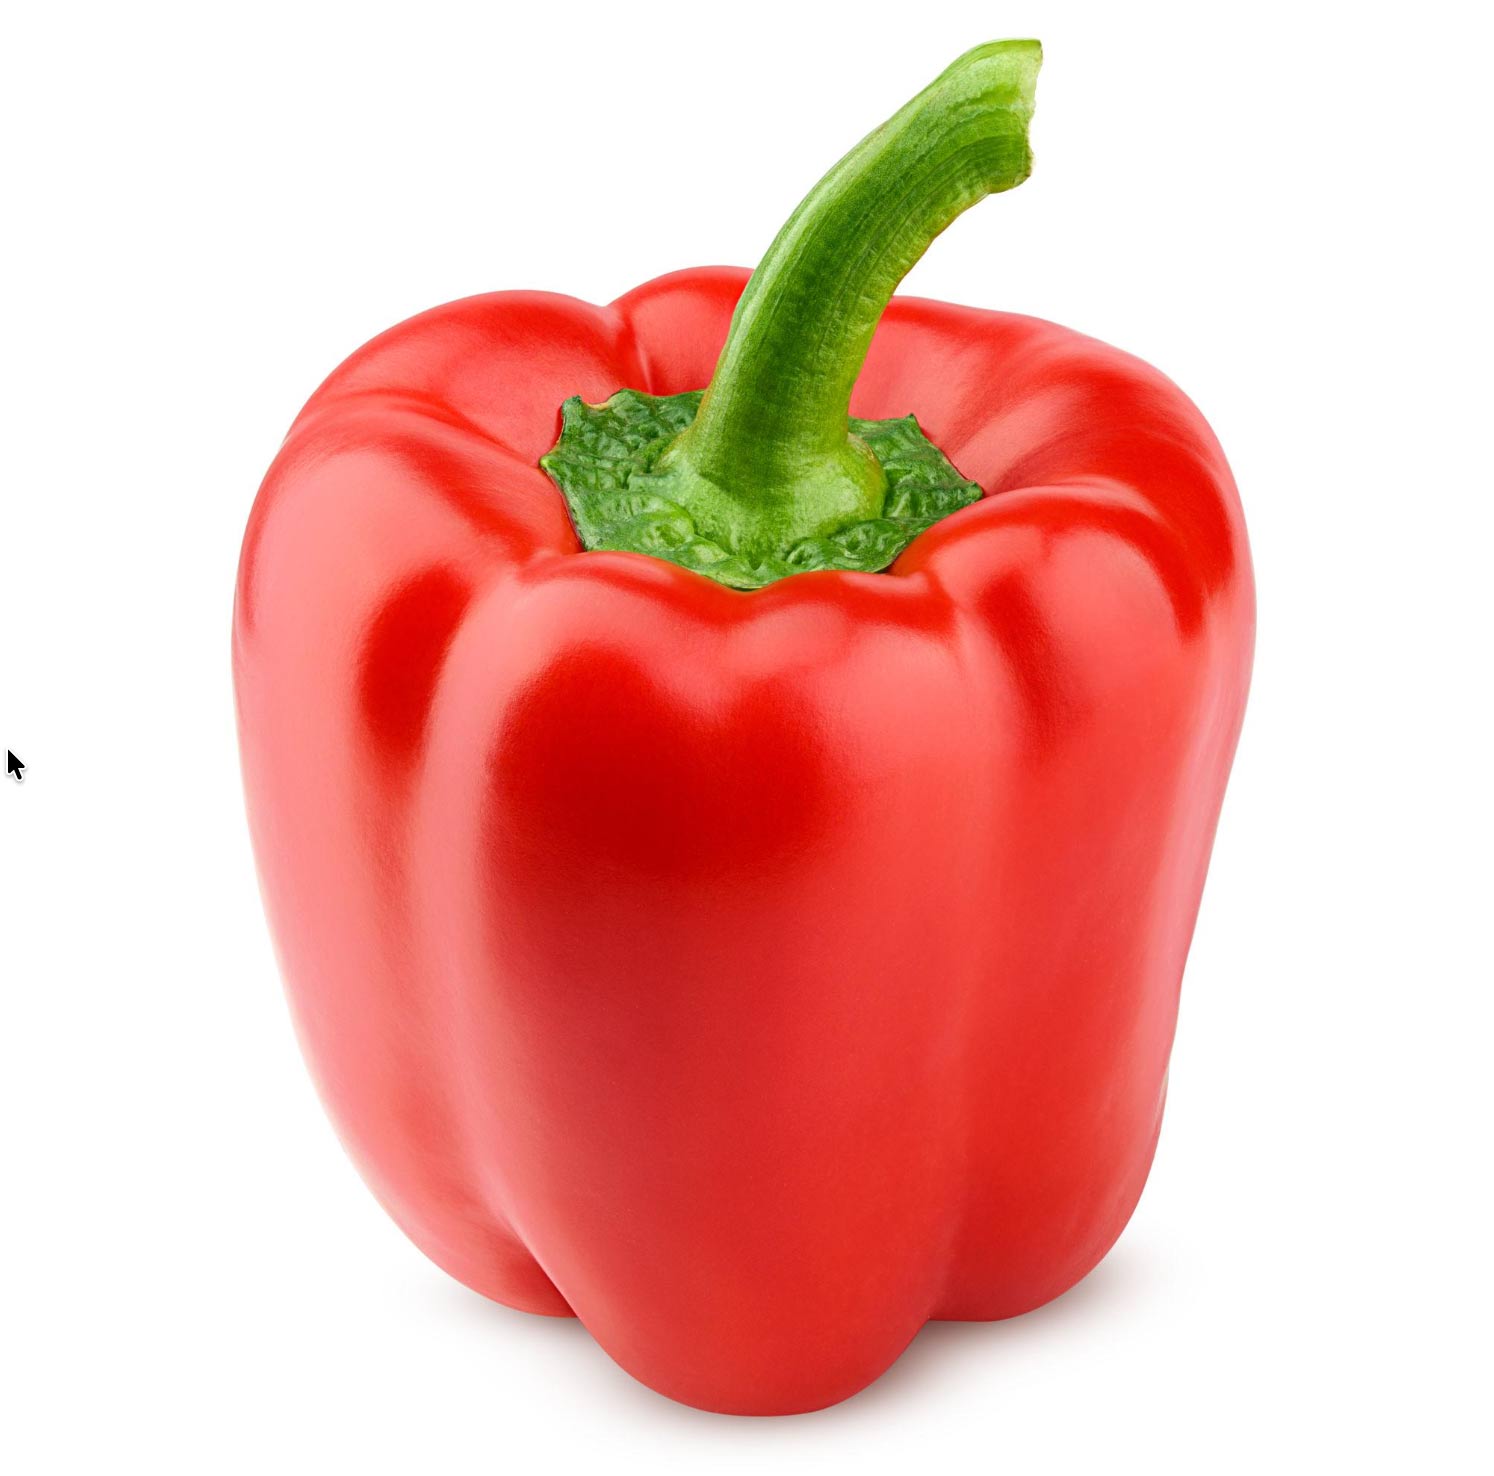
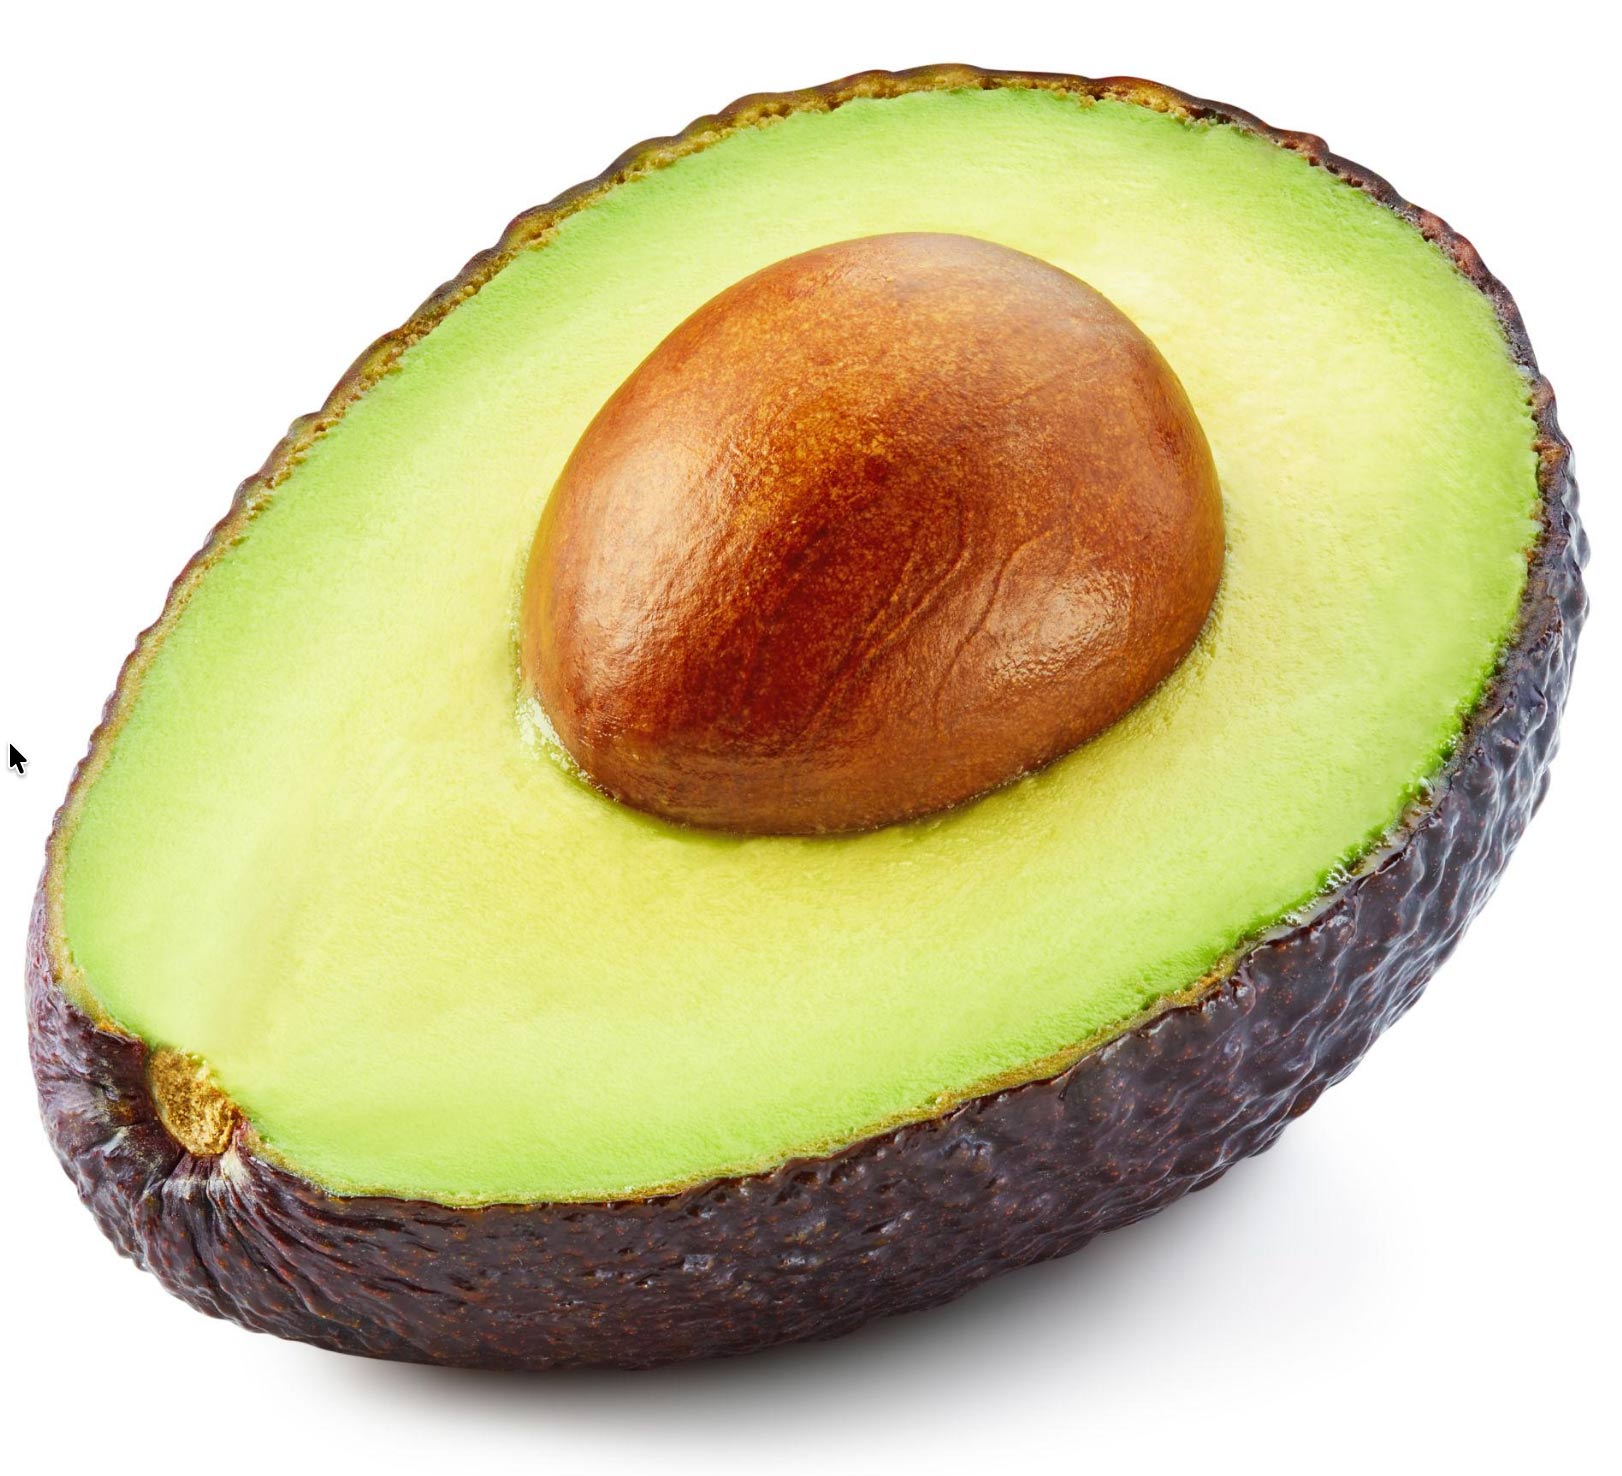
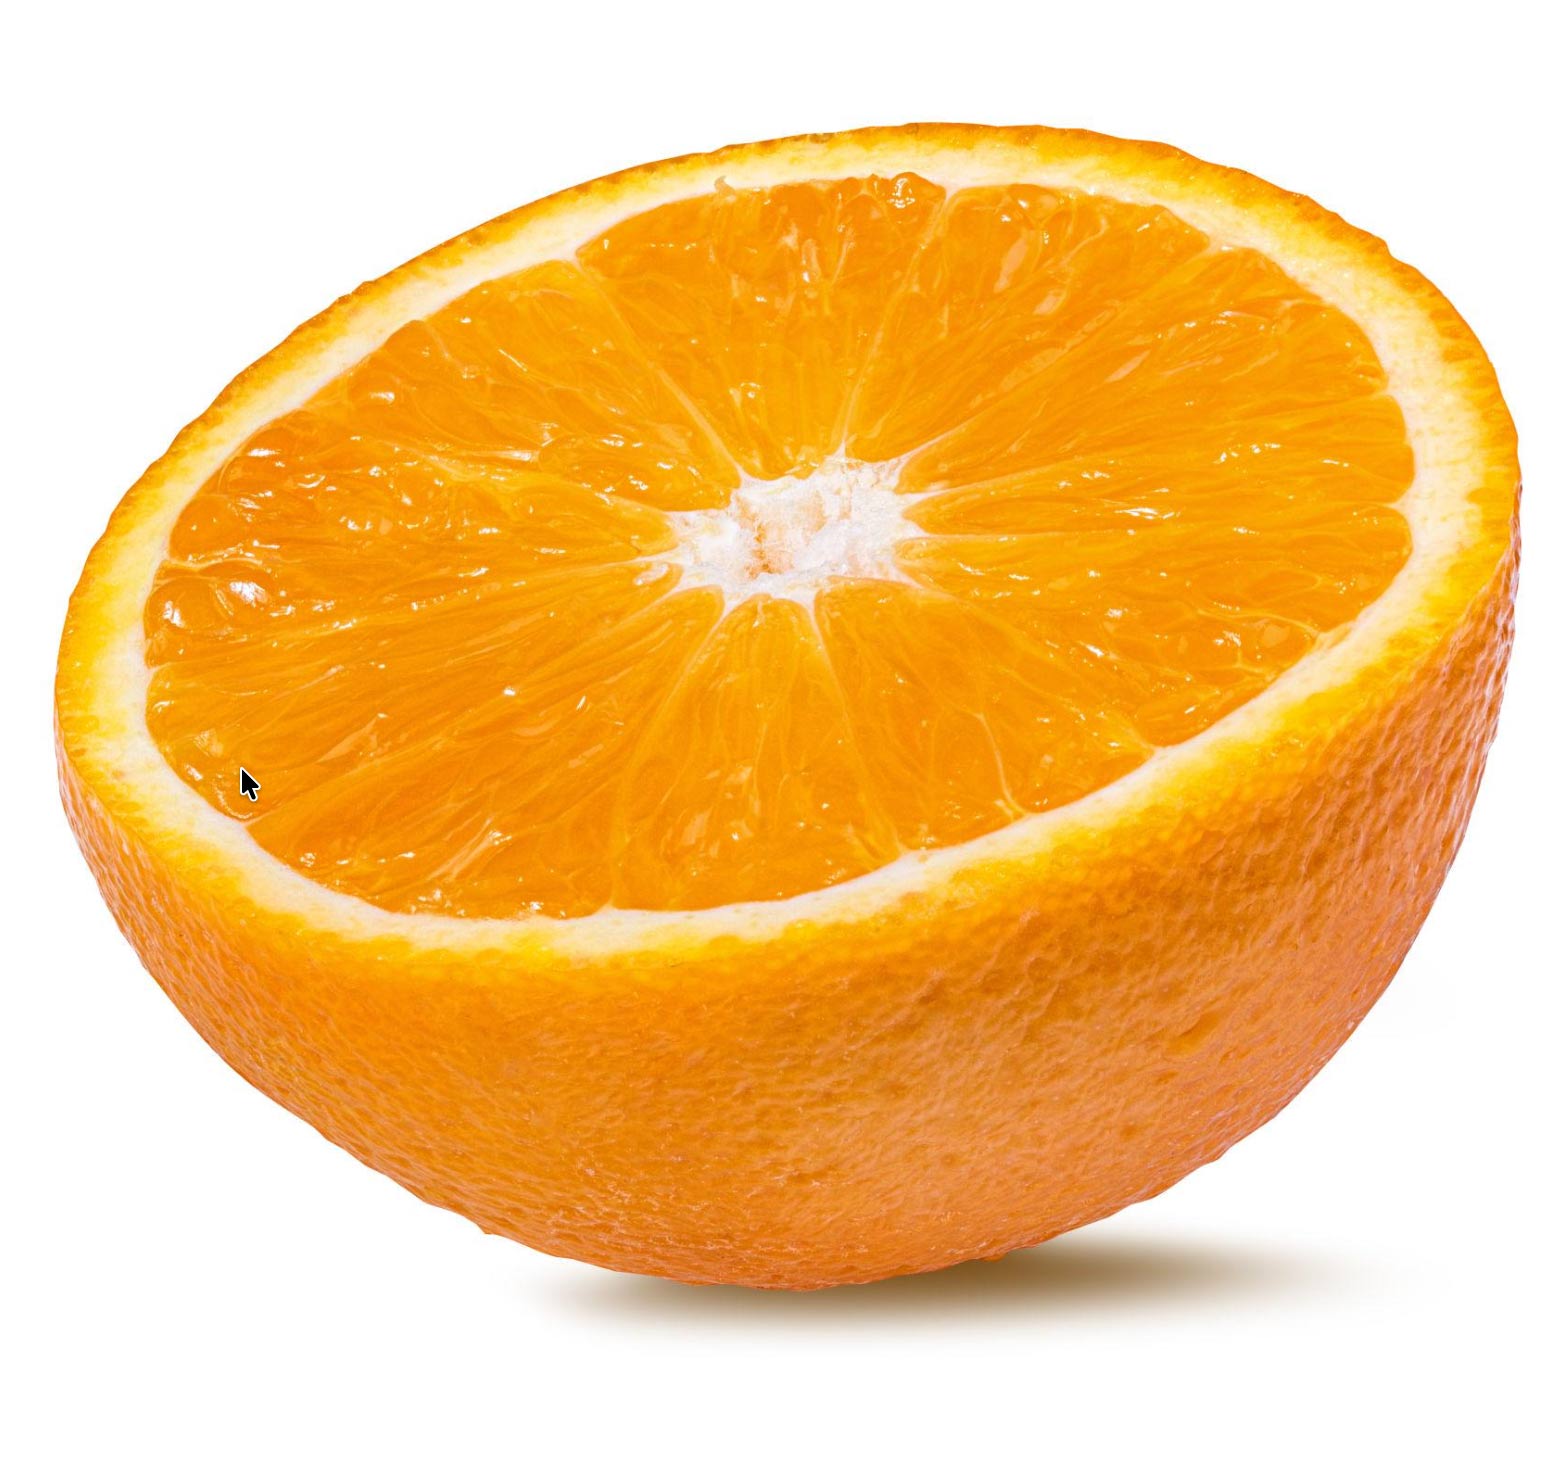
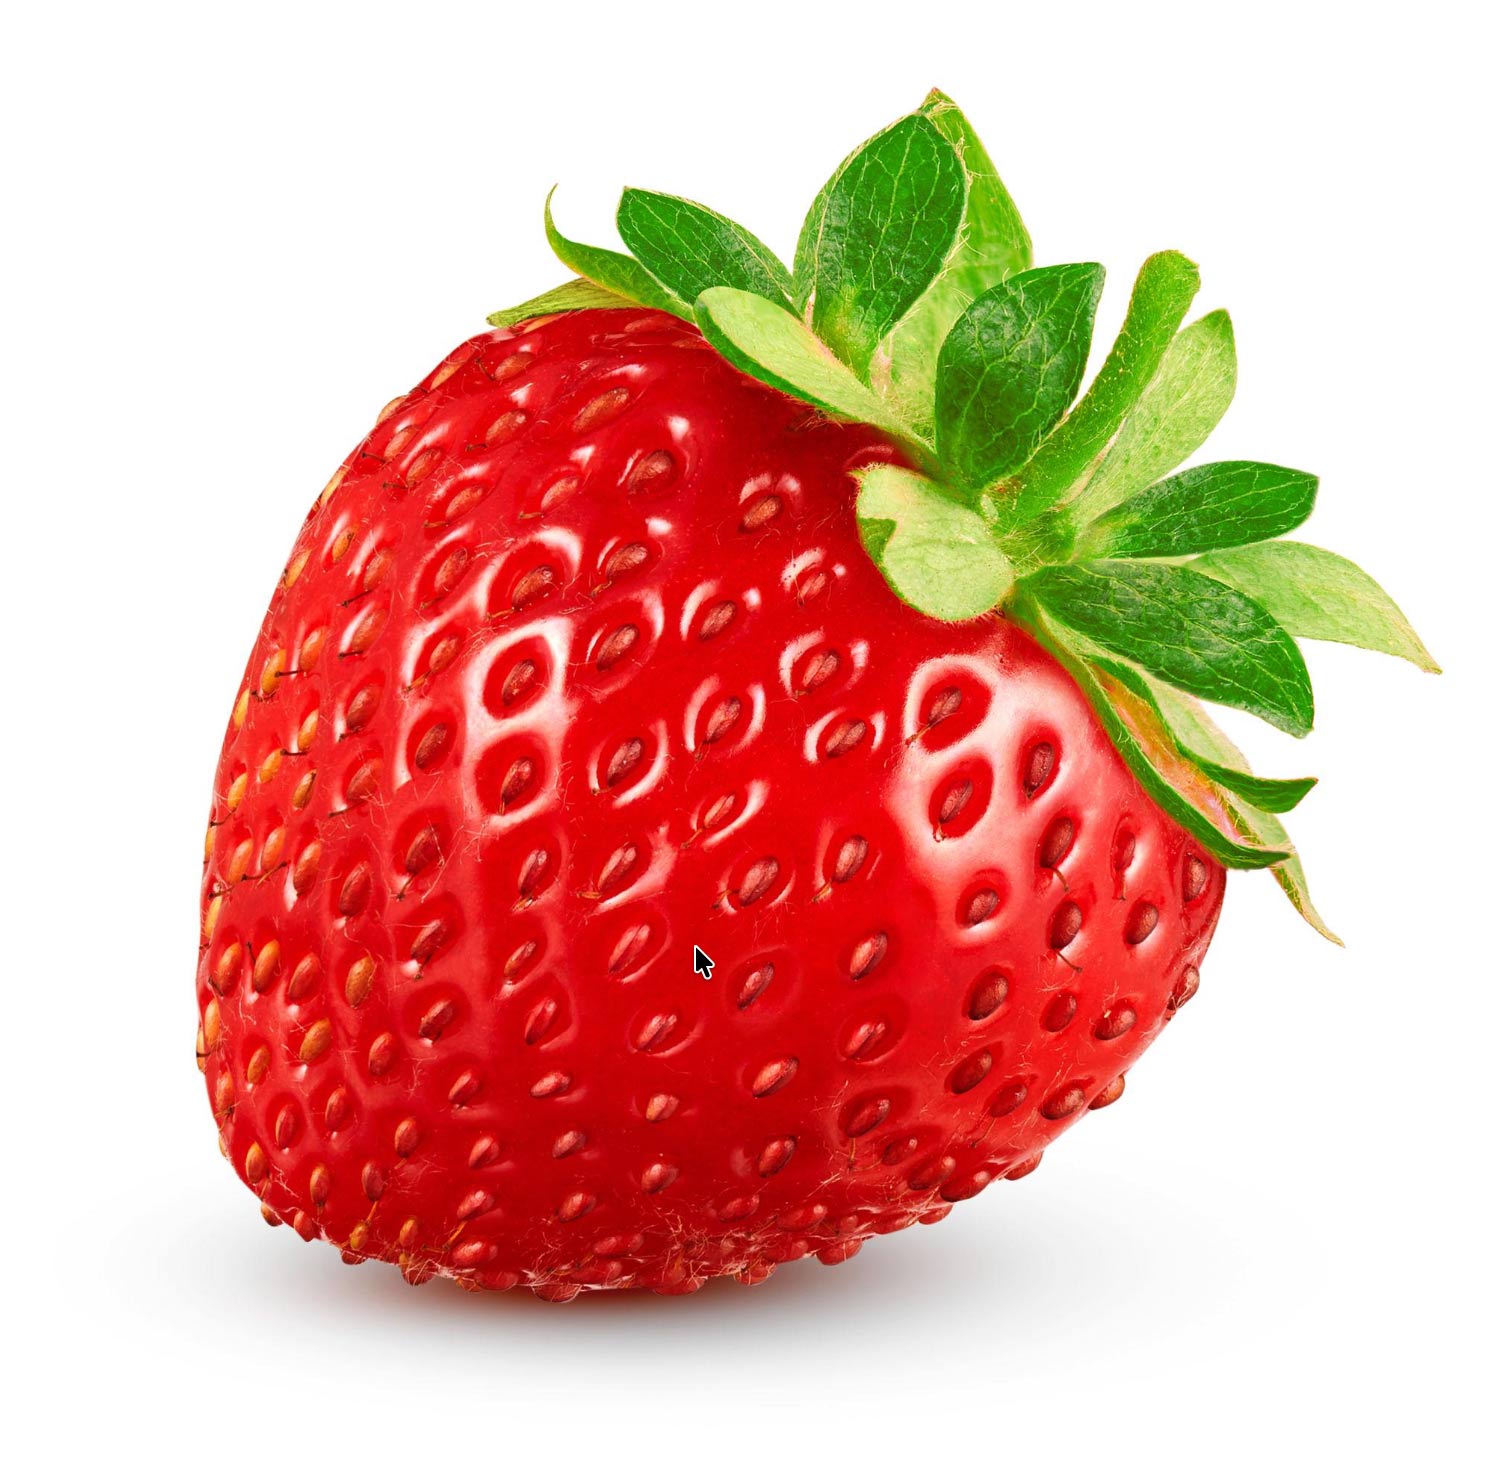
Advanced: Orange, kiwi, avocado, strawberry. Lots of details, textures, additional objects are required.
Find a Reference Photograph
- Find a good-quality photograph of your chosen food.
- Choose an image with visible highlights and shadows.
- Make sure the entire object is visible and not cut off.
- Look for a photograph with good lighting and clearly visible color variations.
Important: You will use your reference photograph throughout the project. Do not choose an image that is too dark, blurry, or flatly lit.
PART 2. Prepare Your Illustrator Document
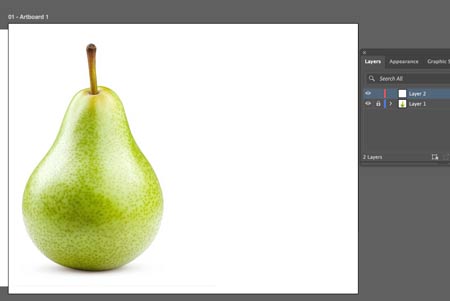
- Open Adobe Illustrator and create a new document.
- Choose a suitable artboard size (approximately 11 x 8.5 inches).
- Place your reference photograph into the document.
- Resize and position the photograph so the food item is large enough to work with.
- Lock the reference image layer.
- Create a new layer above it for your illustration.
Tip: Keep your reference photograph visible while you work. You will need to compare your illustration with the original and sample colors from it.
PART 3. Create the Basic Shape
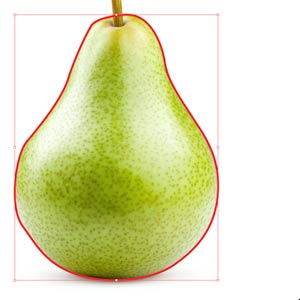
Before adding colors and shading, you need to create the basic silhouette of your food item.
- Select the Pen Tool (P).
- Carefully trace the outside contour of your food item.
- Use as few anchor points as possible while maintaining an accurate shape.
- Close your path by clicking on the starting anchor point.
- Apply a base color that matches the main color of your food.
- Remove the stroke.
Important: Your shape should follow the actual outline of the food. Avoid using a simple circle or oval unless the object naturally has that shape.
Tip: Do not worry about details yet. At this stage, focus only on getting the overall shape and proportions right.
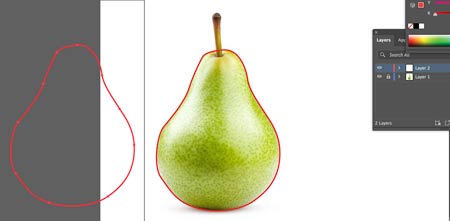
Duplicate the main shape and move it off the artboard. We might need to use it later for a clipping mask.
PART 4. Create the Gradient Mesh
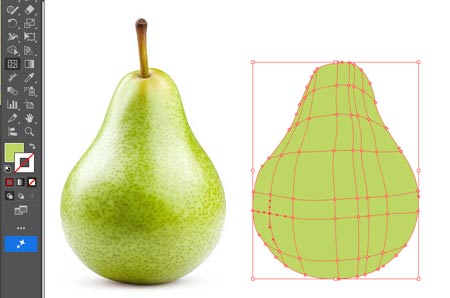
This is the most important part of the project!
Instead of using one flat color, you will create a network of mesh lines and points. Each point can have its own color, allowing colors to blend smoothly into one another.
Creating Your Mesh
- Select your basic shape.
- Choose the Mesh Tool (U) from the toolbar.
- Click inside your shape to create your first mesh point.
- Continue clicking to add more mesh points and create a grid.
- Start with a simple mesh. A grid of approximately 3 x 3 or 4 x 4 points is a good starting point.
- Make sure your mesh lines follow the general shape and volume of your object.
Adding Color
- Select an individual mesh point using the Direct Selection Tool (A).
- Choose a color using the Color Picker or Eyedropper Tool (I).
- Sample colors from different areas of your reference photograph.
- Apply lighter colors to highlighted areas.
- Apply darker colors to shadow areas.
- Use intermediate colors to create smooth transitions.
- Continue adding colors until the object begins to look rounded and dimensional.
Think about where the colors belong:
- Highlights: Lightest areas where the light hits the object.
- Midtones: Main colors of the food.
- Shadows: Darker areas where less light reaches the surface.
- Reflected light: Subtle lighter or contrasting colors near shadow areas.
IMPORTANT: Do not add too many mesh points!
Too many points can make your mesh difficult to control and may create unwanted bumps or uneven color transitions. Start simple and add more points only when necessary.
PART 5. Create Realistic Lighting and Volume
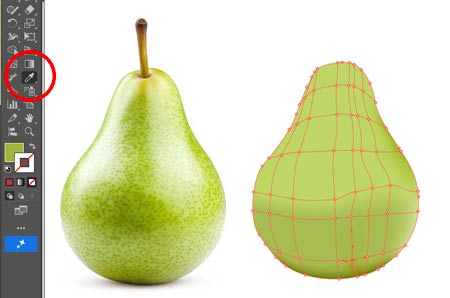
Now that your basic colors are in place, it is time to make your food item look three-dimensional.
Look carefully at your reference photograph and identify the direction of the light.
Ask Yourself:
- Where is the light coming from?
- Where is the brightest highlight?
- Which areas are the darkest?
- Where do colors gradually blend into one another?
- Does the object have reflected light?
Refine Your Mesh
- Adjust the colors of individual mesh points.
- Move mesh points if necessary to improve the color transitions.
- Adjust the handles of mesh points to control the shape of the color areas.
- Add additional mesh points only where you need more control.
- Compare your illustration with the reference photograph frequently.
Remember: You are not simply coloring an object. You are using color to create the illusion of volume, depth, and realistic lighting.
PART 6. Add Details and Texture
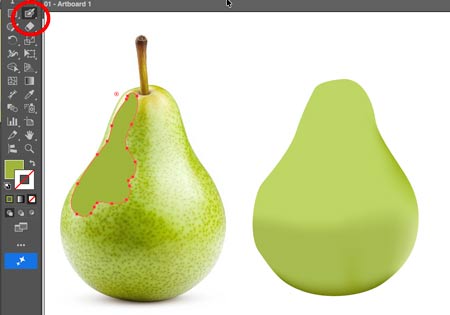
Once your main shape looks realistic, you can add smaller details to make your illustration more convincing.
Look for spots that differ from the rest of the food color – highlights, reflections, different colors, etc.
Try Blob Brush Tool – it paints shapes. And because it is a brush tool – you can change its size with “[” and “]” keyboard shortcuts.
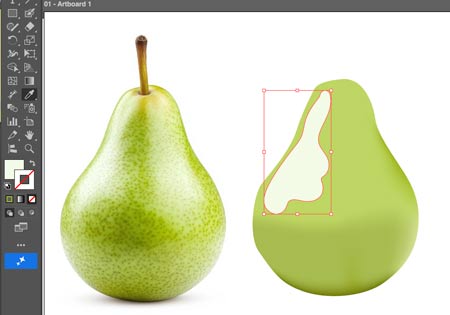
Sample the original color fron the photograph.
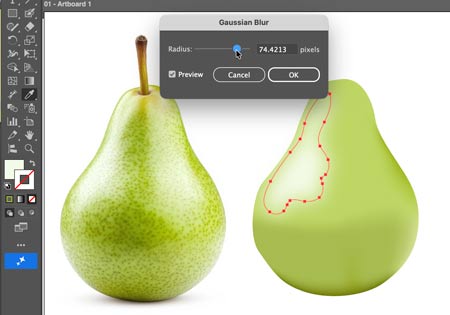
Apply a Blur effect to fade the shape into the main object.
Effect > Blur > Gaussian Blur.
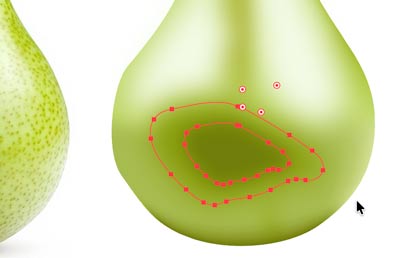
You can also layer shapes.
You can find it tricky to select a specific shape that has a Blur effect – so I recommend to lock some shapes so you do not keep accidentally select them (Use dropdown shape menu in Layers panel).
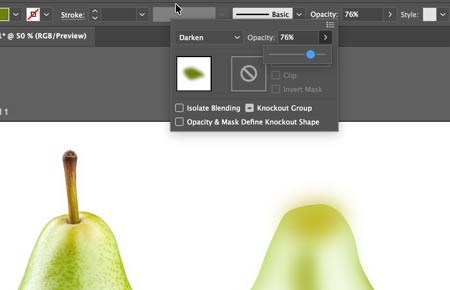
You can change Blending Mode and Opacity settings for each selected shape. Use Options bar.
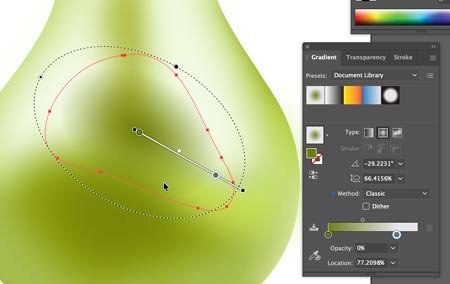
Do not forget that you can use basic gradients as well.
That is if you do not want a color and its fading effect to extend outside the shape path.
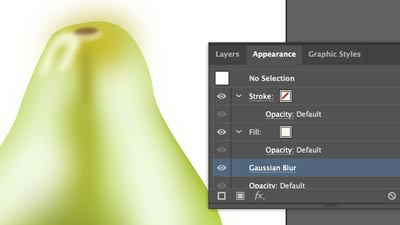
If you need to adjust an effect that has been already applied to an object – Use Appearance panel. Window > Appearance.
Symbols & Patterns
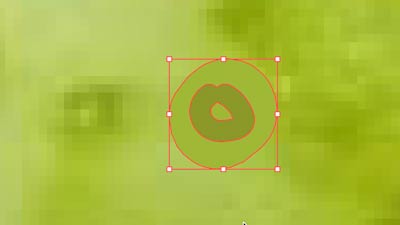
If you have repeating elements – create a symbol.
Use Blob Brush tool or Pen tool to draw.
Stay away from applying special effects. You can, but effects increase the symbol size.
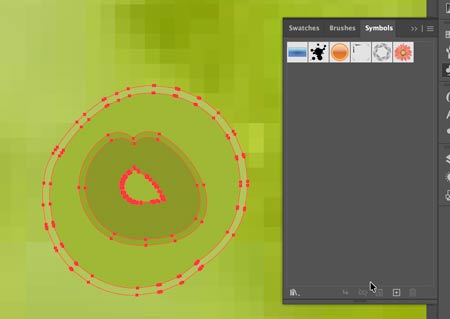
Layer the shapes instead.
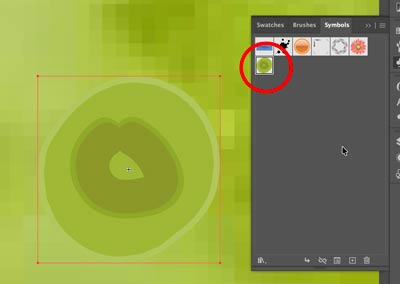
In Symbols panel – add your selection to the library.
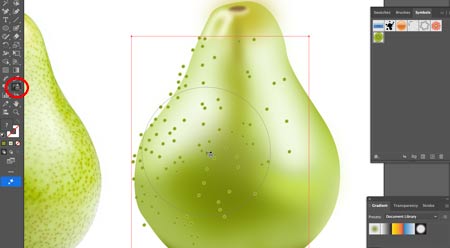
Try using Symbol Sprayer to add some texture.
Important: Keep texture and small details separate from your main Gradient Mesh object. For example, strawberry seeds should be created as individual vector shapes rather than trying to create every seed using mesh points.
Keep details subtle. They should enhance the realism of your illustration, not overpower the main object.
PART 7. Final Refinement and Presentation
- Compare your illustration with the original reference.
- Make final adjustments to colors, highlights, shadows, and mesh points.
- Check that your food item has realistic volume and smooth color transitions.
- Make sure all details are clean and properly placed.
- Place your finished illustration on a simple, clean background.
- Save your Illustrator file (.AI).
- Export a high-quality PNG image.
Final presentation: Your food illustration should be the main focus. Avoid distracting backgrounds, unnecessary decorations, or excessive text.
FINAL PROJECT REQUIREMENTS
Your finished illustration must include:
- The original photograph.
- A custom vector silhouette.
- Gradient Mesh as the primary coloring technique.
- At least 3 distinct color values: highlights, midtones, and shadows.
- Realistic lighting and color transitions.
- At least 3 additional details or texture elements.
- A clean, finished presentation.
- Original Illustrator (.AI) file.
- Exported PNG image.
REMEMBER!
Gradient Mesh is a powerful tool, but it takes patience and practice. Work slowly, start with simple color areas, and build up the details gradually.
Your goal is not to create a perfect photograph. Your goal is to demonstrate how vector graphics can create realistic-looking artwork through careful use of color, light, and form.
Have fun, experiment, and enjoy the process!