


cardboard coin eater
Introduction to Cardboard Construction
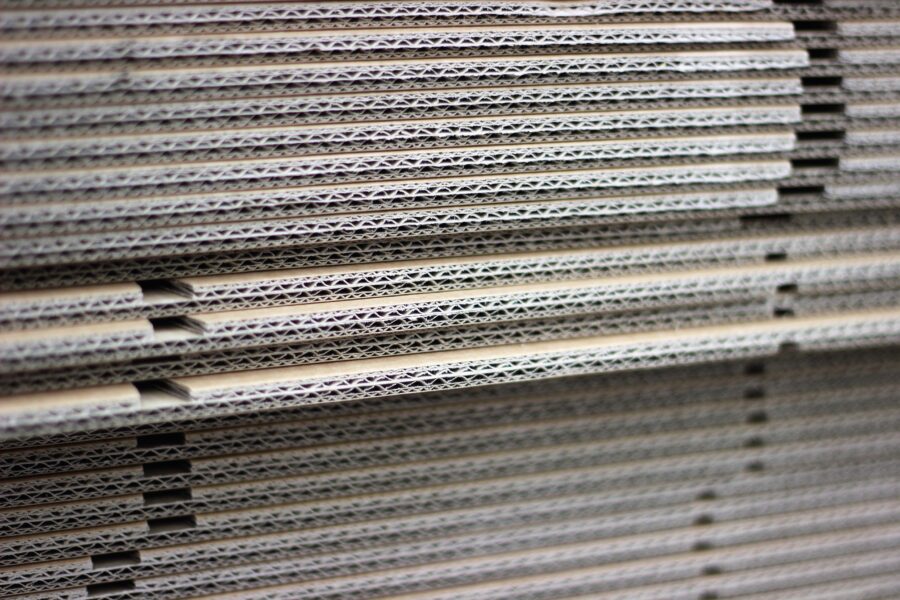
Cardboard is an inexpensive and versatile sculpture material that can be cut, folded, layered, joined, and assembled to create three-dimensional forms.
In this introductory project, you will construct a working Cardboard Coin Eater from a provided template.
The project is designed to introduce the basic skills you will use in future cardboard sculpture projects: accurate measuring and transferring, cutting with a utility knife, organizing individual parts, following an assembly sequence, and joining cardboard with hot glue.
Accuracy matters! Small cutting errors can become much larger problems when several pieces have to fit together.
Materials:
- Corrugated cardboard
- Coin Eater template
- Awl
- Cutting mat
- Metal ruler
- Utility knife
- Pencil
- Hot glue gun and glue sticks
- Masking tape, if needed
Learning objectives
- Safely use an awl, utility knife, metal ruler, and hot glue gun.
- Transfer a template accurately onto cardboard.
- Make clean, straight cuts in corrugated cardboard.
- Cut accurately along a metal ruler.
- Identify and organize multiple construction pieces.
- Follow a numbered construction sequence.
- Join cardboard pieces neatly with hot glue.
- Assemble flat cardboard pieces into a three-dimensional structure.
- Test and adjust a functional cardboard mechanism.
steps
Step 1: Transfer the Template
Place the provided template over your cardboard.
Instead of tracing every shape, use an awl to transfer the corners and important points of each template piece.
Carefully push the awl through the template at each corner.
You should now have a series of small marks showing the corners of each shape.
Use a pencil and metal ruler to connect the appropriate points.
Step 2: Cut the Pieces
Place the cardboard on a cutting mat.
Position the metal ruler along one cutting line.
Hold the ruler securely with your fingers safely away from the cutting edge.
Make a controlled cut along the ruler.
Make several passes with the utility knife rather than trying to cut completely through the cardboard at once.
As soon as a piece is cut, write its corresponding template number on it.
Continue until all pieces have been cut.
Do not begin gluing until you know you have every piece.
Step 3: Dry Fit
Before using hot glue, place the appropriate pieces together according to the assembly instructions.
This is called a dry fit.
Check:
- Does the piece fit where it is supposed to?
- Are the edges aligned?
- Is it facing the correct direction?
- Will another piece need to fit against this edge later?
Step 4: Assemble the Coin Eater
Follow the provided construction steps in order.
The sequence matters.
Use a small bead of hot glue along the joining edge and immediately position the pieces together.
Hold them at the correct angle until the glue cools.
Parcourez les avantages proposés sur https://winouienligne.com/ et découvrez un casino pensé pour le public francophone.