


Intro to Oil Pastels

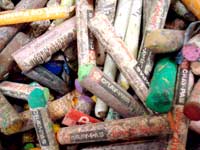
Oil pastels don’t behave like pencils—they slide, smear, and mix like paint.
Oil pastels are a versatile medium known for their intense, vibrant colors and buttery consistency that behaves much like oil paint. They allow for a range of techniques from thin washes to thick, textured impasto.
Oil pastels are made to be very blendable – they are soft, oily and designed to be mixed and spread together on the paper.
Professional artists often use them for these qualities.
examples:

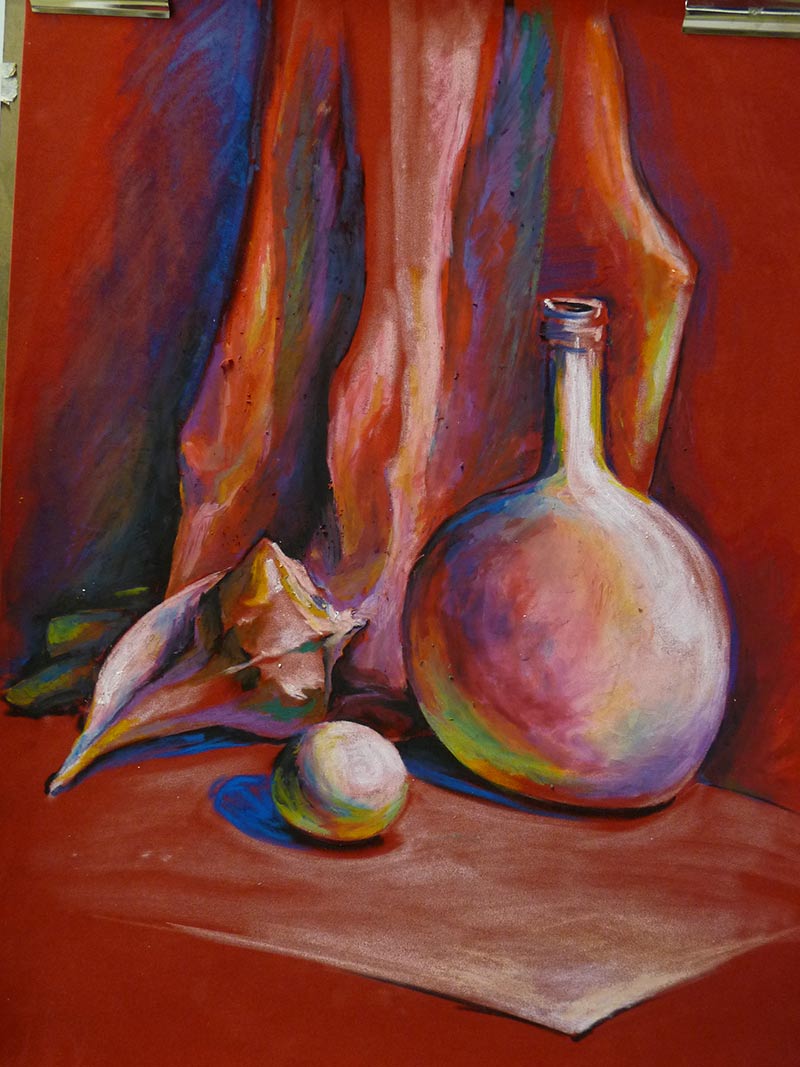
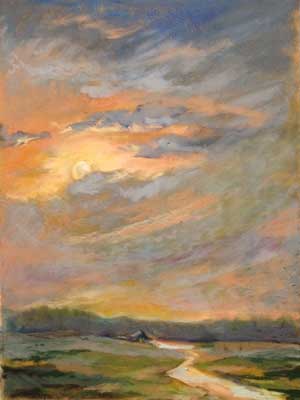
about
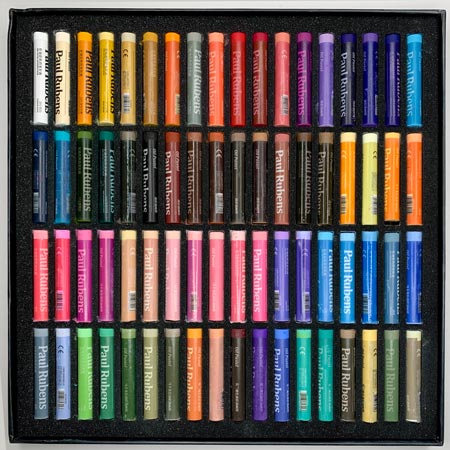
Oil pastels come in many colors and are made by different manufacturers. Try different brands to find the type that works for you.
Always get some extra white, tan or grey colors as they are often used to blend with other colors (to lighten the color or to dull it down).

There are some tools you might need in addition to the pastels themselves.
Have a blending brush or a paper stump for blending, a palette knife for blending and scraping, turpentine and linseed oil (or just a baby oil), cotton swabs and cotton balls, paper towel.
Also have some scrap paper to try the colors. It helps if the scrap paper is the same quality, texture, and color as your drawing.
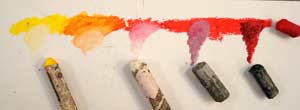
You can mix pastels to achieve the right shade by drawing with one color over another color in a circular motion.
Use white, grey, or black pastels to change the value of a color and its brightness.
Usually, use a lighter color over a darker one. (Darker color should be applied lightly).

Use the tip of the pastel for more intense coloring or use the side for larger areas.
Try working on velour paper, especially colored – you will like the result!
let’s practice
example:
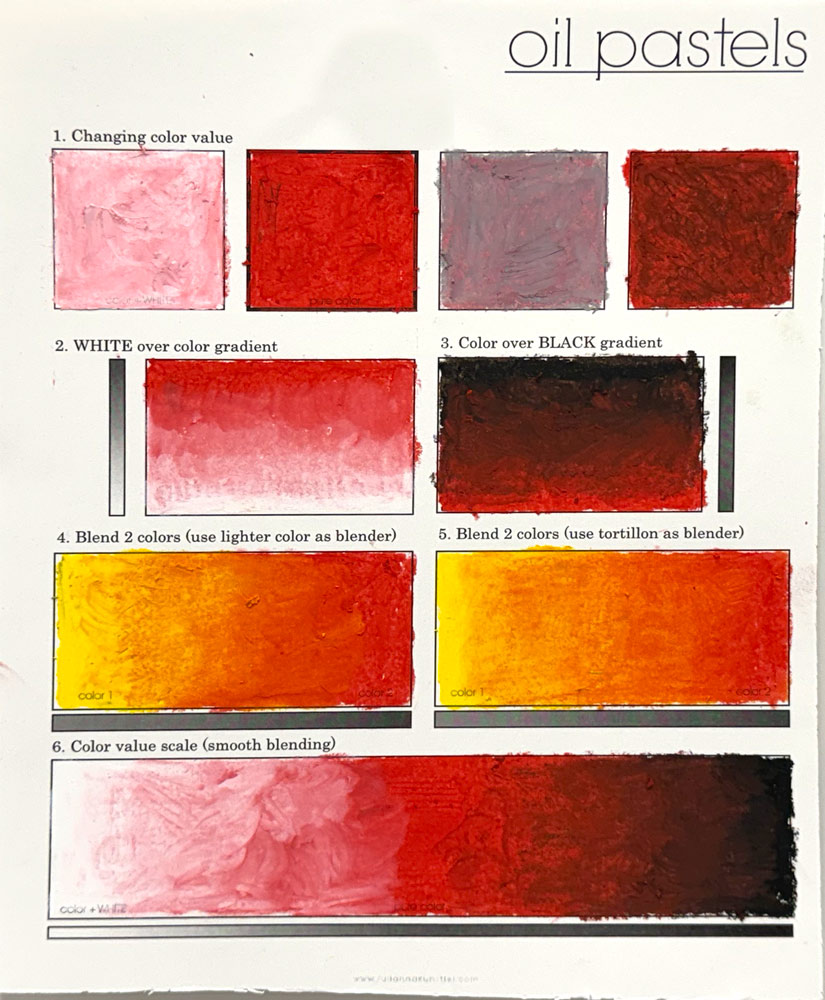
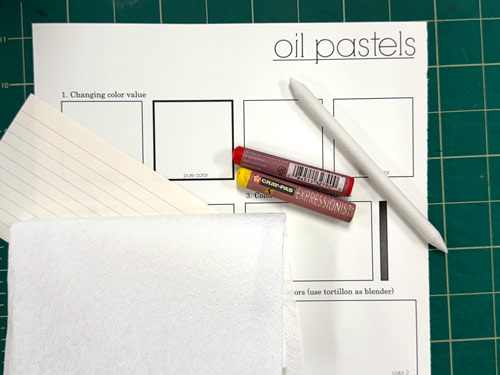
Get a few pastels and lets get started with the assignment.
Use a piece of an index card or paper to protect the edges.
Get your tools. Keep paper towel handy – you will need it.
1. solid color and its values
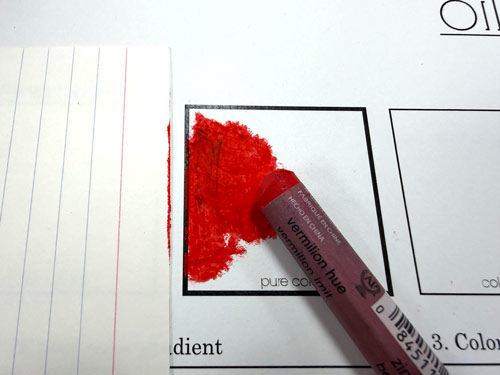
Protect the edges of the main square.
Use short strokes and medium pressure to apply oil pastels to the area.
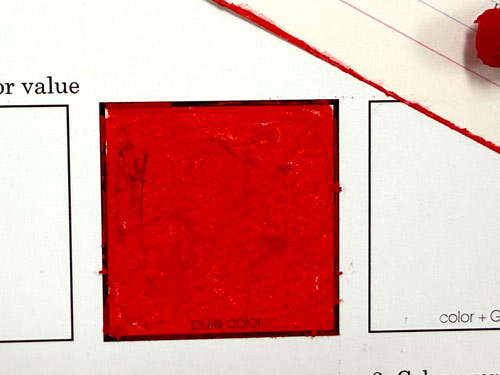
Make it nice and solid.
Do not leave any white areas. Apply as thick as you can.
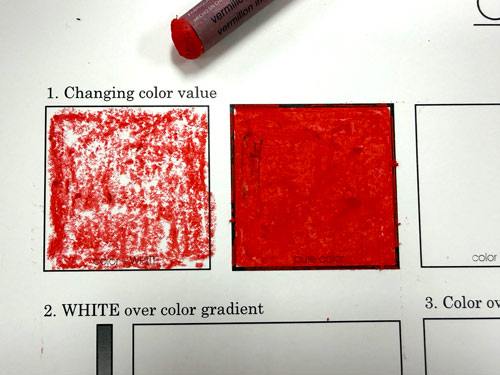
Lightly color with the main color. That means you do not rub the color in but leaving it on the surface.
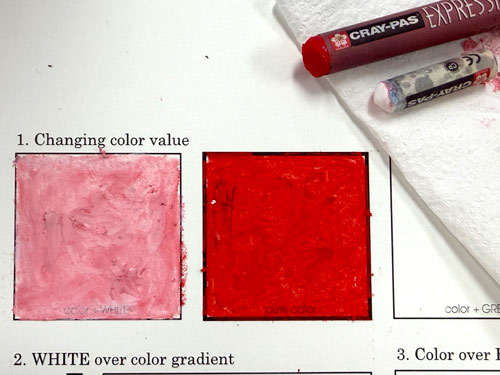
For a color TINT:
Use WHITE to blend. Back-and-forth and circular motions… Short strokes.
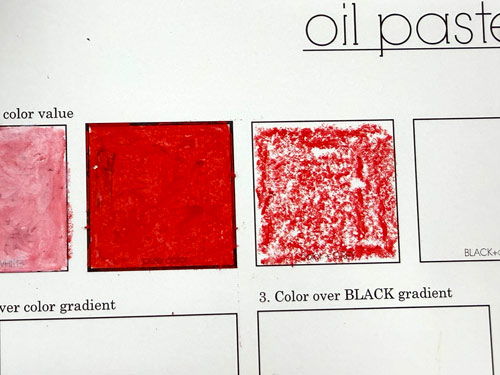
For a color TONE:
Lightly color with the main color.
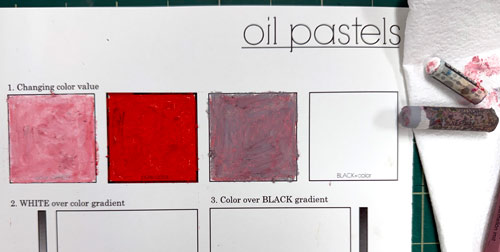
Use GREY to blend.
Same technique as with the tint.
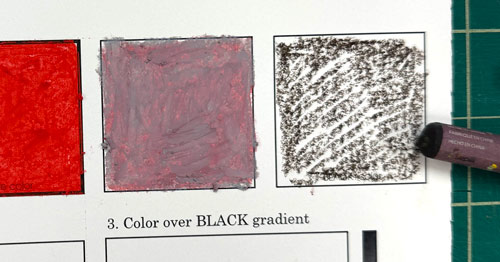
For a color SHADE:
Lightly color with BLACK.
Use the main color to blend
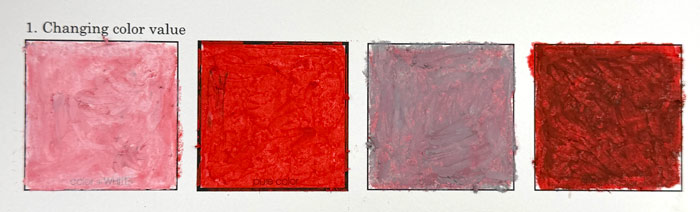
Great! You are done with the basics!
2. color to white gradient
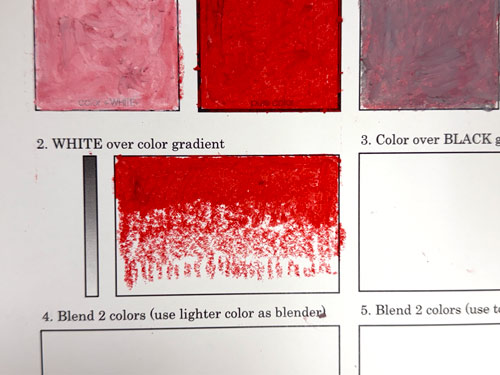
Create a color gradation from hue to white.
Start with your main color and shade from the top down, gradually reducing the pressure.
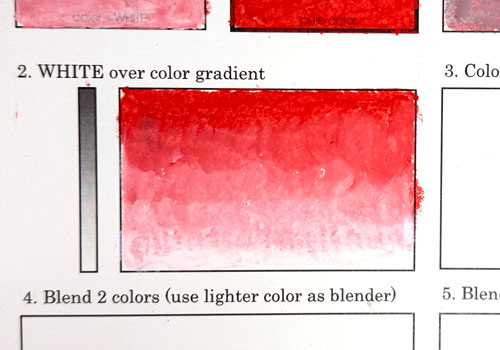
Use White pastel from the bottom up, mixing and blending the strokes.
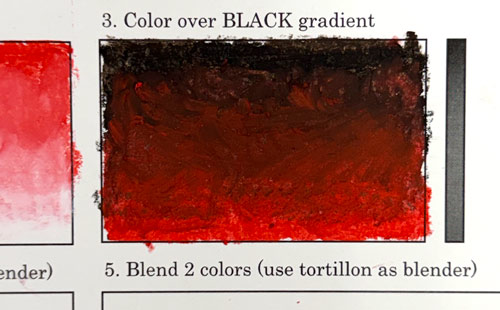
3. color to black gradient
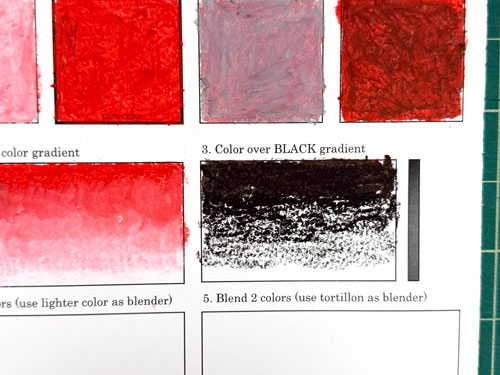
Create a color gradation from hue to black.
Start with Black and shade from the top down, gradually reducing the pressure.
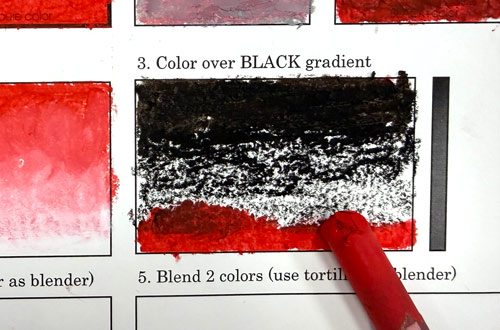
Use the main color pastel from the bottom up, mixing and blending the strokes.
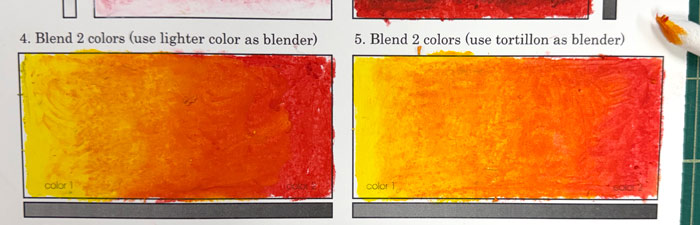
4. color blending
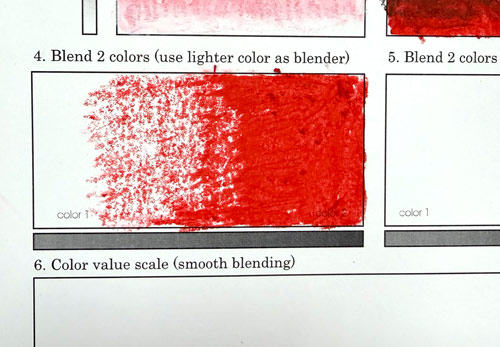
Blend 2 colors.
Start with a darker color color and shade from one side, gradually reducing the pressure.
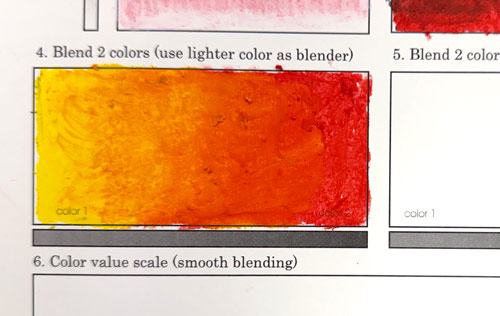
Then use lighter color from the opposite side, mixing and blending the strokes.
5. blending tools
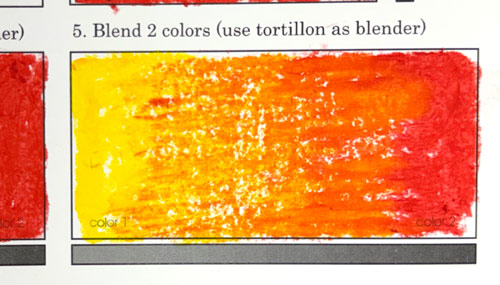
Blend the same two colors using torillon for blending the strokes.
Start with one color and shade from one side, gradually reducing the pressure.
Then use lighter color from the opposite side gradually reducing the pressure.
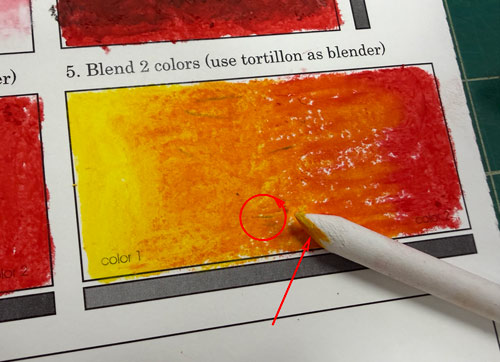
Use torlillon in a circular motion to mix the colors.
6. value scale
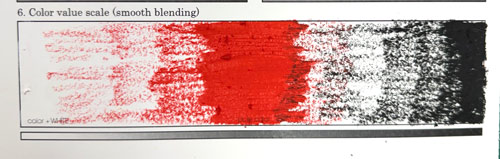
The last one is to create a color value scale with a smooth transition between white, a hue, and black.
1. Start with shading the the middle of the shape (where it says "pure color") with the main color. Fade it to the left and to the right.
2.Color solid BLACK on the right and fade it to the left.
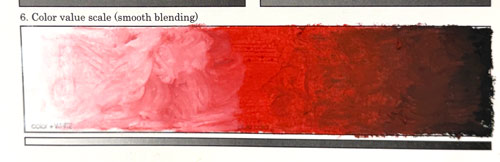
3. Use WHITE pastel as a blender and work it all the way from left to the center.
4. Use the main color as a blender and work it from the center to the right.
practice more:
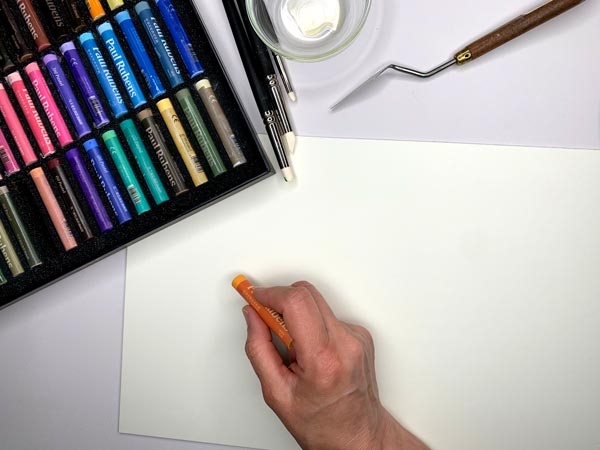
Pick a color.
Use a heavy or textured surface.
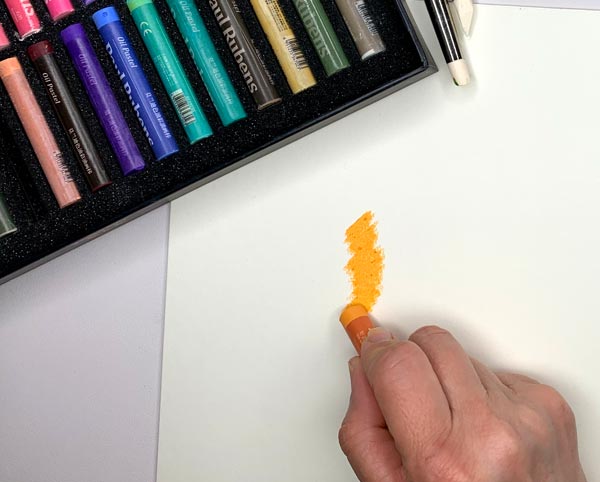
Draw some short strokes applying medium pressure.
Try to achieve a solid coloring. Get a feel of the process. Short strokes work best for solid application and for color mixing and blending.
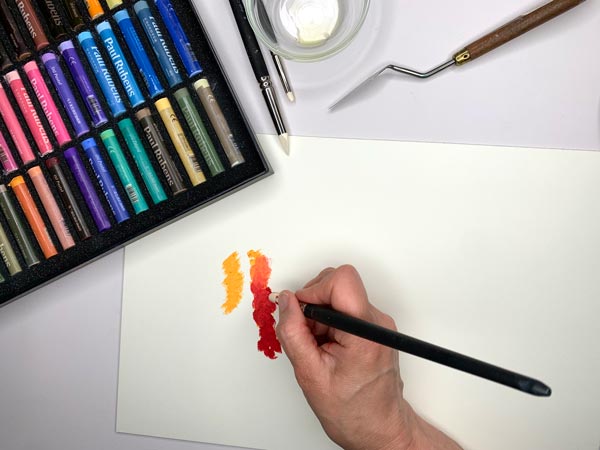
Apply another set of strokes.
Then use a different color and color over the first one.
Use a blending brush or a tortillon for mixing the colors.
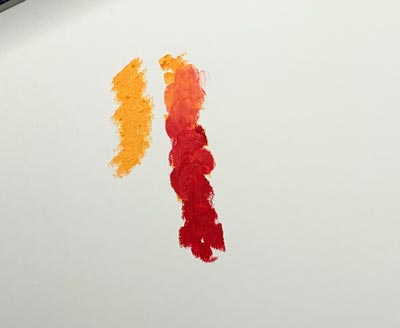
Mix the pastel strokes with back-and-forth motion. Make sure you have applied enough of the pastels to the paper surface to mix nicely.
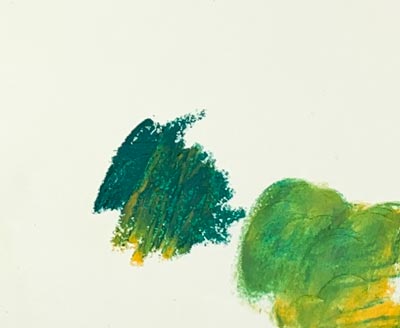
The order in which you apply colors matters!
Apply a darker color gradually if you want to mix it with a lighter one.
Usually, use the lighter color as a blender.
more color mixing
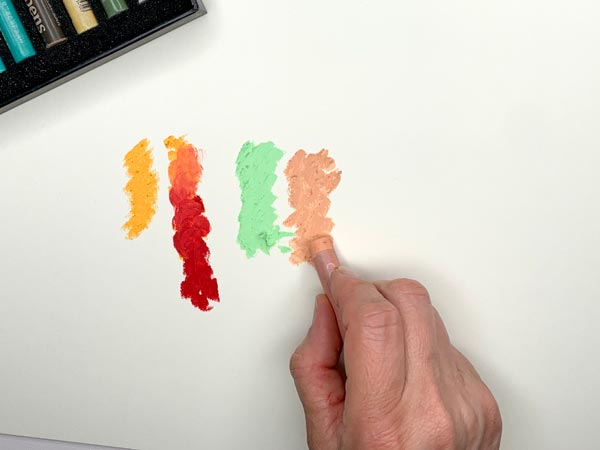
Apply thick strokes of two colors next to each other.
You are going to use different techniques to mix them.
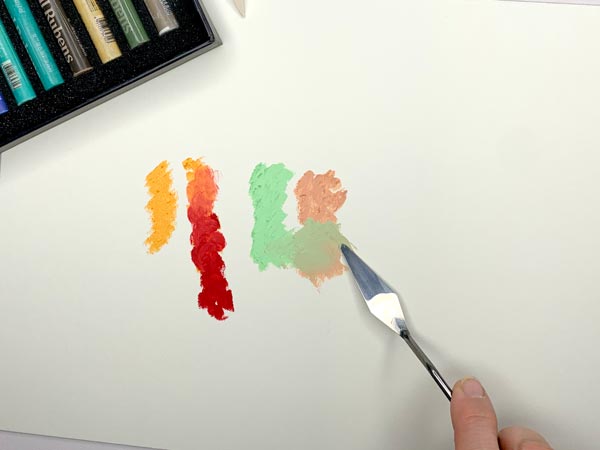
Mix 1/3 of the colored area with a palette knife. Try to “scoop” the pigment and mix the colors going back and forth.
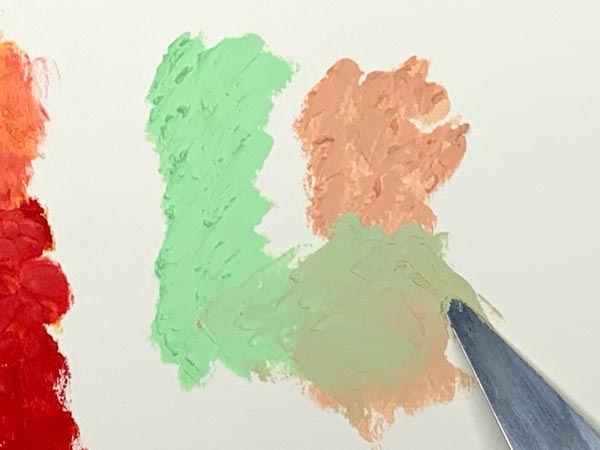
Use the tip or a side edge of the knife.
using solvents
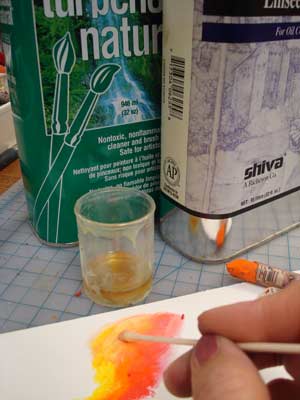
Using a solvent (50/50 turpentine and linseed oil) with oil pastels, you can achieve results similar to painting without actually using brushes and paints.
You can always use just either one of them. Adding turpentine will make pastels dry faster than oil alone.
Use a Q-tip or a cotton ball to blend colors.
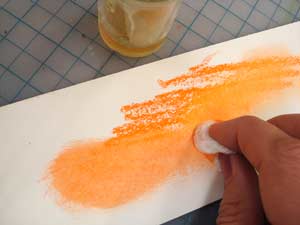
Using a cotton ball with solvent works well for covering large areas in your drawing (sky, backgrounds, etc…)
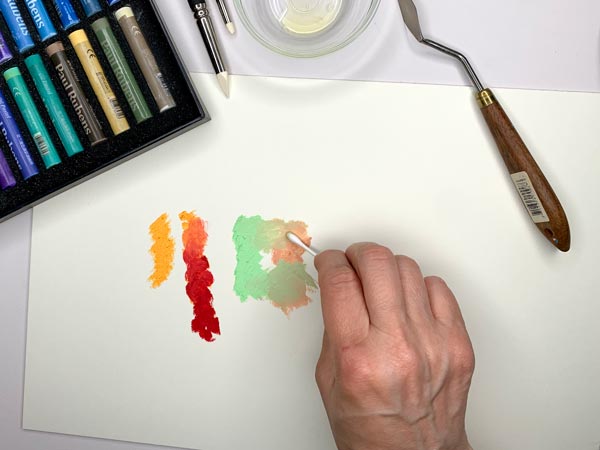
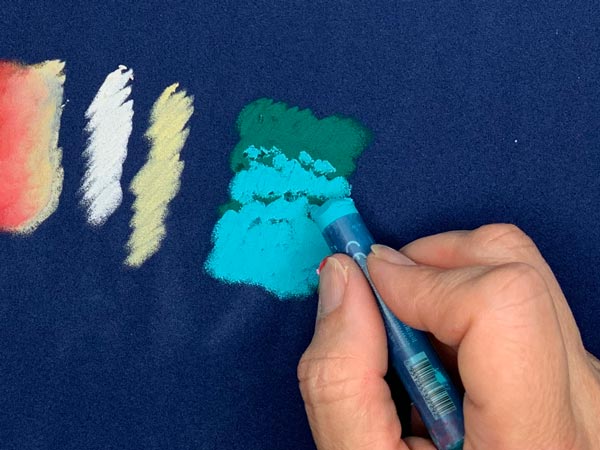
Use a small brush, a cotton ball or a cotton swab with a solvent (turpentine, linseed oil) and mix colors using a circular motion.
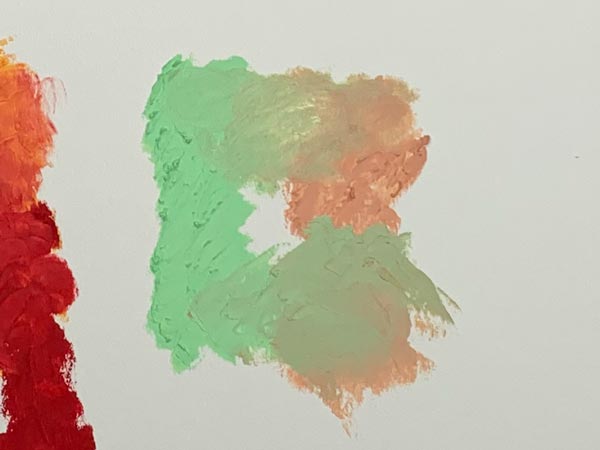
The solvent will dilute the oil in pastels and it will feel more like painting.
Blend 1/3 of the area.
more blending
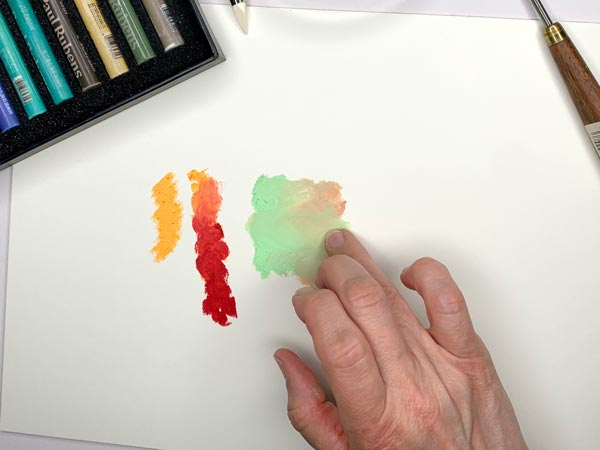
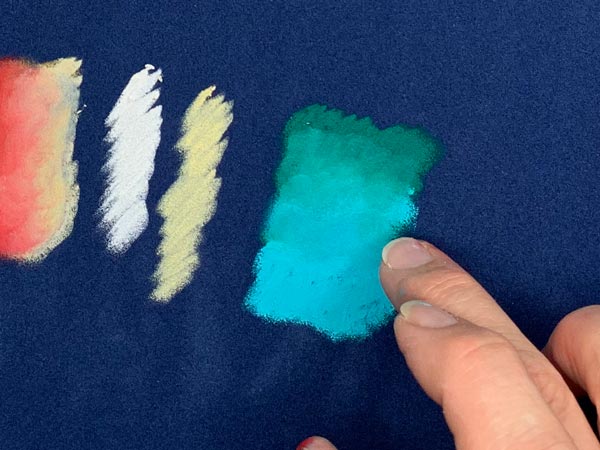
You can also use your fingers for blending.
Other options:
- paper towel
- cloth
Blend the last area.

Here is what it should look like.
sgraffito
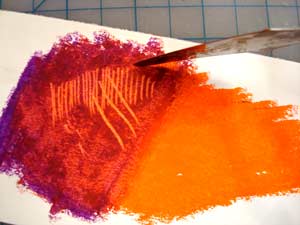
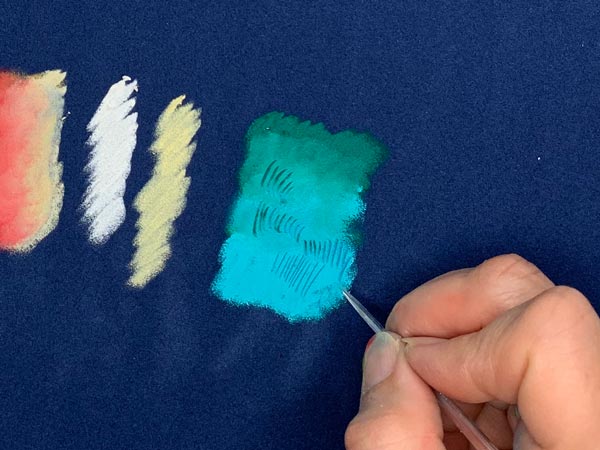
Sgraffito technique is a process of scratching off a top color layer to reveal the bottom color.
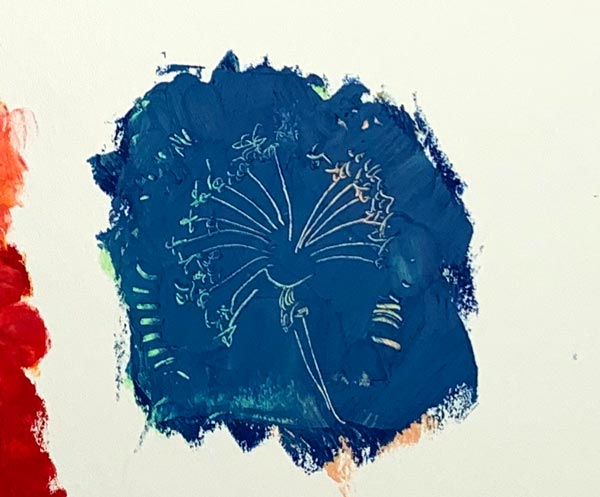
You can use this technique to create textures and special effects.
Works great with contrasted colors or values.
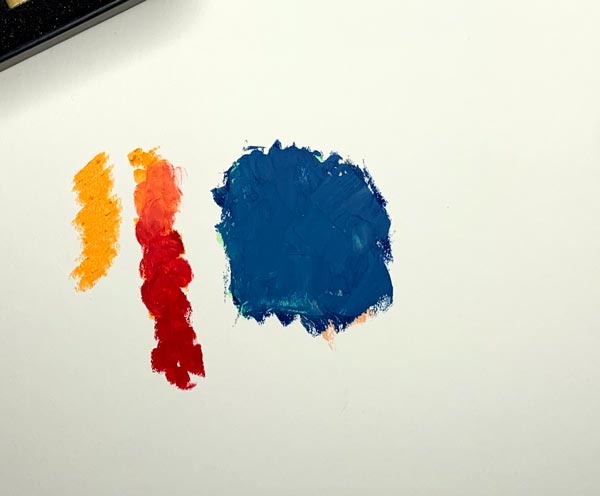
Apply a contrasted color over the area that you just colored.
Make sure you are layering the color, not mixing it in or blending.
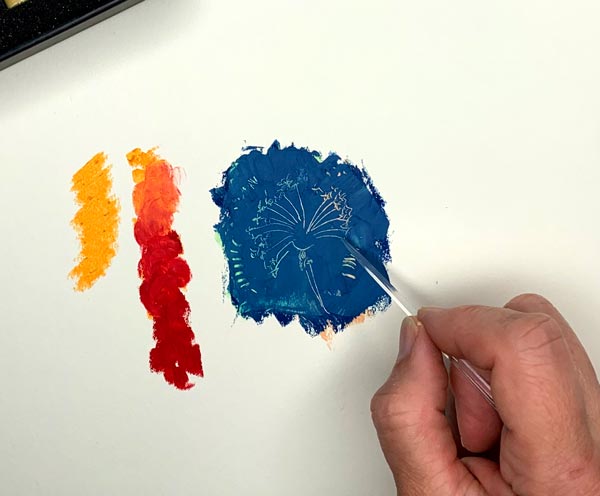
Use any sharp tool (toothpick, knife, etc.) and scratch a design. You should be able to see the colors of the bottom layer.
different papers
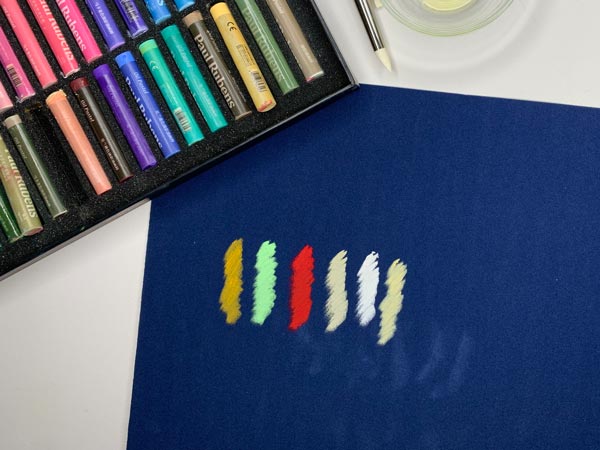
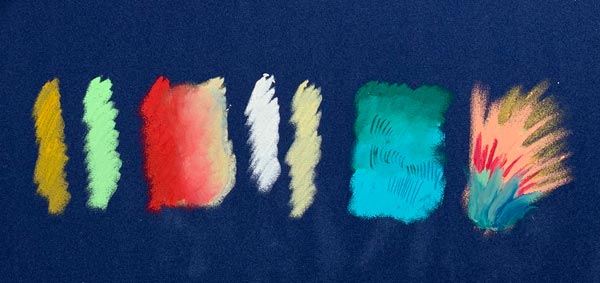
Try drawing on different textures and colors.
Start with a scrap piece of a velour paper.
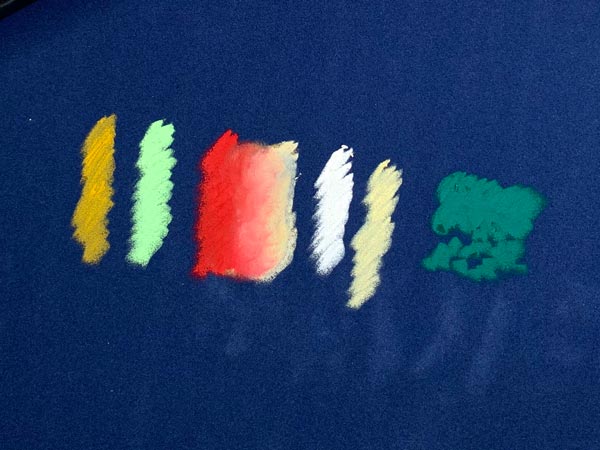
Experiment with different blending techniques and strokes.
more tips
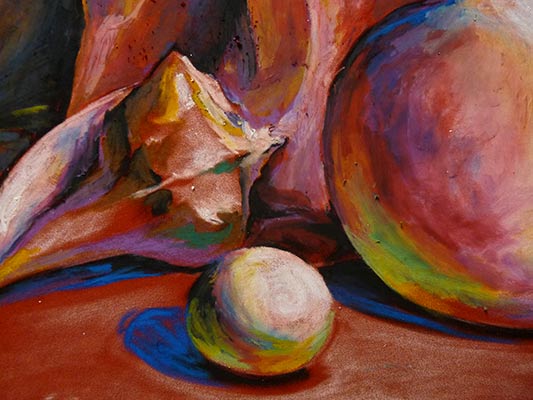
If you are laying out your drawing with pencil first, be sure to draw lightly, as light colors will not fully cover dark pencil marks.
Parcourez les avantages proposés sur https://winouienligne.com/ et découvrez un casino pensé pour le public francophone.